This guide will walk you through the steps of flashing a bootloader to the Ender-3 control board.
A bootloader is a piece of code that runs before the firmware or operating system of a computer or microcontroller. It is the bootloader's job to start the firmware or operating system on boot as well as to communicate over USB when flashing new firmware. A bootloader is not strictly necessary in our case, but it is very helpful
By default, the Ender-3 microcontroller comes without a bootloader flashed. This means that the firmware boots immediately upon powering up the printer. This means that an ISP programmer attached to the pins on the control board is required to flash new firmware.
By flashing a bootloader, we gain the ability to flash firmware using the Arduino software via the front USB port on the printer. This means that firmware upgrades and fixes can be installed without having to open the printer.
Unfortunately the software for the ISP programmer that comes with the BLTouch kit is windows only. As such, a Windows computer or a Mac running bootcamp will be necessary to flash the bootloader unless an alternate method is used. It is possible to use an Arduino to emulate an ISP programmer and this method should work on most operating systems.
Flashing a bootloader will remove the current firmware from your printer. You will be able to easily flash new, updated, and more customized Marlin firmware, but you will not be able to return to the stock firmware that ships on the Ender-3 (without great difficulty)
-
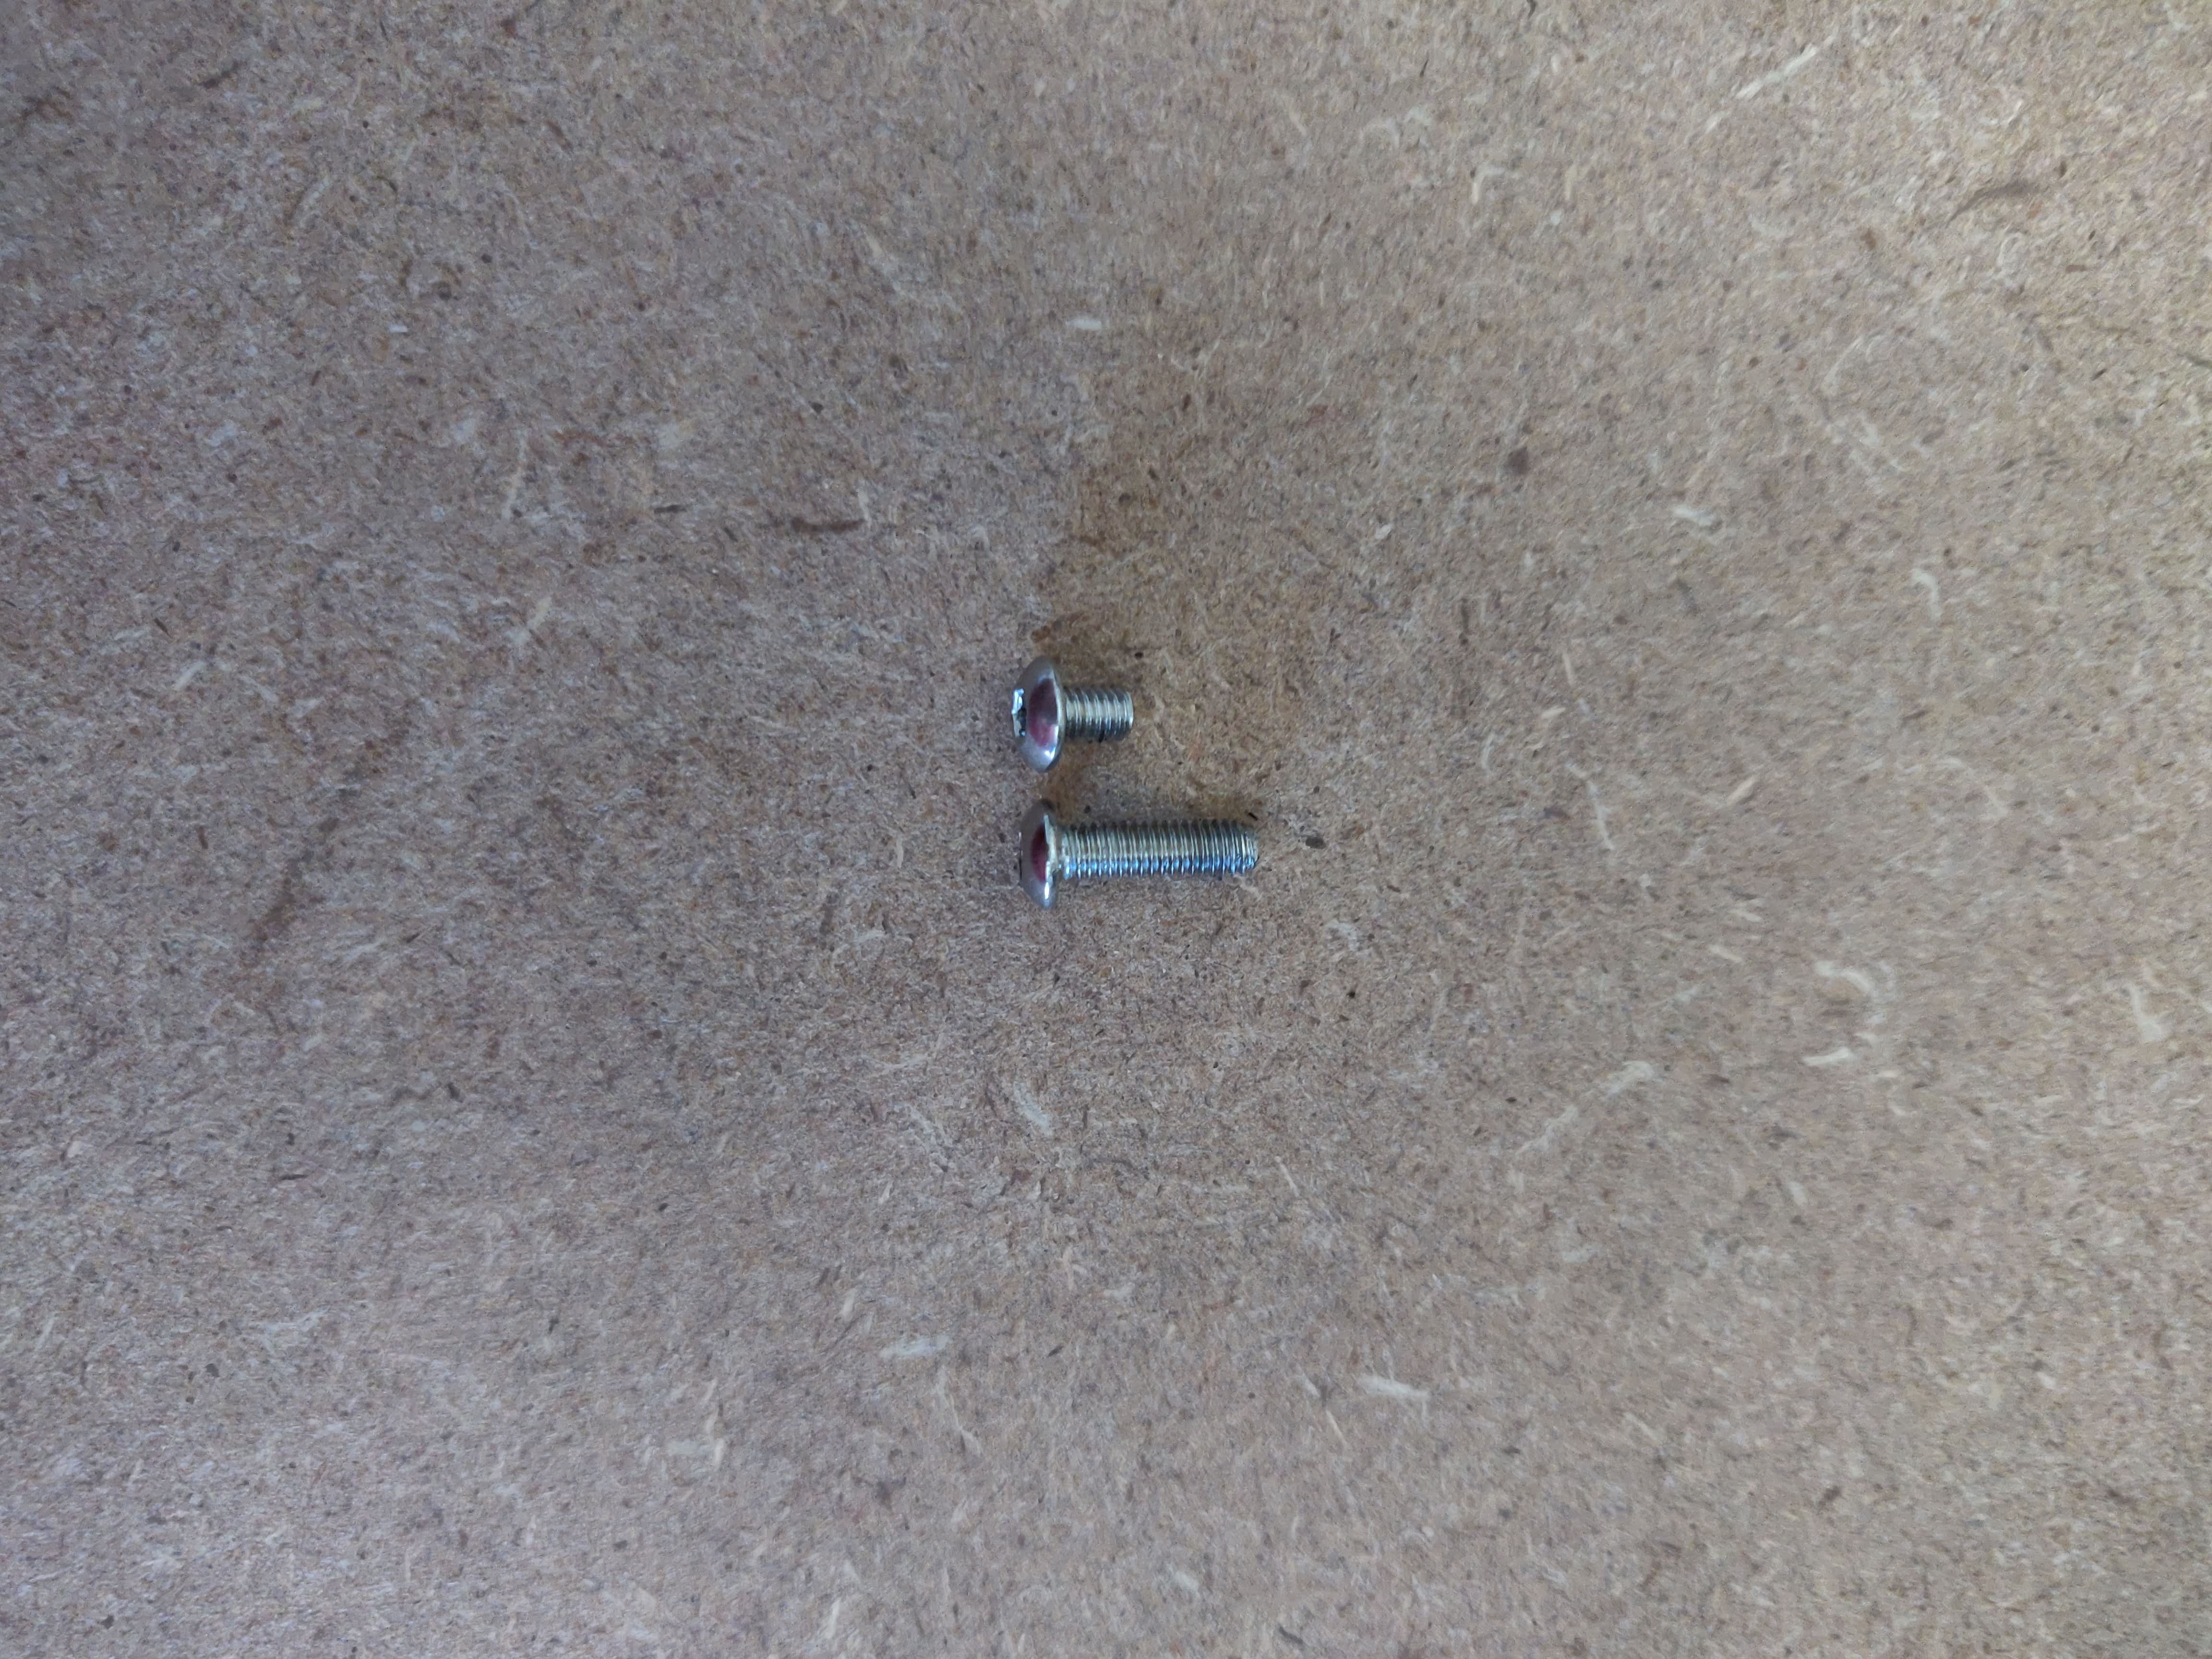
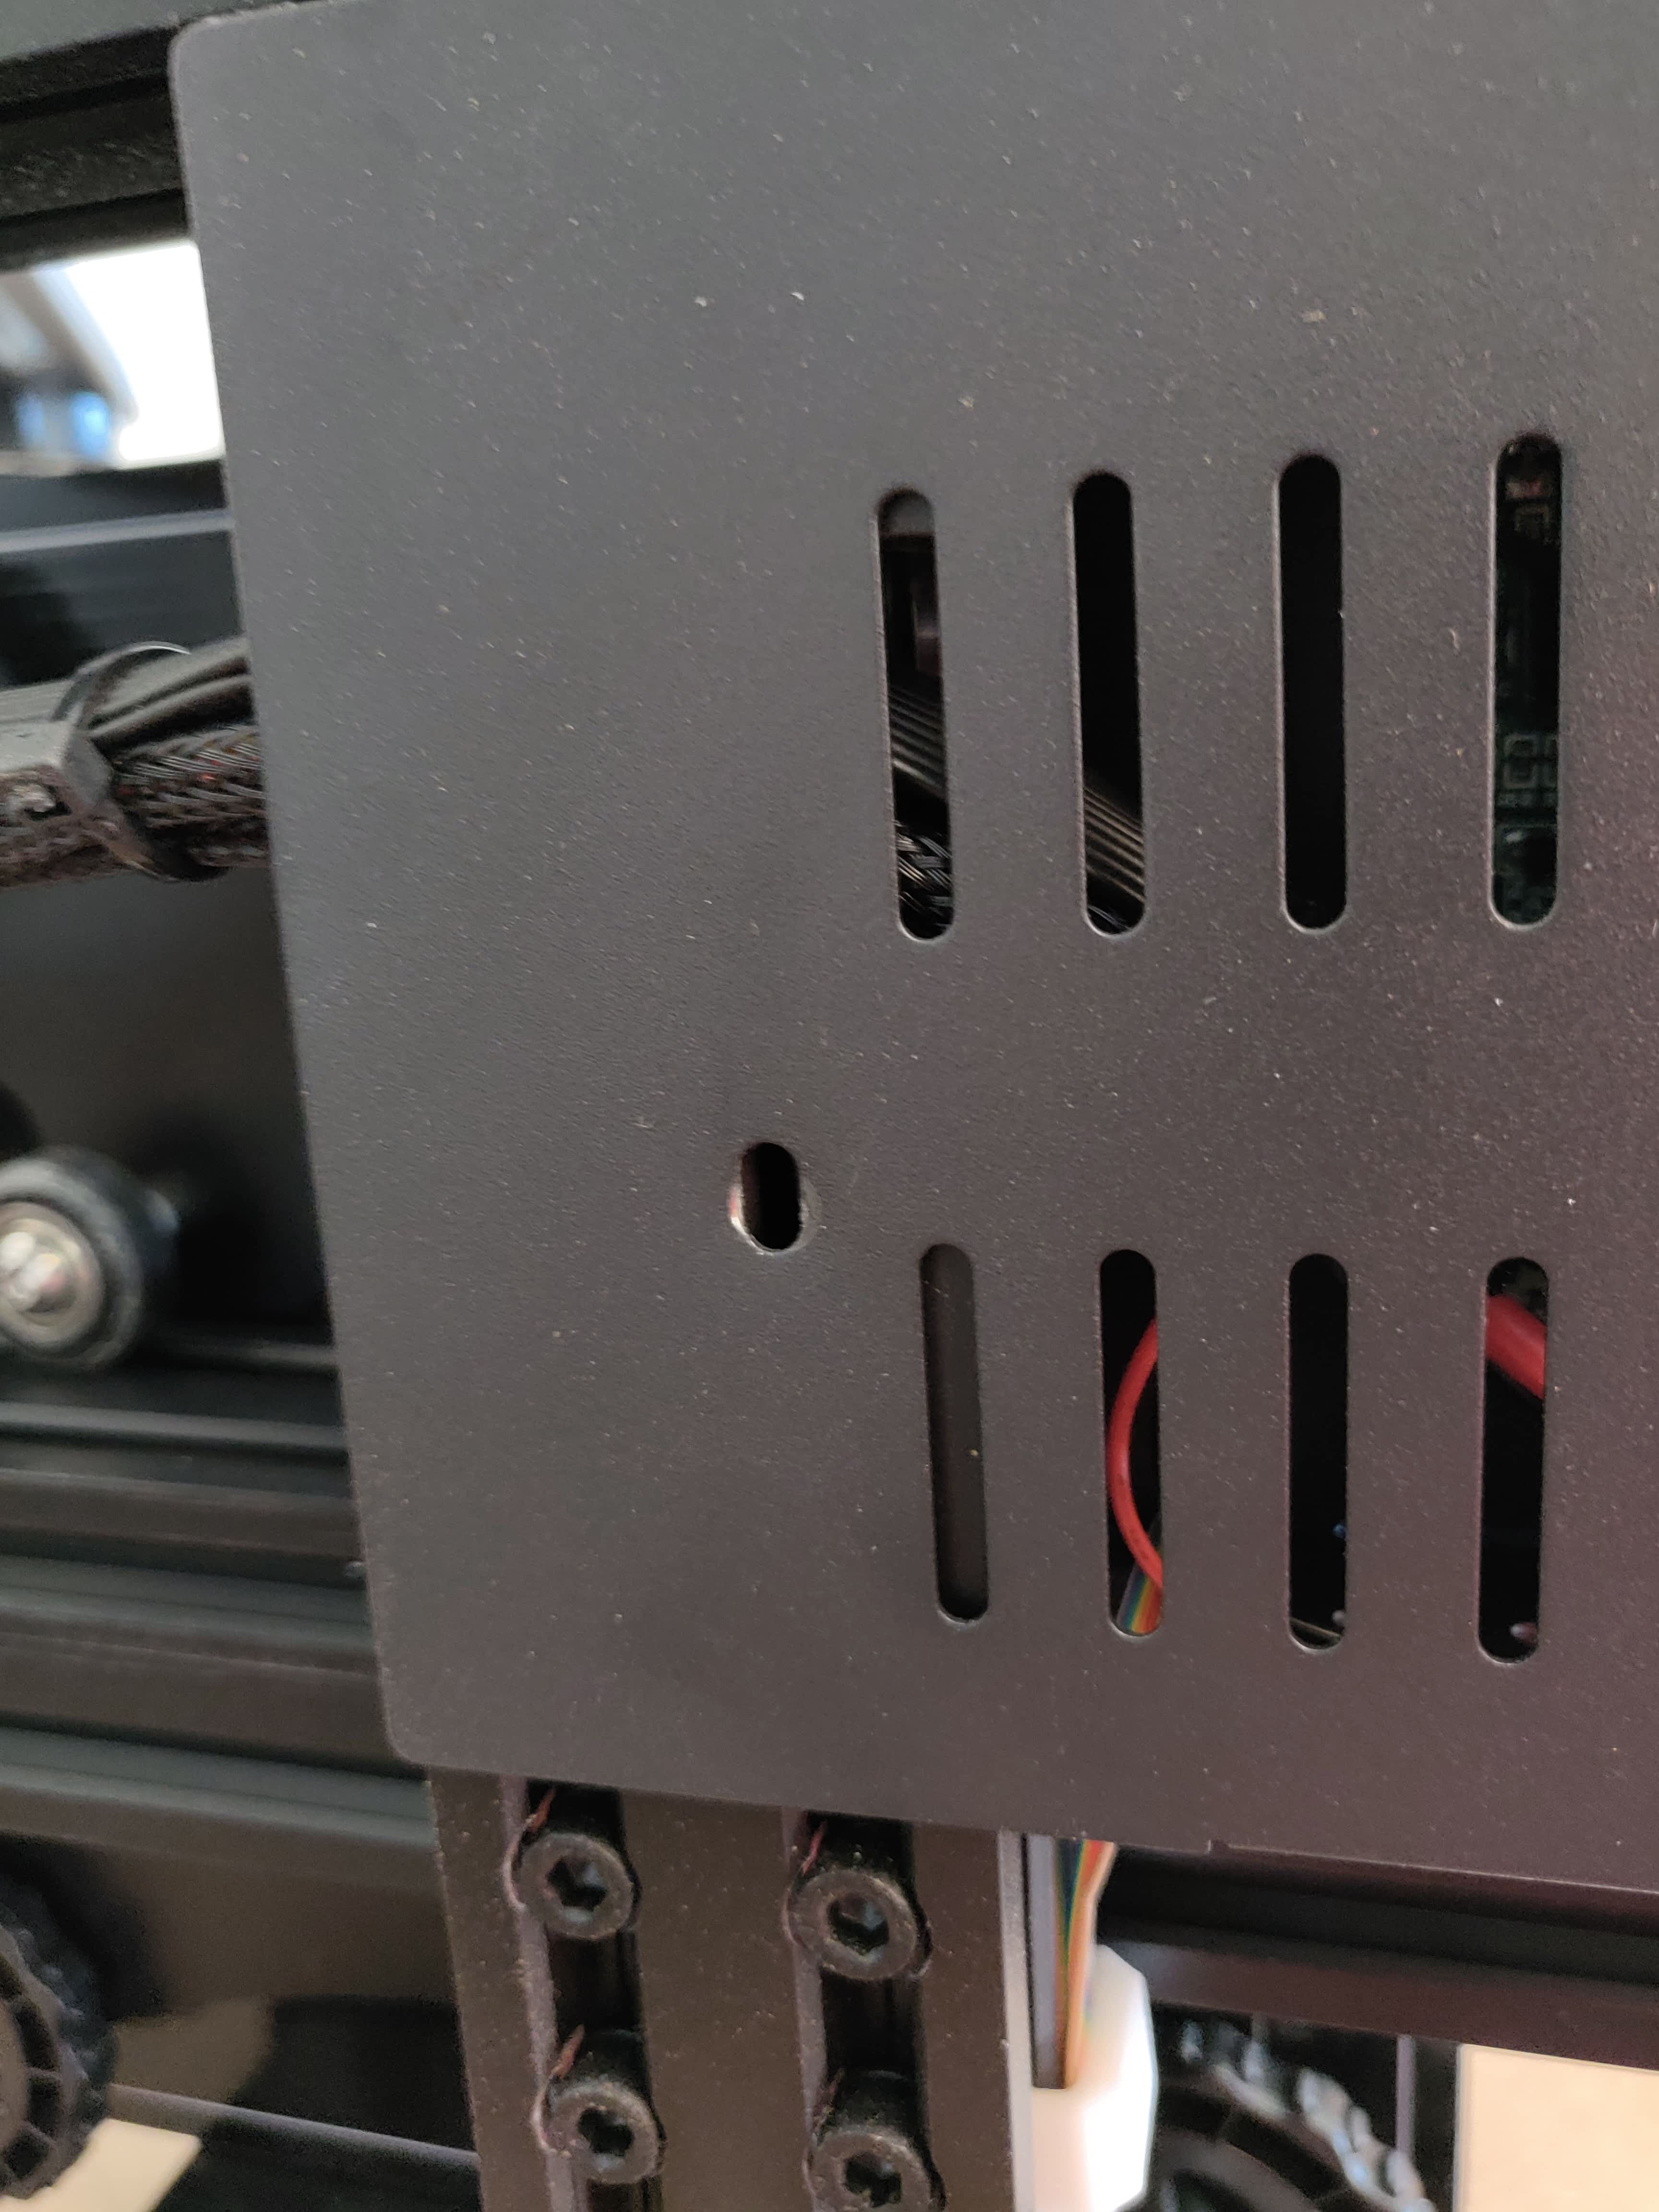
If you're coming from the BLTouch install guide, skip to step 2. Otherwise, Flip the printer on its side, with the display side down. Then remove the 4 screws that hold the mainboard cover in place. There are 3 on the bottom and 1 on the top, as pictured below. Important: 1 of the 4 screws is longer. This screw goes in the back middle screw hole on the bottom when reassembling the printer.


-
Unpack the ISP Programmer and ISP adapter board and connect the non-usb end of the programmer to the top of the adapter board.


-
Connect the adapter board and programmer to the pins that sit next to the display cable. Important: Make sure that the pin labeled "VCC" on the adapter board is on the top facing the front of the printer, as shown in the photo.

-
Connect the USB end of the programmer to the USB port on your computer. The red light on the programmer should illuminate, and the display on the ender should turn on. A blue light on the printer main board will also illuminate.

-
Clone the repo to your computer or download it as a zip with this link. Unzip the download.
-
Navigate to Software/progisp+1.72 and open the "progisp" application.
-
In the upper left corner of the software use the "Select Chip" dropdown to select "ATmega1284P".

-
Ensure that both icons under "Program State" are lit up, as shown in the below image.

-
In the "Programming" section ensure that "Chip Erase", "Program FLASH", and "Program Fuse" are checked

-
Click the 3 dots in the bottom right corner of the software. This will bring up the "Fuse & Lock" window.

-
In the Fuse & Lock window change the values along the bottom to the following:
- LowValue = DC
- HighValue = D6
- ExtValue = FF

-
Click "Write" under ExtValue and close the window.

-
In the column on the right click "Load Flash" and select the optiboot_flash_atmega1284... hex file from the "Firmware" folder included with the download from earlier.

-
Click the "Auto" button and wait for the firmware to flash. When flashing is complete, you can safely unplug the ISP Programmer from the computer and printer, close progisp, and return to the BLTouch install guide (or close the bottom of the printer if you were not installing a BLTouch)

-
Note: At this point your printer has NO firmware. Powering up the printer will result in a lit but blank display. You must install firmware using the firmware flash guide to continue use of your printer.


