The purpose of this document is to provide a high-level overview of our preferred practices and experiences using Docker to manage game servers at Laclede's LAN events. A basic working knowledge of Docker and Linux networking is recommended (see appendices for learning resources).
Docker is an open-source project to easily create lightweight, portable, self-sufficient containers from any application. The container that a developer builds and tests is the same container that will be used in production.
The concept is similar to bundling a game-server inside a virtual machine but offers some advantages:
- Lightweight - Containers don't need a guest operating system or any unnecessary processes. This means fewer CPU cycles and less consumed RAM.
- Portable - Containers are instantiated from easily-transportable images; any Docker host with the appropriate image can start creating containers.
- Self-sufficient - Containers don't need to be configured for resources (virtual hardware weights) or environment (network); they run like any other process on a host.
For those familiar with hardware virtualization you can think of a container as operating system virtualization; a hyper-visor divides hardware resources whereas containerization divides operating system resources.
A driving notion behind the containerization movement is that applications should be ephemeral -- that a container is meant for a single purpose and should be stopped, destroyed, and replaced with minimal effort. This has guided our game server strategy:
- We don't fix a running game server. If a server breaks we fix the image then spin up a replacement container.
- We don't reuse game servers. Every bracket in a tournament get its own brand-new container rather than manipulating a server's state with commands like
changelevel.
We should forget about small efficiencies, say about 97% of the time: premature optimization is the root of all evil. Yet we should not pass up our opportunities in that critical 3% -Donald Knuth
Optimize for the total ecosystem of images you will be deploying; trimming individual image sizes is counterproductive to maximizing the sharing of layers. Squashing images eliminates shareability resulting in more consumed space - not less.
Start with an image containing the stock game server then build derivative "flavors" that build from it using FROM.
- Docker's underlying "Copy on Write" technology means all downstream images will share the same stock image - saving storage space and transportation bandwidth.
- When troubleshooting admins can quickly determine if the issue lies in the stock image or the derived image.
The extent and frequency of customization by your group should be taken into account when planning the proper layer height of content. When Docker's build mechanism can cache unchanged content the image can be rebuilt faster. Faster rebuilds means faster tweaking and troubleshooting. At Laclede's LAN we typically stack layers as follows:
| Depth | Image | Content | Change Reasons |
|---|---|---|---|
| 1 | Derived | Config Files | Rule changes |
| 2 | Derived | Mods (metamod, sourcemod, ...) | Customize and update |
| 3 | Stock | Stock game server binaries & content | Game update |
| 4 | Stock | Custom Content (maps, textures, ...)* | Add, delete, update |
| 5 | Stock | Server dependencies (lib32gcc1, ...) | Initial build only |
*Added before vanilla game server to ensure custom content never overwrites stock content.
To build a game server the Dockerfile will use utilities and have dependencies that would just be cruft in the final image. Use multi-stage builds to eliminate this bloat.
But be aware of cloud limitations! We've found that Docker Cloud will fail with multi-stage builds when the builder exceeds 4GB in size.
Using ENTRYPOINT is a great way for containers to mimic the behavior of an executable but sacrifices flexibility.
docker run -d --net=host lanparty/gamesvr-csgo de_cacheThe above example is clean but adjusting +maxplayers would require modifying the Dockerfile and rebuilding/redistributing the image. Whereas with the following example everything starting with ./srcds_run can be quickly modified and even copy/pasted to a non-Dockerized server.
docker run -d --net=host lacledeslan/gamesvr-csgo ./srcds_run -game csgo +game_type 0 +game_mode 1 +maxplayers 16 -tickrate 128 +map de_cache +sv_lan 1Additionally, by keeping a CLI (such as BASH) within the image, you can exec into a running container, such as this example:
docker exec -it containername bashOr you can override the running container default command for troubleshooting purposes and interactive testing of internals:
docker run -d --net=host lanparty/gamesvr-csgo bashFile ownership and permissions issues are the most common culprit when our images break. Only change the USER from root if you have time to thoroughly test your images. If you do change the USER:
- Take advantage of the
--chownflag onADD/COPYas recursiveRUN chown/RUN chmodoperations are slow. - Use
ONBUILD USER rootto simplify downstream Dockerfiles.
The week before your LAN, rebuild and test all of your production images. It is much better for things to break the week before your event rather than the day of.
"Anything that can go wrong, will—at the worst possible moment." - "Finagle's law"
If you use the cloud to build images, be prepared to build images locally in a disaster situation. Assume your cloud build will take 3x times longer than normal when you're in a time crunch. We use Docker Cloud and have observed weekday builds that takes ~45 minutes on average will take upwards of 3 hours on weekends.
"Hofstadter's Law: It always takes longer than you expect, even when you take into account Hofstadter's law."
To be discoverable LAN servers respond to broadcast traffic from searching game clients with basic server info (name, map, player count, etc). In Linux the game server binds to the appropriate port on INADDR_ANY (Docker displays 0.0.0.0), which is actually a bind across all network interfaces on the host. This networking model has long been a nuisance for admins as multiple servers cannot bind to the same port on INADDR_ANY. (Windows-based servers listen to broadcast traffic differently and do not have this particular issue).

Invisible game servers will sit empty unless traffic is purposely driven to them. While this may be OK in some situations it is not desirable for either public servers or technically disinclined attendees.
There are multiple methods to attach a containerized game server to the network; for each method we'll discuss the ramifications on broadcast traffic.
By default Docker containers are connected to the bridge network. This network can talk internally (container to container), can connect to the outside world, but cannot receive incoming network connections. For a container to accept incoming connections ports must be published or the container needs to be connected to an appropriately configured docker network.
Further reading: Docker container networking
On Linux machines containers can be connected to directly the host's network stack via Docker's host network. This removes the container from all network isolation - all network interfaces defined on the host will be accessible. This can be useful for troubleshooting game server images, particularly when a large range of ports are needed, but we do not recommend this method otherwise.
The host networking driver only works on Linux hosts, and is not supported on Docker Desktop (Mac or Windows) or Docker EE for Windows Server.
Network behavior is identical to running the game server on the host OS. To run multiple game servers each will need to be configured to run on different interfaces and/or ports. The first server that binds to 0.0.0.0:<port> will be discoverable by LAN browsers - subsequent servers will be hidden.
docker run -it --rm --net=host lacledeslan/gamesvr-csgo ./srcds_run -game csgo +game_type 0 +game_mode 1 -tickrate 128 -ip 0.0.0.0 -ip 192.168.1.10 -console +map de_cache +sv_lan 1Note: The
hostnetwork has no customization options - any network configuration must be preformed on the host operating system and/or the game server itself.
With port publishing containers connect to the default bridge network with specified ports mapped to the host. If an IP address on the host is not specified the ports will be mapped to the host's entire network stack.
docker run -d --rm -p 80 -p 82:81 -p 8282:82/udp -p 192.168.1.100:8383:83 -p 192.168.1.100:9000-1000:9000-1000 ubuntu:latest| Mapping | IP on Host | Port On Host | Container Ports | Protocol |
|---|---|---|---|---|
| -p 80 | all | random | 80 | tcp |
| -p 80:80 | all | 80 | 80 | tcp |
| -p 82:81 | all | 82 | 81 | tcp |
| -p 8282:82/udp | all | 8282 | 82 | udp |
| -p 192.168.1.100:8383:83 | 192.168.1.100 | 8383 | 83 | tcp |
| -p 19000-11000:9000-1000 | all | 19000-11000 | 9000-1000 | tcp |
Note: "all" IPs on host does not include 0.0.0.0.
Containers can accept broadcast traffic by mapping to 0.0.0.0:<port> but the first mapping will block subsequent containers.
We use port publishing for tournament servers. Using netplan we define multiple 1st-class IP addresses on the host and then map each container to the appropriate ports on an unused IP address. As there is no reason for tournament servers to be discoverable by the public we do not map to 0.0.0.0 for broadcast traffic.
By using Docker's managed plugin system we can connect containers directly to the LAN by loading and configuring different network drivers.
NOTICE: Connecting containers directly to a network goes against the grains of Docker community's "best practices"; asking for information frequently results in community scorn. Specifying why you're connecting containers directly to the LAN can help nip harsh responses in the bud.
Using the MACVLAN driver is our recommended way of connecting containers directly to your LAN. It does have a few pre-requisites:
- The
macvlannetworking driver only works on Linux hosts; it is not supported on Docker Desktop (Mac or Windows) or Docker EE for Windows Server. - Promiscuous mode must be enabled on the Docker host's network interface card(s).
- The LAN must support multiple MAC addresses per physical port.
Most cloud providers block
macvlannetworking.
Assuming our LAN is 192.168.0.0/21 we'll create a Docker network called "lan" on the host. We'll specify the valid range of container ip address using ip-range and the physical interface(s) to be used with -o parent.
docker network create -d macvlan --subnet=192.168.0.0/21 --ip-range=192.168.2.0/24 --gateway=192.168.1.1 -o parent=bond0 lanNow when launching a container it can be added directly to the network as a first-class citizen. Not only does the container get its own IP but it'll also get a MAC address.
docker run -it --rm --network=lan --ip 192.168.2.125 lacledeslan/gamesvr-hl2dm ./srcds_run -game hl2mp +map dm_overwatch -console +sv_lan 1One side effect is that the host won't be able to see the container despite being on the same network. The current work around is to get a separate NIC that's exposed to the LAN without MACVLAN so that the container is treated as an external IP by the host.
We use this method for game servers that should be findable on the LAN.
The IPVLAN driver behaves similarly to MAVCLAN but should be used only in specific situations. In addition to having higher performance penalities all containers connected using IPVLAN will share the host's MAC address.
Some facets of shared MAC addresses to consider are:
- When the host's IPv6 stack is configured for stateless autoconfig, with or with SLAAC, the container's IPv6 addresses must be explicitly set otherwise all containers will get the same address.
- If the host uses DHCP to obtain network settings the DHCP server must be configured for ClientID; otherwise traffic will get dropped.
Currently the general wisdom on the Docker community is to only use IPVLAN over MACVLAN if:
- Host policy prohibits network interfaces from using promiscuous mode (public clouds).
- Network performance is deteriorated due to a large number of MAC addresses
- Network policies limit the number of allowed MAC addresses on a single physical port.
- The parent interface is wireless.
We haven't tried using IPVLAN at our events.
- Part 1 - Introduction to Docker (Official Webinar)
- Part 2 -Docker Fundamentals (Official Webinar)
- Part 3 - Docker Operations (Official Webinar)
- 6 Docker Basics You Should Completely Grasp When Getting Started (mirror)
- The Docker Book (paid ebook)
- Docker Container’s Filesystem Demystified (mirror)
- PluralSight Course: Docker Networking (paid video content)
- Bridge vs Macvlan (mirror)
- Macvlan and IPvlan basics (mirror)
- Docker network driver plugins
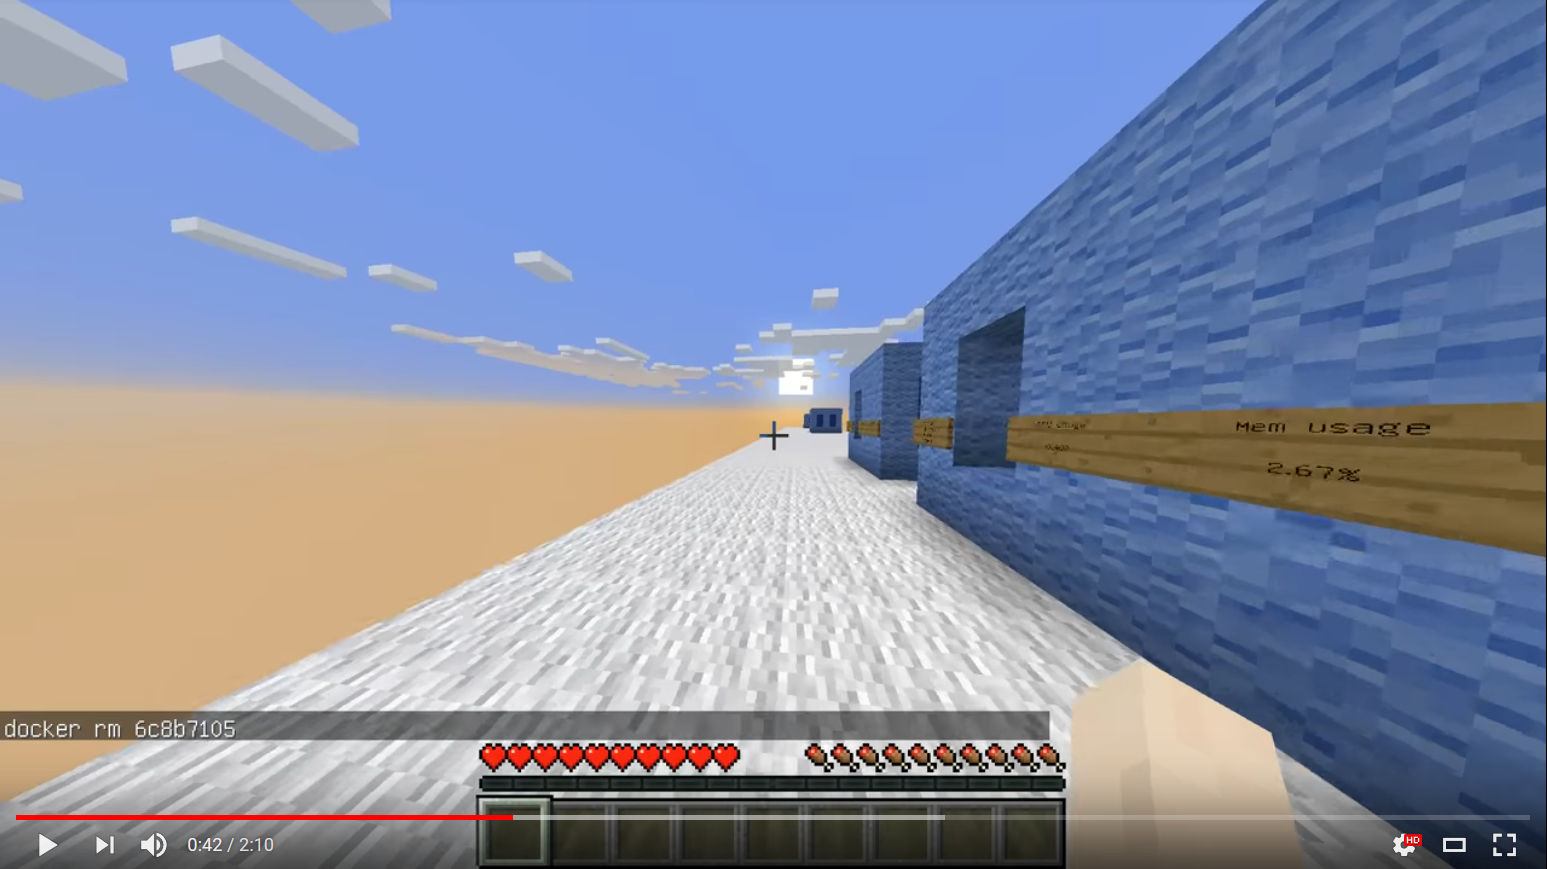
If you're looking for a fun way to visualize Docker check out Docker Craft; "a Minecraft Docker client to visualize and managed Docker containers".