-
Notifications
You must be signed in to change notification settings - Fork 4
New issue
Have a question about this project? Sign up for a free GitHub account to open an issue and contact its maintainers and the community.
By clicking “Sign up for GitHub”, you agree to our terms of service and privacy statement. We’ll occasionally send you account related emails.
Already on GitHub? Sign in to your account
CSS Painting API #21
Comments
|
接下来,我们通过一个实例来理解下 Paint API。 使用方法使用挺简单的,就这三步:
核心代码在 index.html 里 <style>
.css-paint {
/* 1. 通过 paint() 调用指定的 Paint Worklet 'checkerboard'*/
background-image: paint(checkerboard);
}
</style>
<div class="css-paint"></div>
<script>
// 2. 加载 Paint Worklet
CSS.paintWorklet.addModule('my_paint_worklet.js');
</script>在 my_paint_worklet.js 里 class CheckerboardPainter {
paint(ctx, geom) {
const size = 30;
const spacing = 10;
const colors = ['red', 'green', 'blue'];
for(let y = 0; y < geom.height/size; y++) {
for(let x = 0; x < geom.width/size; x++) {
ctx.fillStyle = colors[(x + y) % colors.length];
ctx.beginPath();
ctx.rect(x*(size + spacing), y*(size + spacing), size, size);
ctx.fill();
}
}
}
}
// 3. 定义 Paint Worklet 'checkerboard'
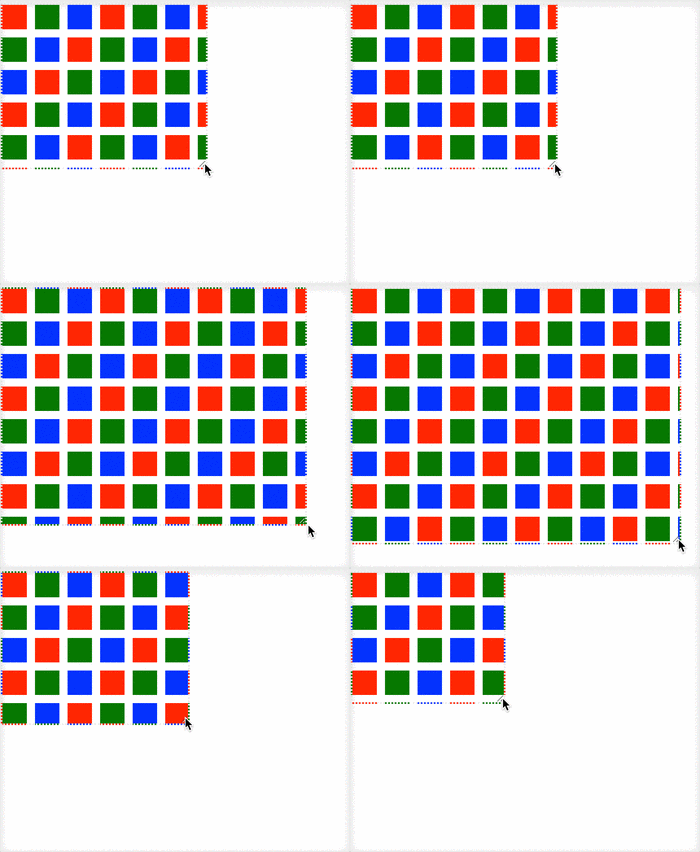
registerPaint('checkerboard', CheckerboardPainter);运行后的效果如下。我们可以看到,绘制的背景是响应式的。 自定义参数Paint Worklet 也支持自定义参数,我们通过自定义属性来实现。 改动三处即可:
具体代码如下: 在 index.html 里,自定义 CSS 属性 <style>
.css-paint {
--checkerboard-size: 32; /* 1. 自定义2个参数 */
--checkerboard-spacing: 10;
background-image: paint(checkerboard);
}
</style>在 my_paint_worklet.js 里,接收参数 class CheckerboardPainter {
// 2.1 静态方法,返回 paint() 可以访问的 CSS 属性列表
static get inputProperties() {
return ['--checkerboard-spacing', '--checkerboard-size'];
}
// 注意:新增了第三个参数 properties
paint(ctx, geom, properties) {
// 2.2 获取输入参数的值
const size = parseInt(properties.get('--checkerboard-size').toString());
const spacing = parseInt(properties.get('--checkerboard-spacing').toString());
// ... 同上
}
}
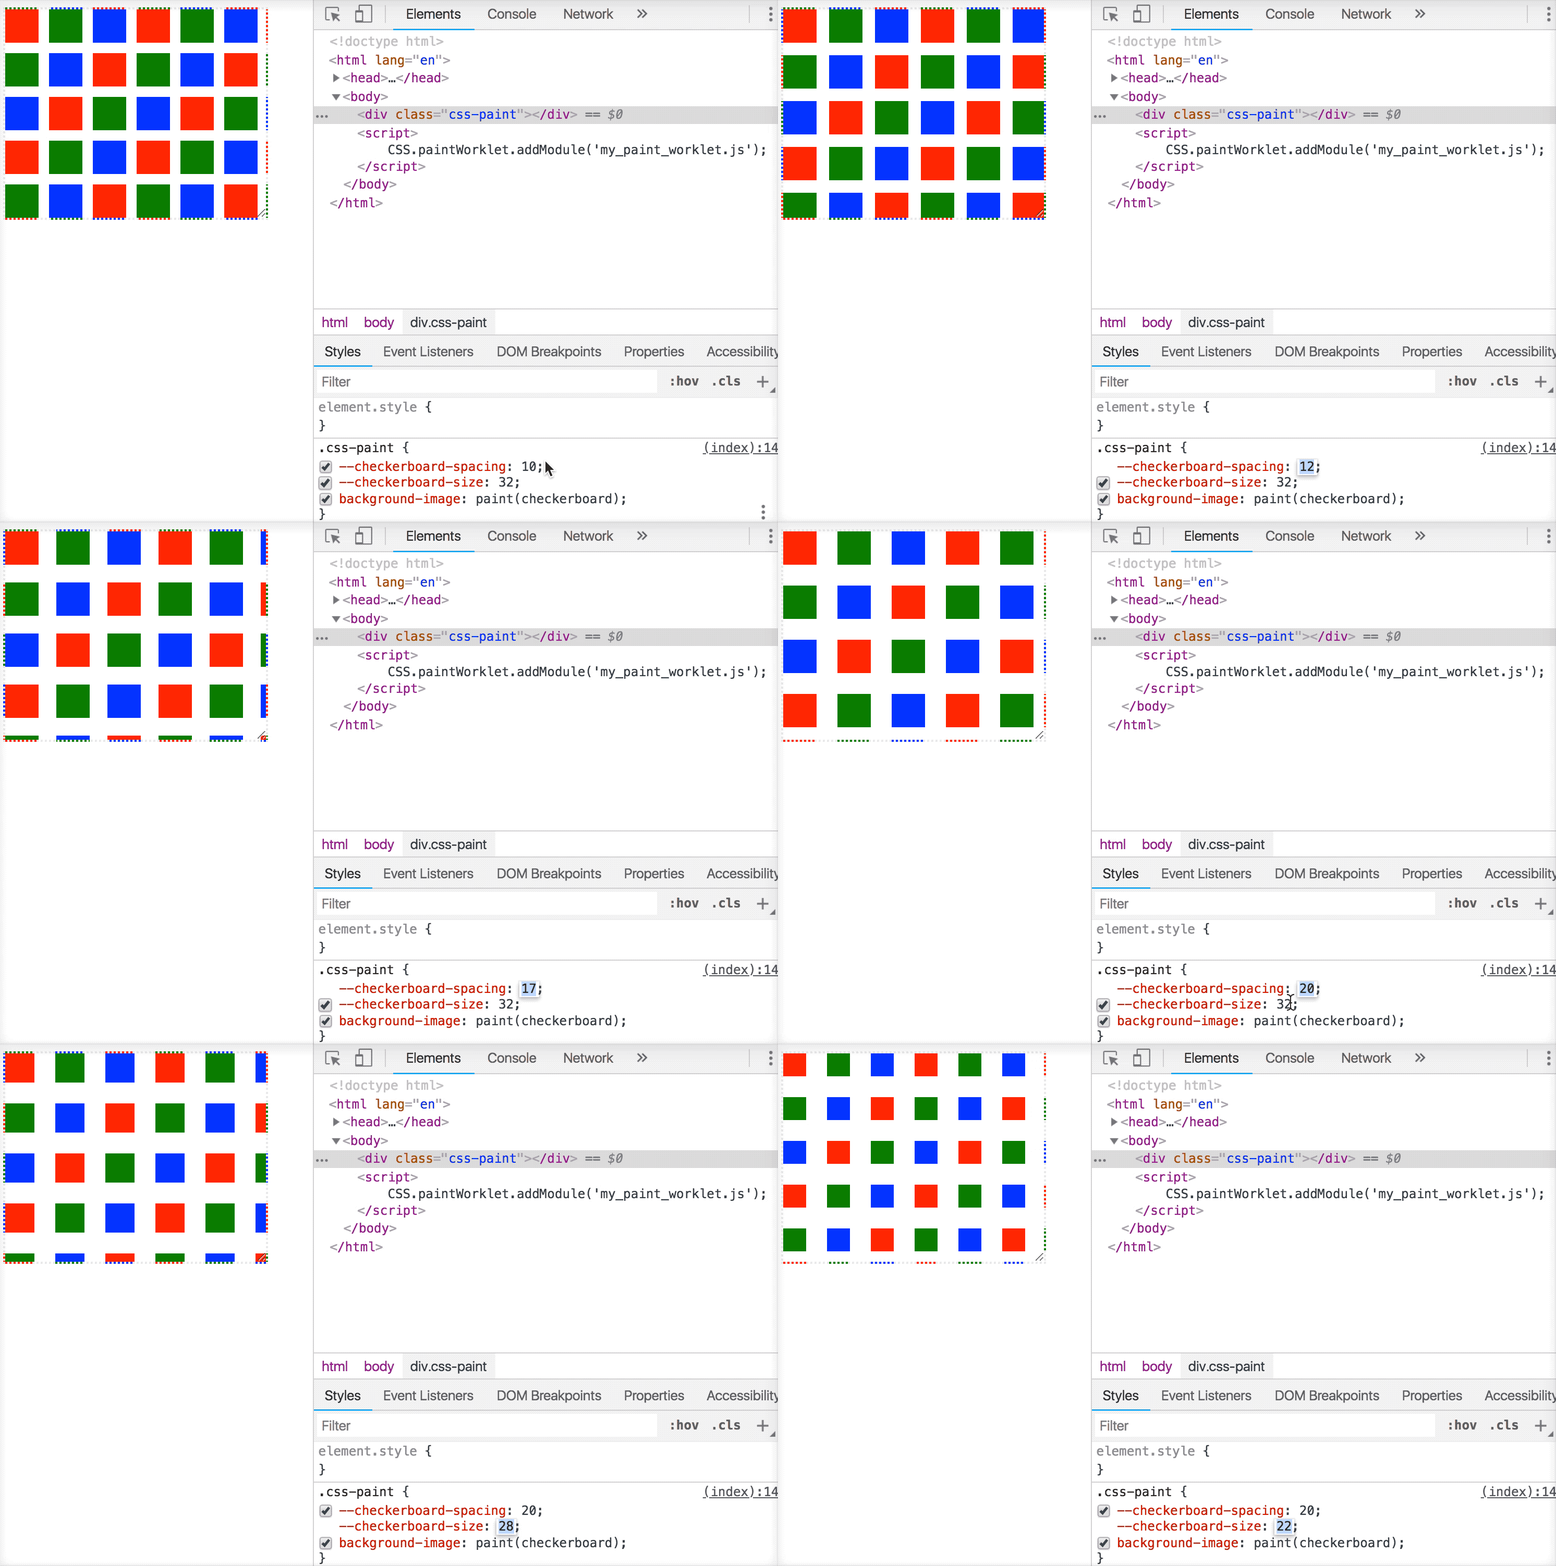
registerPaint('checkerboard', CheckerboardPainter);这样,当修改自定义属性时,绘制的图像也会相应变化。效果如下: 优雅降级当浏览器不支持 Paint API 时,我们需要向前兼容。修改以下两处:
具体代码如下: 在 index.html 里,修改两处 <style>
.css-paint {
background-image: linear-gradient(0, red, blue); /* 1. 备用值 */
background-image: paint(checkerboard);
}
</style>
<script>
// 2. 判断是否支持
if ('paintWorklet' in CSS) {
CSS.paintWorklet.addModule('my_paint_worklet.js');
}
</script>
|
|
在上面的实例中,我们用到了三个函数:
下面,我们将对它们进行进一步介绍。 关键代码解析CSS.paintWorklet.addModule()CSS 的 paintWorklet 属性提供了与绘制相关的 Worklet,它的全局执行上下文是 PaintWorkletGlobalScope。PaintWorkletGlobalScope 里存了 devicePixelRatio 属性,它和 Window.devicePixelRatio 一样。
registerPaint()下面是实例代码中文件 my_paint_worklet.js 里的内容。 class CheckerboardPainter {
static get inputProperties() {
return ['--checkerboard-spacing', '--checkerboard-size'];
}
paint(ctx, geom, properties) {
const size = parseInt(properties.get('--checkerboard-size').toString());
const spacing = parseInt(properties.get('--checkerboard-spacing').toString());
const colors = ['red', 'green', 'blue'];
for(let y = 0; y < geom.height/size; y++) {
for(let x = 0; x < geom.width/size; x++) {
ctx.fillStyle = colors[(x + y) % colors.length];
ctx.beginPath();
ctx.rect(x*(size + spacing), y*(size + spacing), size, size);
ctx.fill();
}
}
}
}
registerPaint('checkerboard', CheckerboardPainter);Paint Worklet 的全局脚本上下文只给开发人员暴露了一个方法
e.g. 继承 class RectPainter {
static get inputProperties() {
return ['--rect-color'];
}
paint(ctx, size, style) {
//...
}
}
class BorderRectPainter extends RectPainter {
static get inputProperties() {
return ['--border-color', ...super.inputProperties];
}
paint(ctx, size, style) {
super.paint(ctx, size, style);
//...
}
}
registerPaint('border-rect', BorderRectPainter);e.g. 预初始化工作 registerPaint('lots-of-paths', class {
constructor() {
this.paths = performPathPreInit();
}
performPathPreInit() {
// Lots of work here to produce list of Path2D object to be reused.
}
paint(ctx, size, style) {
ctx.stroke(this.paths[i]);
}
});paint 函数在 回调会传3个参数
以下三种情况,都会触发回调的调用:
绘制的渲染上下文PaintRenderingContext2D 是 CanvasRenderingContext2D 的子集。所以,会用 Canvas 的小伙伴也就会在 Paint Worklet 里绘制图像了。
PaintRenderingContext2D 对象有一个输出位图,当类的实例被创建时,它就被初始化。输出位图的大小,不一定等于实际渲染的位图大小,因为实际输出的图像会根据设备像素比的不同而不同。浏览器会记住
inputProperties在输入属性列表
paint() 函数最后,就是在 CSS 中使用写好的 Paint Worklet 了。写法如下: .css-paint {
background-image: paint(checkerboard);
}参数 checkerboard 就是 Paint Worklet 的名字,即在
并不是在 CSS 里每调用一次 |
最后CSS Painting API 给网页开发人员提供了通过 JS 绘制 主要参考Google Developers.CSS Paint API 更多阅读CSS Houdini 的九大内容:CSS Painting API 只是其中之一 |
|
牛 |


今天和大家分享一个非常酷炫的 API CSS Painting API。它是 CSS Houdini #23 的一部分。
简介
它能做什么呢?简单点说,它可以让网页开发人员干预浏览器的绘制(Paint)环节。
为什么要干预绘制环节呢?干预绘制,意味着开发人员可以自行决定页面要绘制成的样子,而不一定非要等到浏览器支持才行。
举个例子,CSS3 的新属性
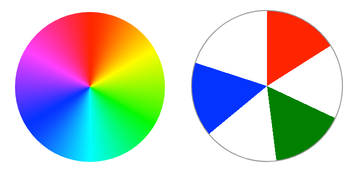
conic-gradient圆锥形渐变:以上代码的运行效果如下,也可在线预览(Chrome 69+):

根据 Can I use,目前仅 Chrome 支持
conic-gradient。但是,有了CSS Painting API,我们就可以自己画出类似效果,然后在项目中使用了,而不用等到所有的浏览器都支持conic-gradient。当然,除了充当 CSS3 新特性的 polyfill 之外,我们还可以用它画任意形状。比如钻石状的 Div:
比如,符合 Google Material Design 的波纹效果:
浏览器支持情况
截止目前,CSS Painting API 的浏览器支持情况如下:
也有相应的 CSS Paint Polyfill 供我们选择。
W3C 标准层面
CSS Painting API Level 1 已于今年8月9日成为候选推荐标准,这意味着该模块的所有已知 Issues 均已被解决,并且已经开始向浏览器厂商征集实现。
The text was updated successfully, but these errors were encountered: