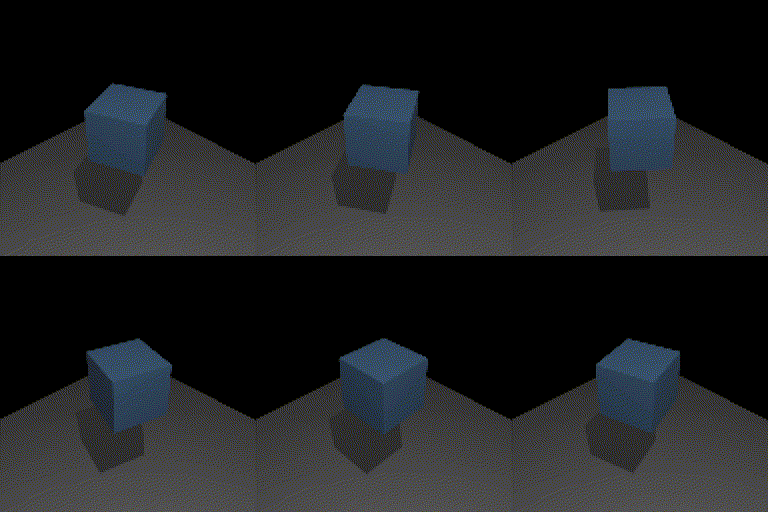
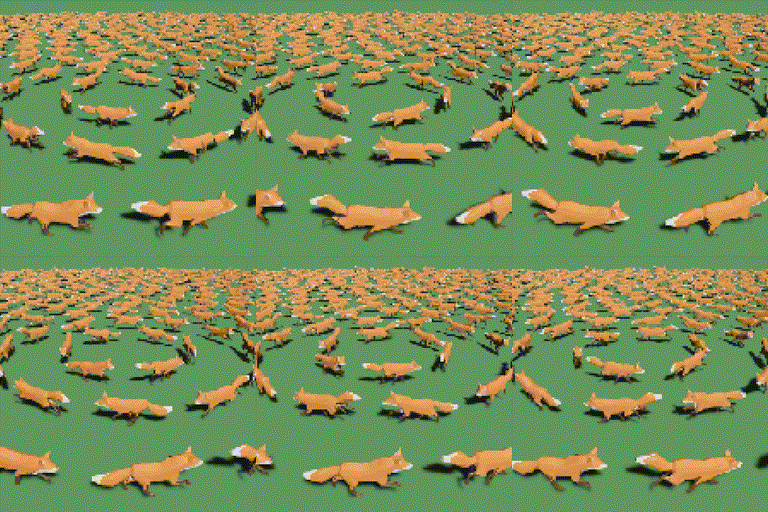
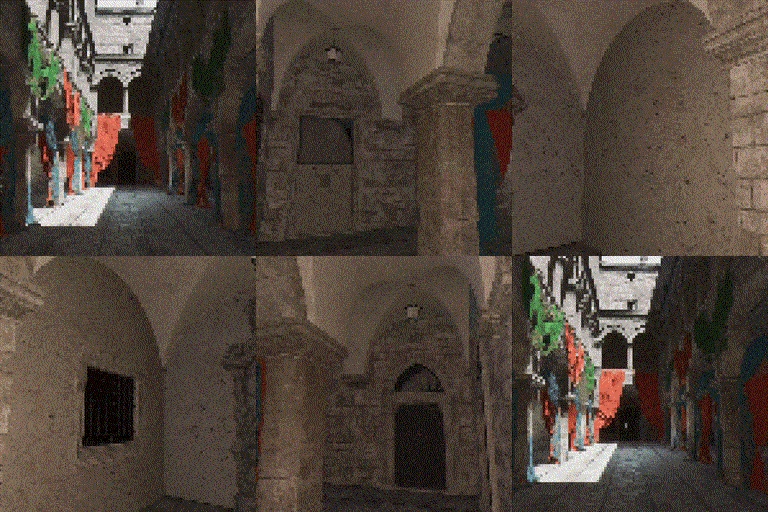
Bevy inside the terminal!
Uses bevy headless rendering, ratatui, and ratatui_image to print your bevy application's rendered frames to the terminal.
examples/cube.rs, bevy many_foxes example, sponza test scene
Use bevy_ratatui for setting ratatui up and receiving terminal events (keyboard, focus, mouse, paste, resize) inside bevy.
Important
This crate was renamed from bevy_ratatui_render to bevy_ratatui_camera.
cargo add bevy_ratatui_camera bevy_ratatui
fn main() {
    App::new()
        .add_plugins((
            // disable WinitPlugin as it panics in environments without a display server.
            // disable LogPlugin as it interferes with terminal output.
            DefaultPlugins.build()
                .disable::<WinitPlugin>()
                .disable::<LogPlugin>(),

            // create windowless loop and set its frame rate.
            ScheduleRunnerPlugin::run_loop(Duration::from_secs_f64(1. / 60.)),

            // set up the Ratatui context and forward terminal input events.
            RatatuiPlugins::default(),

            // add the ratatui camera plugin.
            RatatuiCameraPlugin,
        ))
        .add_systems(Startup, setup_scene_system)
        .add_systems(PostUpdate, draw_scene_system.map(error));
}

// add RatatuiCamera to your scene's camera.
fn setup_scene_system(mut commands: Commands) {
    commands.spawn((
        Camera3d::default(),
        RatatuiCamera::default(),
    ));
}

// a RatatuiCameraWidget component will be available in your camera entity.
fn draw_scene_system(
    mut ratatui: ResMut<RatatuiContext>,
    camera_widget: Query<&RatatuiCameraWidget>,
) -> std::io::Result<()> {
    ratatui.draw(|frame| {
        frame.render_widget(camera_widget.single(), frame.area());
    })?;

    Ok(())
}
As shown above, when RatatuiCameraPlugin is added to your application, any bevy camera entities that you
add a RatatuiCamera component to, will have a RatatuiCameraWidget inserted that you can query for. Each
RatatuiCameraWidget is a ratatui widget that when drawn will print the most recent frame rendered by the
associated bevy camera, as unicode characters.
The method by which the rendered image is converted into unicode characters depends on the
RatatuiCameraStrategy that you choose. Insert a variant of the component alongside the RatatuiCamera to
change the behavior from the default. Refer to the RatatuiCameraStrategy documentation for descriptions
of each variant.
For example, to use the "Luminance" strategy:
commands.spawn((
    Camera3d::default(),
    RatatuiCamera::default(),
    RatatuiCameraStrategy::Luminance(LuminanceConfig::default()),
));By default, the size of the texture the camera renders to will stay constant, and when rendered to the ratatui
buffer it will retain its aspect ratio. If you set the autoresize attribute to true, the render texture will
be resized to fit the terminal window, including its aspect ratio.
You can also supply an optional autoresize_function that converts the terminal dimensions to the dimensions
that will be used for resizing. This is useful for situations when you want to maintain a specific aspect ratio
or resize to some fraction of the terminal window.
RatatuiCamera {
    autoresize: true,
    autoresize_fn: |(w, h)| (w * 4, h * 3),
    ..default()
}When using the RatatuiCameraStrategy::Luminance strategy and a 3d camera, you can also optionally insert a
RatatuiCameraEdgeDetection component into your camera in order to add an edge detection step in the render
graph. When printing to the ratatui buffer, special characters and an override color can be used based on the
detected edges and their directions. This can be useful for certain visual effects, and distinguishing detail
when the text rendering causes edges to blend together.
Set edge_characters to EdgeCharacters::Single(..) for a single dedicated edge character, or set it to
EdgeCharacters::Directional { .. } to set different characters based on the "direction" of the edge, for
example using '―', '|', '/', and '\' characters to draw edge "lines". Detecting the correct edge direction
is a bit fuzzy, so you may need to experiment with color/depth/normal thresholds for good results.
RatatuiCameraEdgeDetection {
    thickness: 1.4,
    edge_characters: Self::Directional {
        vertical: '|',
        horizontal: '―',
        forward_diagonal: '/',
        backward_diagonal: '\\',
    },
    edge_color: Some(ratatui::style::Color::Magenta),
    ..default()
}RatatuiCamera can be added to multiple camera entities. To access the correct render, use marker components
on your cameras to use when querying RatatuiCameraWidget.
Printing to terminal relies on the terminal supporting 24-bit color. I've personally tested and confirmed that the following terminals display correctly:
- Alacritty
- Kitty
- iTerm
- WezTerm
- Rio
- Ghostty
...but any terminal with 24-bit color support should work fine, if its performance is adequate.
| bevy | bevy_ratatui_camera |
|---|---|
| 0.15 | 0.8 |
| 0.14 | 0.6 |


