Follow this quick guide to set up the project for local development.
Before you begin, make sure you have the following installed on your system:
- Node.js 12.x (Recommended: use Nvm for managing Node versions)
- MongoDB 3.6.x
Regarding your development environment: I highly recommend you to use VSCode with the Prettier and EsLint plugins installed. This way your code can be automatically fixed on save, according to the eslint/prettier configuration defined in the project. The project will not allow commits that do not pass the linter.
git clone https://github.com/hackjunction/JunctionApp.git
cd JunctionApp
This is a monorepo consisting of a backend, frontend and shared folder, which all need to be installed separately. For convenience, there exists a setup script in the root-level package.json, which does that for you. To set up the project, just run (in the root folder):
npm install
npm run setup
JunctionApp uses Auth0 for user authentication and authorization. To set up Auth0 for local development:
- Create an Auth0 account
- Follow this tutorial to create a
auth0-deploy-cli-extensionin Auth0 - Add Auth0 Authorization extension to your tenant. [img. 1.]
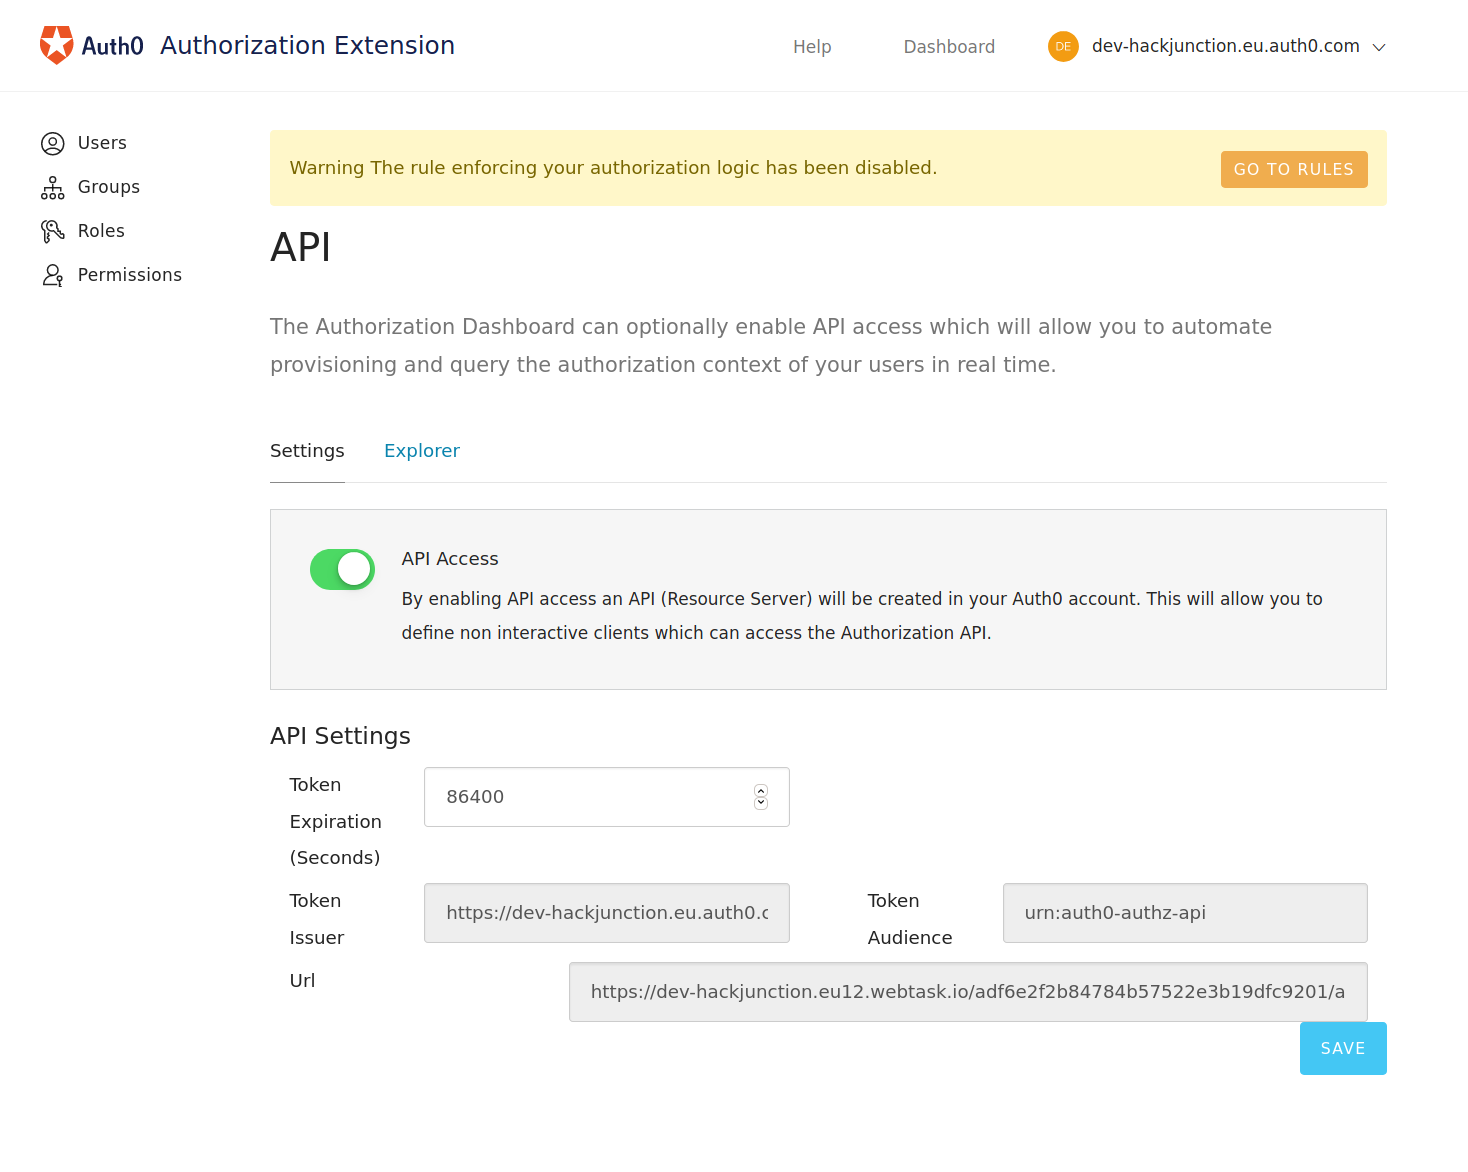
- Go to the Authorization extensions settings and enable API access
- Fill
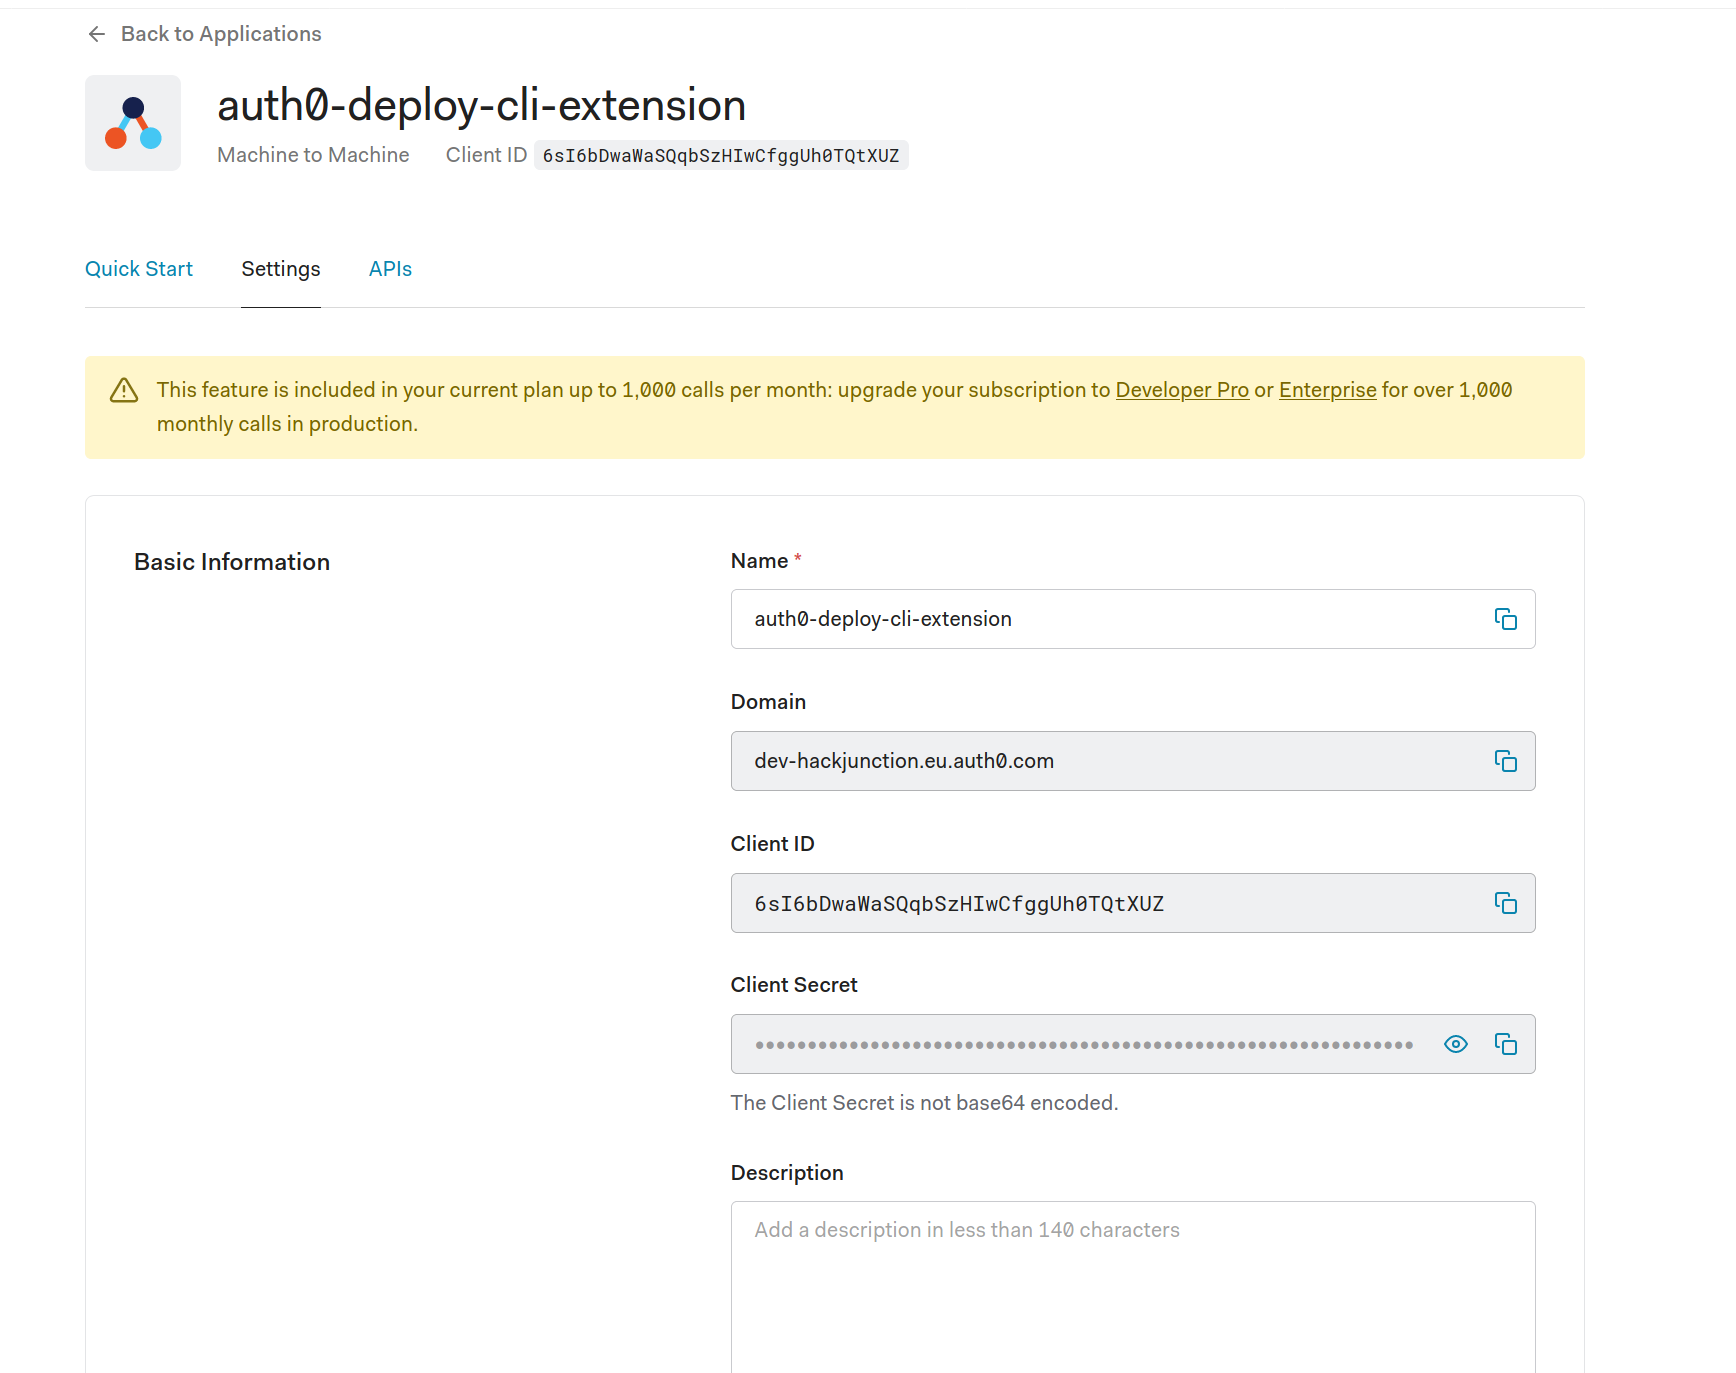
config.jsonwithauth0-deploy-cli-extensionapplications information and authorization extensions url. [img. 2]
- AUTH0_DOMAIN
- from
auth0-deploy-cli-extension[img. 2.]
- from
- AUTH0_CLIENT_ID
- from
auth0-deploy-cli-extension[img. 2.]
- from
- AUTHO_CLIENT_SECRET
- from
auth0-deploy-cli-extension[img. 2.]
- from
- AUDIENCE
- Your domain url
- AUTHZ_URL
- from authorization extension [img. 2.]
- Run
npm run auth0. The script is going to display error message but everything works.
- In your auth0 tenant there should be now 5 new applications.
- Copy and paste Junction App SSO Client ID to every
applicationIdfield inauthzExtConfig.json - Import
authzExtConfig.jsonfile to the Authorization Extensions - In Authorization Extension click PUBLISH RULES

Here are working environment variables for all of the services we use in the Junction App. These environment variables are connected to sandbox accounts, which can be used while developing the platform. The accounts used in production are entirely separate, and should not be used in development, as a general rule of thumb.
Put these environment variables in ./frontend/.env - you'll need to create the file as it is ignored from Git.
# The port where frontend runs locally
PORT=3000
REACT_APP_CLOUDINARY_CLOUD_NAME=hackjunction-dev
# Auth0 domain name. This can be found in the Auth0 dashboard in applications and selecting SSO
REACT_APP_AUTH0_DOMAIN=
REACT_APP_AUTH0_CLIENT_ID=
REACT_APP_BASE_URL=http://localhost:3000
REACT_APP_IS_DEBUG=true

## Not necessary in development
# REACT_APP_FACEBOOK_PIXEL_ID=your-pixel-id
# REACT_APP_LOGROCKET_ID=
# REACT_APP_HOTJAR_ID=
# REACT_APP_HOTJAR_SV=
# REACT_APP_PAGE_TITLE=
# REACT_APP_SEO_PAGE_TITLE<=
# REACT_APP_SEO_PAGE_DESCRIPTION=
# REACT_APP_SEO_IMAGE_URL=
# REACT_APP_SEO_TWITTER_HANDLE=
Put these environment variables in ./backend/.env - you'll need to create the file as it is ignored from Git.
PORT=2222
# Auth0 variables can be found from auth0 dashboard
AUTH0_DOMAIN=
AUTH0_CLIENT_ID=
AUTH0_CLIENT_SECRET=
AUTH0_AUTHORIZATION_EXTENSION_URL=
ID_TOKEN_NAMESPACE=https://app.hackjunction.com/
CLOUDINARY_CLOUD_NAME=
CLOUDINARY_API_KEY=
CLOUDINARY_API_SECRET=
CLOUDINARY_FOLDER=

SENDGRID_API_KEY=
SENDGRID_FROM_EMAIL=
SENDGRID_FROM_NAME=
SENDGRID_ACCEPTED_TEMPLATE=
SENDGRID_REJECTED_TEMPLATE=
SENDGRID_GENERIC_TEMPLATE=
SENDGRID_CONTACT_TEMPLATE=
MONGODB_URI=
FRONTEND_URL=http://localhost:3000
DEVTOOLS_ENABLED=true
ADMIN_TOKEN=foobar
HASH_SALT=
Running the project in development mode requires running the React dev server and the Node.js backend concurrently. For convenience, there exists a dev script in the root level package.json which does that for you. So, to spin up both servers just run:
npm run dev
The app will automatically reload when you make changes to the code. Note: starting up the React development server will take some time on first startup, depending on the machine your working on, so be patient with it. Consequent code changes should reload the app quickly.
The development version of Auth0 will automatically grant all permissions to users who sign up. When you create a new user in the app, you should by default have access to e.g. create new events on the organiser dashboard under /organise.