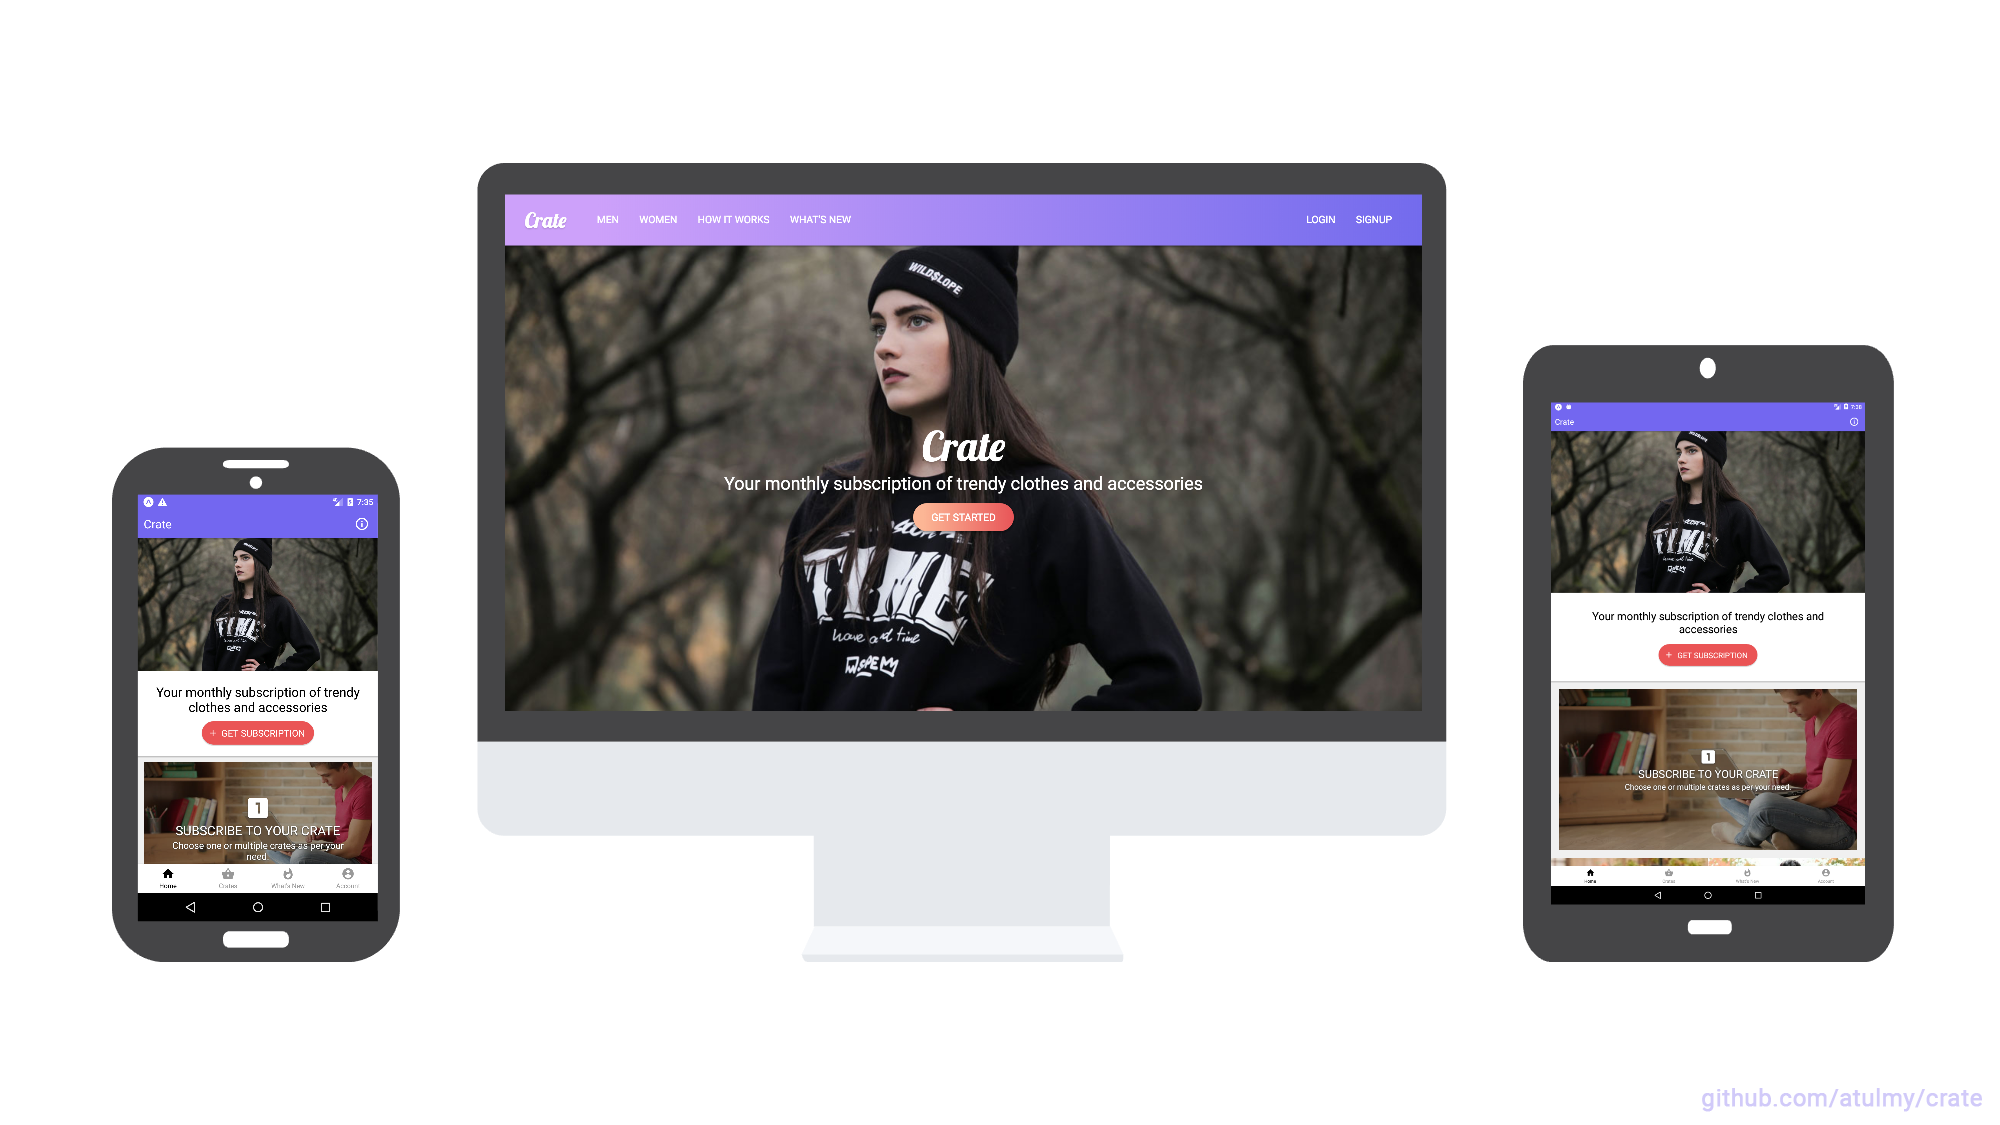
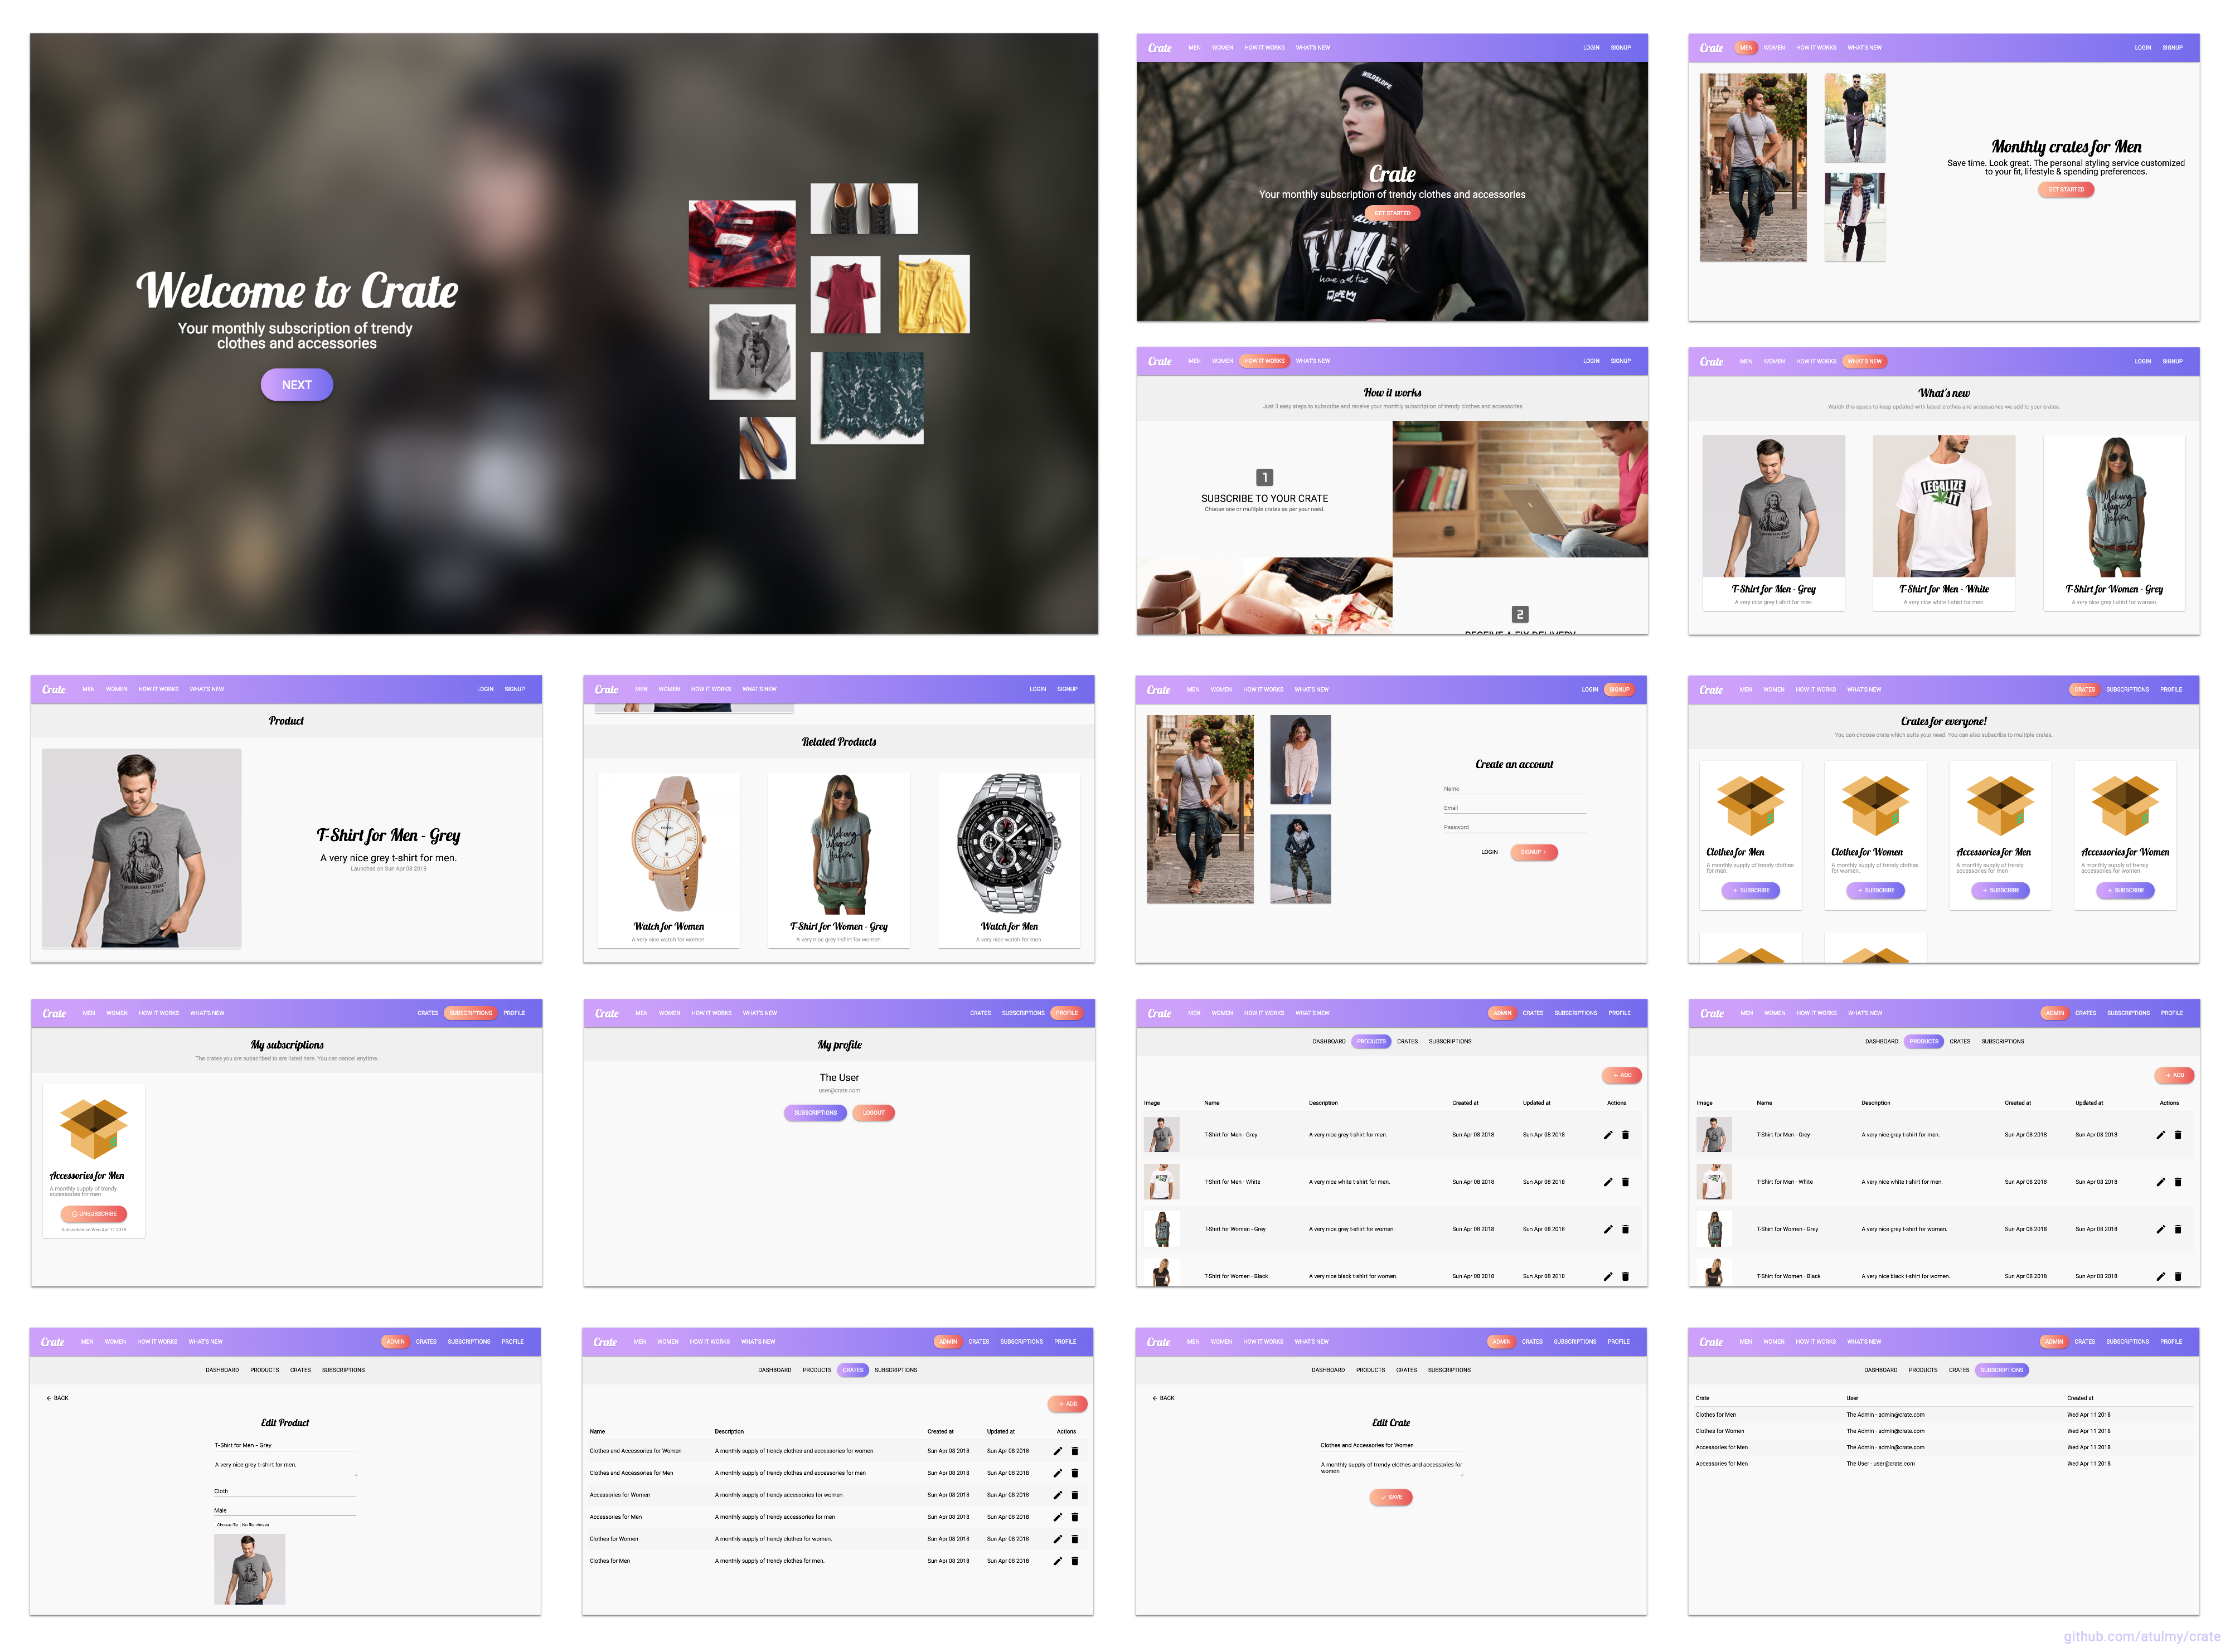
- API built with Node, GraphQL, Express, Sequelize (MySQL) and JWT Auth
- WebApp built with React and Redux along with Server Side Rendering (SSR) / SEO friendly
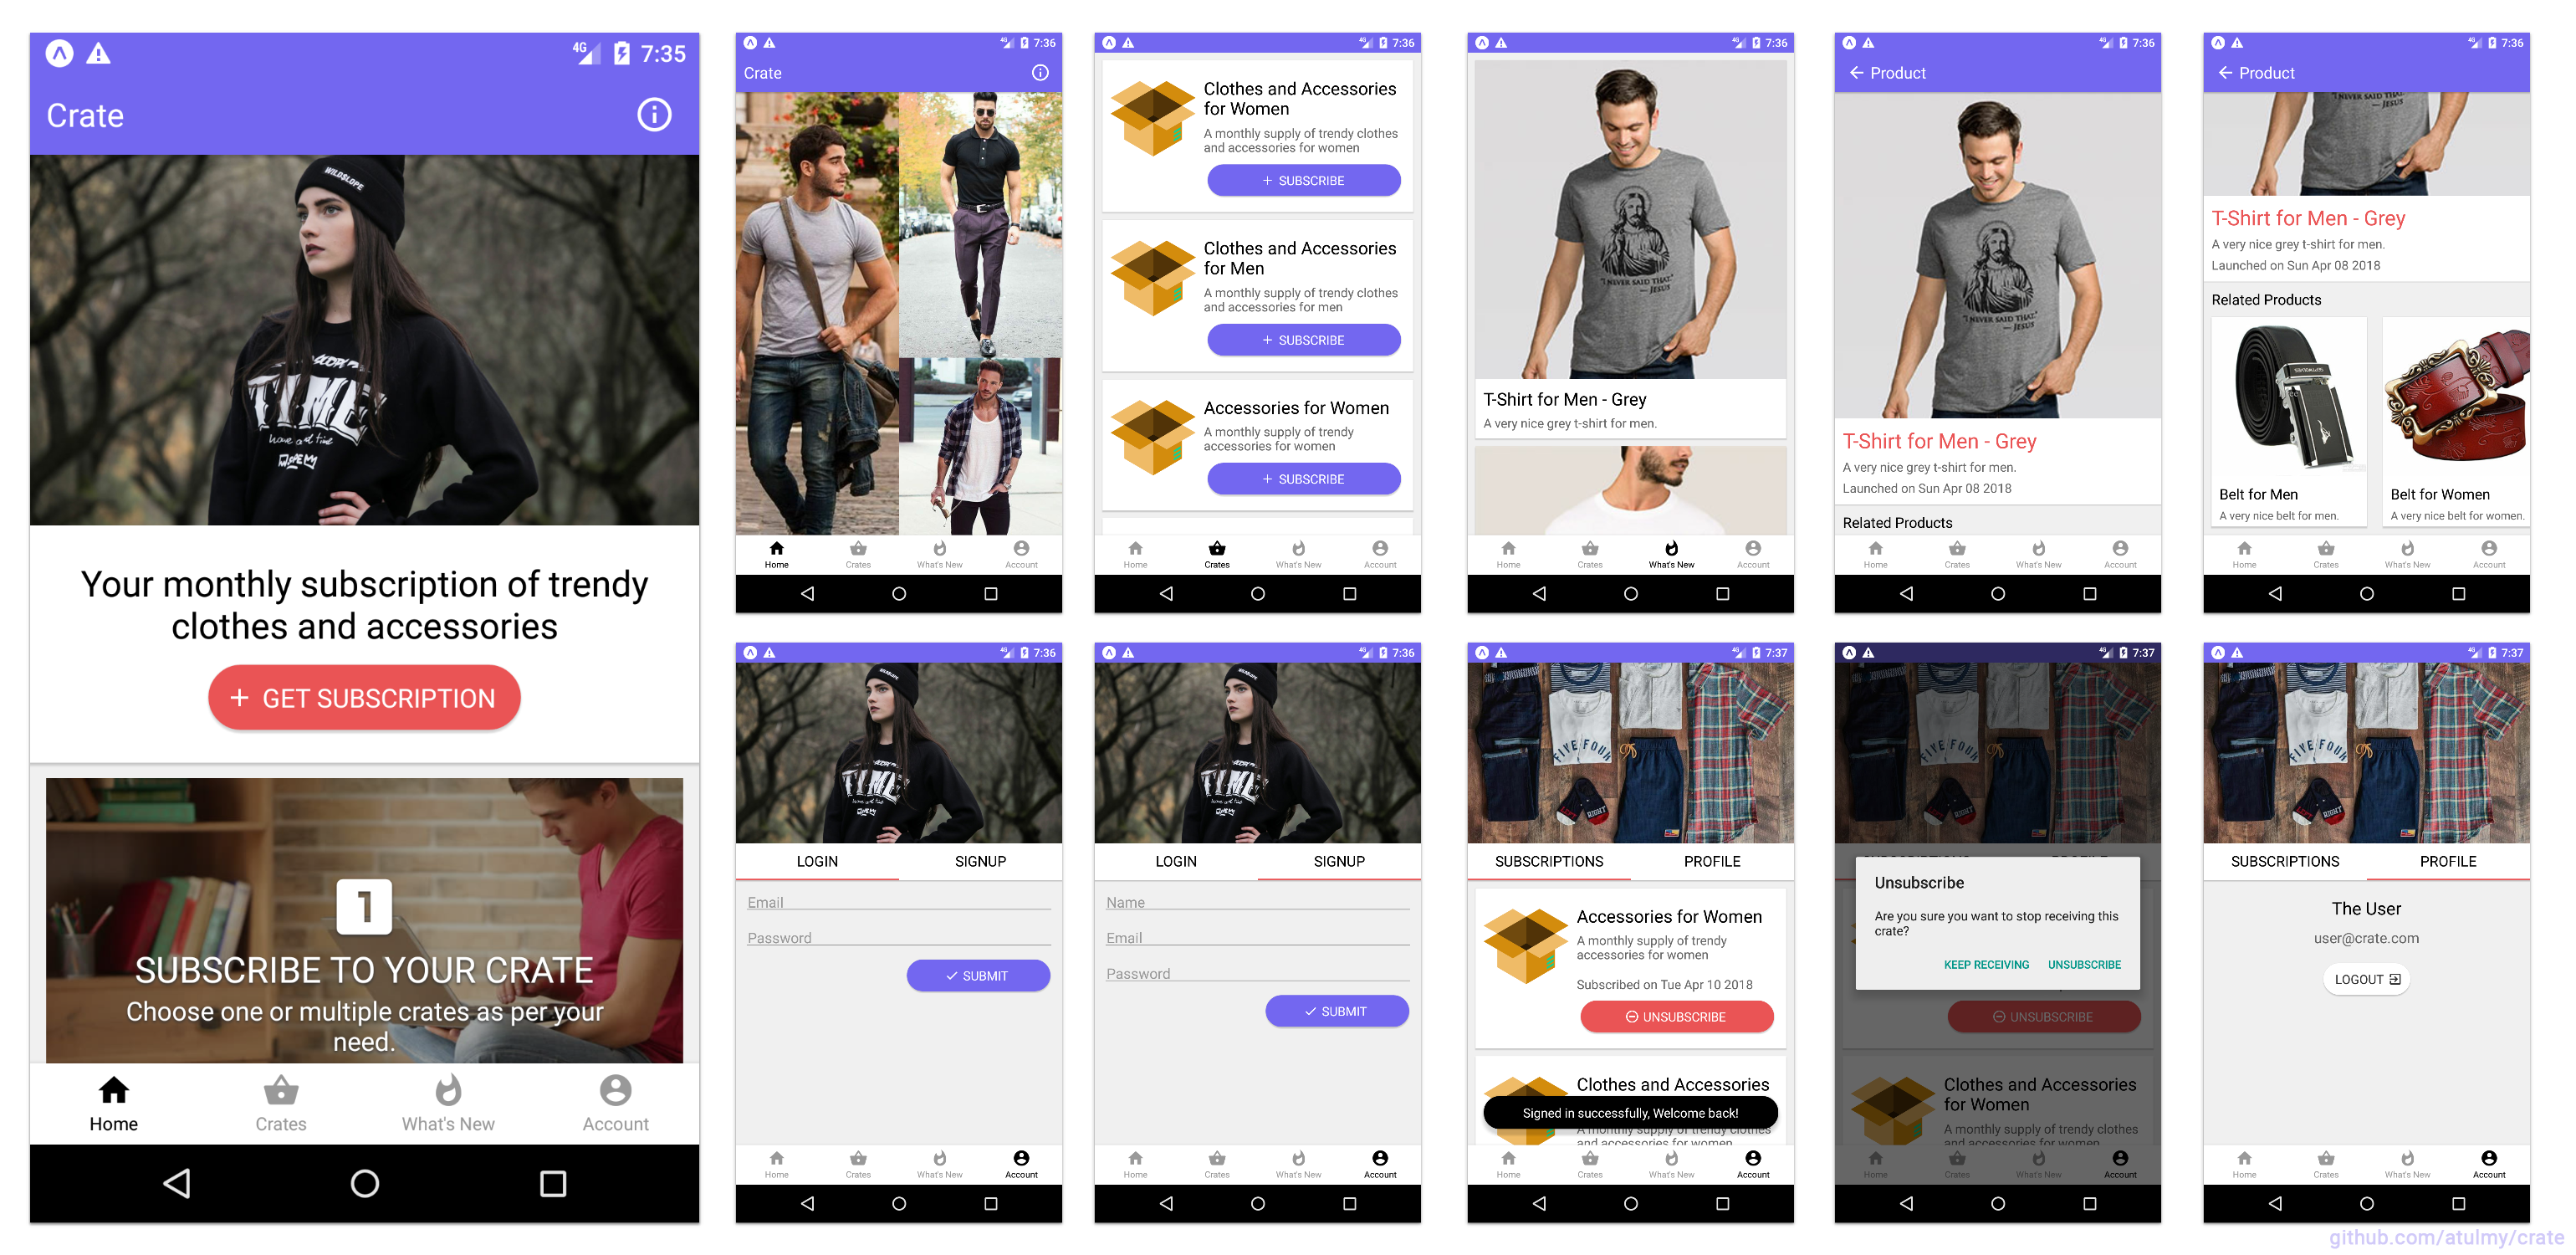
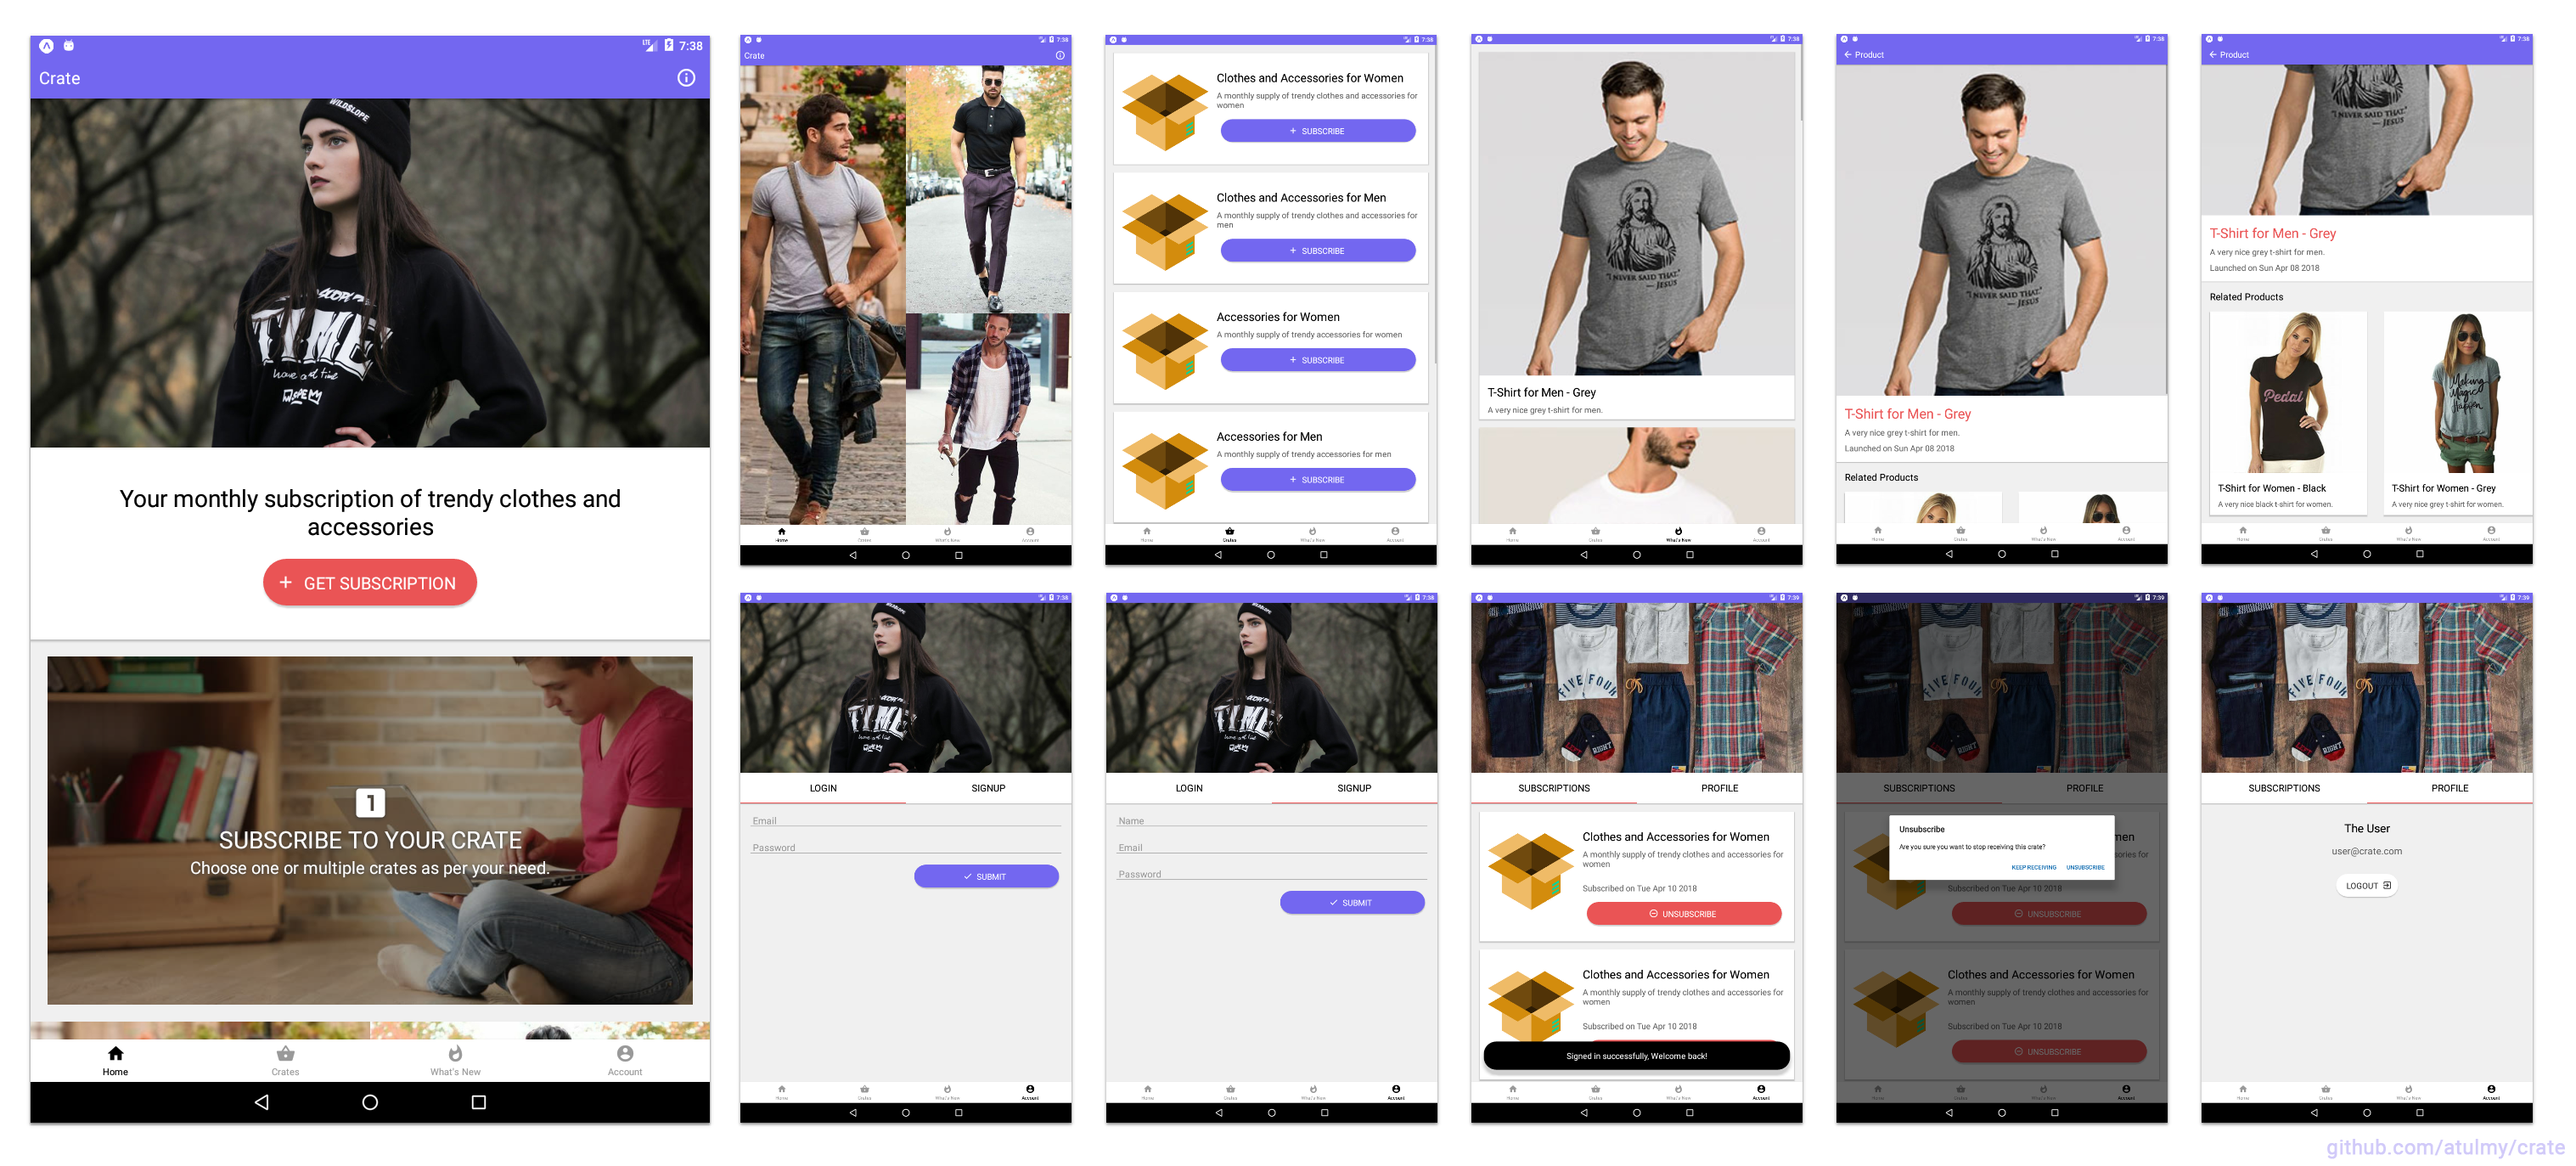
- Mobile (Android and iOS) Native App build with React Native
- Written in ES6+ using Babel + Webpack
- Designed using Adobe Experience Design. Preview it here.
- Modular and easily scalable code structure
- Emphasis on developer experience
- UI components in separate folder which can be swapped for your favorite UI framework easily
- Responsive UI for React Native to support Mobile and Tablet
- GraphQL schema with associations
- Database migration and data seeding
- User authentication using JSON Web Tokens with GraphQL API
- File upload feature with GraphQL
- React storybook demonstrating UI components for web
- Server side rendering
- Multi-package setup and dev scripts for an automated dev experiance
- Developers with basic knowledge on React exploring advance React projects
- Developers learning React Native
- Exploring GraphQL
- Scalable project structure and code
- Starter application for Mobile and Web along with SSR
- Multi-package scripts
- Sample project with combination of all above
Click on image to view fullscreen and zoom
code
  ├── package.json
  │
  ├── api (api.example.com)
  │   ├── public
  │   ├── src
  │   │   ├── config
  │   │   ├── migrations
  │   │   ├── modules
  │   │   ├── seeders
  │   │   ├── setup
  │   │   └── index.js
  │   │
  │   └── package.json
  │
  ├── mobile (Android, iOS)
  │   ├── assets
  │   ├── src
  │   │   ├── modules
  │   │   ├── setup
  │   │   ├── ui
  │   │   └── index.js
  │   │
  │   └── package.json
  │
  ├── web (example.com)
  │   ├── public
  │   ├── src
  │   │   ├── modules
  │   │   ├── setup
  │   │   ├── ui
  │   │   └── index.js
  │   ├── storybook
  │   │
  │   └── package.json
  │
  ├── .gitignore
  └── README.md
- Prerequisites
- Node
- Postgres
- Clone repo
git clone git@github.com:jakeheft/crate.gitandcdinto the repository - Switch to
codedirectorycd code - Configurations
- Configure $PATH variable
- Add the following to your
.zshrcfile (or.bash_profileif using bash):
export PATH="/Applications/Postgres.app/Contents/Versions/<your postgresql verson i.e. 12.3>/bin:$PATH"- Close or reload your terminal window
- Type
which psqlin terminal and verify you see the following output:
/Applications/Postgres.app/Contents/Versions/latest/bin/psql - Add the following to your
- Modify
/api/.envfor PORT (optional) - Modify
/web/.envfor PORT / API URL (optional) - Modify
/mobile/src/setup/config.jsonfor API URL (tip: useifconfigto get your local IP address)
- Configure $PATH variable
- Setup
- Run your PostgreSQL interactive terminal (
psql) - Run
CREATE DATABASE crate;to create your database in PostgreSQL and then exit out of the PostgreSQL interactive terminal (\q) - API: Install packages and database setup (migrations and seed)
cd apiandnpm run setup- If you receive the error
please install pg package manually, runnpm install pg --save, then runnpm run setupagain
- If you receive the error
- Webapp: Install packages
cd webandnpm install
- Run your PostgreSQL interactive terminal (
- Development
- Run API
cd apiandnpm start, browse GraphiQL at http://localhost:8000/ - Run Webapp
cd webandnpm start, browse webapp at http://localhost:3000/
- Run API
- Production
- Run API
cd apiandnpm run start:prod, creates an optimized build inbuilddirectory and runs the server - Run Webapp
cd webandnpm start -prod, creates an optimized build inbuilddirectory and runs the server- If you receive the error
sh: babel: command not found, run the following:npm install @babel/cli -gnpm install @babel/core -g
- Now run
npm start -prodagain to run your production server
- If you receive the error
- Run API
- New developers are advised to run through the above 'setup and running' process before reading further.
- Optional multi-package automation for faster setup and easier dev environment initiation.
- No need to cd to sub-folders unless working with mobile or running a production build.
- Once Node, MySQL, repo clone and configuration are setup correctly
- Switch to
codedirectorycd code - Setup
- Setup API, Webapp and Mobile with a single command
npm run setup
- Setup API, Webapp and Mobile with a single command
- Development
- Run API and Webapp
npm start, browse GraphiQL at http://localhost:8000/ and Webapp at http://localhost:8000/ - Run API alone
npm start:api, browse GraphiQL at http://localhost:8000/ - Run Webapp alone
npm start:web, browse webapp at http://localhost:3000/
- Run API and Webapp
- Switch to
- ✍️ Opinionated project architecture for Full-Stack JavaScript Applications - GitHub
- 🌈 Simple Fullstack GraphQL Application - GitHub
- 🌐 Universal react application with server side rendering - GitHub
- Container Components - Medium Post
- Zero to GraphQL in 30 Minutes - YouTube
- Building a GraphQL Server YouTube Playlist
- Universal JavaScript Web Applications with React by Luciano Mammino - YouTube
- Building Youtube UI in React Native in 30 Mins - YouTube
- Building Stellar Mobile UX With React Native - YouTube
- Free MySQL hosting https://remotemysql.com
- While building a new project with Node, you can basically start scratch, adding libraries and tools as you go on building it further.
- Comparing with any other languague, you usually start with a framework, for example, Laravel (PHP), Django (Python) or Ruby on Rails (Ruby) which includes a ton of features and codebase which you never end up using.
- I've personally found, learning by going through a good project codebase step by step while building your own project helps in ease of understanding and remembering
- Ebou Jobe - GitHub
- Nenad Radovanovic - GitHub · Twitter
- Nicholas Drew - GitHub
- Mateus Abdala - GitHub
- Hossein Nedaee - GitHub
- Mohammad Afzal - GitHub
- [YOUR NAME HERE] - Feel free to contribute to the codebase by resolving any open issues, refactoring, adding new features, writing test cases or any other way to make the project better and helpful to the community. Feel free to fork and send pull requests.
If you liked this project, you can donate to support it ❤️
Looking for a developer to build your next idea or need a developer to work remotely? Get in touch: atul.12788@gmail.com
Copyright (c) 2018 Atul Yadav http://github.com/atulmy
The MIT License (http://www.opensource.org/licenses/mit-license.php)
The backend team was assigned the task of creating a new attribute for a user, style, which is obtained via user survey, that informs the application as to what style of clothing should be included in their crate subscription. To accomplish this, first a migration was added and the attribute was included in the user module directory in the model file.
The user types.js also needed to be updated:
Next a mutation and resolver were implemented to allow the attribute to be updated via GraphQL query. Logic was included in the resolver to take in all answers from the user's survey sent in the request, find the most common, and update the style column for that user with the string. If there is a tie between two styles, a custom string with the two values interpolated is inserted in the column.
Tests were implemented to ensure everything is functioning as expected:
To test the functionality of these changes in Postman, first obtain an auth token for a user in the db by making a query via GraphiQL:
Then in Postman start a new POST request, under Auth, select Bearer Token and paste the token obtained from the GraphiQL request:
Finally, under Body, select GraphQL and type in the query as shown below:
The frontend team was tasked with creating a new view for Crate users who were navigating the site specifically to subscribe. When a user selects any crate subscription the new lifestyle survey loads and captures thier selections. Currently we have coded only three styles, but more could be added in future iterations for greater variety.
Initally we started with wireframing out the new component as well as some directions we could go once the survey was made and each style preference was stored in the database.
The view of the style survey with each survey card being hardcoded with one images and one id that held the style value. Once the user has logged in we check if they have a value in the database for "style", if that returns as null the survey loads once they select a crate to subscribe to. Initally we began with a literal clothing survey divided by gender and here pivoted to the lifestyle survey format.
Once the user has made all four selections and clicked submit they are informed of their style and given a button to navigate to thier subscriptions page. This action sends the survey style results to the backend where it is associated with that user. Currently once a user has taken the survey and still has active subscriptions, they cannot take the survey again. In future we'd add a feature so that they can redo the survey if they don't agree with the results or want to change it up.
Here is the submitted survey message with a single style in the majority:
Here is the submitted survey message with two tied styles:


