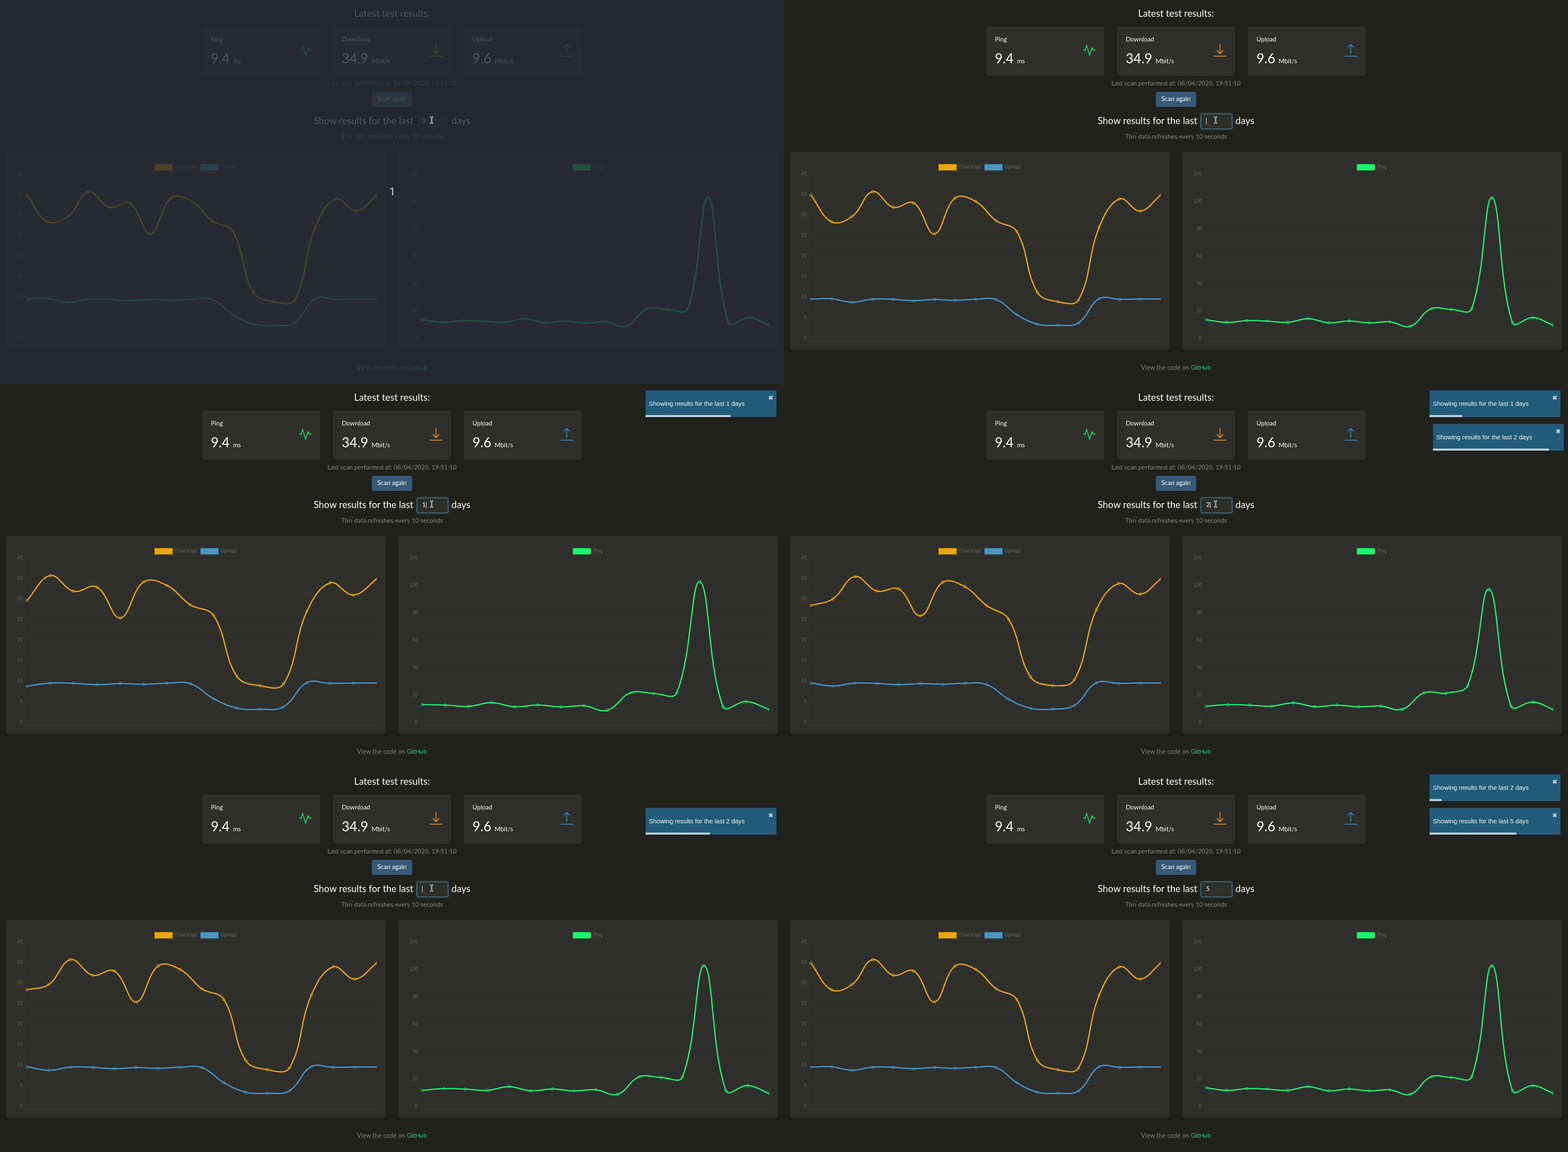
This program runs a speedtest check every hour and graphs the results. The back-end is written in Laravel and the front-end uses React. It uses the Ookla's speedtest cli package to get the data and uses Chart.js to plot the results.
- Automatically run a speedtest every hour
- Graph of previous speedtests going back x days
- Backup/restore data in JSON/CSV format
- Slack/Discord/Telegram notifications
- healthchecks.io integration
- Organizr integration
- InfluxDB integration (currently v1 only, v2 is a WIP)
A demo can be found here
Container images are configured using parameters passed at runtime (such as those above). These parameters are separated by a colon and indicate <external>:<internal> respectively. For example, -p 8080:80 would expose port 80 from inside the container to be accessible from the host's IP on port 8080 outside the container.
| Parameter | Function |
|---|---|
OOKLA_EULA_GDPR |
Set to 'true' to accept the Ookla EULA and privacy agreement. If this is not set, the container will not start |
SLACK_WEBHOOK |
Optional. Put a slack webhook here to get slack notifications when a speedtest is run. To use discord webhooks, just append /slack to the end of your discord webhook URL |
TELEGRAM_BOT_TOKEN |
Optional. Telegram bot API token. |
TELEGRAM_CHAT_ID |
Optional. Telegram chat ID. |
AUTH |
Optional. Set to 'true' to enable authentication for the app |
INFLUXDB_RETENTION |
Optional. Sets the InfluxDB retention period, defaults to 30d |
| `INFLUXDB_HOST_TAG | Optional. Sets the InfluxDB host tag value, defaults to speedtest |
Authentication is optional. When enabled, unauthenticated users will only be able to see the graphs and tests table. To be able to queue a new speedtest, backup/restore data and update instance settings you will need to log in. To enable authentication, pass the AUTH=true environment variable in docker or run php artisan speedtest:auth --enable for manual installs (same command with --disable to turn it off).
The default credentials are:
| Field | Function |
|---|---|
| username | admin@admin.com |
| password | password |
After enabling, you should change the password through the web UI.
For manual installations, please follow the instructions here.
There is a 3rd party helm chart available here.
