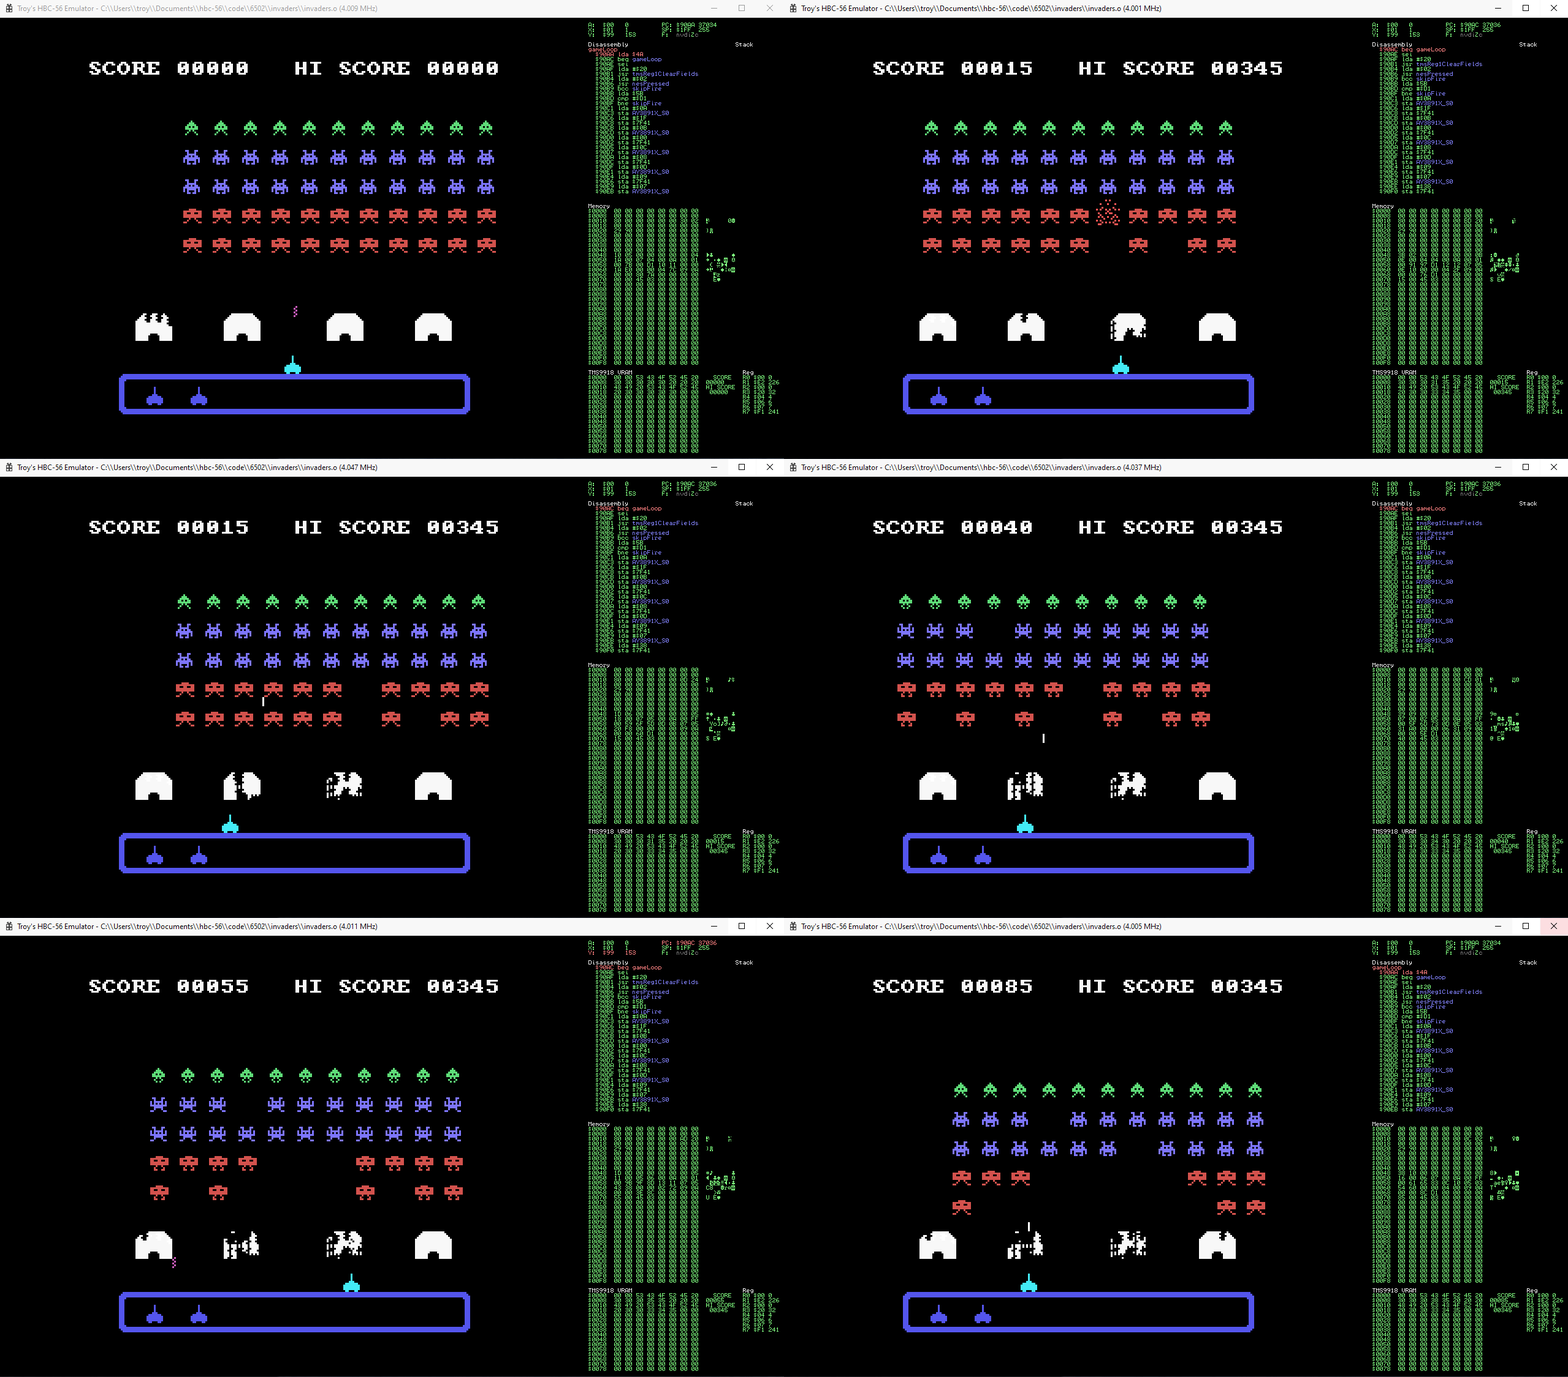
The HBC-56 emulator allows you to build and test programs on your desktop machine. The emulator targets Windows, Linux and WebAssembly. The Windows build is the most mature.
The HBC-56 uses the CMake build system.
- Ensure you have checked out the source including all submodules.
git clone --recurse-submodules https://github.com/visrealm/hbc-56.git
cd hbc-56
- Setup the build
mkdir build
cd build
cmake ..
- Build
cmake --build . --config Release
The output executable will be located at build/bin/Hbc56Emu
The emulator supports the following command-line options:
--rom <romfile>The ROM to load. The ROM is expected to be 32KB in size to match the physical machine.--keyboardAllows keyboard input. (The default is NES controller)--brkStart with the debugger in 'break' mode. Allows debugging from the first instruction.--lcd <lcdmodel>Enables the character LCD model.<lcdmodel>can be one of:1602- 16 x 2 Character LCD2004- 20 x 4 Character LCD12864- 128 x 64 Graphics LCD (Also works as a 16 x 4 character LCD with 8x16 glyphs). See 12864B Datasheet
<Arrow keys>- Directional pad (DPAD)<Shift>- A button<Ctrl>- B button<Tab>- Select button<Space>- Start button
The emulator includes a debugger you can use to step through your code. The debugger is controlled as follows:
<Ctrl>+D- Toggle debug windowF12- Break executionF10- Step overF11- Step into (jmp)F5- Continue/run<PgUp>- Scroll RAM view up 0x64<Shift>+<PgUp>- Scroll RAM view up 0x1000<PgDn>- Scroll RAM view down 0x64<Shift>+<PgDn>- Scroll RAM view down 0x1000<Ctrl>+<PgUp>- Scroll TMS VRAM view up 0x64<Ctrl>+<Shift>+<PgUp>- Scroll TMS VRAM view up 0x1000<Ctrl>+<PgDn>- Scroll TMS VRAM view down 0x64<Ctrl>+<Shift>+<PgDn>- Scroll TMS VRAM view down 0x1000
One way to set a breakpoint is to insert a special opcode ($db) in to your ROM image. When the emulator sees this opcode, it will break and open the debug window. eg:
!byte $db
If the emulator finds a <romfile>.lmap file (eg. myrom.o.lmap) it will load this and provide labels in the disassembly view.
When using the ACME assembler and you've generated an assembler report file, If the emulator finds a <romfile>.o.rpt file (eg. myrom.o.rpt) it will load this and provide full source debugging.

