Skip to content
New issue

Have a question about this project? Sign up for a free GitHub account to open an issue and contact its maintainers and the community.

By clicking “Sign up for GitHub”, you agree to our terms of service and privacy statement. We’ll occasionally send you account related emails.

Already on GitHub? Sign in to your account

用AntDeploy如何更新Agent #25

Open
yuzd opened this issue Jun 6, 2019 · 0 comments
Open

用AntDeploy如何更新Agent #25

yuzd opened this issue Jun 6, 2019 · 0 comments
Labels
good first issue Good for newcomers

Comments

@yuzd
Copy link
Owner

yuzd commented Jun 6, 2019

前提条件

  1. AntDeploy插件的版本>=6.2
  2. Agent的版本>=6.2

如果不满足以上2个条件的请手动更新,在群文件下载!

下载AntDeployAPP独立使用版本

所谓独立版本就是脱离vs独立使用
image

下载最新版本的Agent

(可在群文件下载)

image

然后将Agent解压到本地

image

打开AntDeployAPP独立版本

  1. 选择上面解压本地的最新的Agent文件目录
    一定要注意:删除里面的【AntDeployAgentWindowsService.exe.config】文件,不然更新agent就会把配置都还原了!!!!!!!!!!!!!!!!!!切记哦!!!

image

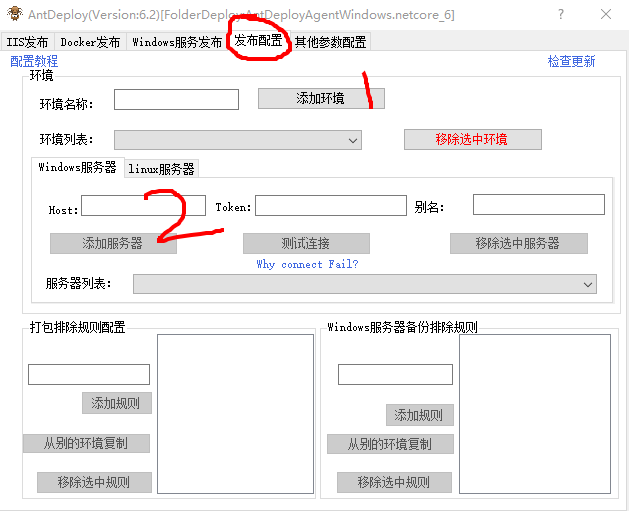
  1. 发布配置,添加环境 添加要更新agent的服务器
    image

  2. 回到【Windows服务发布】
    选择 添加的环境

特别注意,服务名称要填写:AntDeployAgentWindowsService

image

  1. 点击【发布】 即可更新

实现原理:

  1. AntDeploy 会根据你填写的服务名称 :AntDeployAgentWindowsService 来判断是否是更新Agent
  2. 如果是更新Agent AntDeploy只负责把新的Agent文件传输到服务器上
  3. 你可以仔细看下新版本的Agent目录下会有一个 deploy_end.bat 文件
    内容如下:

@ECHO OFF
sc stop AntDeployAgentWindowsService //这句的意思是停止Agent服务
xcopy /e $DeployFolder$ $AppFolder$ /y //这句里面有占位符,意思是复制文件
sc start AntDeployAgentWindowsService //这句的意思是启动Agent服务

  1. 如果没有 deploy_end.bat 文件会更新失败
    有这个文件 会执行这个文件 实现自更新自己!!!

总结:先用老的Agent 把新的自己上传到服务器。然后自己运行一个脚本 ,脚本做的事情就是 干掉自己 覆盖成新的文件 在启动自己!!!

@yuzd yuzd added the good first issue Good for newcomers label Jun 6, 2019
Sign up for free to join this conversation on GitHub. Already have an account? Sign in to comment
Labels
good first issue Good for newcomers
Projects
None yet
Development

No branches or pull requests

1 participant