【demo演示】一键发布Linux服务部署(netcore web项目) #38
Labels
good first issue
Good for newcomers
Comments
Sign up for free
to join this conversation on GitHub.
Already have an account?
Sign in to comment
AntDeploy 是我开发一款开源一键发布插件
AntDeploy的代码托管地址(感恩star)
https://github.com/yuzd/AntDeploy
本章介绍如何使用AntDeploy一键部署到远程linux服务器作为服务运行
第一步 安装Linux端Agent
请在qq群(488312978)文件里面获取
把文件上传你的linux服务器
解压后有3个文件

按照下面更改AntAgent.service中的
WorkingDirectory 和 ExecStart
赋予这个可执行文件权限
修改agent配置文件AntDeployAgentLinuxService.config
执行下面命令把AntAgent安装为linux服务运行
安装成功后使用命令:sudo systemctl status AntAgent
查看是否成功运行
好了,以上服务器上agent安装完毕
如果agent已经启动了 再修改agent的配置文件,那你可以用命令
重新运行agent
为了更方便的在linux服务器上安装agent我写了一个快速安装的脚本(只需要敲一行命令即可安装为agent为服务):
curl https://mysharelist.com/installAgent.sh|sudo sh
第二步 安装AntDeploy插件
如果下载很慢可以插件市场官网下载下来双击安装:
https://marketplace.visualstudio.com/items?itemName=nainaigu.AntDeployVsix
打开你要发布的工程
工程文件右键可以召唤AntDeploy
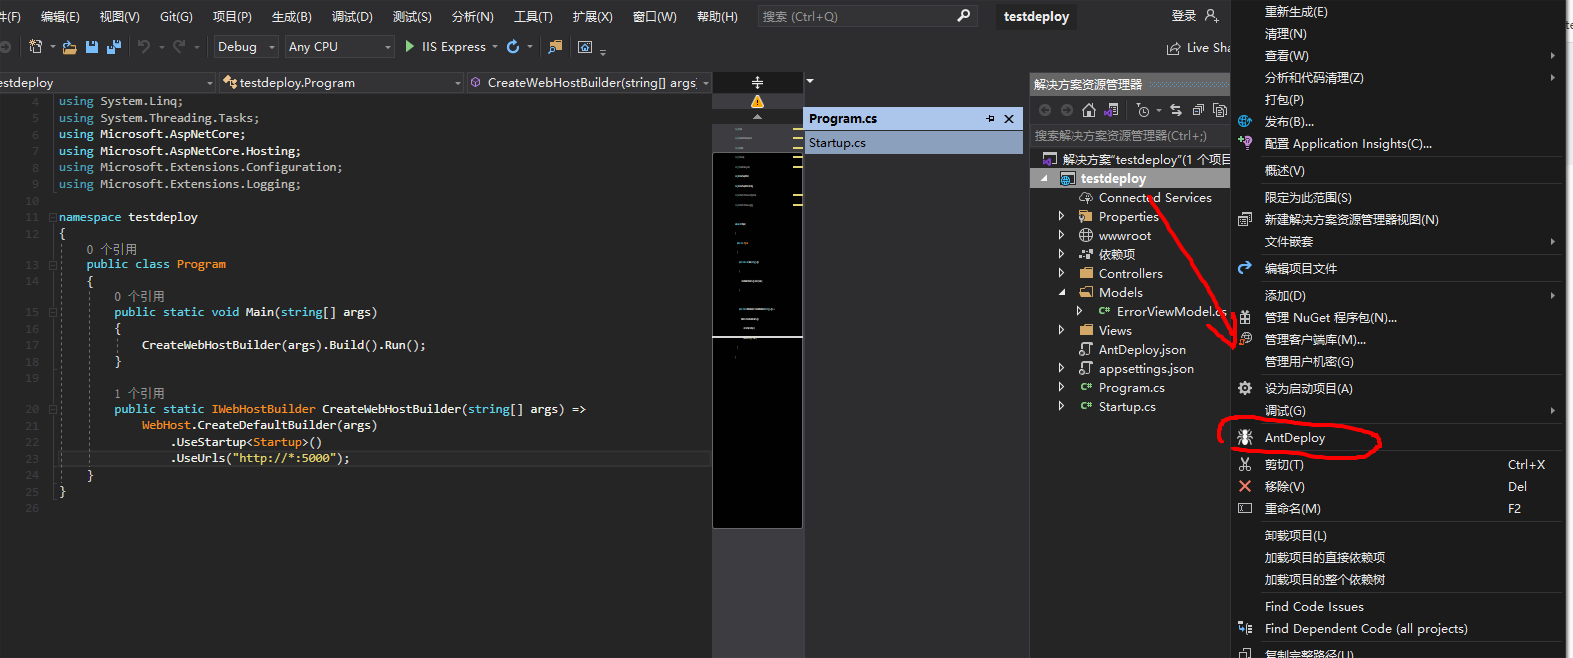
如果没有 看下是不是被禁用了
第一次发布需要配置服务器的agent信息
进入Linux服务发布
agent做了什么日志里面详细记录了
The text was updated successfully, but these errors were encountered: