Contributing_Advanced
Here you will find in-depth instructions on contributing to the book.
In this guide, we will focus on the minimum amount of tools necessary to get you to contributing as fast as possible!
Here is what you need:
- Ghostwriter: A simple markdown editor, you can find it here: https://ghostwriter.kde.org/download/
- Gitnuro: A Git client, you can find it here: https://gitnuro.com/
You don't actually need the tools to build the book if you just want to add some text.
First of all, you will need to "fork" the repository: that means making your own copy of it. This way you can add everything you want and have your own "working copy".
If you have a GitHub account, just go to the main repository and look for the "fork" button:

GitHub will ask for confirmation and where to fork the repository (usually, by default, it will be your personal account):
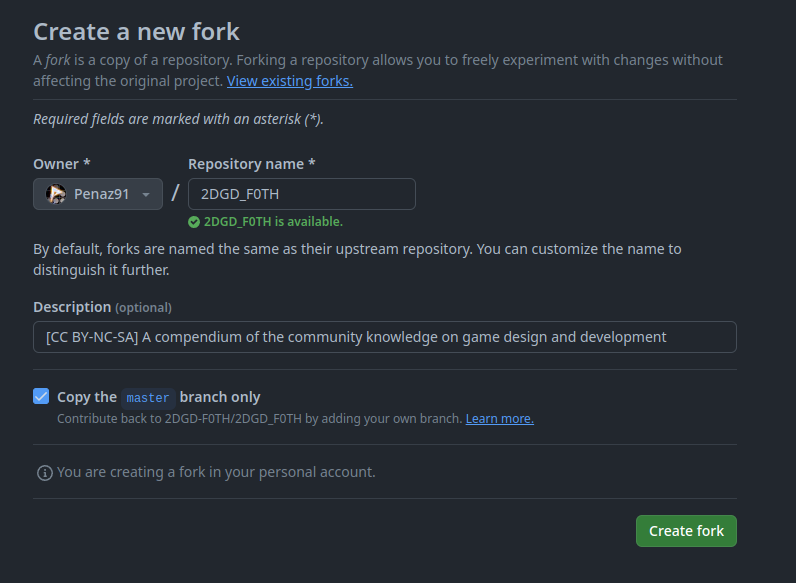
After confirming the fork, you will have a copy of the repository in your GitHub account.
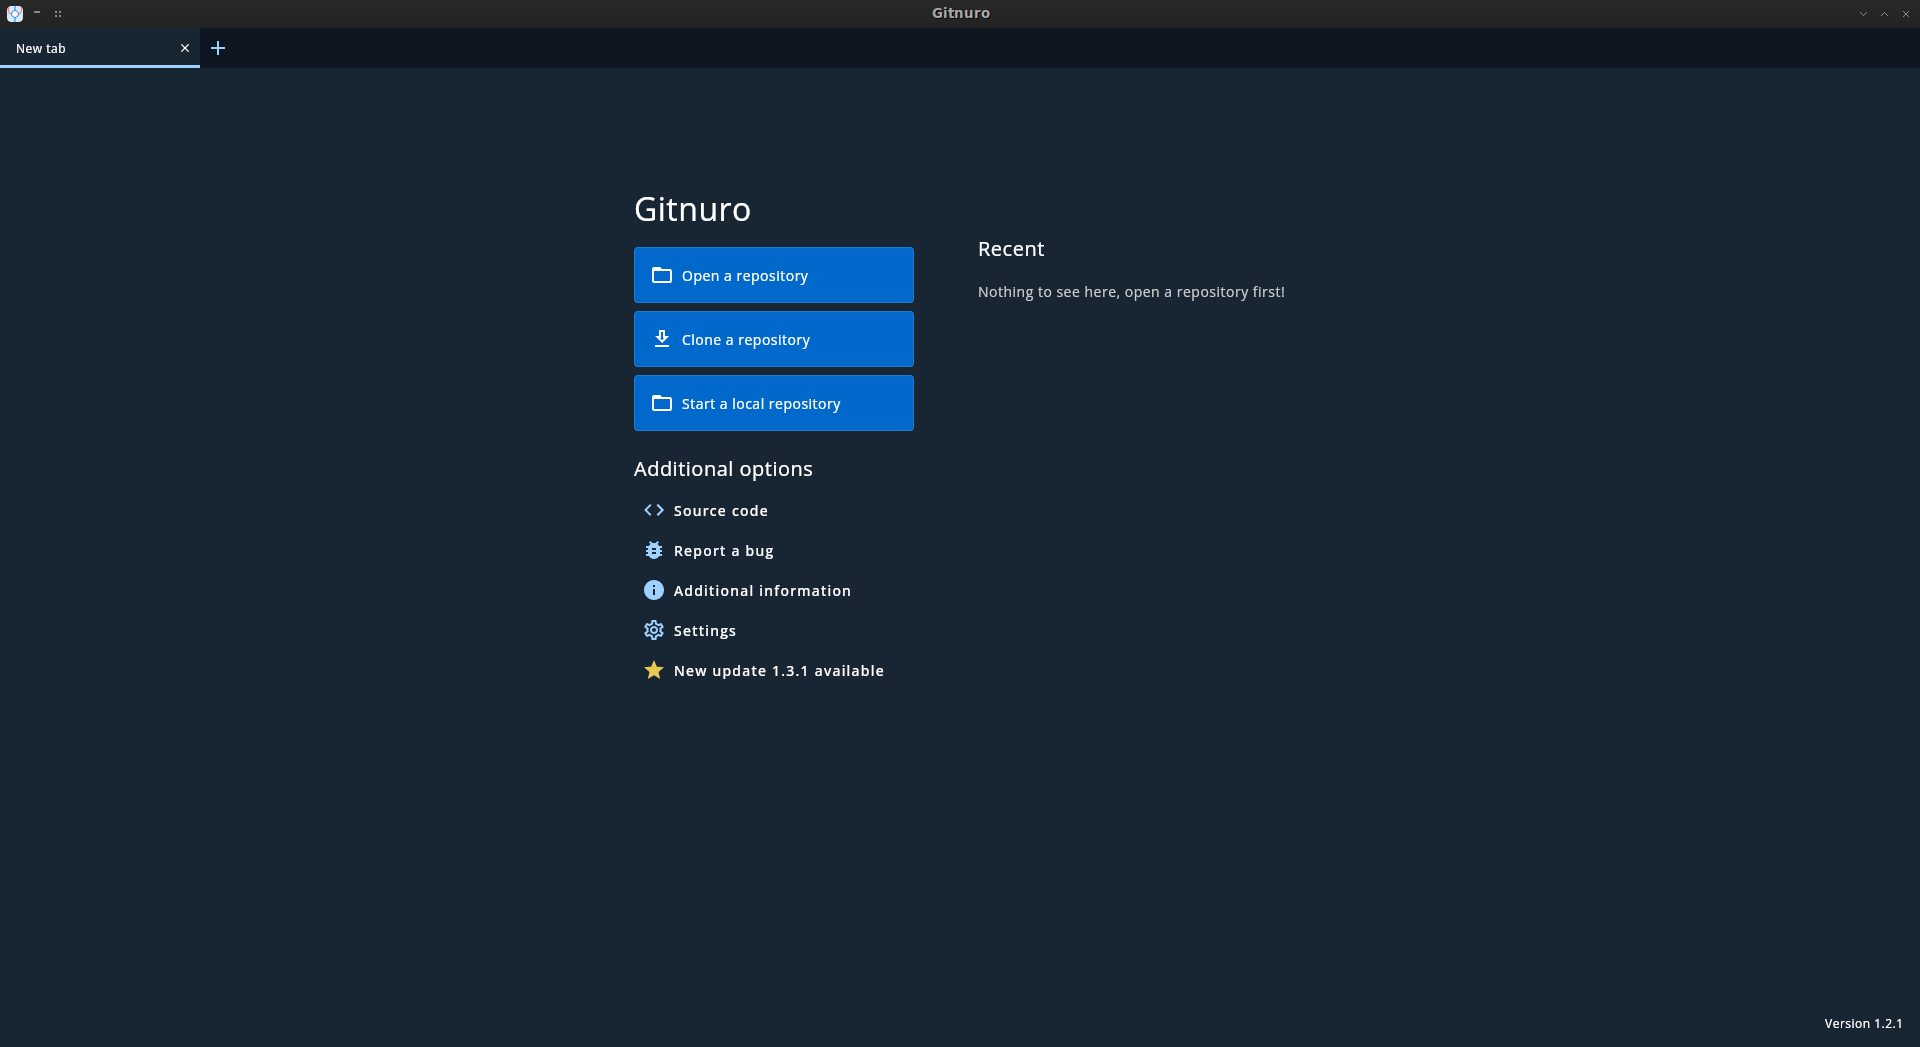
Now we need to configure out own local copy using Gitnuro. So let's open it. You will find yourself in front of this window:
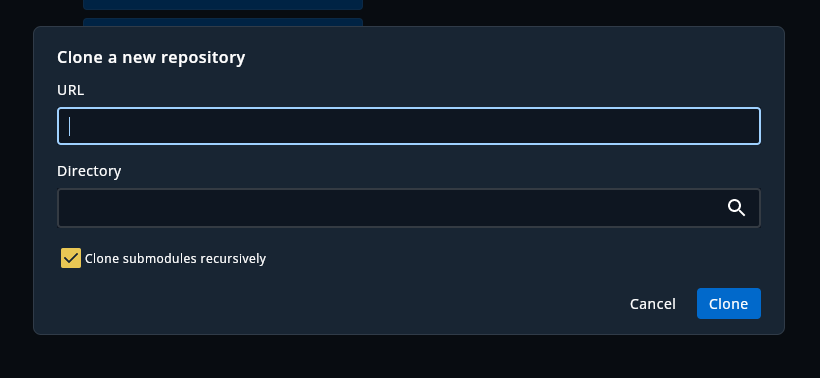
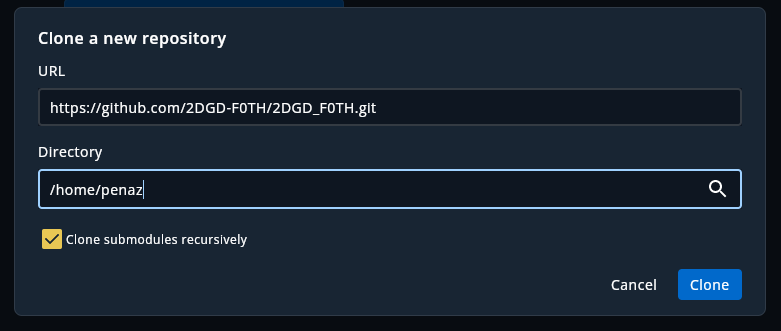
Now we click on the "Clone a repository" button. We will see that Gitnuro asks for an URL and a folder.
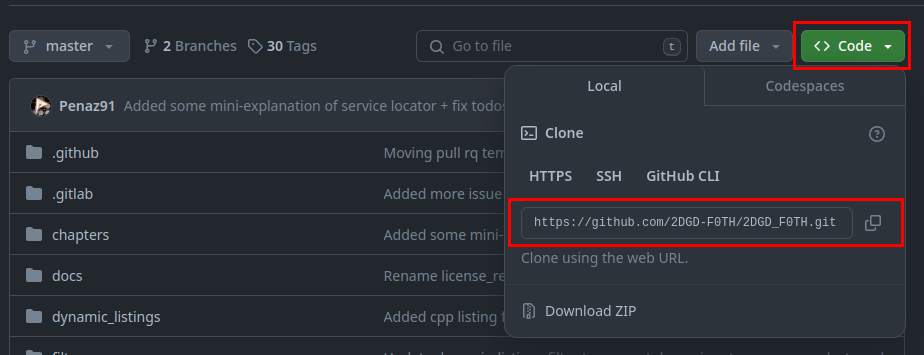
Let's go on GitHub, on the repository we just cloned (on the title it should show <your_Account>/2DGD_F0TH), click on the "Code" button and copy the URL shown in the HTTPS tab.
We fill the Gitnuro interface with the URL and the folder we want to save the repository in:
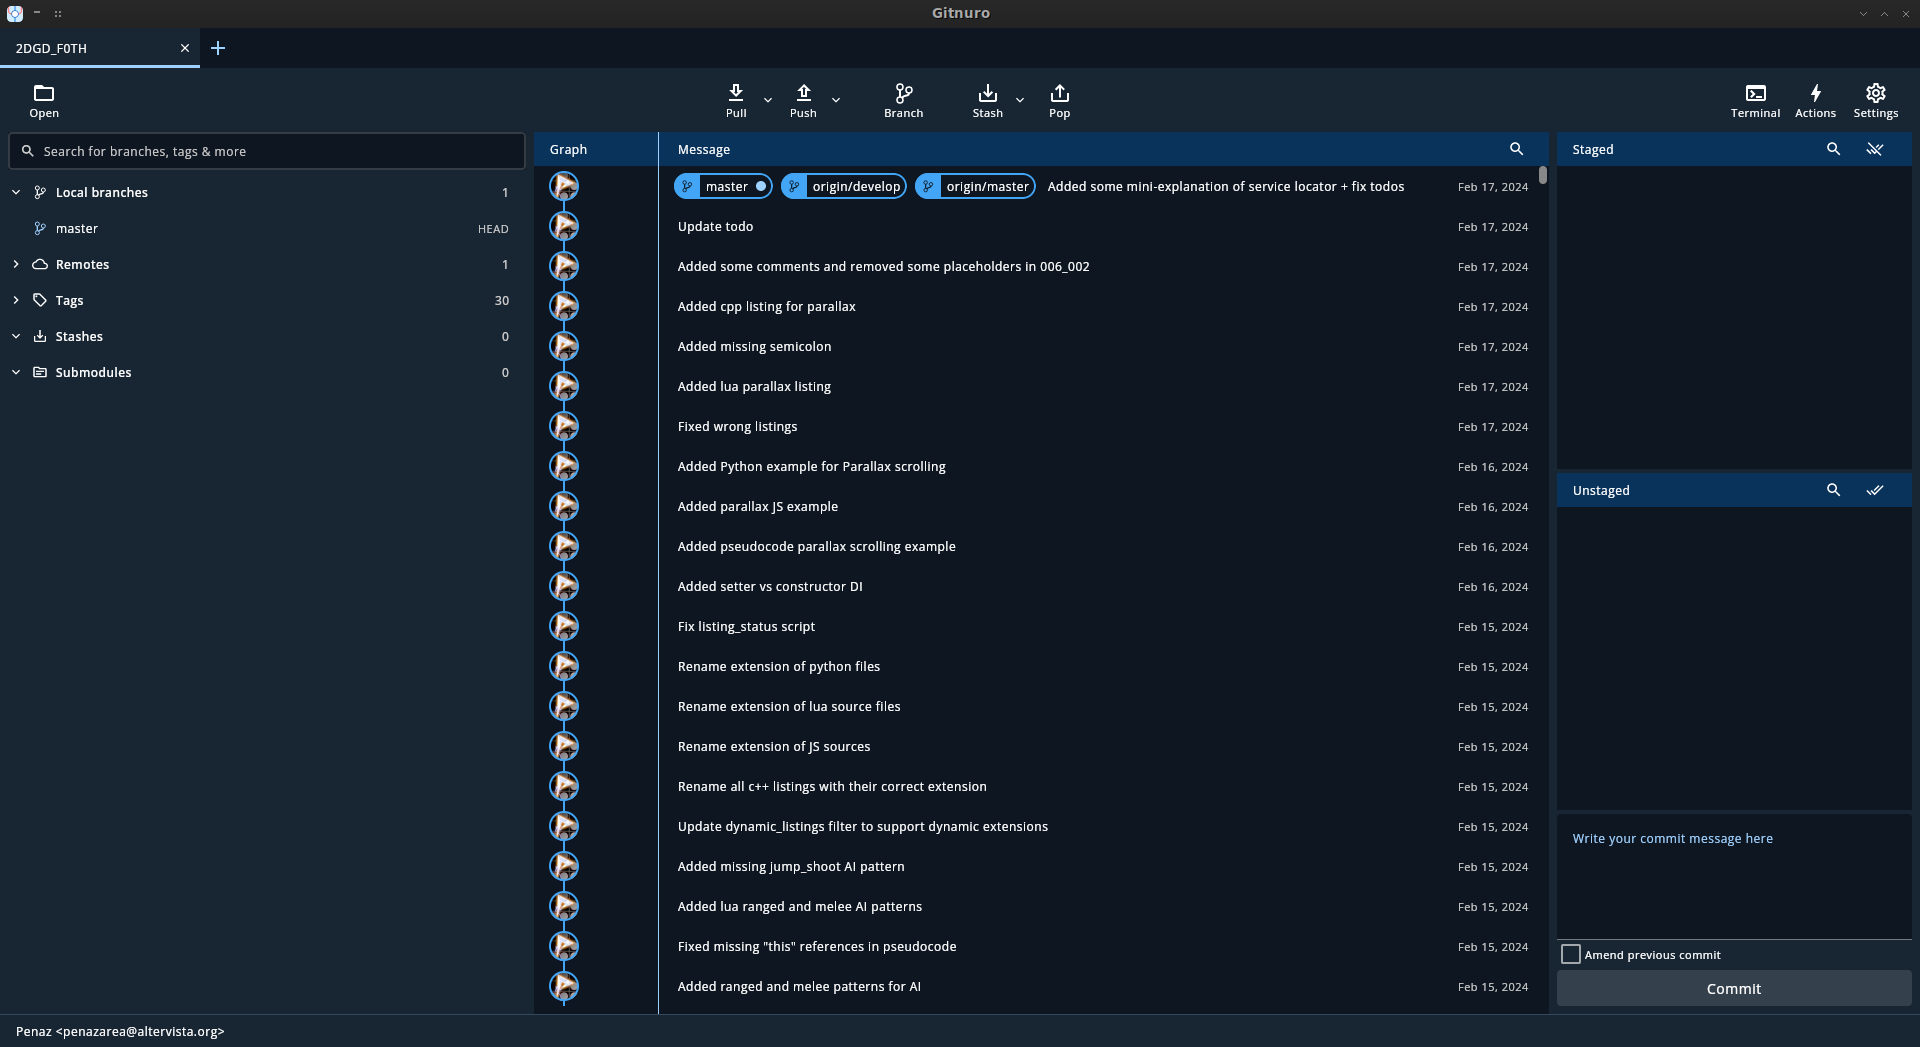
After that, we click on "Clone" and wait. When the cloning is completed, we will see a new folder, called 2DGD_F0TH and Gitnuro's interface will show the status of the repository. More on that later.
This ebook is written in a flavour of what is called "Markdown": a way to write pure text and add more "meaning" to it, using symbols.
To learn more about markdown, I'll leave you to the amazing guide by im-luka: You can find it here
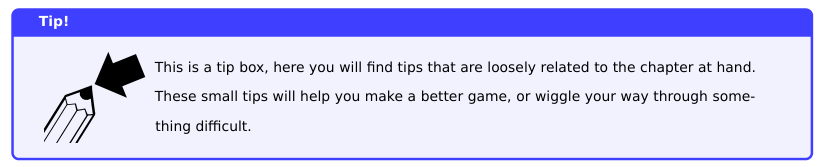
In addition to what is in standard markdown, in this book you can write "boxes", which are used to highlight trivia, pitfalls, tips and notes.
Let's imagine you want to write a "tip" box. The text would look like this:
:::: tip ::::
This is a tip box, here you will find tips that are loosely related to the chapter at hand. These small tips will help you make a better game, or wiggle your way through something difficult.
:::::::::::::
It will show in the book like this:
There are 5 box types you can use:
- tip
- pitfall
- trivia
- note
- wizardry
Another difference is how code listings are inserted in the book. It is a bit convoluted but it all boils down to the following text:
```{src="introduction/example" caption="Example code listing"}
```
This piece of code will automatically take the piece of code that is named "example" from the "introduction" subfolder under every folder in dynamic_listings and add "Example code listing" as a caption.
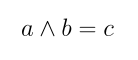
Another difference is math: this book uses LaTeX's math mode, so each formula is enclosed in one or two dollar symbols.
One dollar symbol per side will create an "inline" formula, while using two per side will put the formula on its own.
Here's an example of a math formula:
$$a \land b = c$$
This will show the following formula, in a line on its own, separated from the rest of the text:
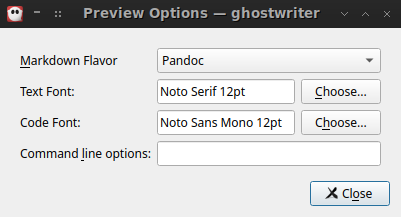
To write your contributions, you will need a Markdown Editor. You can use Ghostwriter (which also has a nice integrated Markdown Cheatsheet!)
First thing is configuring: you just need to go on Settings -> Preview Options and select "Pandoc" as Markdown Flavour. Some of the customizations will now show properly (like images, due to how the book is currently structures, or code listings, because they're injected at build-time).
Now you can open one of the book files and start writing:
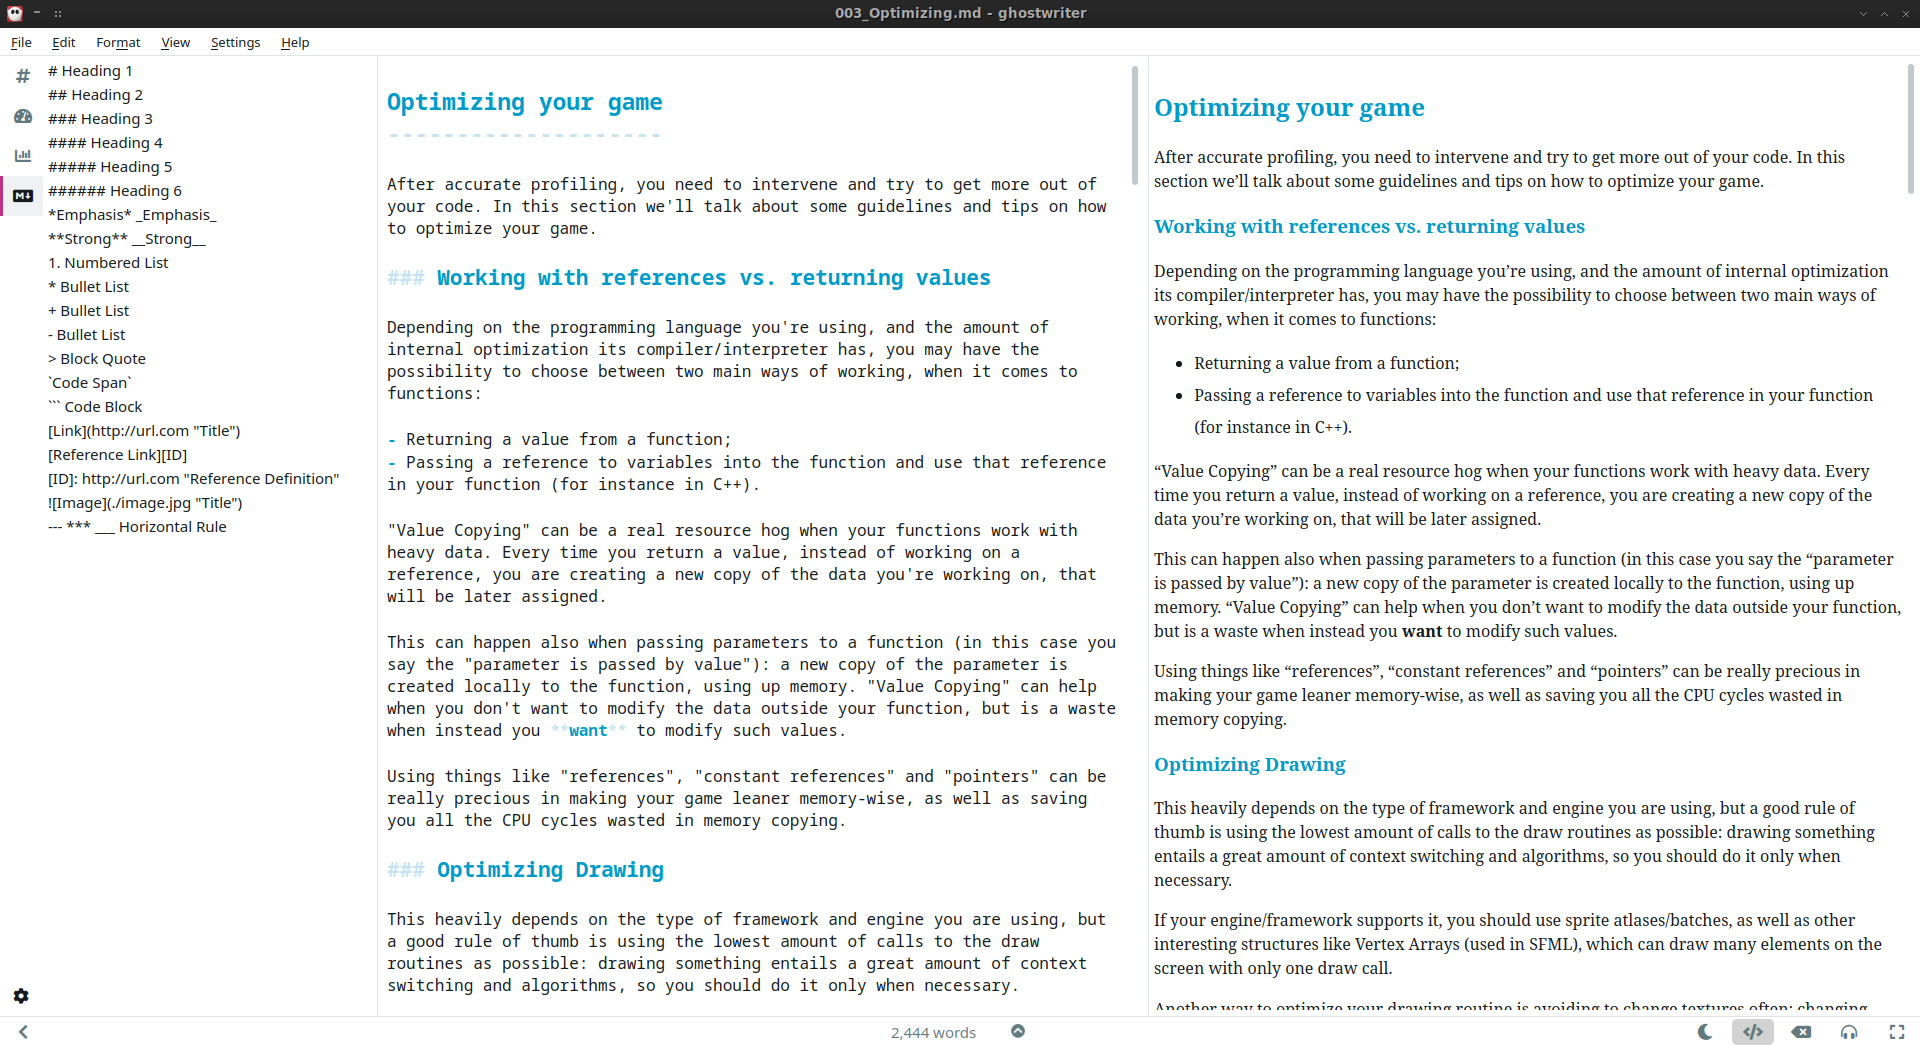
As you write more, the preview on the right side of the screen will update accordingly.
Now that we've written an entire section, we can save and get to the next step.
It is best to keep our edits small and commit them often, instead of giving huge contributions in one single commit: it makes checking them a lot easier.
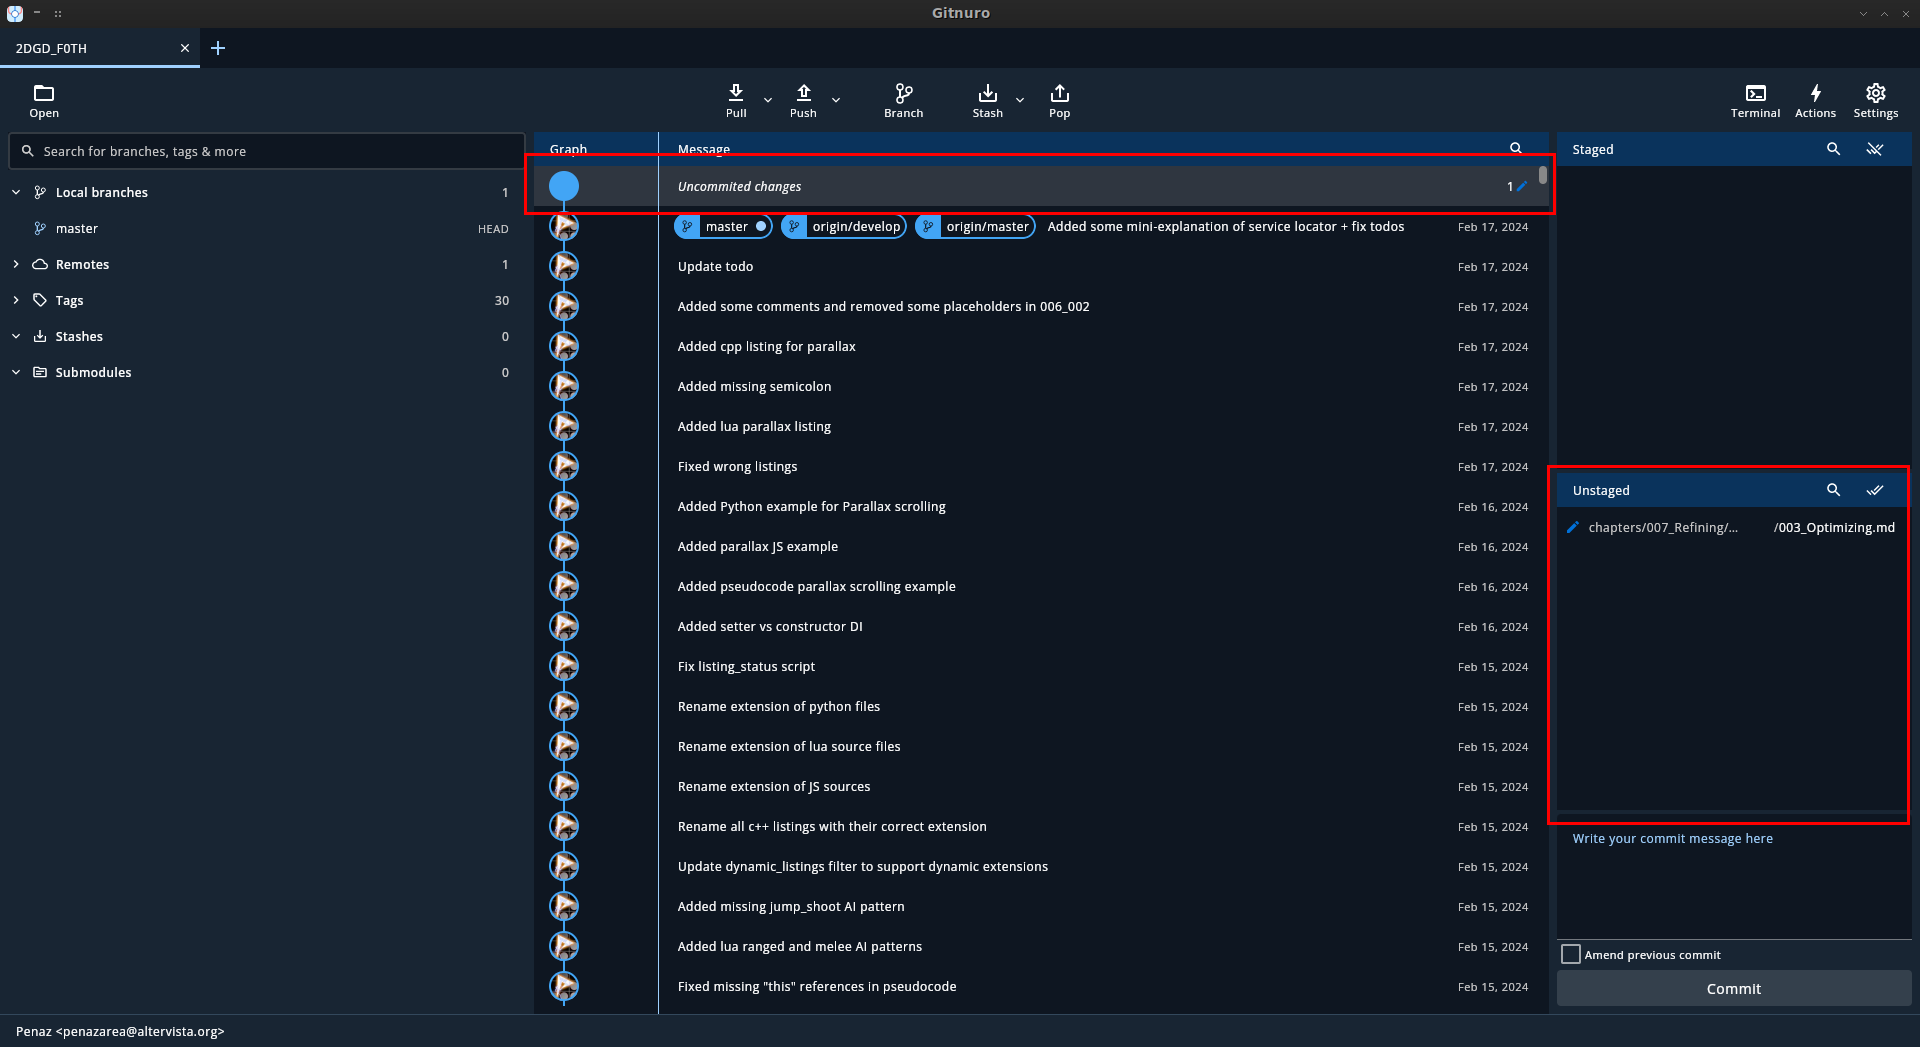
Now we will open Gitnuro again, and do what is called a "commit": a way to write in stone (in the project history) our contribution, so it can be traced and saved.
Gitnuro will show something new: first thing is the "Uncommitted Changes" message on top of the graph, and second thing is the file we changed is now showing in the "Unstaged" area.
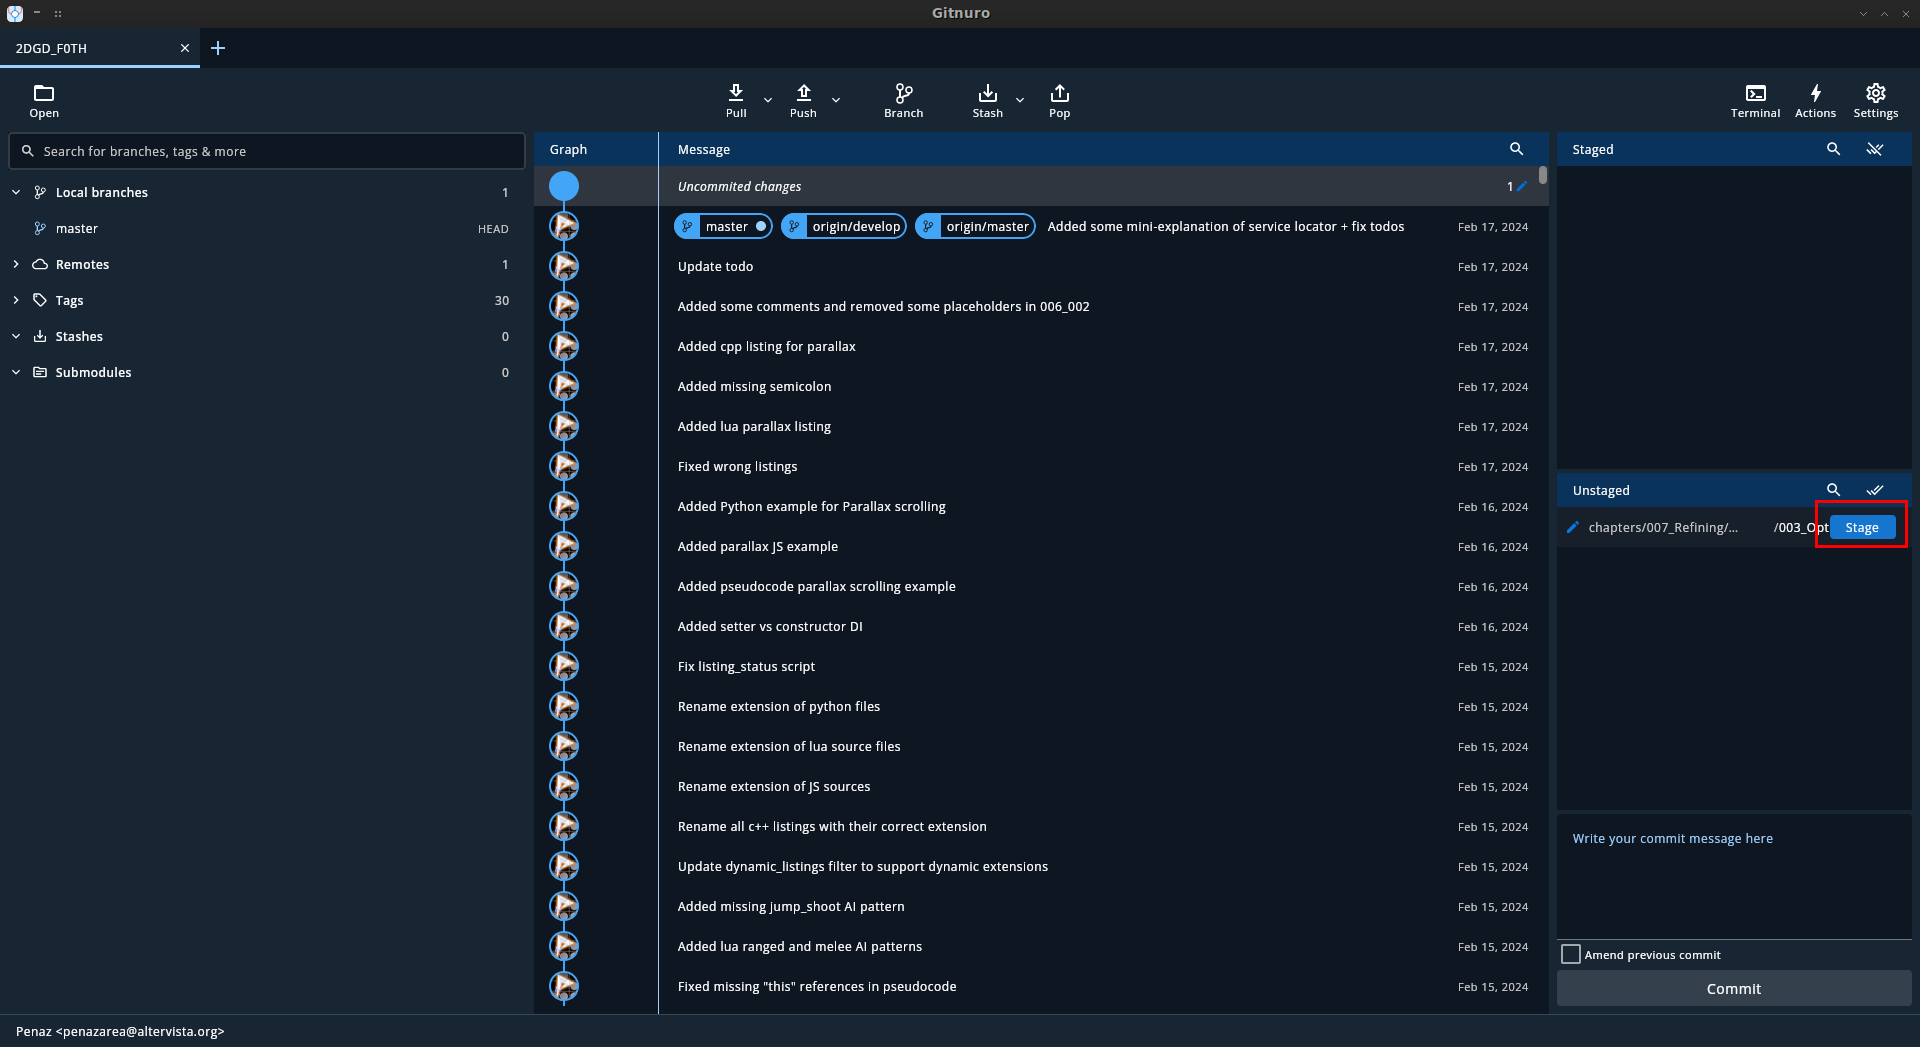
Now we will add our edited file to the "staging area" by clicking on the "stage" button that appears when we hover on the file.
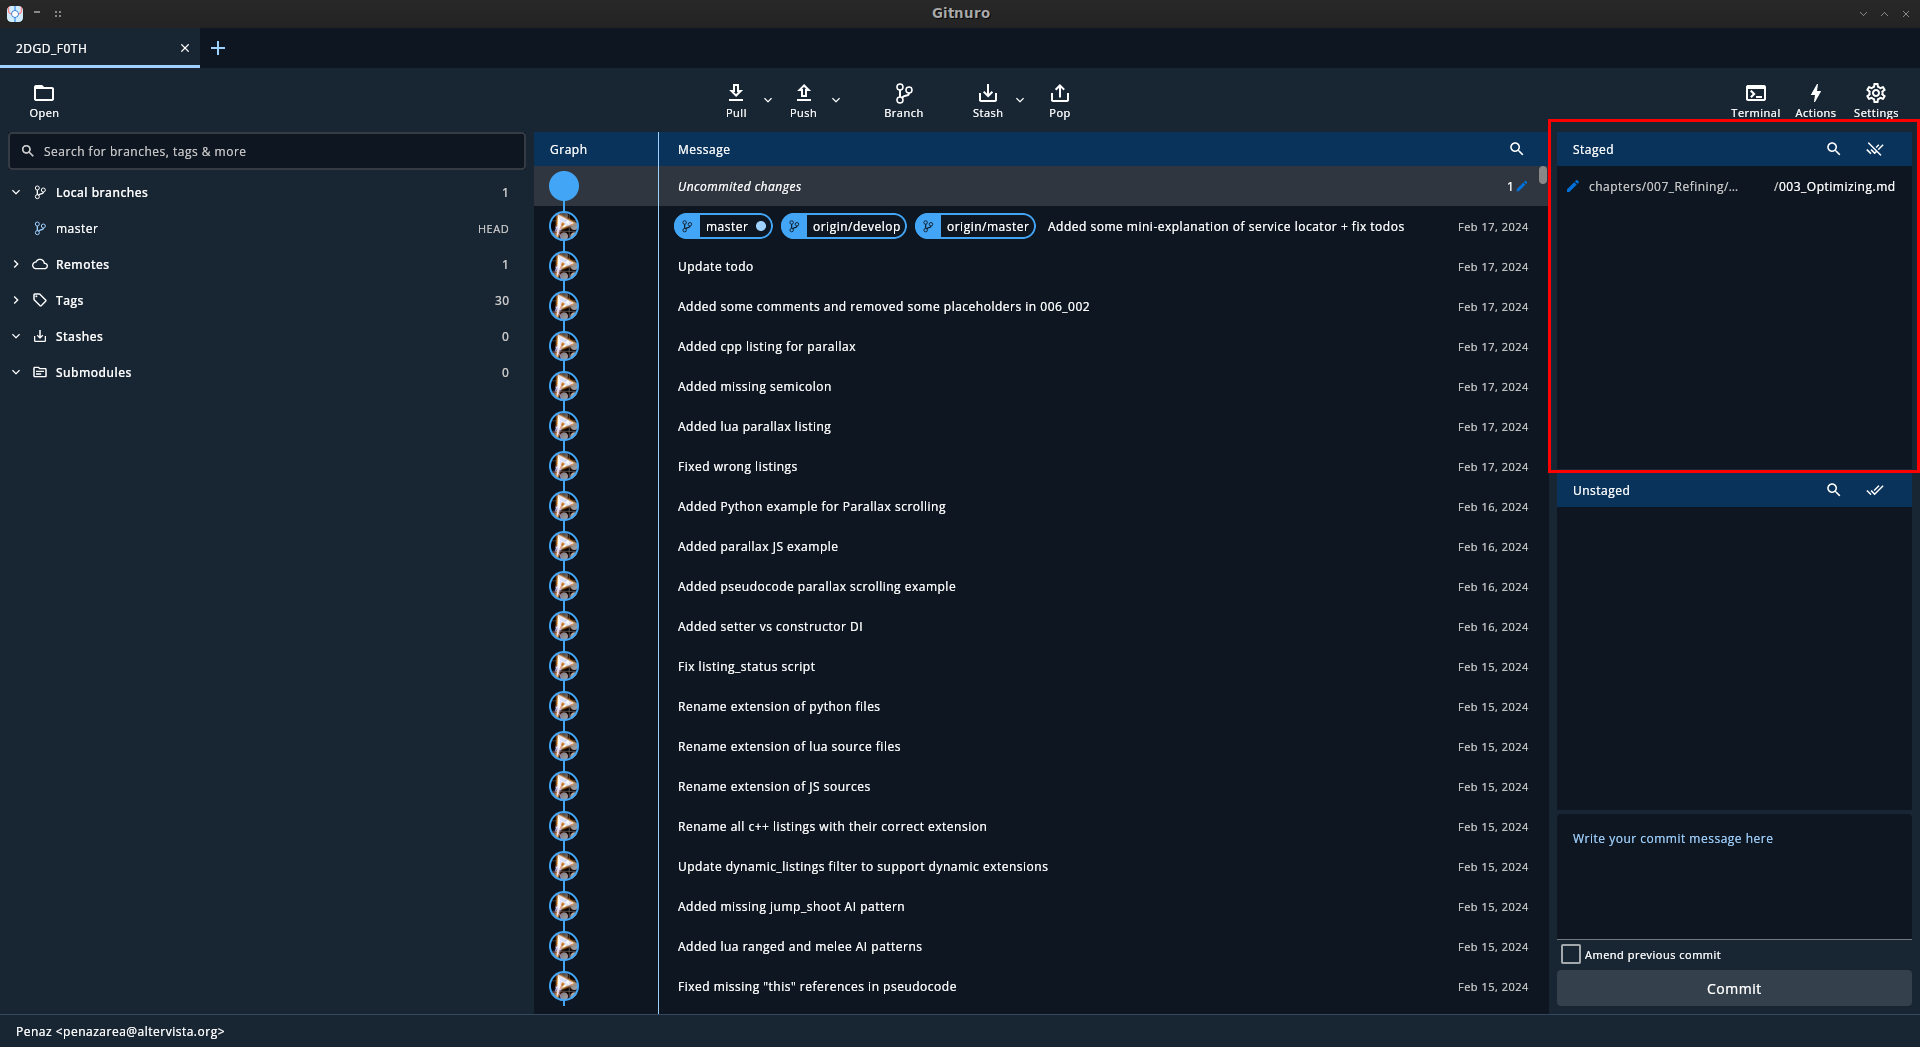
Now the file will have moved to the "staging area". On the top right of the screen.
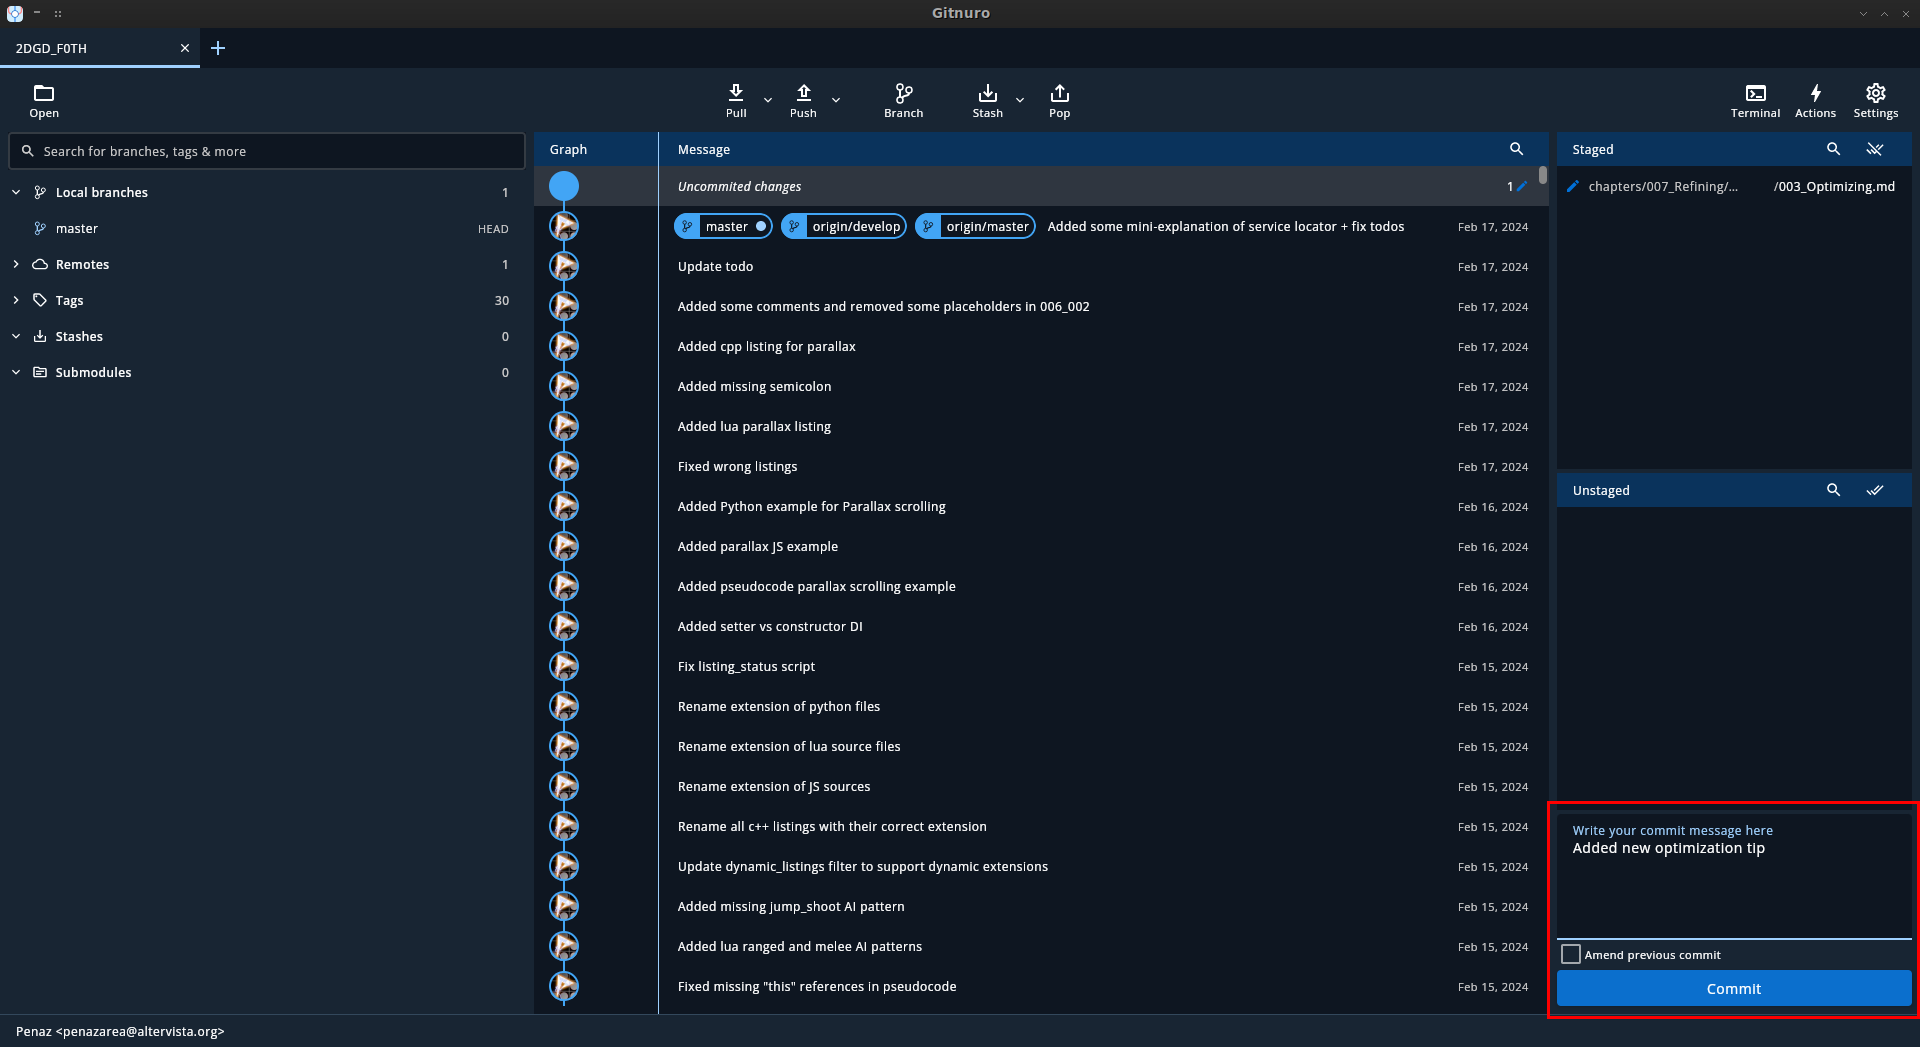
The only thing left to do is writing a very short comment about what we did and click on the "commit" button.
You can see that our new commit appears on the top of the graph. If we want to update our online version, we just need to press the "Push" button. It's possible that Gitnuro will request your GitHub credentials, that is normal.
Now that you have updated your GitHub copy, you can create a merge request towards the official repository, to have your contribution officially added to the book.
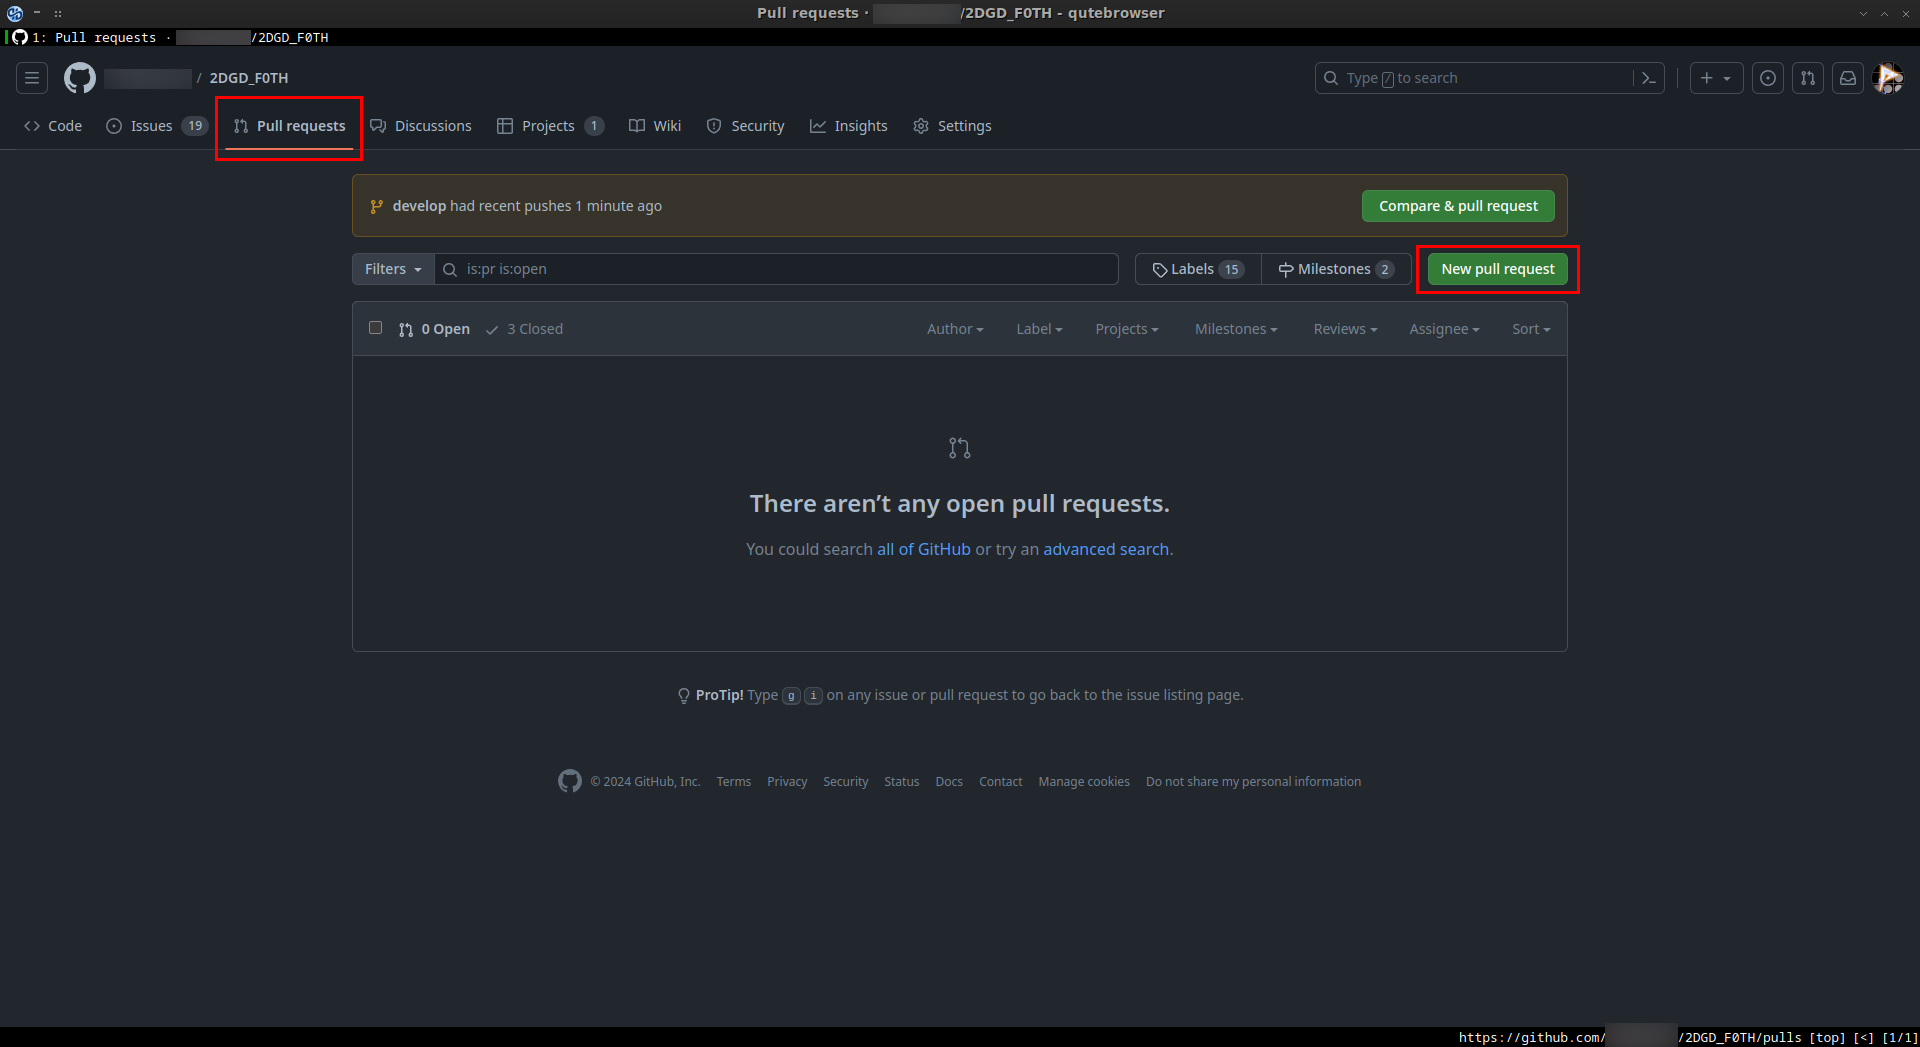
First thing, you need to go to your own copy of the book on GitHub and click on the "Pull Requests" tab. From there, click on "Pull Requests", from there click on the "New Pull Request" button.
From here you may need to click on the "Compare across forks" link and make sure that the repository on the left (the one receiving the pull request) is the original book repository (2DGD_F0TH/2DGD_F0TH), while the one on the right is your personal fork that we created at the beginning.
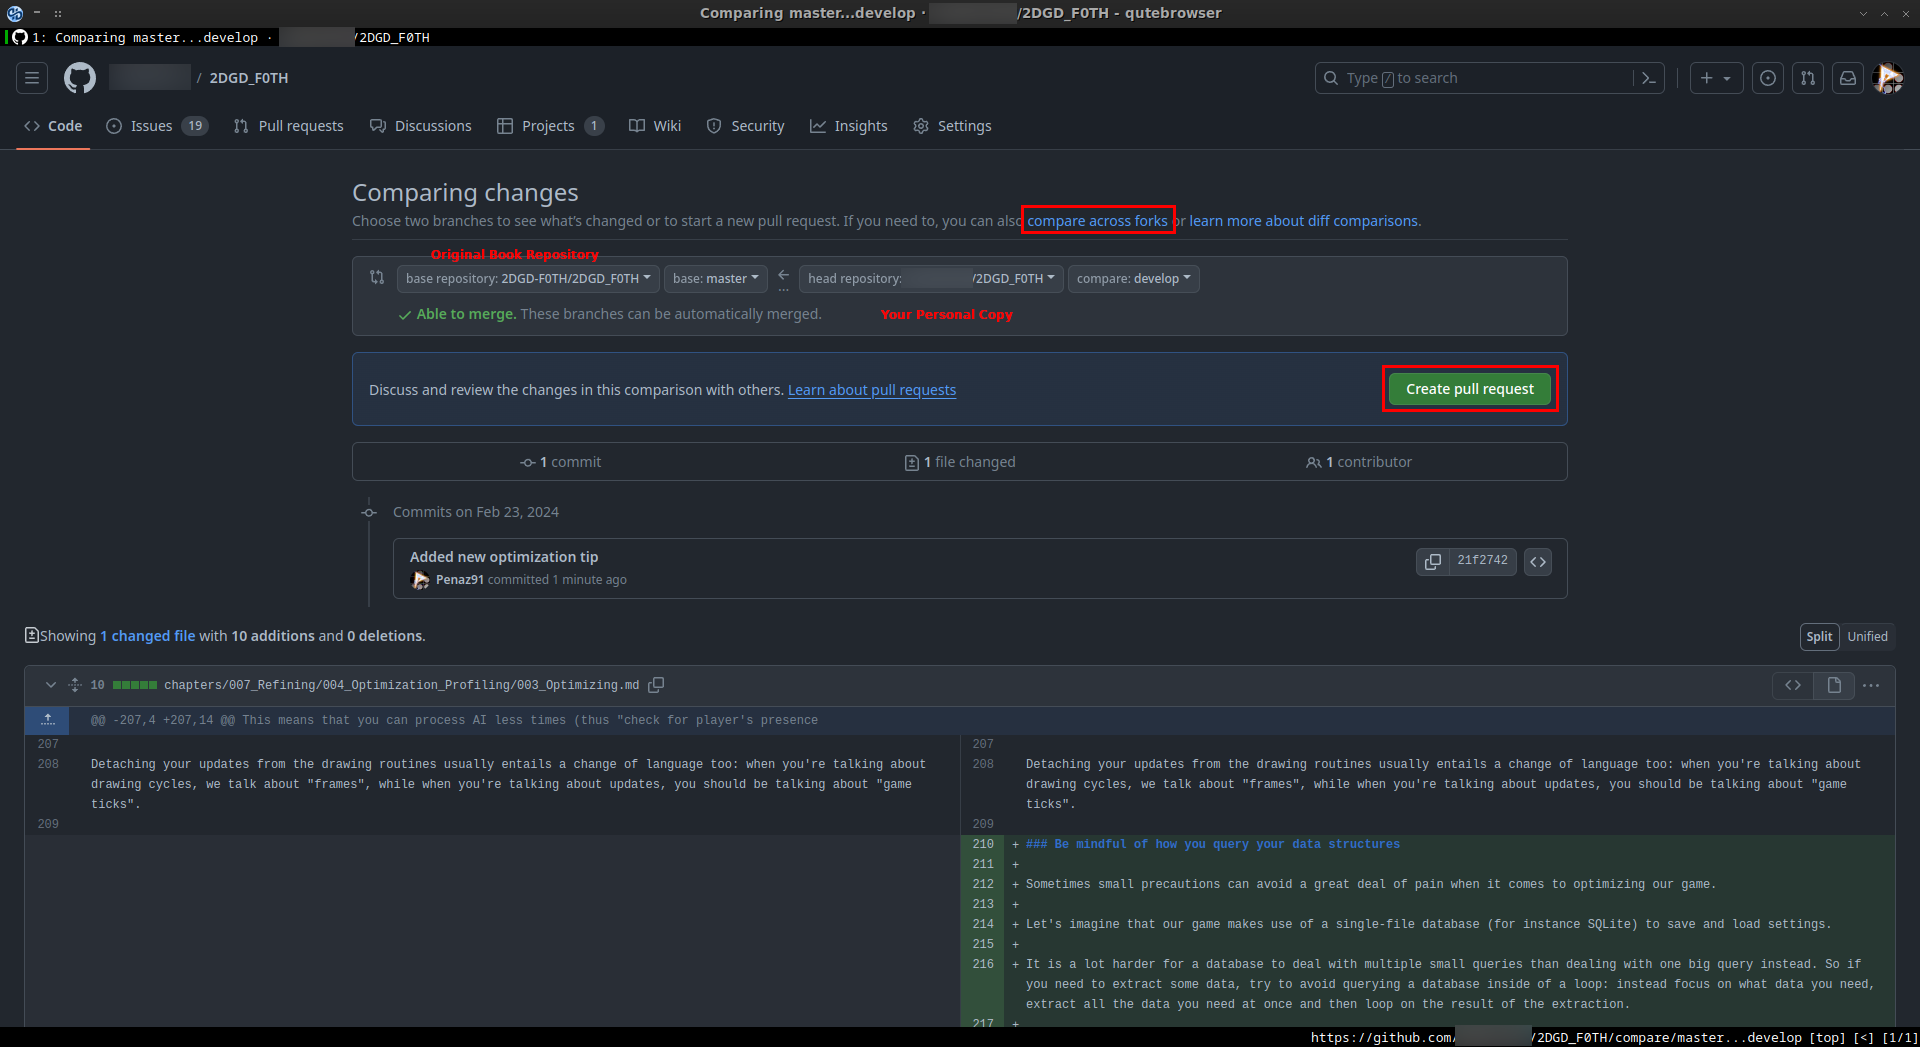
If everything is correct, you will see the page changing and showing the differences between your edited copy (on the right) and the current copy of the book (on the left). After that you can click on "Create Pull Request".
From here, just compile the small questionnaire (it will make it easier to understand what changes have been made and why) and then click on "Create pull request".

Congratulations, you have successfully contributed to the book!