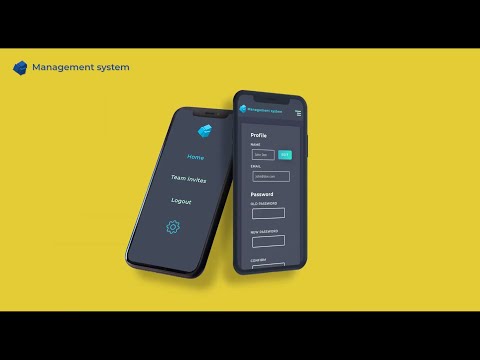
We are proudly announcing, that we have ofiicialy completed our ManagmentSystem project. Perhaps as a developer you do know what managment systems are, as they are an integral part of programmers every day job.
Create your own team, assign roles for the team members and create different projects all in one place!
Check it out on youtube!
If you don't want to run our project locally, you do not have to read anything more, be our guest, and visit our site!
Project is created with:
- TypeScript
- Node.js
- Express.js
- Jest
- React
- Redux
- Redux-Thunk
- MongoDB
- Cypress
To be able to run our project locally, you need to have installed yarn package manager If you do not know if you have it installed on your computer and you still want to run our project follow these steps:
- If you received a number like 'x.x.x' you already have installed npm package manager *on your computer and you can follow the next part, which is installing yarn
- Otherwise, you will have to install it, the best way to do it is installing it globaly by running the command npm install npm@latest -g
- After that you can run again the command from the first line just to confirm that you have succesfully installed required package manager
- To install yarn package manager (faster vesrion of npm) run the commnad npm install --global yarn
- confirm yarn install by tpying command yarn --version
- To run the project locally you will have to create your own MongoDB Atlas account, and have your own cluster/db created here
- Clone this repository
- Open repository in your code editor
- Run command yarn dev:i
- Create .env file within the server catalog, this file should contain important information which lack of will cause fatal errors.
this is the data that you should add into .env file:
MONGO_USER=<you user name>
MONGO_PASSWORD=<your user password>
MONGO_DB_NAME=<your db name>
PORT=5000 < Leave it like that!
ADDRESS=localhost < Leave it like that!
JWT_PRIVATE_KEY=<some random password>
EMAIL=<your email>
PASSWORD=<your email's password>
(PS your email must be an yahoo email, it's complicated, trust me... If you do not however, don't mind visiting this site )
If you would like to run tests, you will need to add additional line to your .env file, which should contain:
NODE_ENV=test
Keep in mind that the app will not work when this line is added, it only allows you to run tests. - Run command yarn start
- For backend tests, move into /Server catalog and run either yarn test or yarn test:c for tests with coverage!
- If you would like to test frontend, in main directory run command yarn test:o
- Enter the local host that was created which should be at http://localhost:3000/
- You can now use our fully functional application!*
(You can see every single endpoint in rest.http file, here are some most important examples)
- POST http://localhost:5000/users/create HTTP/1.1
Content-Type: application/json
{
"name": "sampleName",
"email": "sampleName@sample.com",
"password": "samplePass",
"confirmPassword": "samplePass"
}
- POST http://localhost:5000/login HTTP/1.1
Content-Type: application/json
{
"email": "sampleName@sample.com",
"password": "samplePass"
}
- GET http://localhost:5000/users/me HTTP/1.1
x-auth-token:
- POST http://localhost:5000/teams HTTP/1.1
x-auth-token: <your token>
content-type: application/json
{
"teamName": "sample team"
}
- GET http://localhost:5000/teams/teamId HTTP/1.1
x-auth-token: <your token>
- POST http://localhost:5000/teams/teamId/projects HTTP/1.1
x-auth-token: <your token>
content-type: application/json
{
"projectName": "sample project",
"deadline" : "2021-03-24T17:06:34.928+00:00"
}
- GET http://localhost:5000/teams/teamId/projects/projectId HTTP/1.1
x-auth-token: <your token>
- POST http://localhost:5000/teams/teamId/projects/projectId/tasks HTTP/1.1
x-auth-token: <your token>
content-type: application/json
{
"name": "Task prezentacja",
"content": "Tresc taska",
"deadlineDate": "03/24/2021"
}
- POST http://localhost:5000/teams/teamId/projects/projectId/notes HTTP/1.1
x-auth-token: <your token>
content-type: application/json
{
"content": "Note description",
"name": "Test Note",
"author": {"name": "Maciek", "id": "604f7b21c633a147b03b1f5d"}
}
- POST http://localhost:5000/teams/teamId/projects/projectId/tasks/taskId/comments HTTP/1.1
x-auth-token: <your token>
content-type: application/json
{
"content": "New comment"
}