DDCSV11 Plasma post processor for fusion 360
Includes touch off / pierce routines
This post processor uses a floating head with manual touch-off 'probe' function to detect the workpiece Z height each time the torch is turned on. The code uses the 'onPower' function, a system function that is called by Fusion360 when it detects a change in Z location. This can then be used for torch on and torch off routines including probing and touch off.
The 'Probe Offset' value sets the distance that the probing operation will travel. If your probe function moves in the incorrect direction, simply change the sign of the value.
The onPower function is only available in jet cutting mode
To add the post processor to your machine you will need to copy the file to Fusion360s ‘post’ folder.
On a mac this resides in
Users>MAC USERNAME>Library>Containers>com.autodesk.mas.fusion360>Data>Autodesk>Fusion 360 CAM>Posts
You will need to make hidden files visible to be able to see the Library folder. You can either do this by pressing the OPTION key whilst viewing the ‘Go’ menu in Finder, or you can toggle the visibility of all hidden files by pressing ‘CMD + SHIFT + .’ whist in Finder.
(Note for those still using Windows OS: the path is %appdata%\Autodesk\Fusion 360 CAM\Posts)
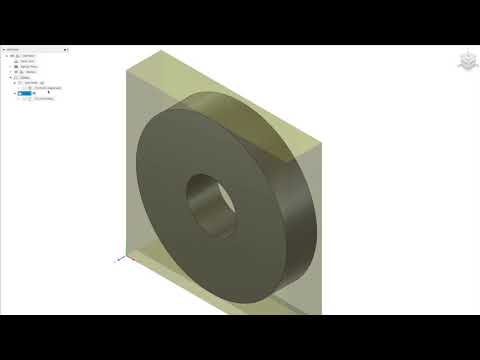
- Make your 2D part in fusion 360
- Go to the manufacture page
- Create a setup using a plasma tool
- Select the paths you want to cut by clicking on the paths
- Make sure that the cut direction arrows are on the outside of the workpiece (or the inside of holes)
- Right click on the operation and select post process
- Select personal posts from the source dialog
- Here you should see the post processor file you added above - DDCSV11-Plasma
- Change the settings for pierce height / pierce delay etc to suit your workpiece.
- Hit the OK button to create your Gcode.
It is advisable to do a test run and note the actual torch height after the probe operation. You will most likely find a small difference, this is normal and is due to the distance between the torch touching the workpiece and the switch activating. Stop the machine and measure the actual cut height. Substract your programmed cut height from this value to give you your probe offset. Rune the post processor again but this time put this vaue into the 'Probe Offset' field. THen tun another test to confirm that the cut height has been corrected. Remember - offset values can be positive or negative.
Individual parameter explainations can be found in the WIKI along with further details on how to use the spot marking function.
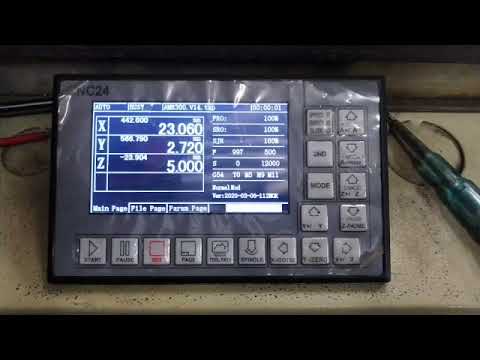
Here's a video of a file made with the post processor demonstrating the sequence of operation
and another video with a step-by-step walkthrough which covers how to install the post processor, how to create a simple model in Fusion360 and how to create CAM toolpaths and export them to Gcode using the manufacture workspace and the DDCSV-Plasma post processor.
https://deeemm.com/general/2020/09/30/ddcsv-fusion360-plasma-post-processor.html
https://deeemm.com/cnc/2020/10/09/fusion360-plasma-spot-marking.html
Raise an issue or try and catch me on discord - https://discord.gg/JVd5qAw
If you find this file of use, please pay it forwards with a random act of kindness.