-
Notifications
You must be signed in to change notification settings - Fork 6
Agent User Keys (setup)
DukeDSClient requires a config file containing an agent_key and a user_key. This requires a Duke NetID.
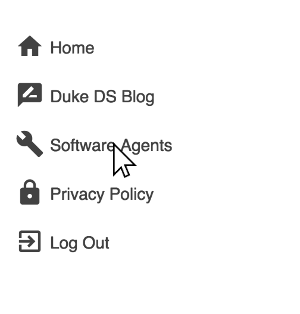
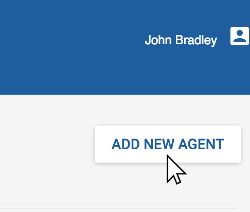
Go to the Duke Data Service Portal.


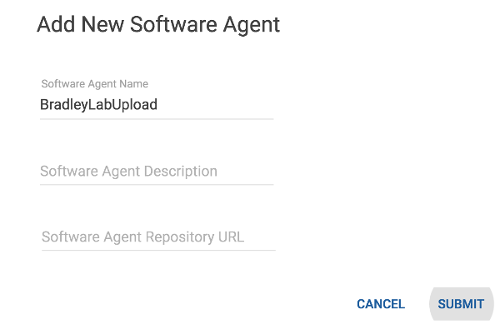
Pick a descriptive name for your software agent as it will be associated with the projects you upload.


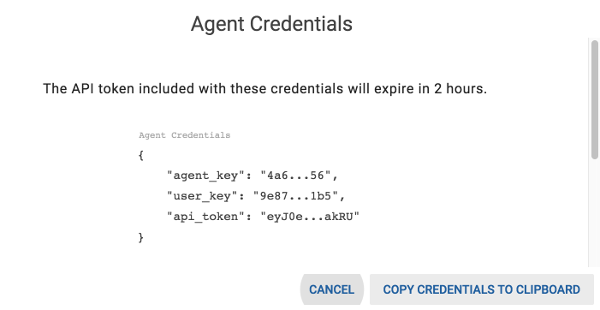
You how have your user and agent key in your clipboard.
Create a file at ~/.ddsclient (do not add .txt or any other extension) and paste your clipboard contents into it.
It should look similar to this:
{
    "agent_key": "<AGENT_KEY>",
    "user_key": "<USER_KEY>",
    "api_token": "<API_TOKEN"
}
If you need help creating the .ddsclient config file we have the following guides:
- Creating the ddsclient config file on a Mac
- Creating the ddsclient config file on a Windows Computer
If you are using Linux or Mac you will need to limit permissions of your config file. To do so run the following command:
chmod 600 ~/.ddsclient
You should be able to now use ddsclient: README.md
If you are working with the uatest or dev servers you will need to add the appropriate url to ~/.ddsclient.
{
    "url": "https://apidev.dataservice.duke.edu/api/v1",
    "agent_key": "<AGENT_KEY>",
    "user_key": "<USER_KEY>",
    "api_token": "<API_TOKEN"
}