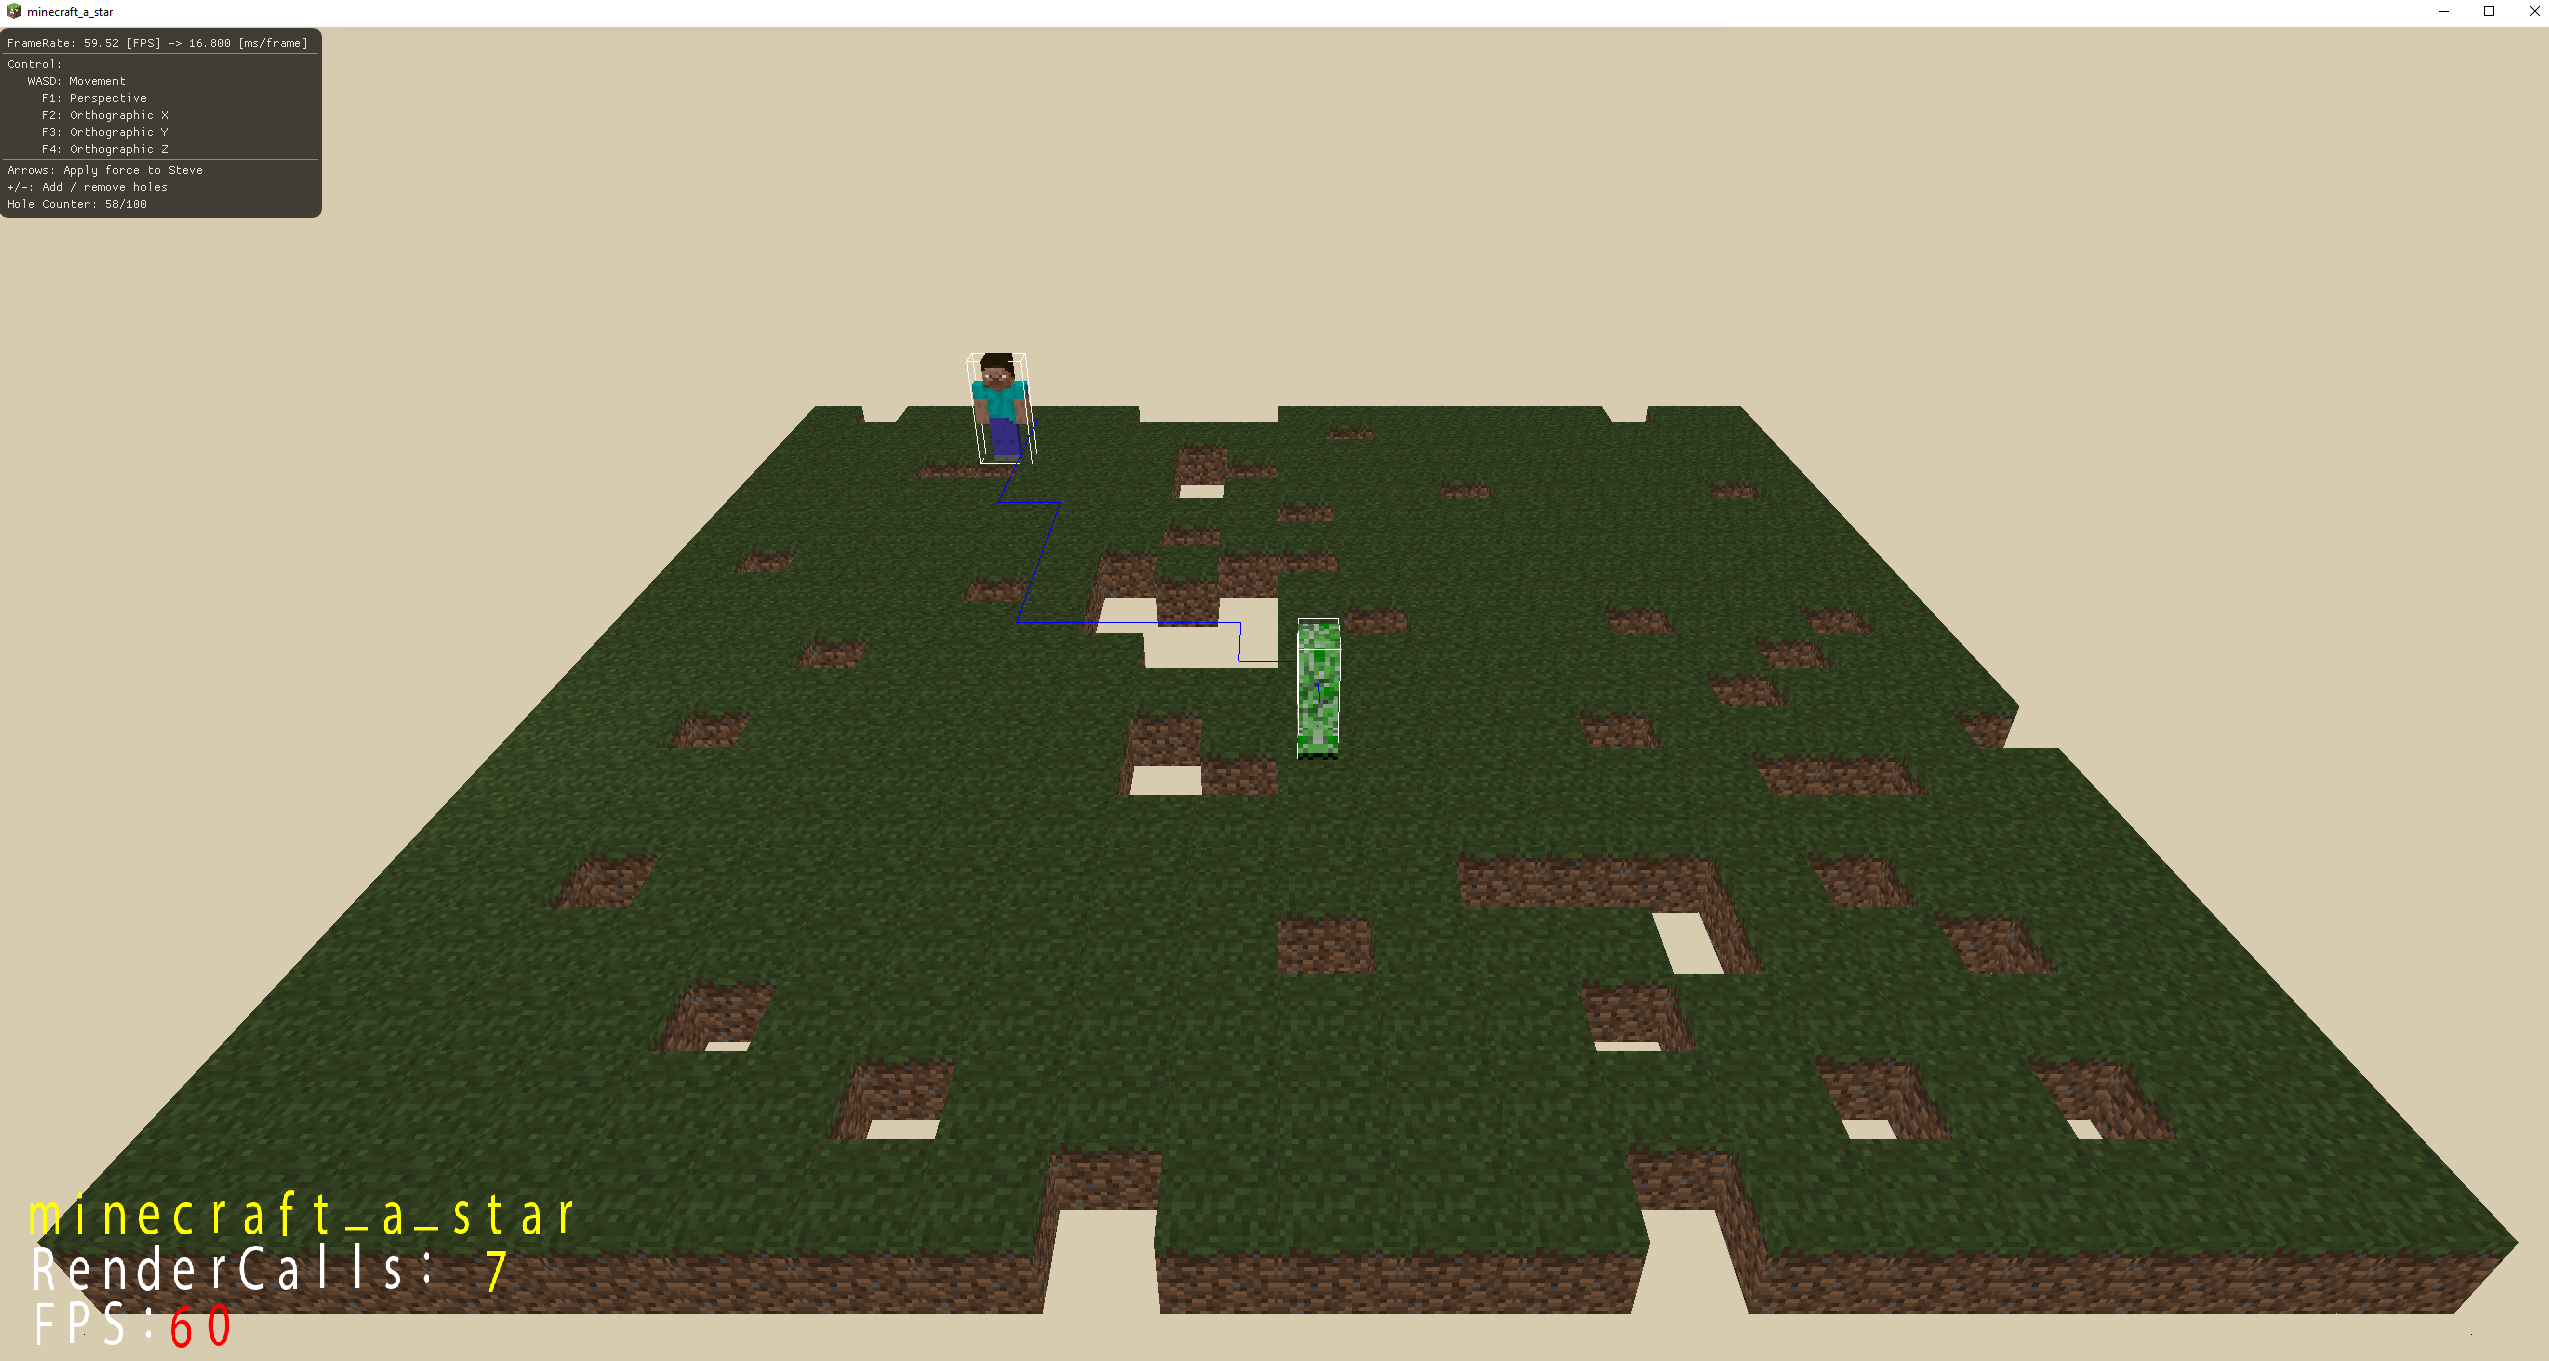
Pathfinding demonstration utilizing the A* algorithm in an OpenGL-rendered environment. Watch Steve from Minecraft get chased by a Creeper until the Creeper blows up!
The project consists entirely of C++ code (besides a few shaders). It leans on the OpenGL library to render the simulation state to the screen. Several libraries (see Dependencies) were utilized to create windows, GUI menus, and handle input. Overall, it demonstrates a mixture of graphical programming alongside game development. The project only works for Windows-based operating systems.
The following headers describe the project setup, design methodology, and any potential "gotchas".
- Clone this repository locally.
- Launch the project in Visual Studio.
- Build and run. All dependencies are included and there should be no issues.
This project maintains a slim directory structure. Since the project will remain small we store all .h files in the src/headers directory and .cpp files in the src directory. The code within each .cpp file should all be on a similar "layer". We define a layer as a level of abstraction above our infrastructure services (file reading, graphics rendering, etc.).
Assets are added within the dependencies/assets folder. You can add shaders and additional objects here.
When setting up the project we had an issue with Visual Studio not running our post-build events. When project files don't change Visual Studio will not run the post-build events. So we set DisableFastUpToDateCheck to true to make sure Visual Studio will re-run our post-build events.
Microsoft uses RC files to embed resources into a .exe. You can then load resources using the FindResource function provided by the libloaderapi header. Note that this function uses wchar pointers as input. Our project uses Unicdoe, so interactions with the Windows API must use wchar's. The documentation below links to these concepts.
We ran into an issue when loading embedded images using a string to identify a resource (instead of an ID provided in the resource.h file). You MUST create a resource using the following steps to identify a resource using a string (or when using the LoadImageFromResource in our FileSystem class).
- Right-click on a folder. Then add a new resource.
- Choose the icon option and click import. The import your image.
- In your Resource View navigate to the newly created ICON resource name which should be IDI_ICON1 or similar. Click on this row in the resource view.
- In the Properties window change the ID to "{resource_name}". The quotes are required to make the resource name a string.
- Open the .rc file recently created. You have to close the Resource View to edit the .rc file.
- Scroll down to the resource you just added it should look something like this:
{resource_name} ICON "minecraft.png"
- Change ICON to RCDATA. Save the file.
- You should now be able to refer to resources as strings.
