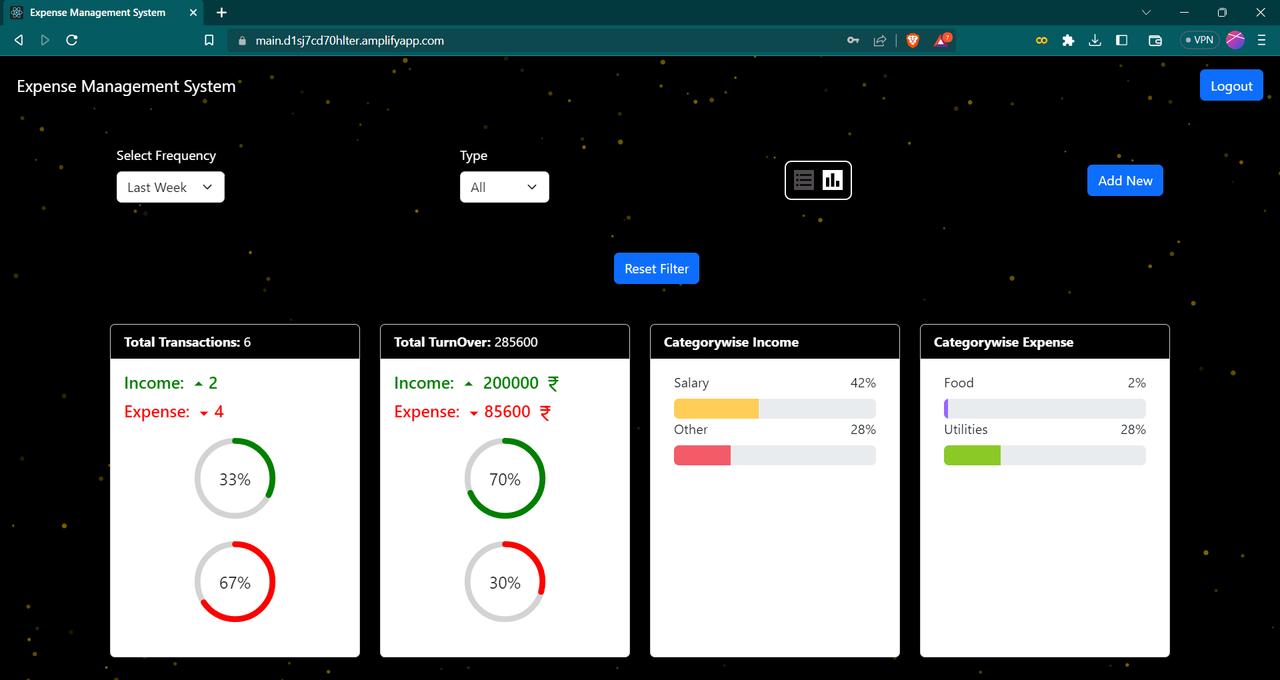
Live Website: https://main.d1sj7cd70hlter.amplifyapp.com/
Vercel Link: https://expense-tracker-app-three-beryl.vercel.app/
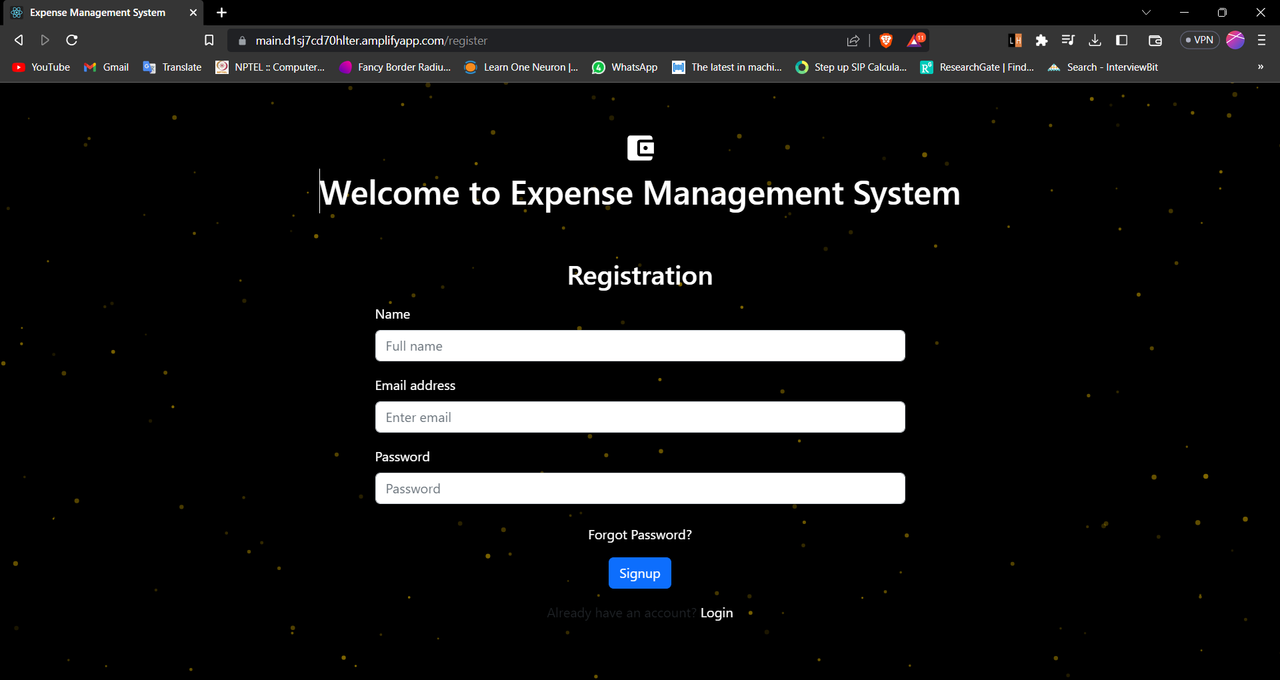
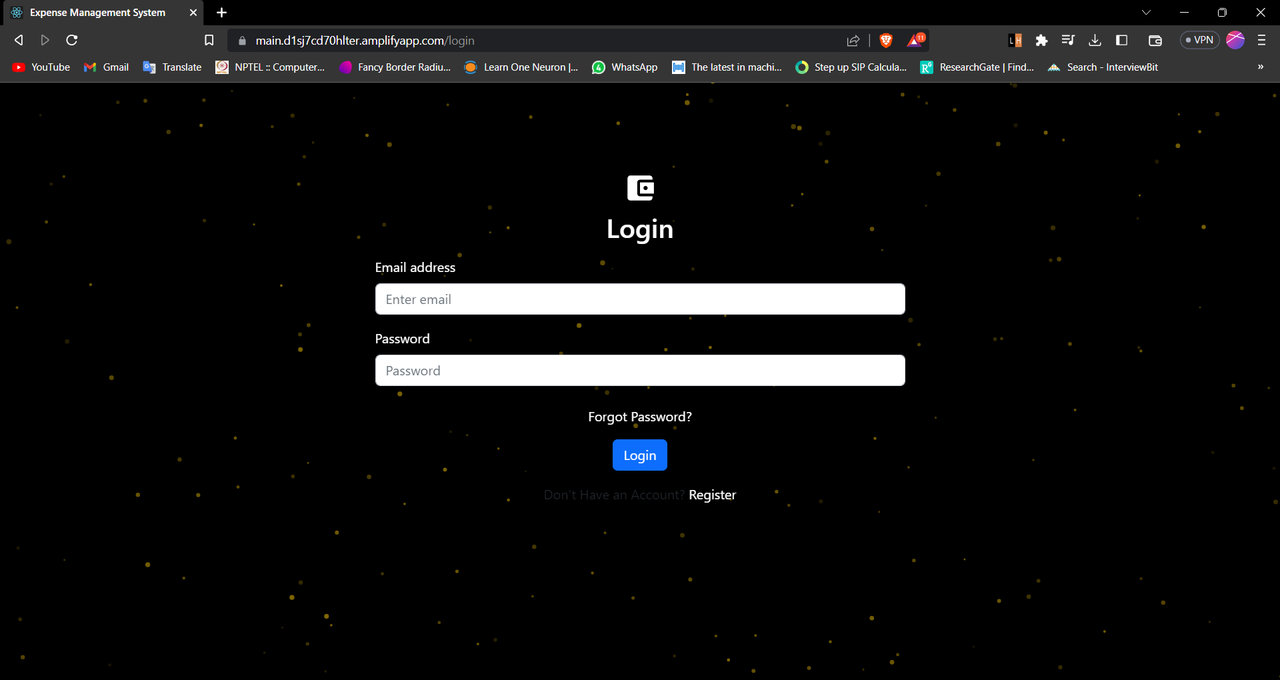
The Expense Management System is a web-based application designed to assist users in tracking and managing their daily expenses. This system is built using the MERN stack (MongoDB, Express.js, React.js, and Node.js) to create a scalable, responsive, and user-friendly application.
1. Simplify expense tracking for individuals and organizations.

2. Provide detailed insights into spending patterns to enable better financial management.

3. Offer a platform for users to create, update, and delete expenses and categories.

4. Generate comprehensive reports based on user-defined time periods and categories.
-
User Authentication and Authorization:
Allow users to sign up and log in to their personal accounts using secure authentication mechanisms. Implement role-based access control for administrative tasks.
-
Expense and Category Management:
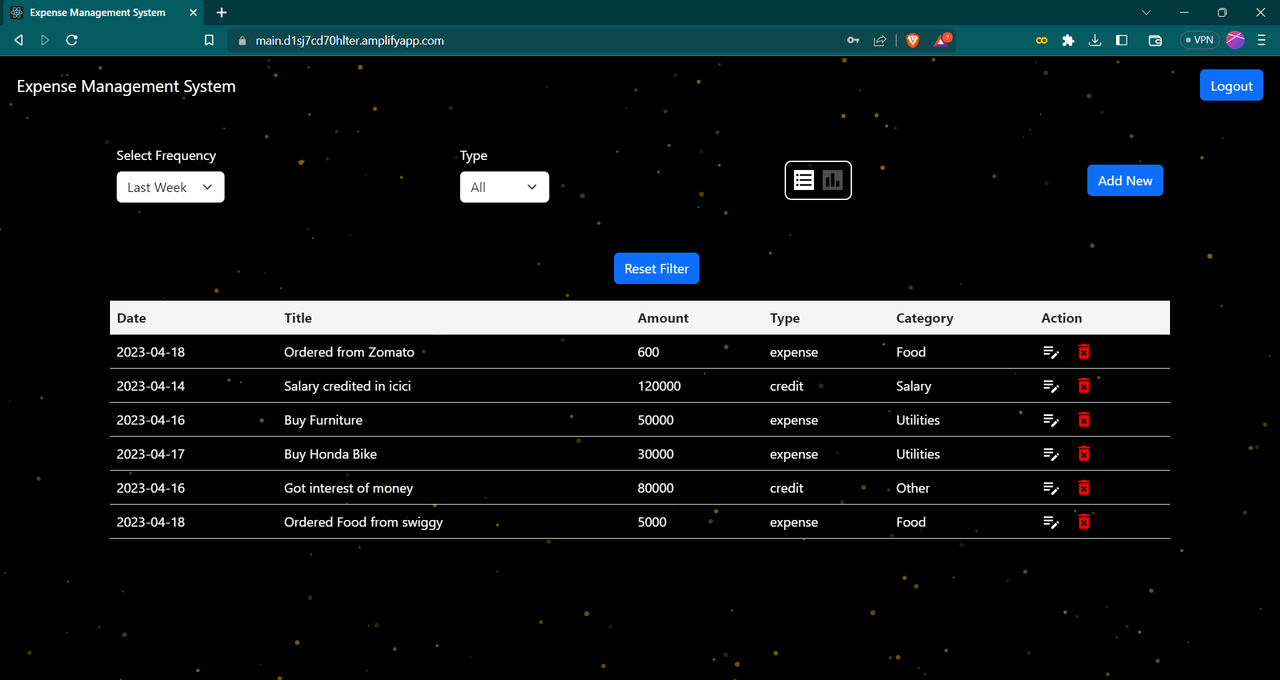
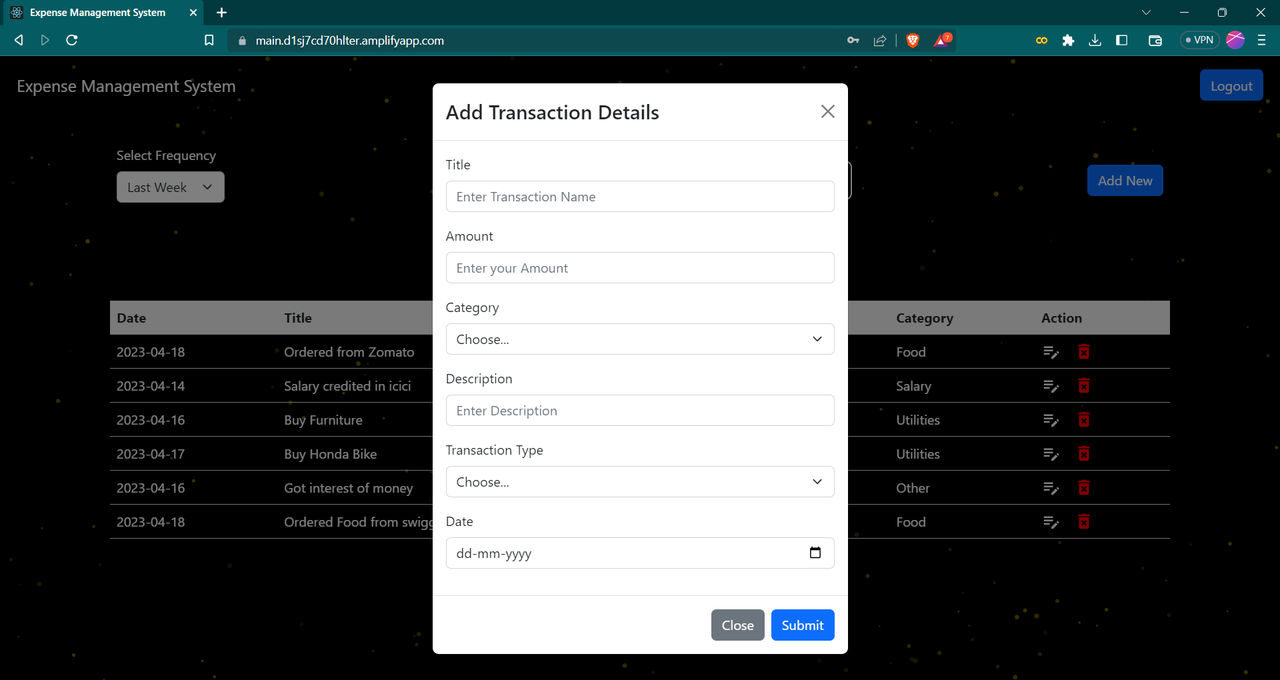
Enable users to create, update, and delete expense entries and categories. Track expenses by date, category, and description. Support attaching receipts or other relevant documents to expense entries.
-
Dashboard and Reporting:
Provide a visual dashboard displaying an overview of the user's expenses, including total expenses, expenses by category, and recent transactions.
Generate reports based on selected date ranges and categories, displaying pie charts and bar graphs to help users understand their spending patterns.
-
Responsive User Interface:
Design a clean, responsive user interface that works seamlessly across desktop, tablet, and mobile devices.
Utilize React.js for building reusable UI components and managing state effectively.
-
Frontend:
Utilize React.js for building the user interface, tsparticle library for awesome background effect and used other libraries like unique-names-generator, react-datepicker, moment
Implement responsive design using CSS frameworks like Bootstrap and Material-Icons.
-
Backend:
Use Node.js and Express.js to build a RESTful API for handling client requests and serving as the application's backend.
Implement authentication and authorization using JSON Web Tokens (JWT) and middleware to protect endpoints.
-
Database:
Store all data, including user information, expense entries, and categories, in MongoDB, a NoSQL database.
Implement Mongoose ORM for schema definition and validation.
-
Deployment:
Deploy the application to a cloud provider like AWS and render. frontend has deployed on AWS and backend on Render.
Set up Continuous Integration and Continuous Deployment (CI/CD) pipelines for automated builds and deployments.
Clone the project
git clone https://github.com/Meetjain1/Expense-TrackerGo to the project directory
cd Expense-Tracker-AppGo to the frontend directory and Install dependencies
cd frontend npm installGo to the backend directory and Install dependencies
cd backend npm installStart the frontend server
npm startStart the backend server
npm run devTo run this project, you will need to add the following environment variables to your .env file in backend folder
create config folder and add config.env file in it and all all env variables there.
MONGO_URL : Your MongoDB Connection String
PORT: PORT number
Client: React, Redux, react-bootstrap, Material Icons, tsparticles
Server: Node, Express
Database: MongoDB
Add badges from somewhere like: shields.io
Insert gif or link to demo
