Installation Guide
First download CrazyAra_X.X.X.zip file and extract it:
For more recent C++ versions, one needs to download and extract the release and model file.
Next you move the model file into the model directory if there is not a model file already.
For releases >= 0.9.0 use the directory model/<variant> (e.g. model/crazyhouse, model/chess...) instead.
The Model_Directory can also be changed via an UCI-Option.
The first engine startup may take several minutes (related issue #54).
This is because the TensorRT-backend will generate hardware specific neural inference files.
Therefore, it is recommended to first start the engine from the command-line (e.g. power-shell, terminal) and issue the command isready.
See Command-Line-Usage for detailed information.
CrazyAra's main component is a neural network which is used to find promising moves and to evaluate a given position. The neural network weights are stored in as a model-*.params-file which is downloadable in the release section.
Put the model-*.params-file in the CrazyAra_X.X.X/model/params/ directory.
The CrazyAra_X.X.X/model/symbol/ directory should contain a model .json file which has the same name prefix as .params and describes the network architecture.
The code is based on python. For running we recommend using a python 3 environment by either downloading it from:
If you're a developer it's recommended to install anaconda python 3 which brings many default packages and a jupyter notebook environment.
or miniconda which is a more compact version of anaconda:
CrazyAra uses MXNET as it's Deep Learning Framework.
To install it, start a terminal window / cmd.exe / powershell and type
pip install mxnet==1.X.X
(where X stands for the version number e.g. mxnet==1.4.1).
If you also have python 2.7 installed on your system (e.g. on mac) you should replace pip with pip3.
It's recommended to install the most recent mxnet verison on your system. You can check which is the most recent version on: https://pypi.org/project/mxnet/
Alternatively, if you use conda or miniconda you can use
conda install mxnet==1.X.X
instead.
If you have an Intel-CPU it's recommended to install the mkl-version MXNET via:
pip install mxnet-mkl==1.X.X
If you have also a NVIDIA graphics card please use
pip install mxnet-cuXYmkl==1.X.X
(for this you must have CUDA (https://developer.nvidia.com/cuda-zone) and preferably CUDNN (https://developer.nvidia.com/cudnn) configured on your system).
For more details follow the installation instructions on:
Note You must install a version >= 1.3.1 otherwise you will get an error when loading neural network weights like:
MXNetError: Cannot find argument 'count_include_pad'
After installing mxnet. You can check if it works correctly using the following commands on your terminal/cmd.exe
python
from mxnet import nd
nd.array(((1,2,3),(5,6,7)))
this should result in an output like this
[[ 1.  2.  3.]
 [ 5.  6.  7.]]
<NDArray 2x3 @cpu(0)>
- Trouble-Shooting:
If this doesn't work you might need to install
cythonas well by typing:pip install cython
The remaining dependency package is the python-chess library by niklasf (https://github.com/niklasf/python-chess) To install it use:
pip install python-chess
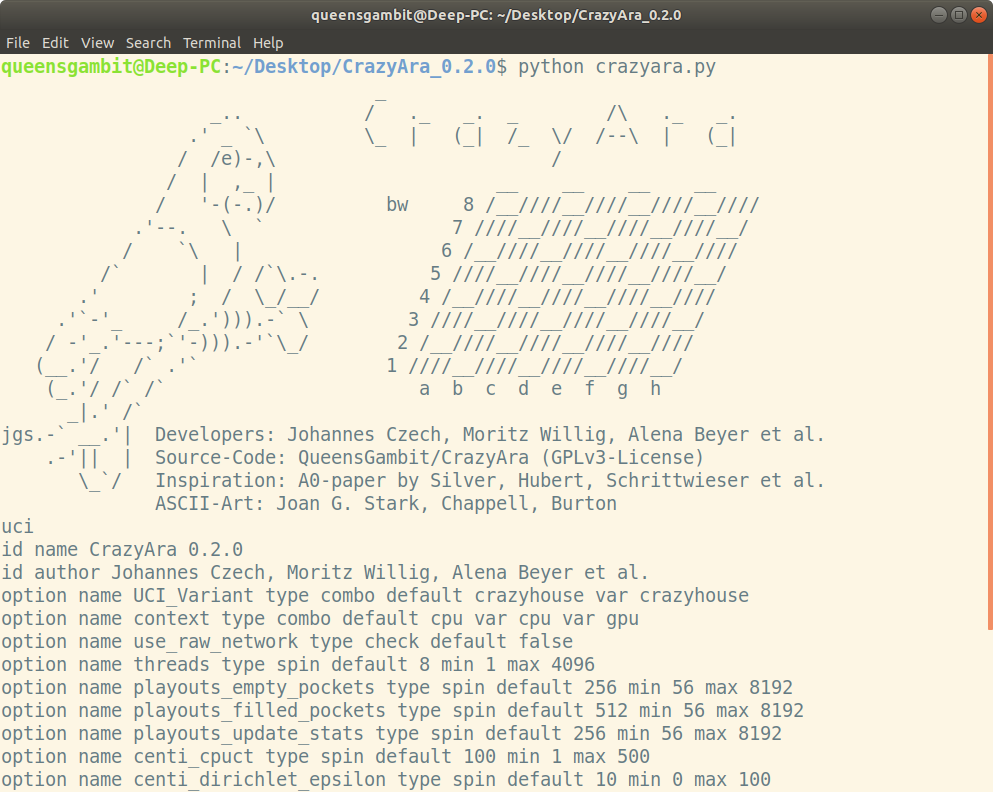
- launch a terminal and navigate to the
CrazyAra_X.X.X-directory and runpython ./crazyara.py
- navigate to the
CrazyAra_X.X.X-directory and pressShift+RightMouseClick->Open PowerShell window here. - run
python ./crazyara.py
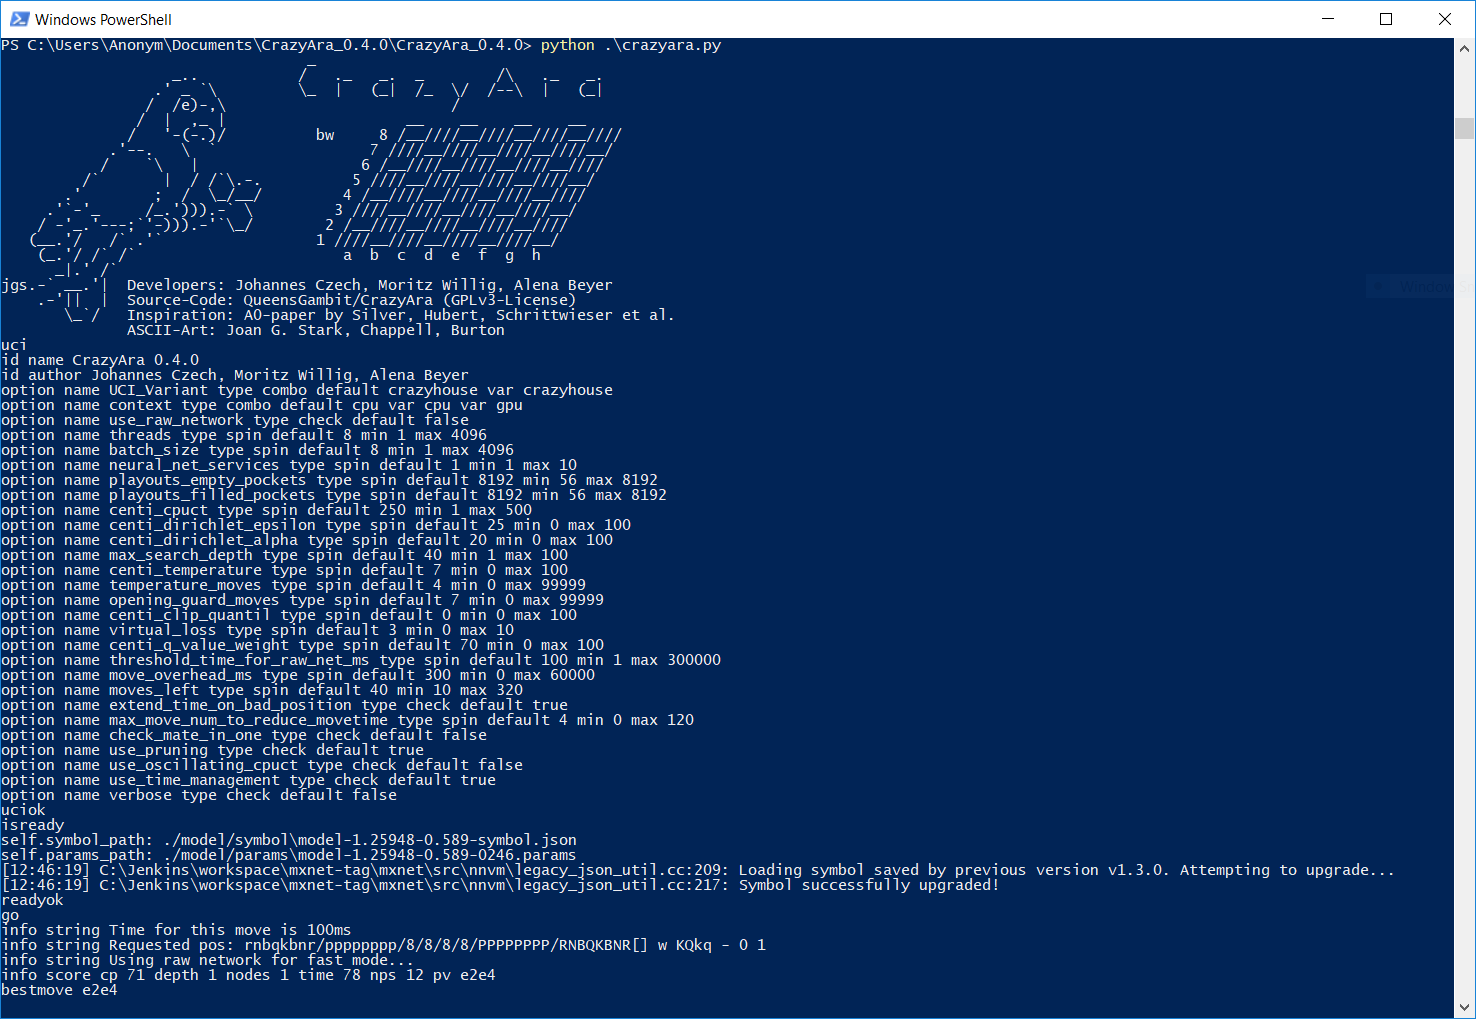
Start the command: uci, and you will be given the uci-options.
Next you can type: isready, and you should see the following output:
isready
self.symbol_path: ./model/symbol/model-1.25948-0.589-symbol.json
self.params_path: ./model/params/model-1.25948-0.589-0246.params
readyok
To start a prediction type
position startpos
and then go.
After some time you should get an output like this:
info nps 29 time 8782
info score cp 110 depth 9 nodes 257 time 8782 pv e2e4 e7e6 d2d4 d7d5 e4e5 g8e7 g1f3
bestmove e2e4
More information about using CrazyAra from the command line can be found here: Command line usage
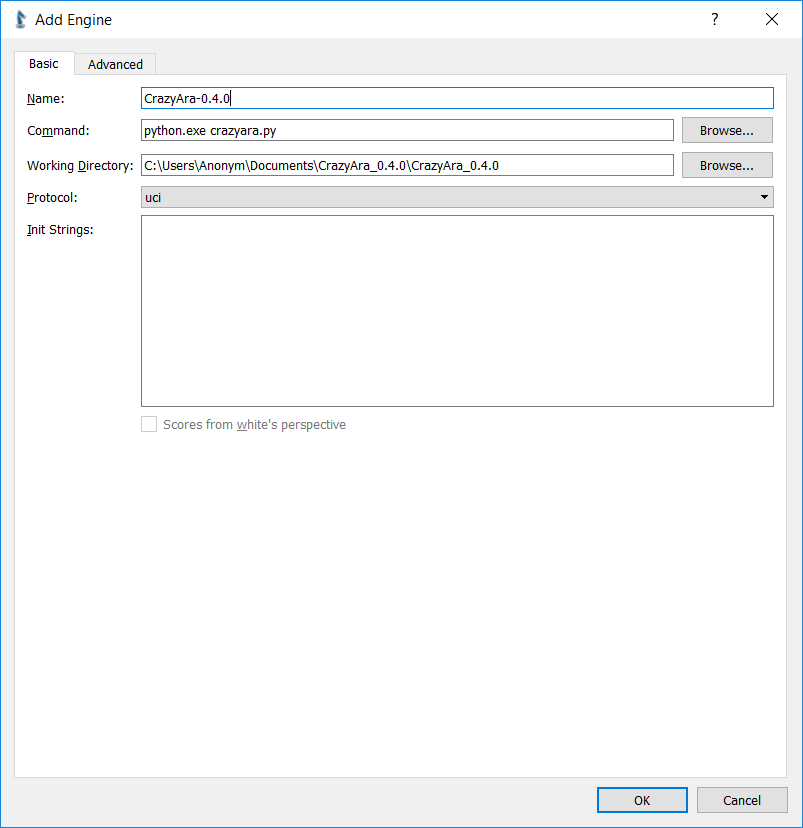
If you want to play against CrazyAra or let it play against other engines, you can install Cute-Chess (https://cutechess.com/, https://github.com/cutechess/cutechess) which is a graphical chess interface.
After installing CuteChess go to Tools - > Settings -> Engine Tab -> +
Note: You must set the Command: field to your python executable (e.g. C:\Users\<UserName>\AppData\Local\Programs\Python\Python37\python.exe) and the Working Directory: field to your CrazyAra_X.X.X/ directory.

After switching to the advanced tab you should see the following or similar engine settings.
Configure Engine Tab->Advanced
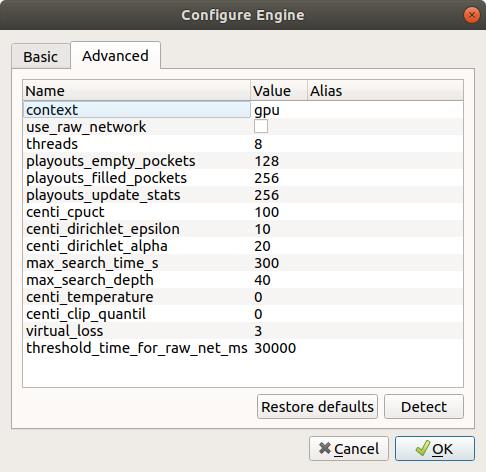

The most important setting is to switch between CPU and GPU as well as setting the number of threads.
For a more detailed description about the engine settings please visit:
https://github.com/QueensGambit/CrazyAra/wiki/Engine-settings
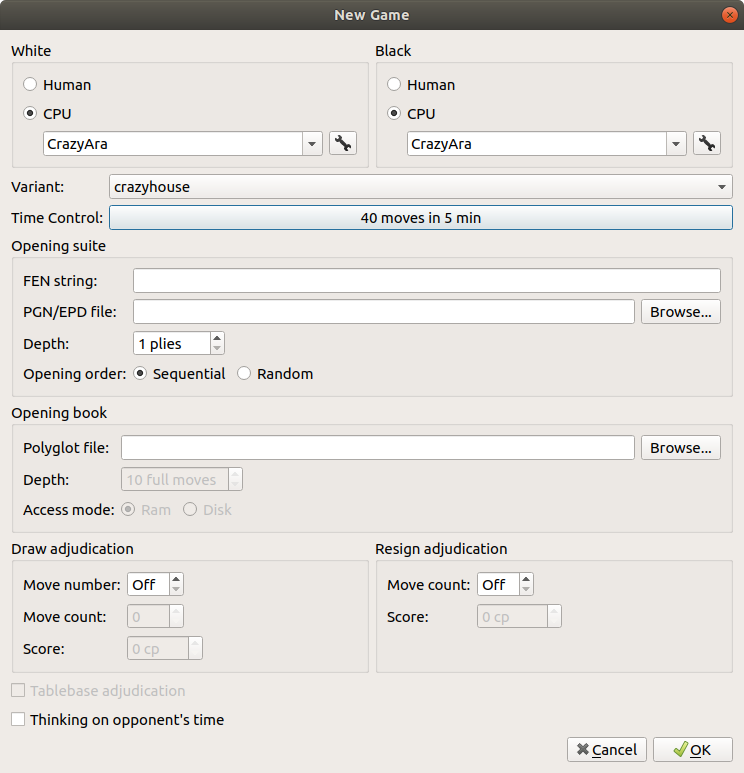
For starting a new game select Game -> New and choose crazyhouse as the variant.
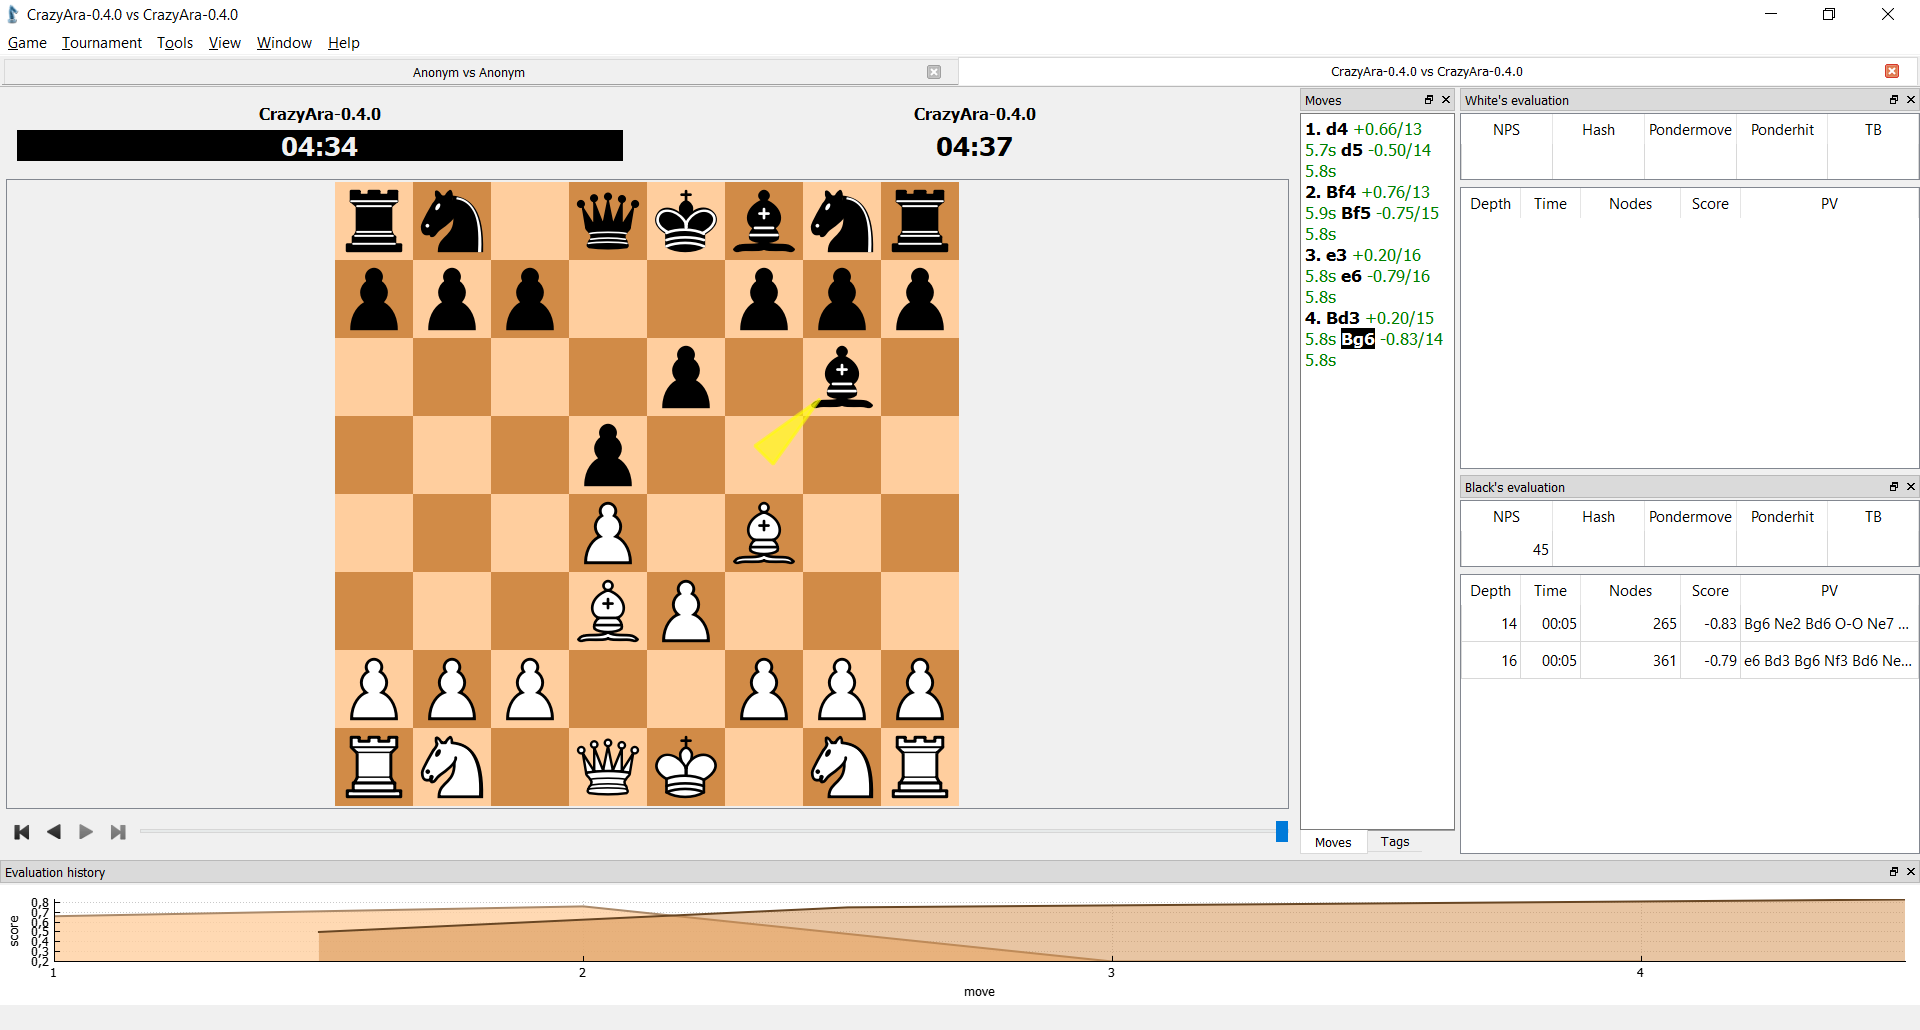
Congratulation! If everything went well you can either play vs CrazyAra yourself or generate engine vs engine games:
When running CrazyAra a CrazyAra-log.txt file is generated in CrazyAra_X.X.X/ which logs info messages and possible exceptions or error messages.
If you run into any issue feel free to create a Github-Issue.