-
Notifications
You must be signed in to change notification settings - Fork 145
RubyMine Project Setup
Lets start with creating a RubyMine project for TestUp.

When creating a project for an existing extension RubyMine will prompt you to confirm that you want to create a project from existing sources. Accept this.

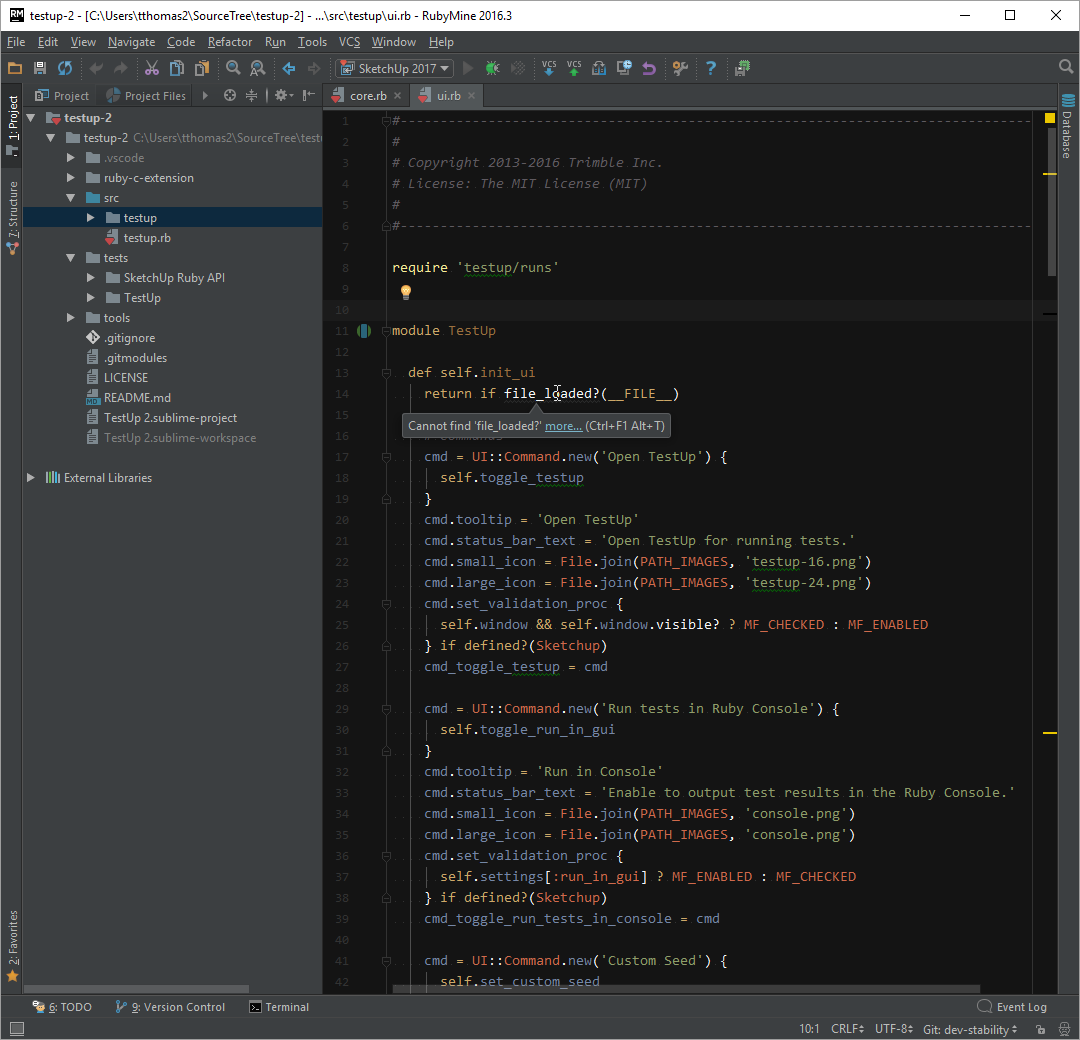
A fresh project looks quite minimal. You can find the project files under the Project tab on the left hand side.

Note: This step is just for convenience. If you don't care about the warnings you can skip to the next section.
Once loaded we find that RubyMine isn't aware of the SketchUp Ruby API.

We can make it ware of the API by adding stubs for it. We provide the stubs via a GitHub repository and also as a Ruby Gem.
For RubyMine it's easiest to use the gem.
Add a Gemfile in the root of your RubyMine project:
source 'https://rubygems.org'

group :development do
  gem 'minitest' # Not needed for the stubs, but useful for tests.
  gem 'sketchup-api-stubs'
end
RubyMine will pick up this Gemfile and offer to install the listed gems if they are missing on your system.
Once installed RubyMine will use the gem stubs to provide code insight for the SketchUp Ruby API.
We can see how RubyMine immediately have a better insight to the SketchUp Ruby API and highlight less warnings.

But still we are getting some warnings for methods that comes from sketchup.rb in the SketchUp/Tools folders. Let us add that folder as well.
Go to File > Settings > Project Structure

Now RubyMine is aware of everything related to the SketchUp Ruby API.
Some last things we should do is mark the appropriate folders so that RubyMine knows about the SketchUp load path which is different from a standard Ruby installation. We also want to prevent RubyMine from parsing folders it doesn't need to parse.
Right click a folder in the Project panel and look for the "Mark Directory As" menu item:


We want to exclude Tools/RubyStdLib because it will confuse RubyMine. RubyMine is also looking for the standalone Ruby installation.
Also exclude the testup-2/ruby-c-extension folder - no need to parse that.
Next we mark the folders in TestUp that include the test units. This is also for convenience such that RubyMine knows what to include in auto-complete and other analysis.

Finally we want to set the load paths;
testup-2/src - because when debugging we will load from this folder so to make RubyMine resolve require and load statements correctly we need to mark this as Load Path Root.
Tools/ - Same thing with the SketchUp Tools folder - in order to make RubyMine understand require 'sketchup.rb' we need to add this folder as well.
You then have a folder setup that looks like this:

The benefit of setting up load paths is that RubyMine can warn you when a require statement cannot be resolved. If you don't care about the warnings RubyMine emit you can ignore this.