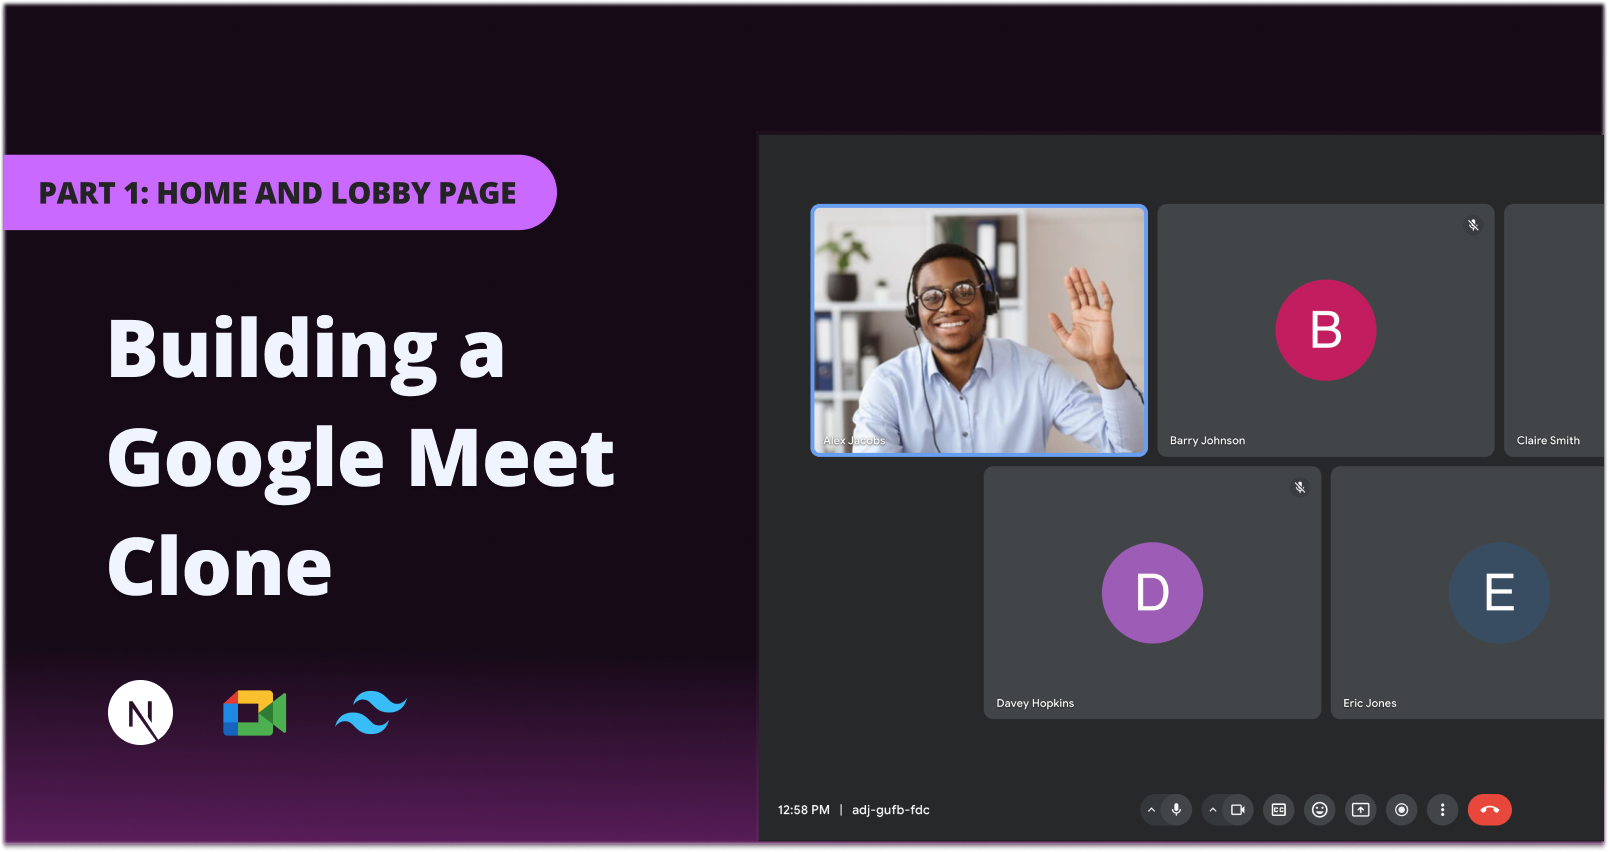
A video conferencing application that replicates the core functionalities of Google Meet. Built using Next.js, TypeScript, and Stream's Video and Chat SDKs, this application allows users to conduct virtual meetings with real-time video, audio, and messaging capabilities.
- User Authentication: Secure user authentication using Clerk for both registered users and guests.
- Meeting Lobby: Users can configure audio and video settings before joining a meeting.
- Dynamic Video Layouts: Supports grid and speaker layouts with smooth animations using GSAP.
- Screen Sharing: Participants can share their screens during the meeting.
- Real-time Messaging: Integrated chat functionality using Stream Chat SDK.
- Meeting Recordings: Ability to record meetings and access recordings afterward.
- Responsive Design: Fully responsive UI built with Tailwind CSS.
- Interactive Controls: Users can mute/unmute audio, enable/disable video, and more.
You can access a live demo of the application here.
- Node.js (v14 or higher)
- npm or yarn
- Stream Account: Sign up for a free account at Stream
- Clerk Account: Sign up for a free account at Clerk
- ngrok: For exposing your local server to the internet
-
Clone the Repository
git clone https://github.com/yourusername/google-meet-clone.git cd google-meet-clone -
Install Dependencies
npm install # or yarn install -
Set Up Stream Dashboard
- Create a new Stream app with video calling and chat messaging enabled.
- Update Permissions:
- Navigate to Roles & Permissions under Chat messaging.
- Select the user role and messaging scope.
- Edit permissions to enable:
- Create Message
- Read Channel
- Read Channel Members
- Save and confirm changes.
-
Set Up Clerk Dashboard
-
Set Up ngrok
Set up an ngrok tunnel for the
/webhooksroute. -
Configure Clerk Webhooks
-
Set Up Environment Variables
Create a
.env.localfile in the root directory and add your Stream and Clerk API keys:NEXT_PUBLIC_STREAM_API_KEY=your_stream_api_key STREAM_API_SECRET=your_stream_api_secret NEXT_PUBLIC_CLERK_PUBLISHABLE_KEY=your_clerk_publishable_key CLERK_SECRET_KEY=your_clerk_secret_key NEXT_PUBLIC_CLERK_SIGN_IN_URL=/sign-in NEXT_PUBLIC_CLERK_SIGN_UP_URL=/sign-up WEBHOOK_SECRET=your_clerk_webhook_signing_secret
-
Run the Development Server
npm run dev
# or
yarn dev
The application will be available at
http://localhost:3000. -
Create a New Meeting
- Visit
http://localhost:3000. - Click on New Meeting to generate a unique meeting link.
- Visit
-
Join a Meeting
- Configure your audio and video settings in the lobby.
- Enter the meeting and start collaborating!
- Next.js: React framework for server-side rendering and routing.
- TypeScript: Typed superset of JavaScript.
- Tailwind CSS: Utility-first CSS framework.
- GSAP: Animation library for smooth transitions.
- Stream Video SDK: Provides video calling functionality.
- Stream Chat SDK: Enables real-time messaging.
- Clerk: User management and authentication.
- ngrok: Exposes local servers to the internet securely.
This project is licensed under the MIT License.
