A smart clock project built with ESP32 that features WiFi connectivity, real-time weather updates, and a web configuration interface.
- 📱 6-digit LED display showing time in 24-hour format
- 🌐 Automatic time synchronization via NTP
- 🌞 Automatic DST (Daylight Saving Time) adjustment for UK time
- 🌡️ Current weather display from OpenWeatherMap
- 🔧 Web-based configuration interface
- 🔘 Three-button interface for different functions
- 💾 Persistent settings storage using SPIFFS
- ESP32 development board
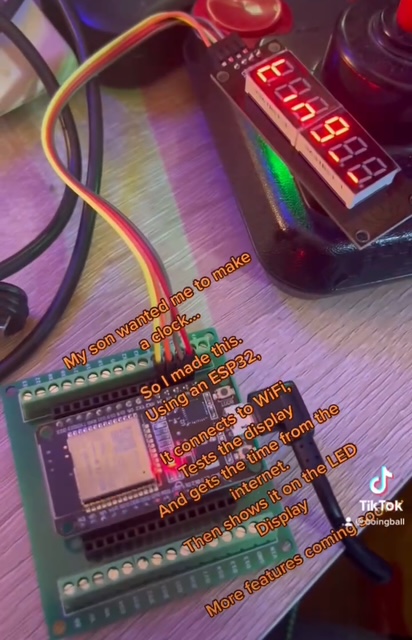
- TM1637 6-digit LED display
- 3 push buttons (Red, Green, Blue)
- USB cable for programming
- 5V power supply
| Component | ESP32 GPIO |
|---|---|
| Display CLK | GPIO15 |
| Display DIO | GPIO2 |
| Blue Button | GPIO23 |
| Red Button | GPIO21 |
| Green Button | GPIO19 |
- TM1637TinyDisplay6
- WiFi
- HTTPClient
- Arduino_JSON
- Bounce2
- Chrono
- WebServer
- SPIFFS
- FS
- Install the Arduino IDE
- Add ESP32 board support to Arduino IDE
- Install all required libraries through the Arduino Library Manager
- Clone this repository:
git clone https://github.com/boingball/ArduinoTinyClock/ArduinoTinyClock.git
- Open the project in Arduino IDE
- Upload the code to your ESP32
- Power on the device while holding the green button
- The display will show "CONFIG"
- Connect to the WiFi network "ClockConfig" (password: "password")
- Visit http://192.168.4.1 in your web browser
- Fill in the configuration form:
- WiFi network credentials
- OpenWeatherMap API key
- Your location's latitude and longitude
- Save the configuration
- The device will restart and connect to your WiFi network
- First press: Enter stopwatch mode
- Second press: Start timing
- Third press: Stop timing
- Fourth press: Exit stopwatch mode
- Press to show current date (DDMMYY)
- Press again to return to clock
- Press to show current temperature
- While in weather mode, press green button for wind speed
- Press red button again to return to clock
- Shows time in 24-hour format (HHMMSS)
- Automatically syncs with NTP server
- Handles DST transitions automatically for UK time
To enter configuration mode:
- Hold the green button while powering on
- Connect to "ClockConfig" WiFi network
- Visit http://192.168.4.1
| Display Message | Meaning | Solution |
|---|---|---|
| NO CFG | No configuration found | Enter config mode and set up device |
| Sync. | NTP sync failed | Check internet connection |
| Cannot Get Weather | Weather API error | Verify API key and connection |
This project is licensed under the MIT License - see the LICENSE file for details.
- Fork the Project
- Create your Feature Branch (
git checkout -b feature/AmazingFeature) - Commit your Changes (
git commit -m 'Add some AmazingFeature') - Push to the Branch (
git push origin feature/AmazingFeature) - Open a Pull Request
- Uses OpenWeatherMap for weather data
- Built with ESP32 and Arduino framework
- Special thanks to all library maintainers
Darren Banfi - @boingball
Project Link: https://github.com/boingball/ArduinoTinyClock