Crust Cloud User Guide
Crust Cloud is a functional platform based on the Crust decentralized storage protocol. As of now, it has integrated a selected set of functions such as encrypted wallet, staking and cloud storage, and is expected to support the data market and more applications in the future.
This document details the functions and usage of the Crust Cloud (beta version). If you happen to find any bugs or come up with suggestions for improvement during your use of our product, please submit them to [Github] (https://github.com/crustio/crust/issues/new) or contact our official WeChat assistant: crust_kele, and you can also join our Telegram Group. We are very pleased to welcome you to Crust Cloud.
Notes:
-
Currently, Crust Cloud is running on the testnet of Crust Network. The testnet is not very stable and some functions are still in iteration. Please do not store in it files that are very important.
-
No actual economic effects or benefits will be generated during this current testnet stage.
-
For other common concerns such as backup, node selection, charging standards, we have corresponding designs and plans for them, which will be seen in upcoming versions.
Cryptocurrency wallet is the key to entering the blockchain world, where all interactions are completed through transactions. In Crust Cloud, wallets are mainly responsible for token transfer, staking and payment, which by nature are all transactions.
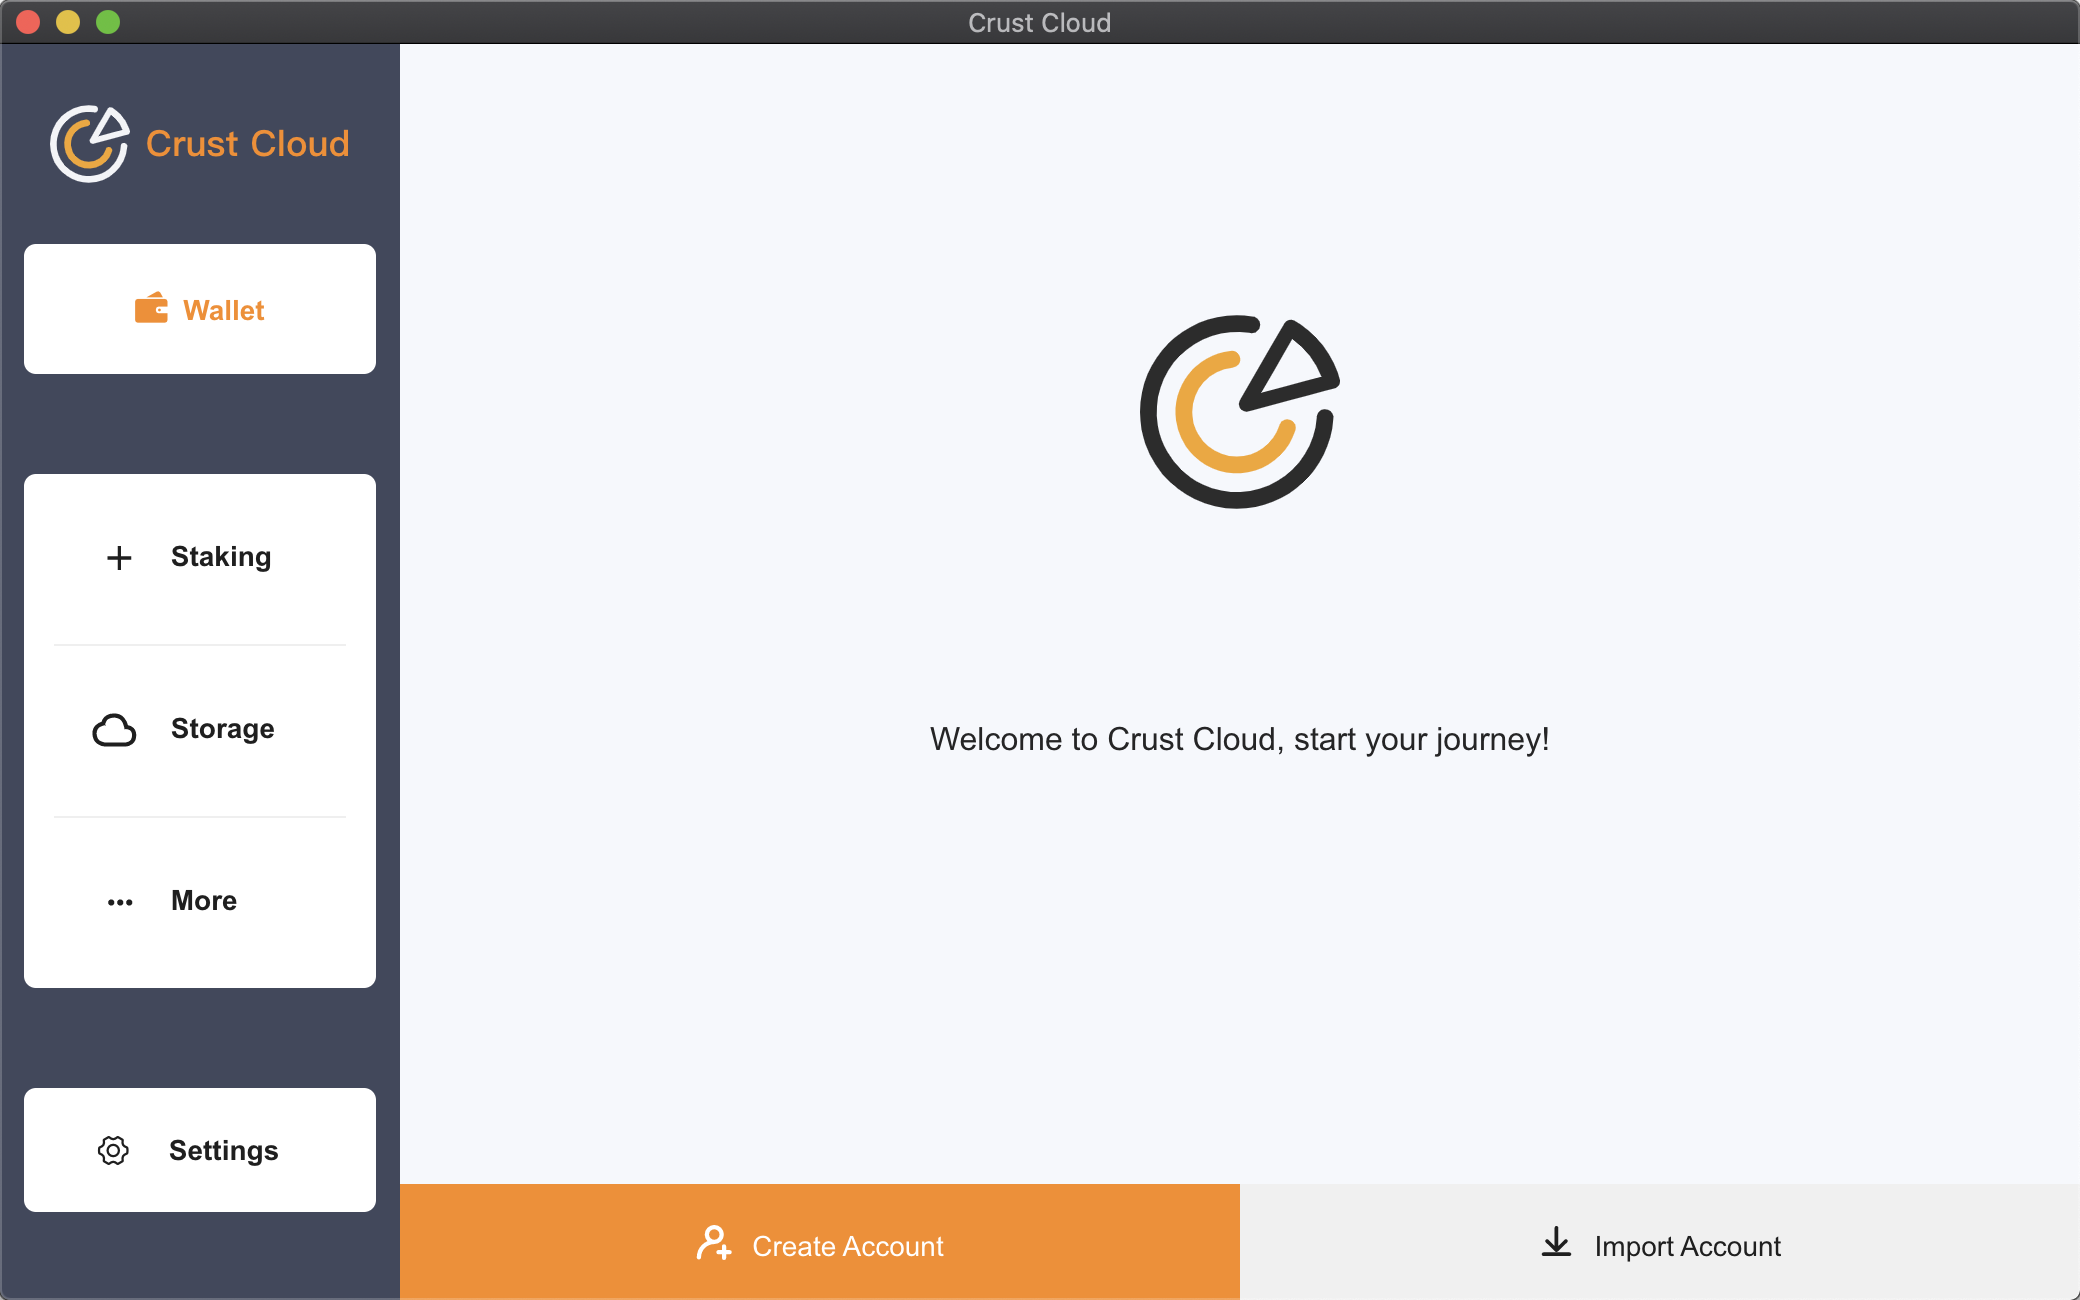
As above shown, the first step after you have downloaded and completed the app installation is to create or import an account when you come to the homepage of Crust Cloud.
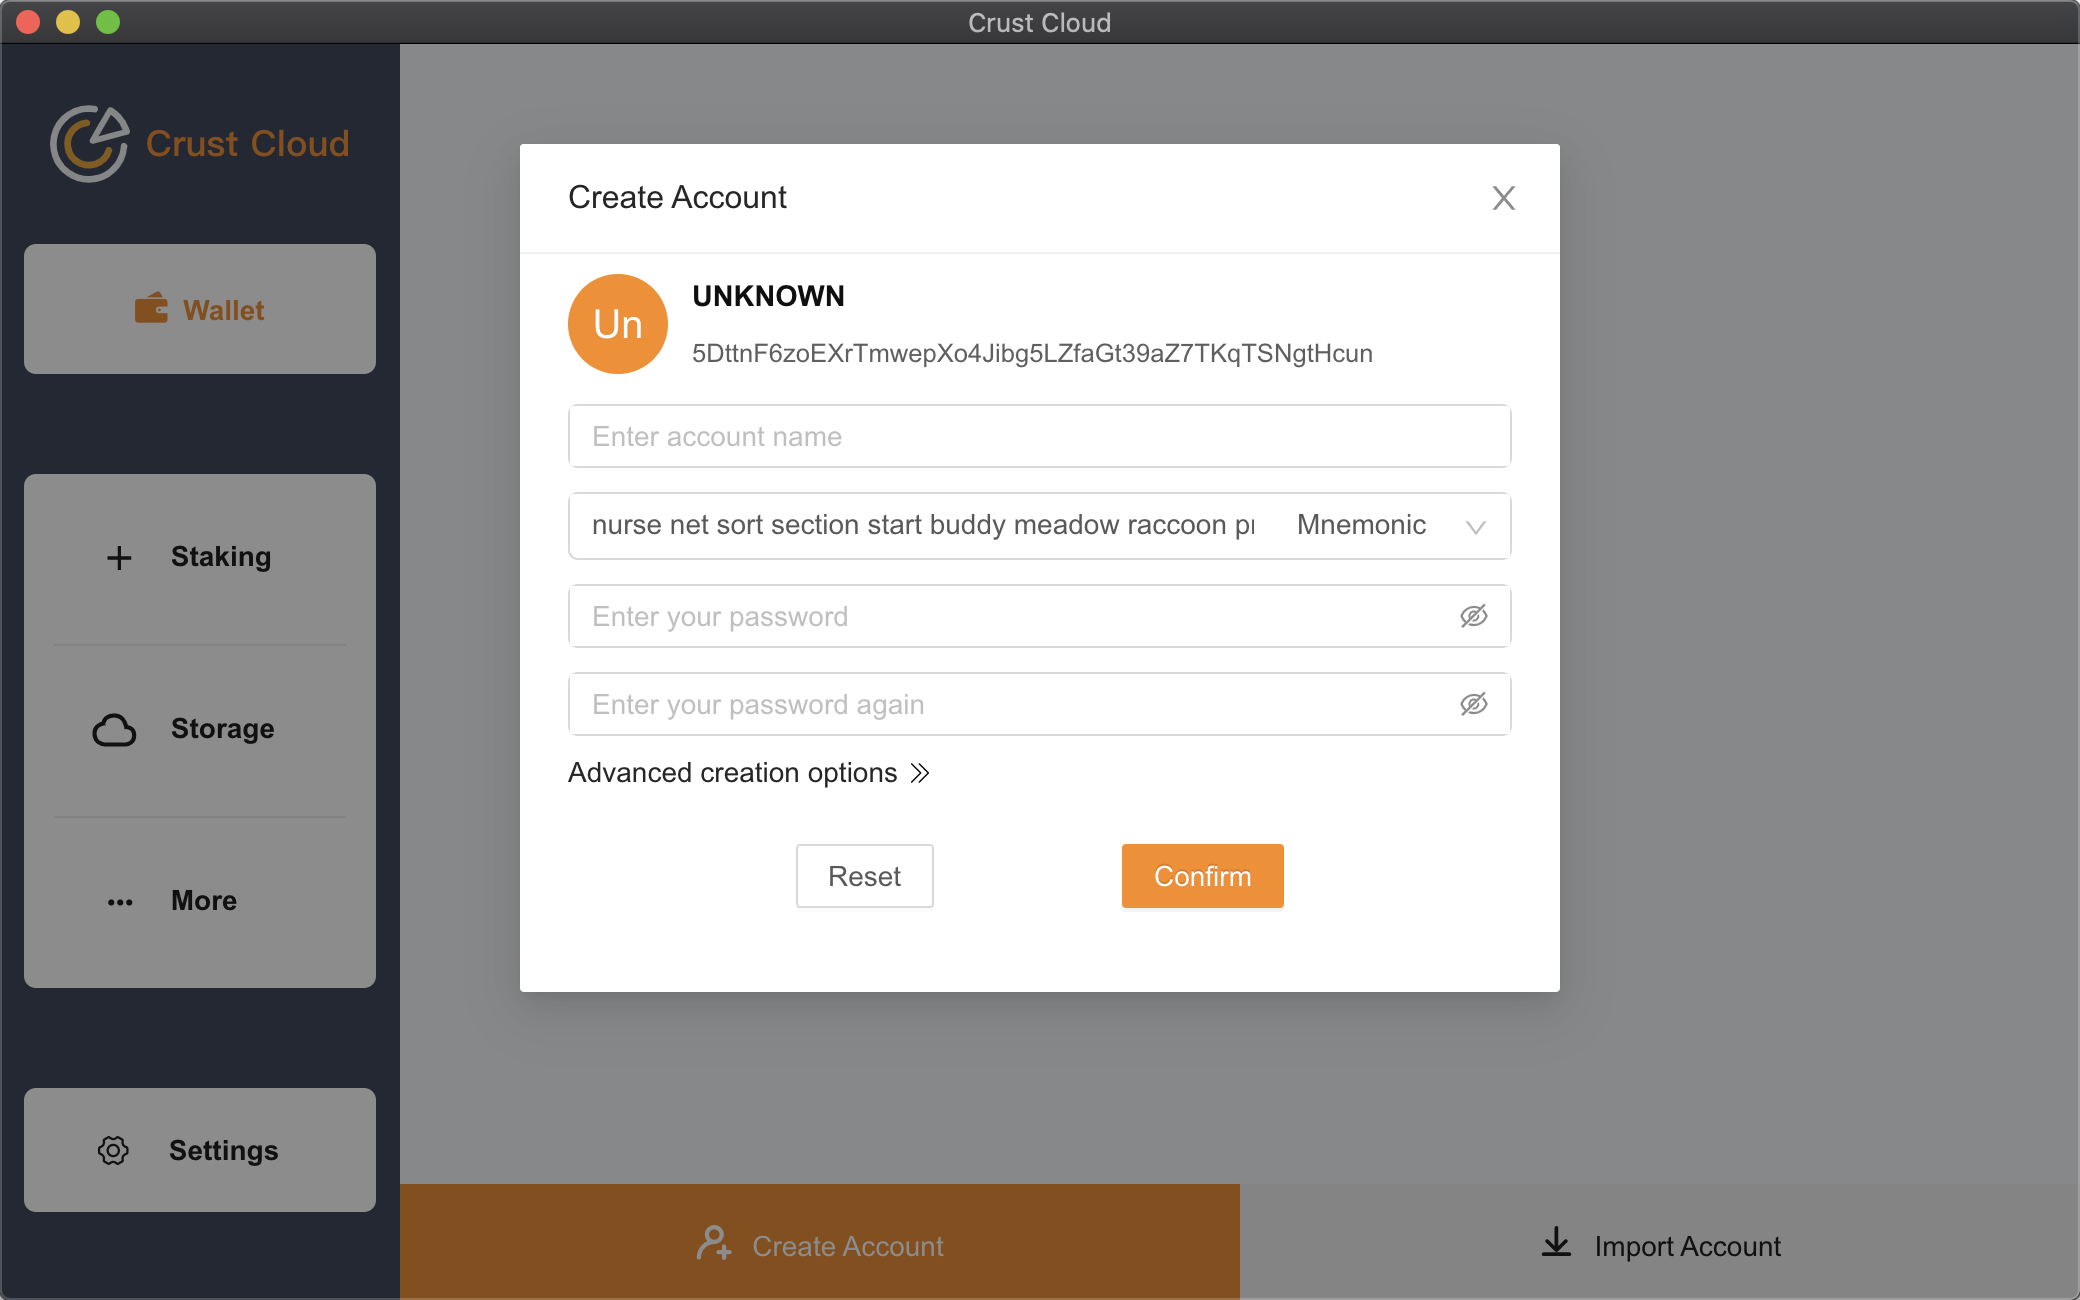
Click the "Create Account" button, enter your account name and password, conform your password, learn by heart your mnemonic/key (it is recommended that you record it on some paper and keep it in a safe place), and then click "Confirm" to create your account at Crust Network. Next step is to click "Confirm and download the backup file", and the backup file will be saved on your computer. Please also keep the backup file well and keep in mind your password, and you will need to provide either mnemonic or both your backup file and password when restoring your account.
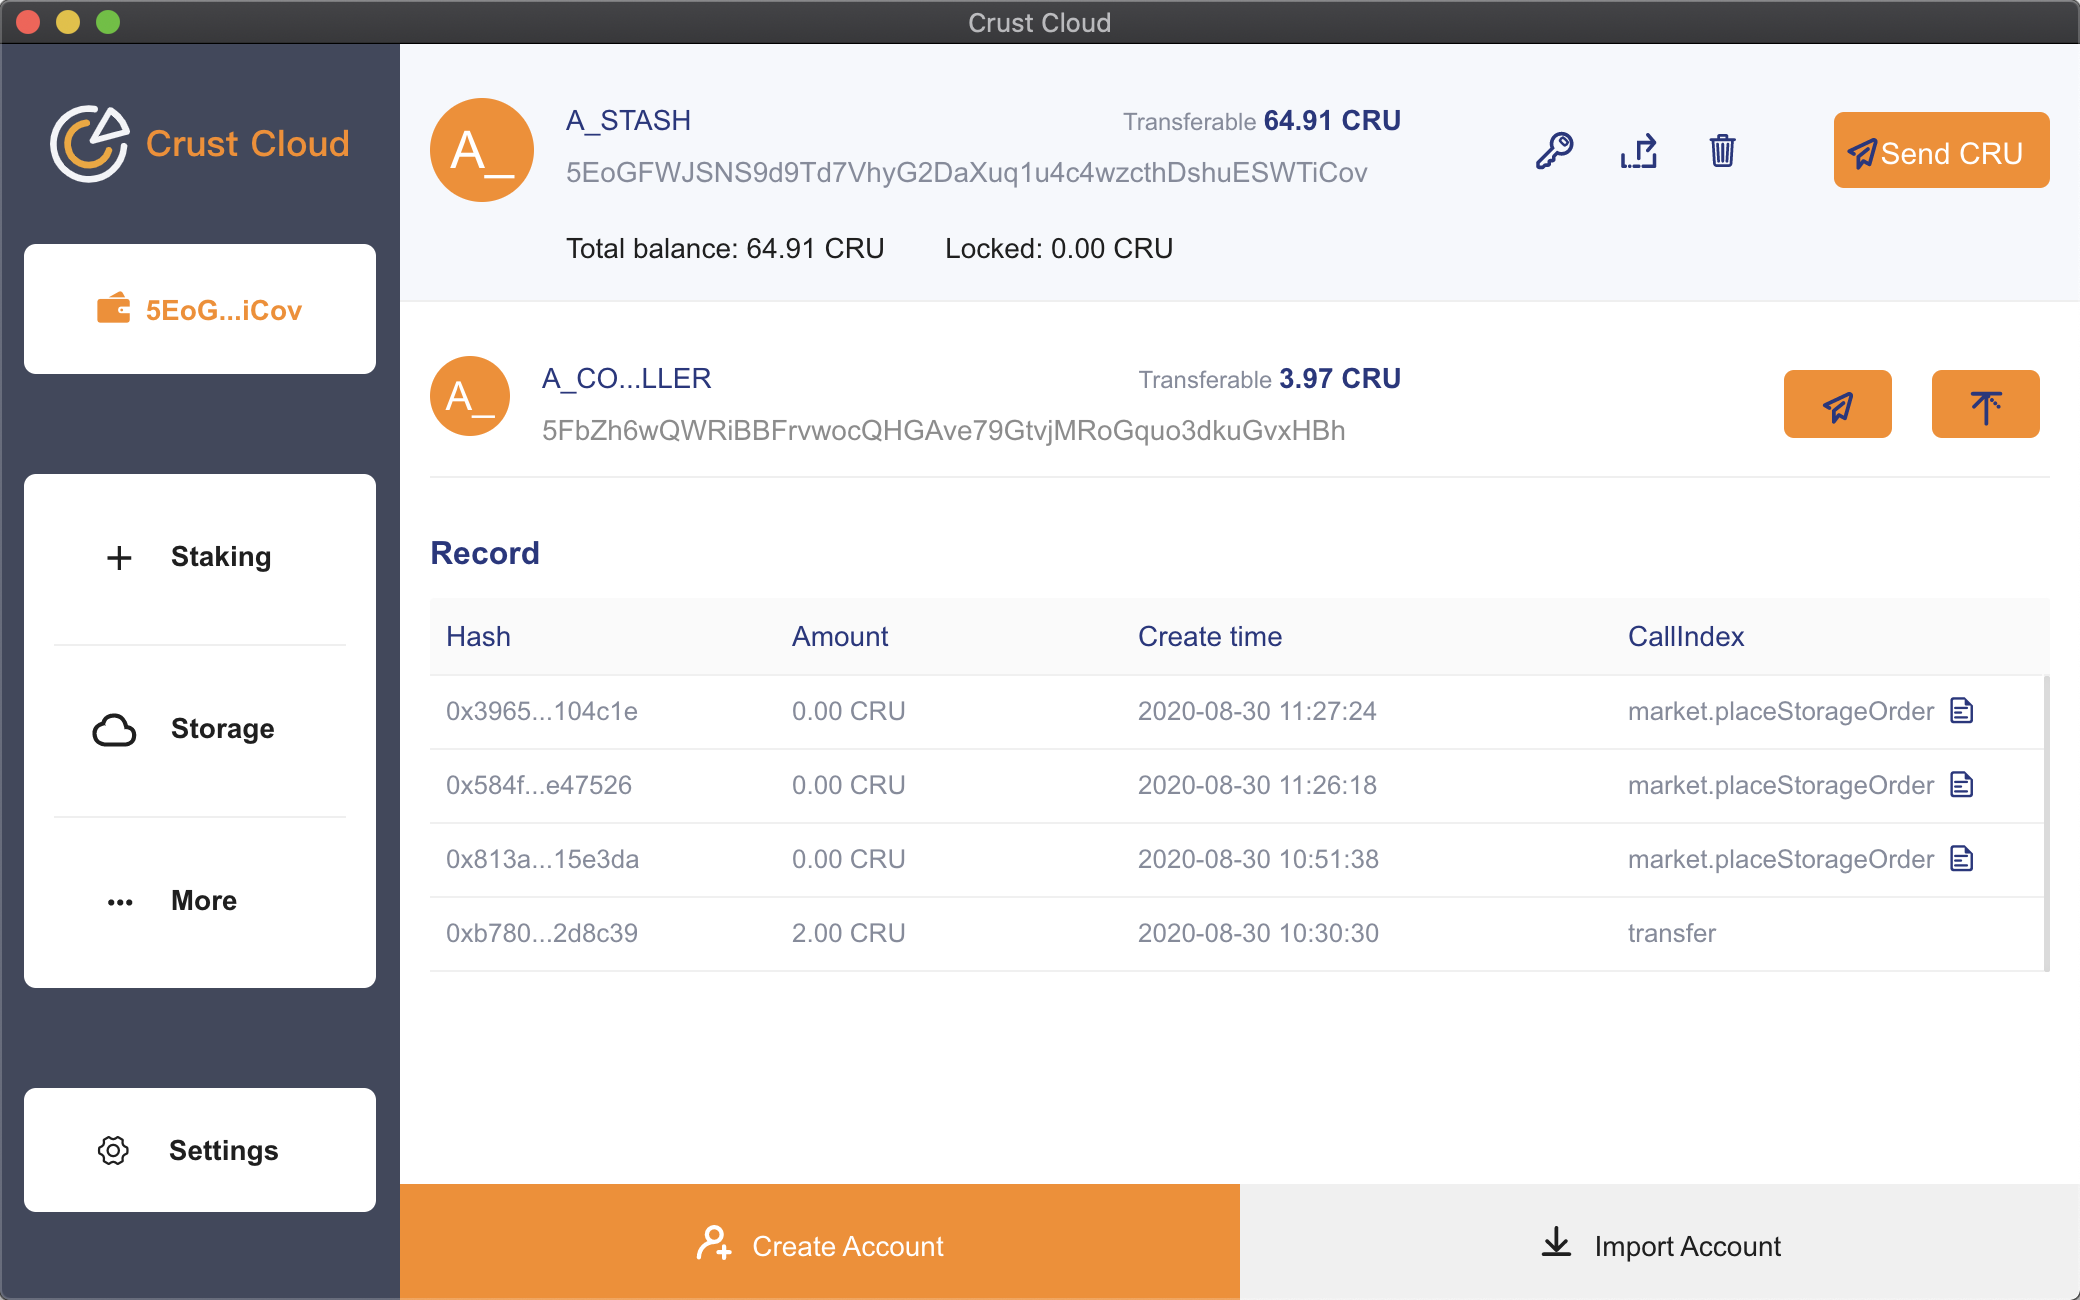
After your account has been created, you will come to the above page. The first account is your main account. Accordingly, the cloud storage module displays the storage information of the main account. On the right side of the first account are four buttons: "Change Password", "Export Account", "Delete Account", and "Send CRU". You can also get to know the function of each button by moving the cursor onto it.
The button on the far right of the second account is the "Pin-to-Top" button. It can prioritize the account as the main account, and the corresponding cloud storage information will also change due to the switch of account positions.
Below the account are users' action records.

Click the "Send CRU" button of your account, copy and paste the receive address you want to transfer to in the input box (you can also quickly select the receive address through the Shortcut address window below the input box), and click "Next step".
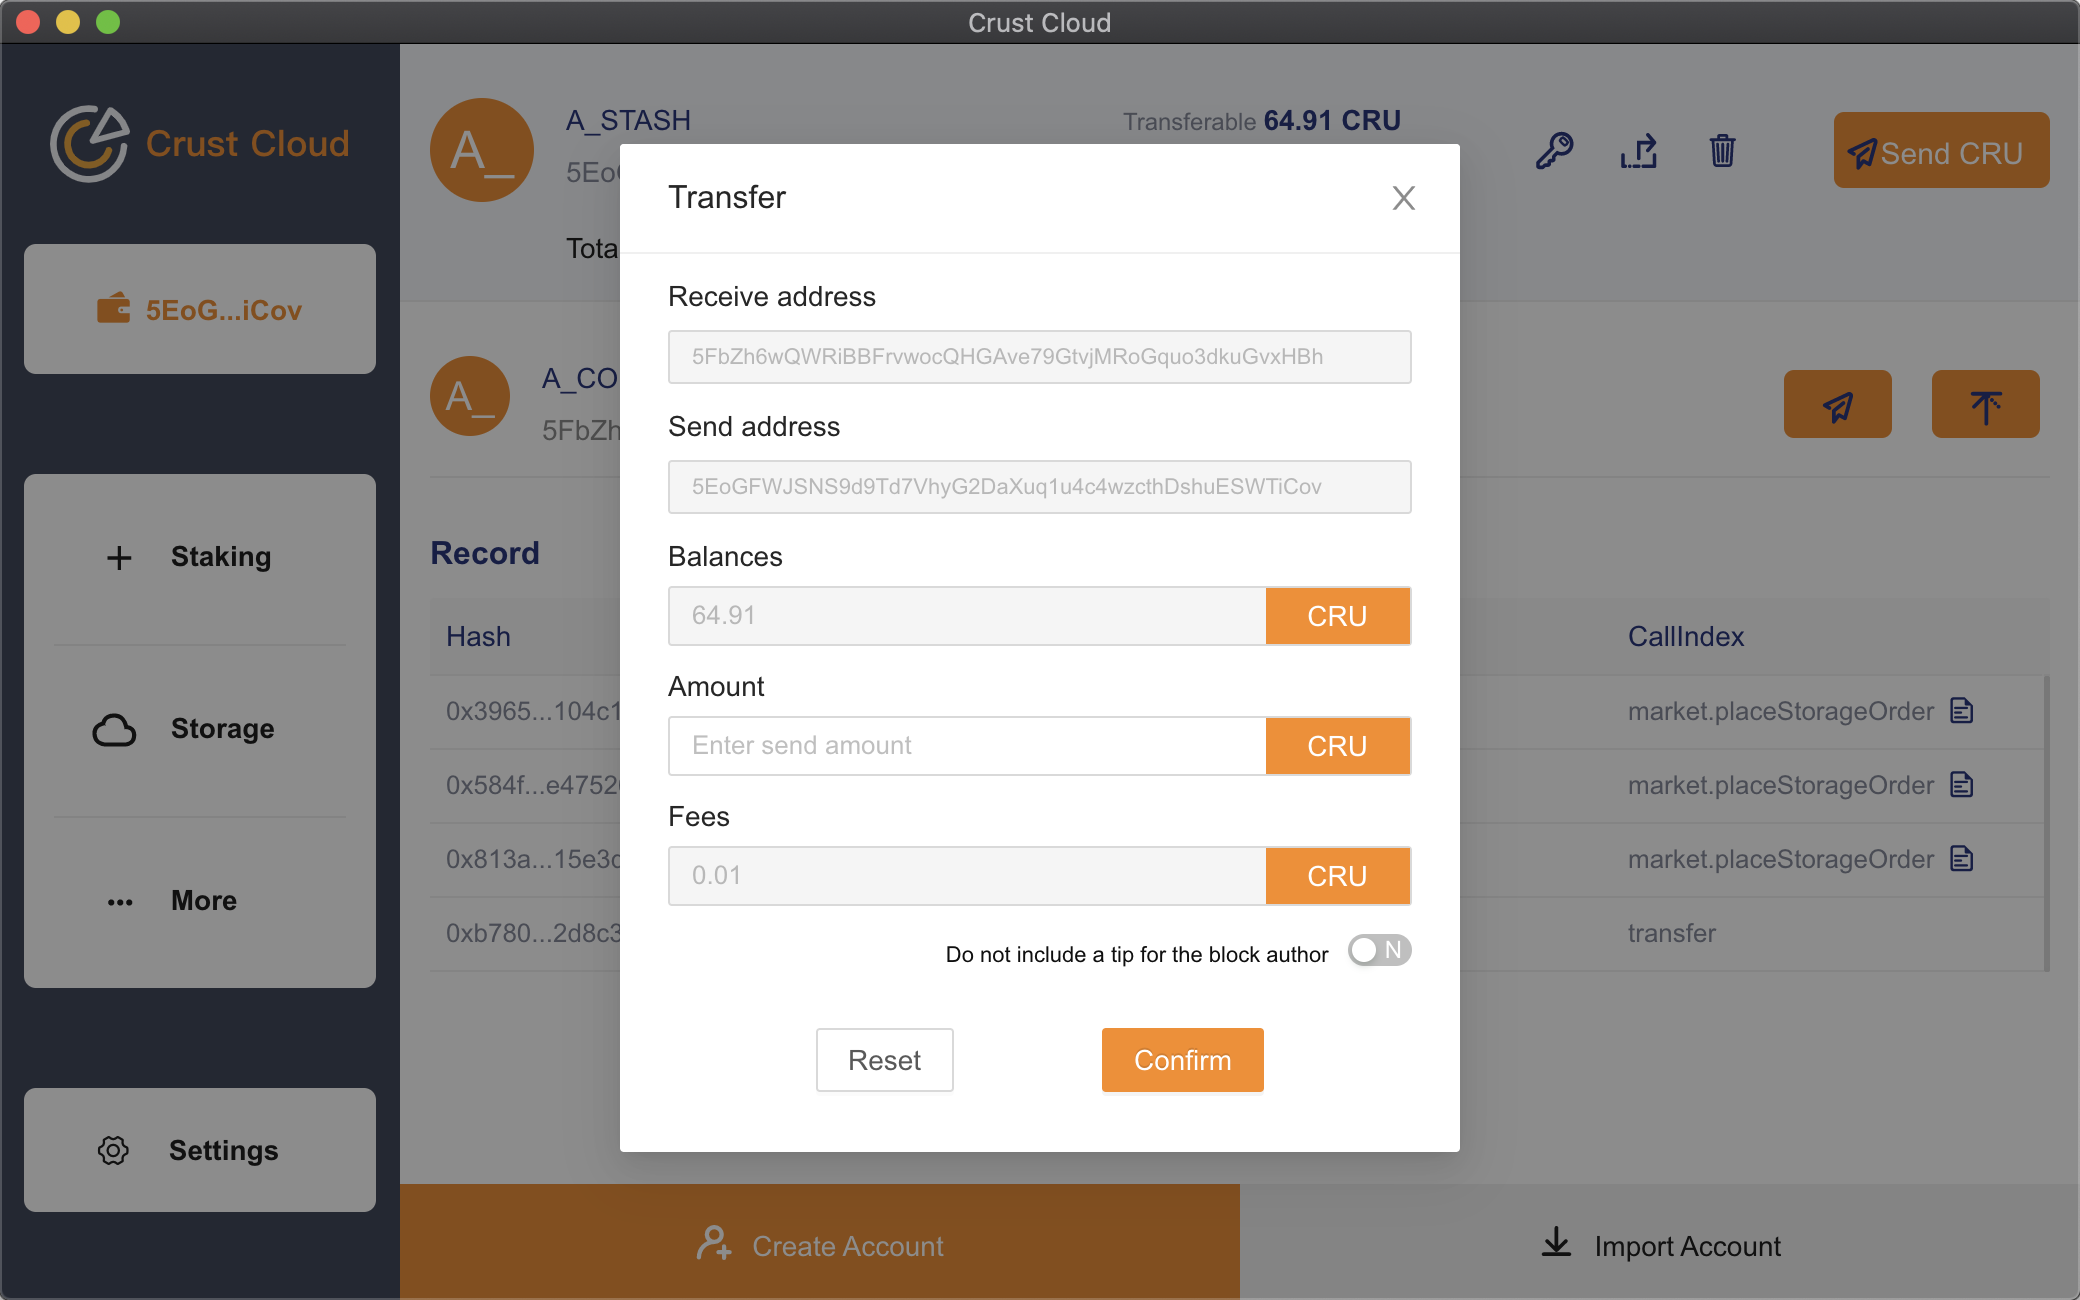
Then enter the amount of CRUs to be transferred, click "Confirm", and enter your password to kick off the transfer. Here you can also enter transfer fees. The more you tip, the higher priority your transaction will be given, which often means higher transfer efficiency.
Decentralized cloud storage is the core function that witnesses Crust Network team's continuous research, development and improvement. We wish that through TEE-based decentralized storage, we can provide users with a faster, cheaper and more secure option for cloud storage.

The above is the homepage of cloud storage. The homepage is mainly for information display. From top to bottom, there are on-chain information, highlighted information, recent files, and storage statistics. At the bottom of the page are 5 function columns: homepage, all files, uploading/downloading, completed transfer, and cloud storage settings.
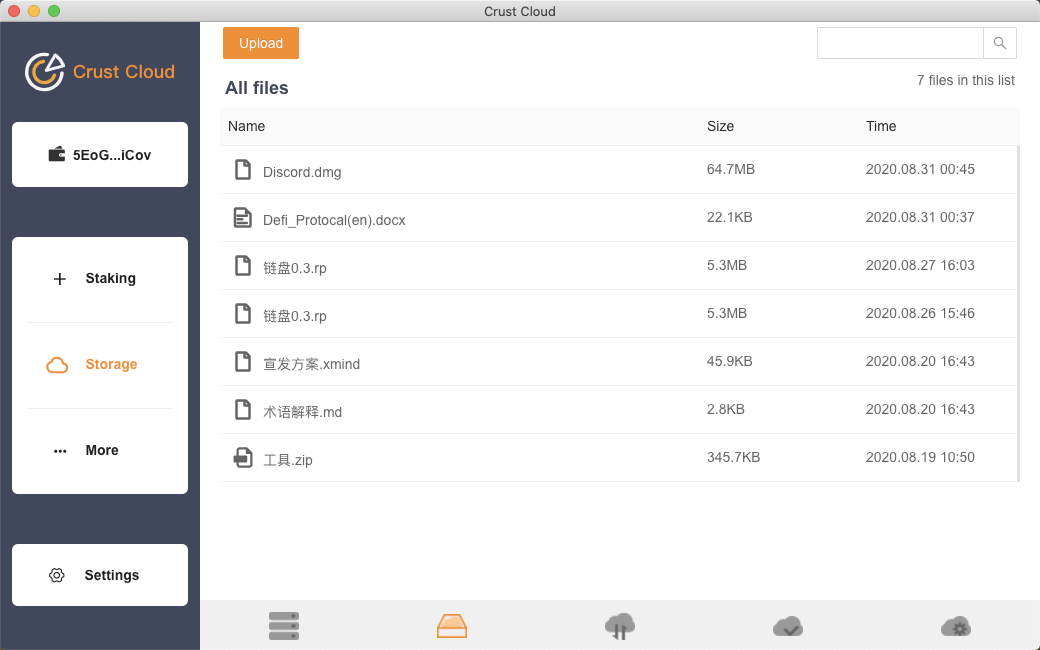
The "All files" column mainly displays all files uploaded by the user. Users will perform the main storage actions such as uploading/downloading here. More actions including folder, delete, move, and rename will be available in upcoming versions.
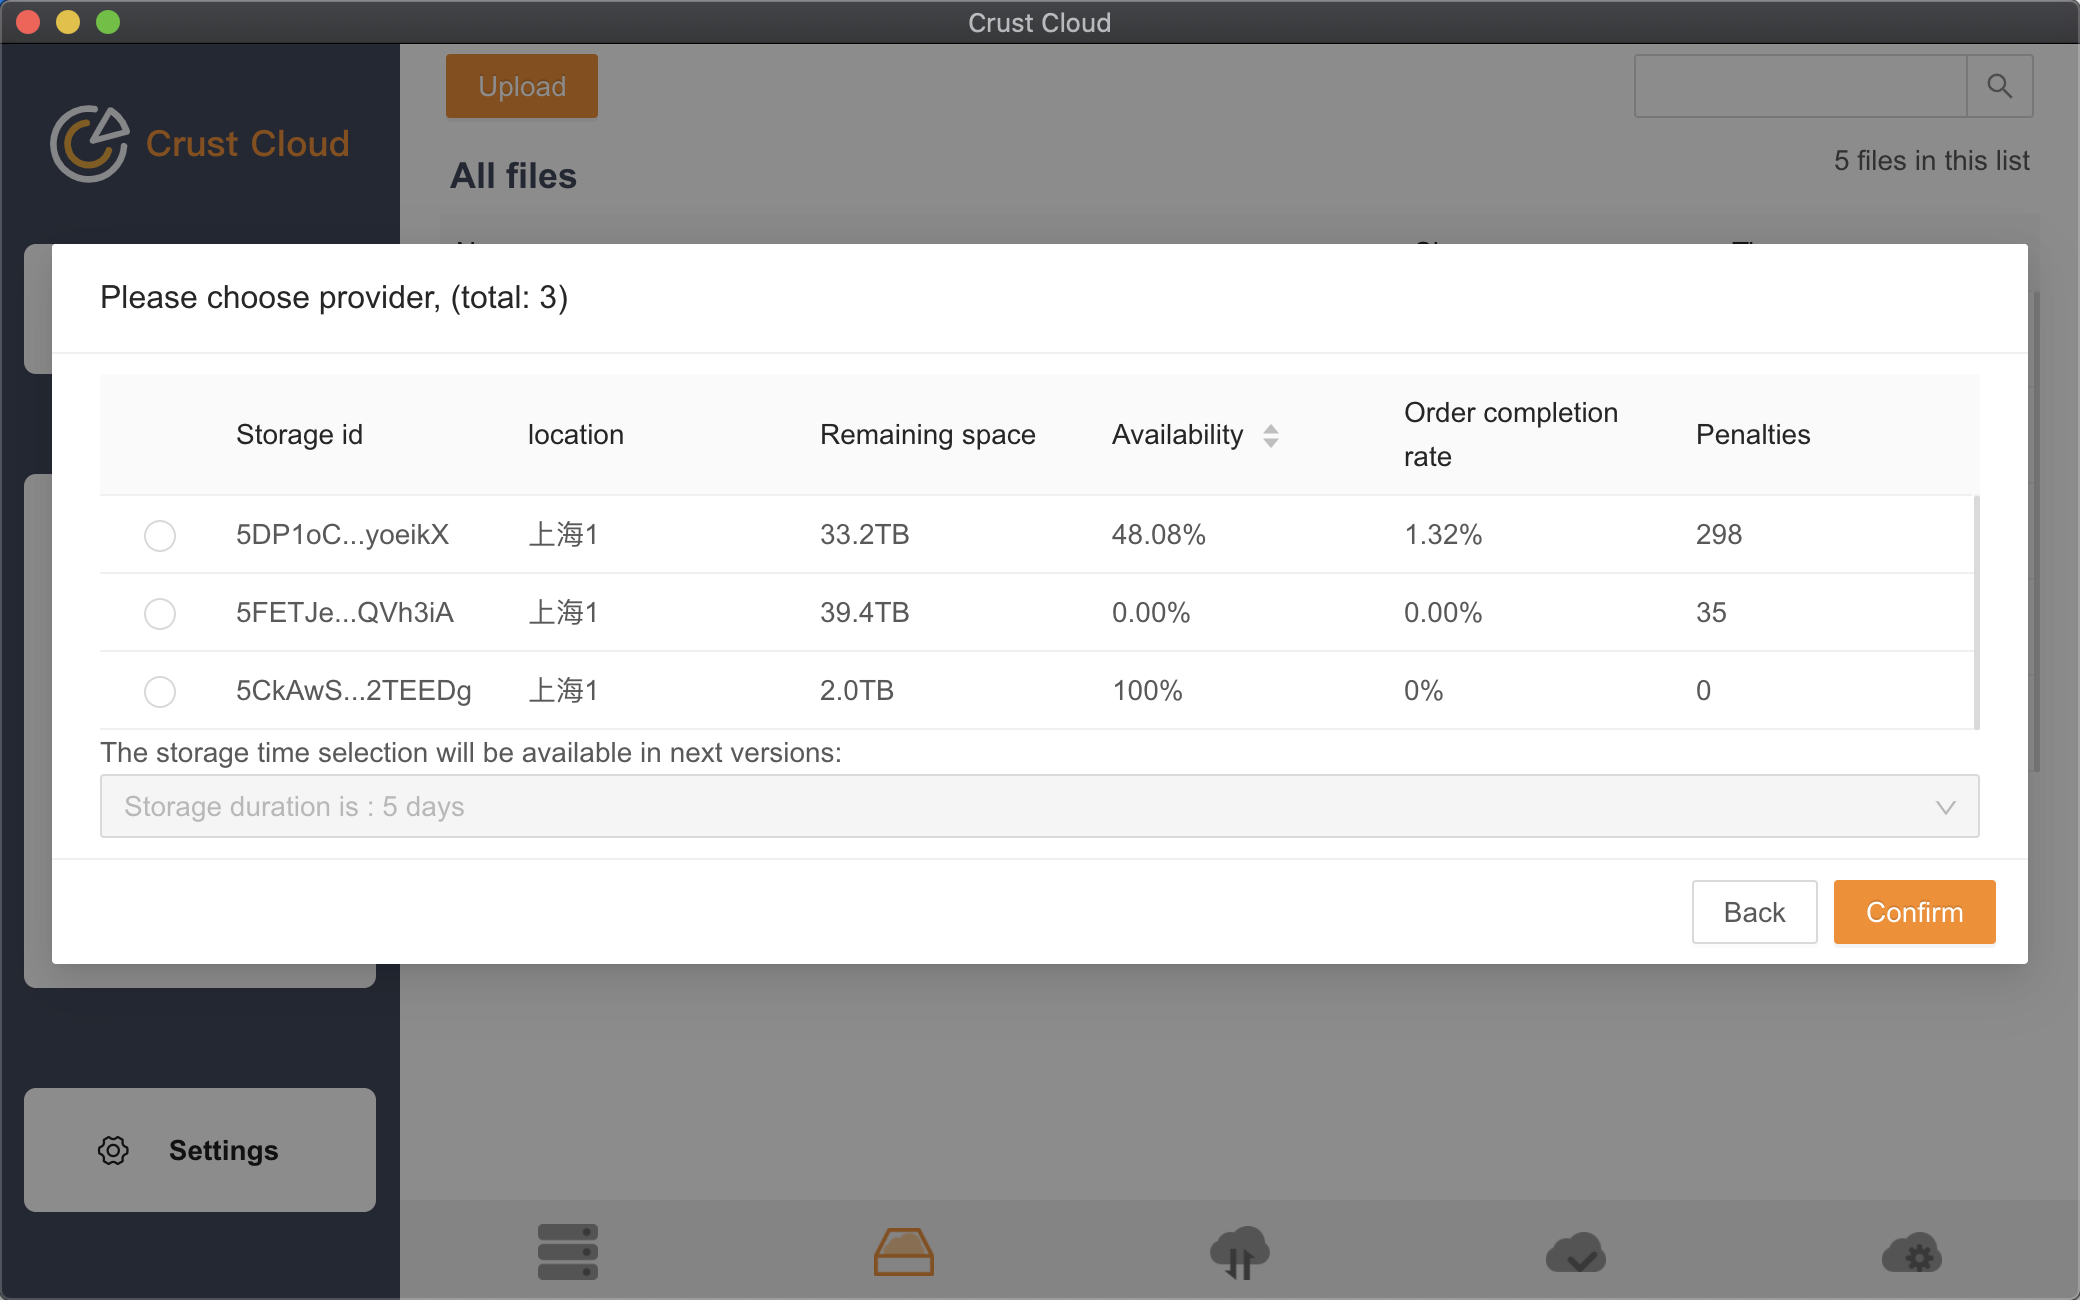
In this beta version, after uploading a file, the user needs to select a node to store the file, and then select a default storage duration (default duration in the beta version is set at 5 days), as shown in the page above.
**Note: Because this product is still in a testnet stage, which means the network may be not very stable, it is recommended that users choose officially certified nodes to reduce the impact the testnet has on user experience as much as possible. **
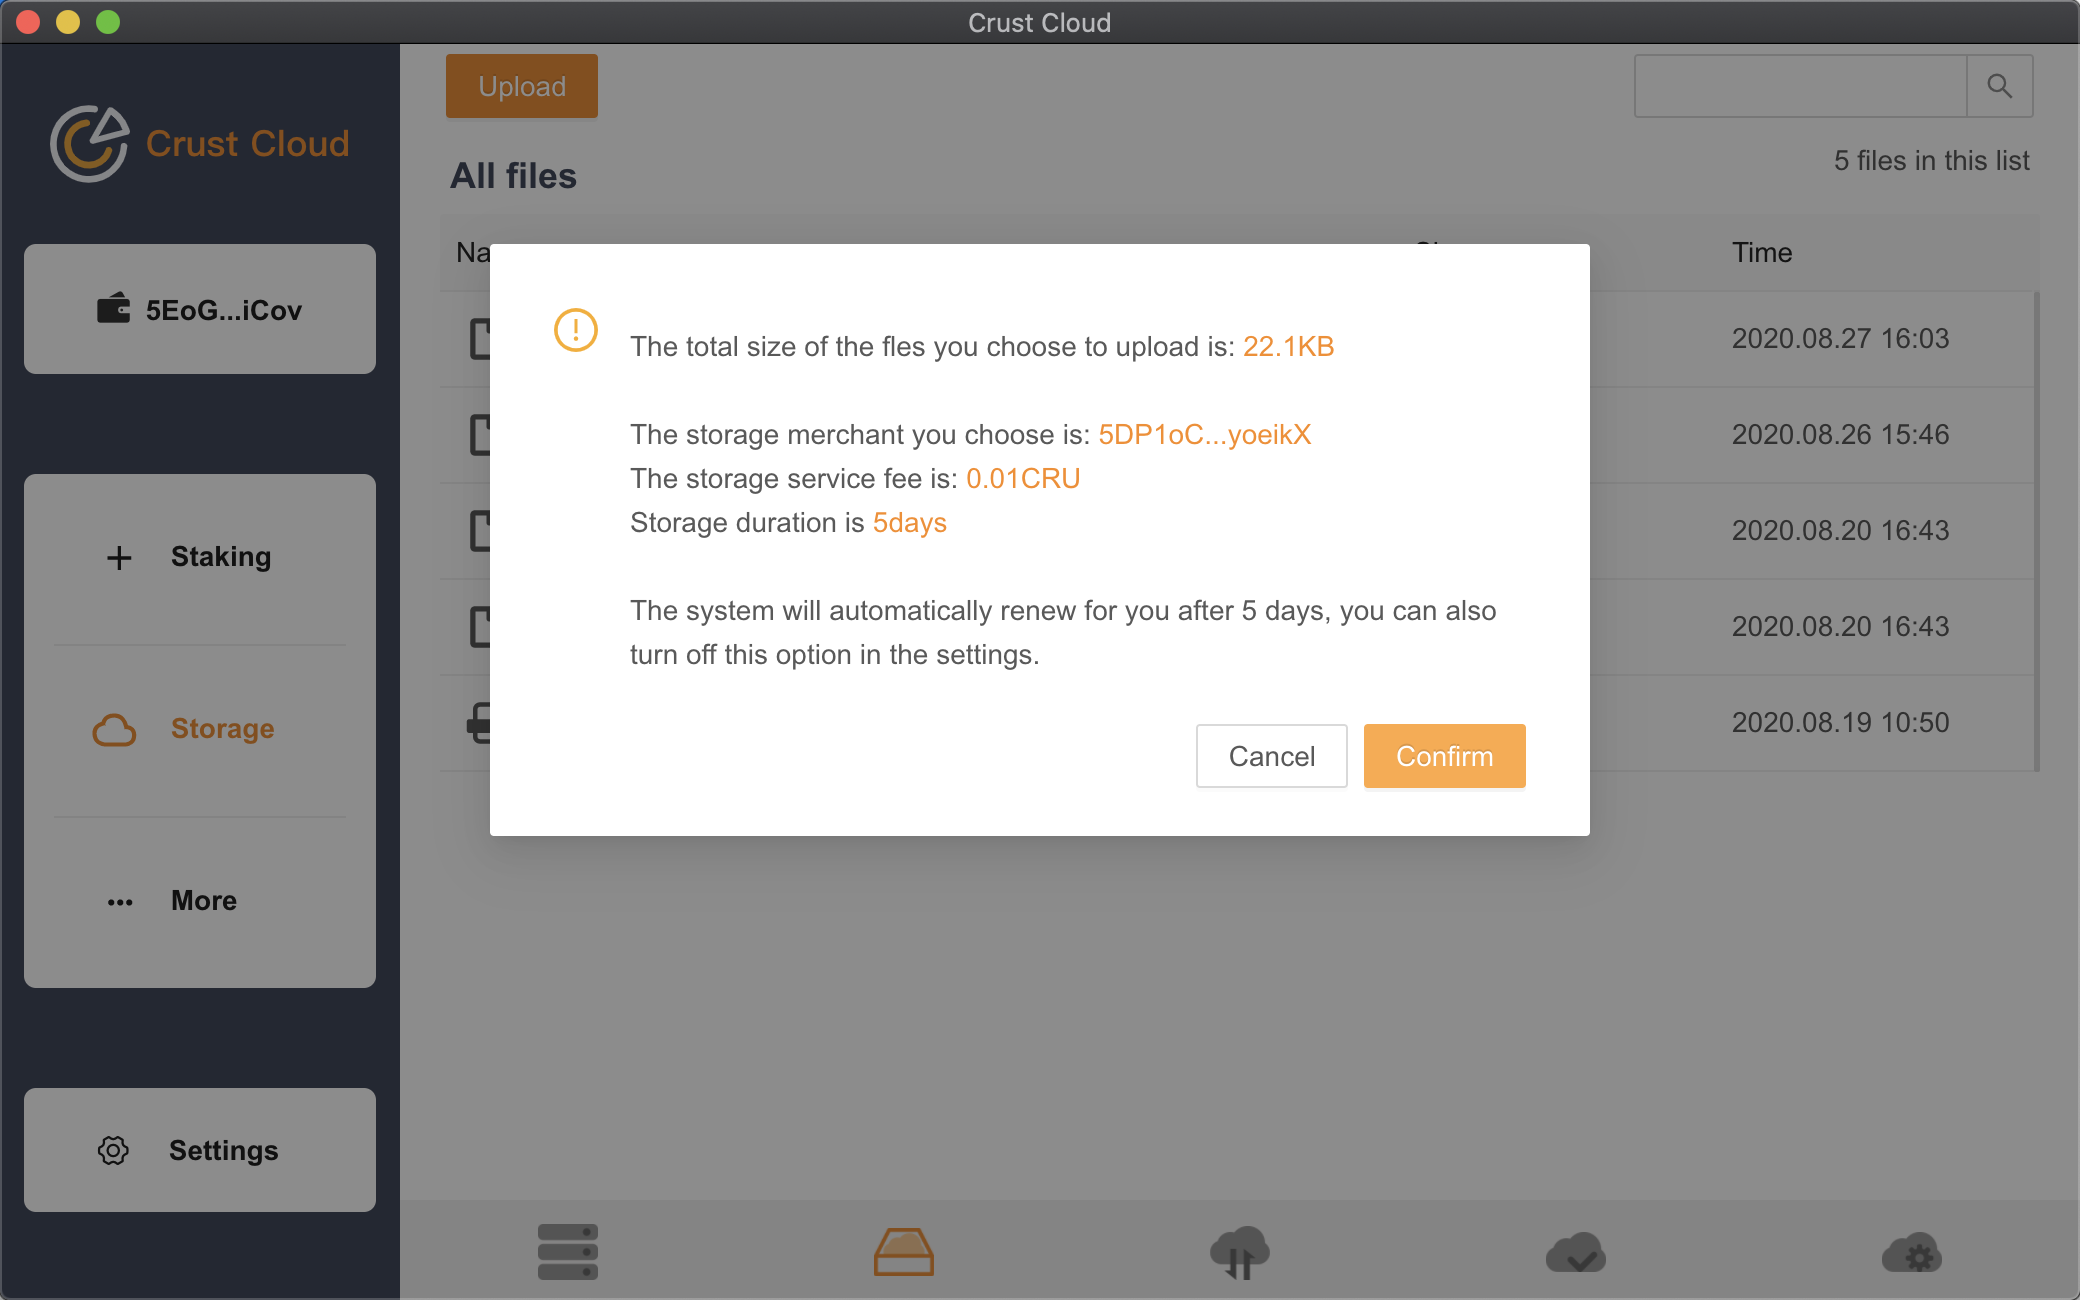
After confirming, the user needs to confirm the order information, and then click “Confirm” to pay for the order.
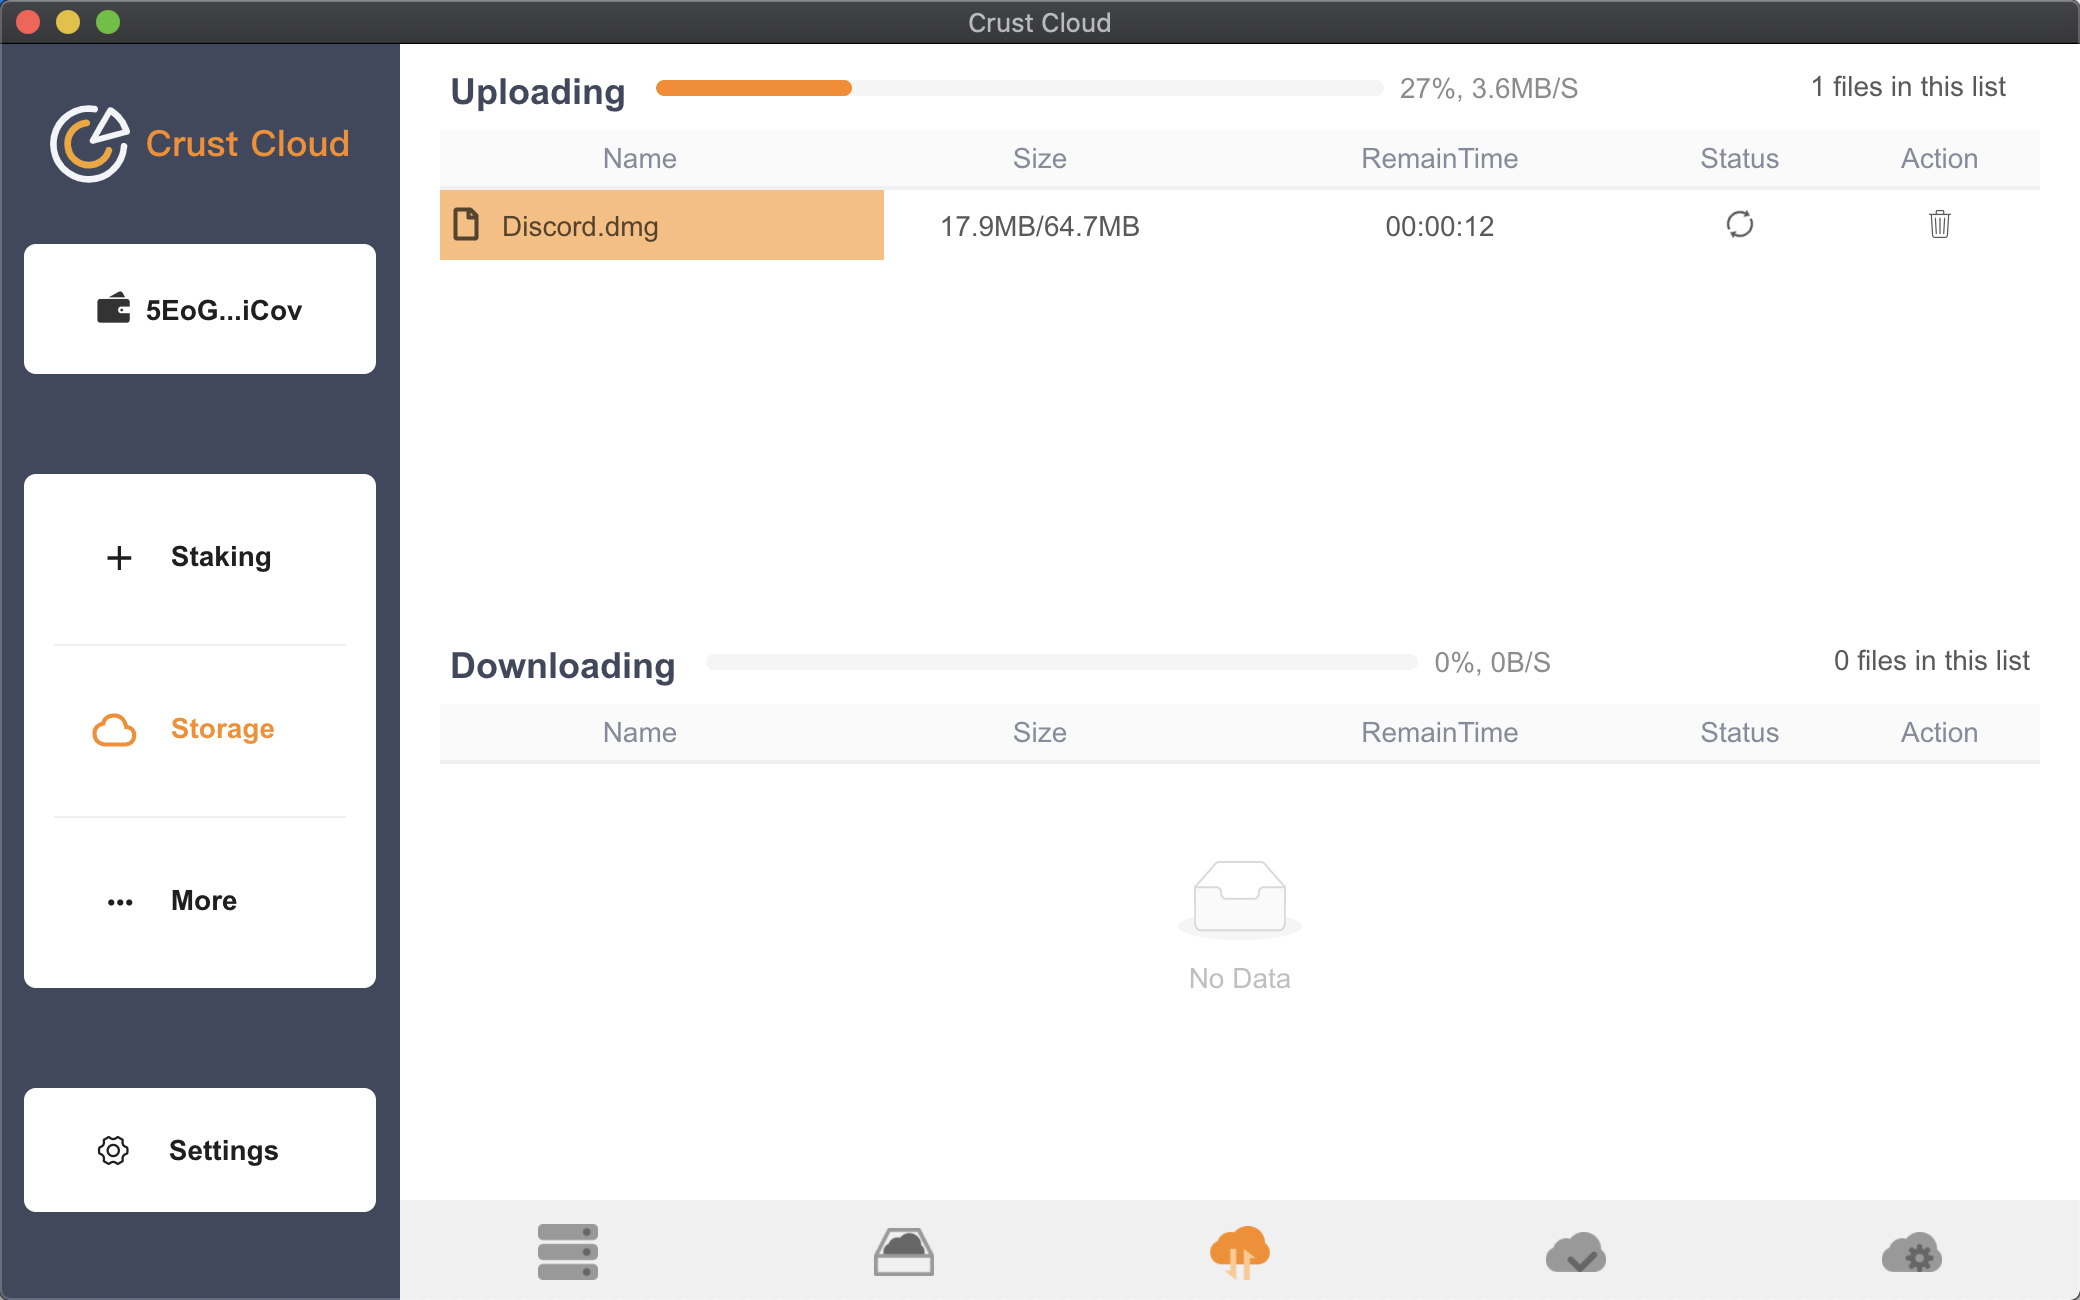
After the payment is completed, the user can see the uploading/downloading progress, remain time and other information of the file in the "Uploading/Downloading" bar of the page, as shown below:
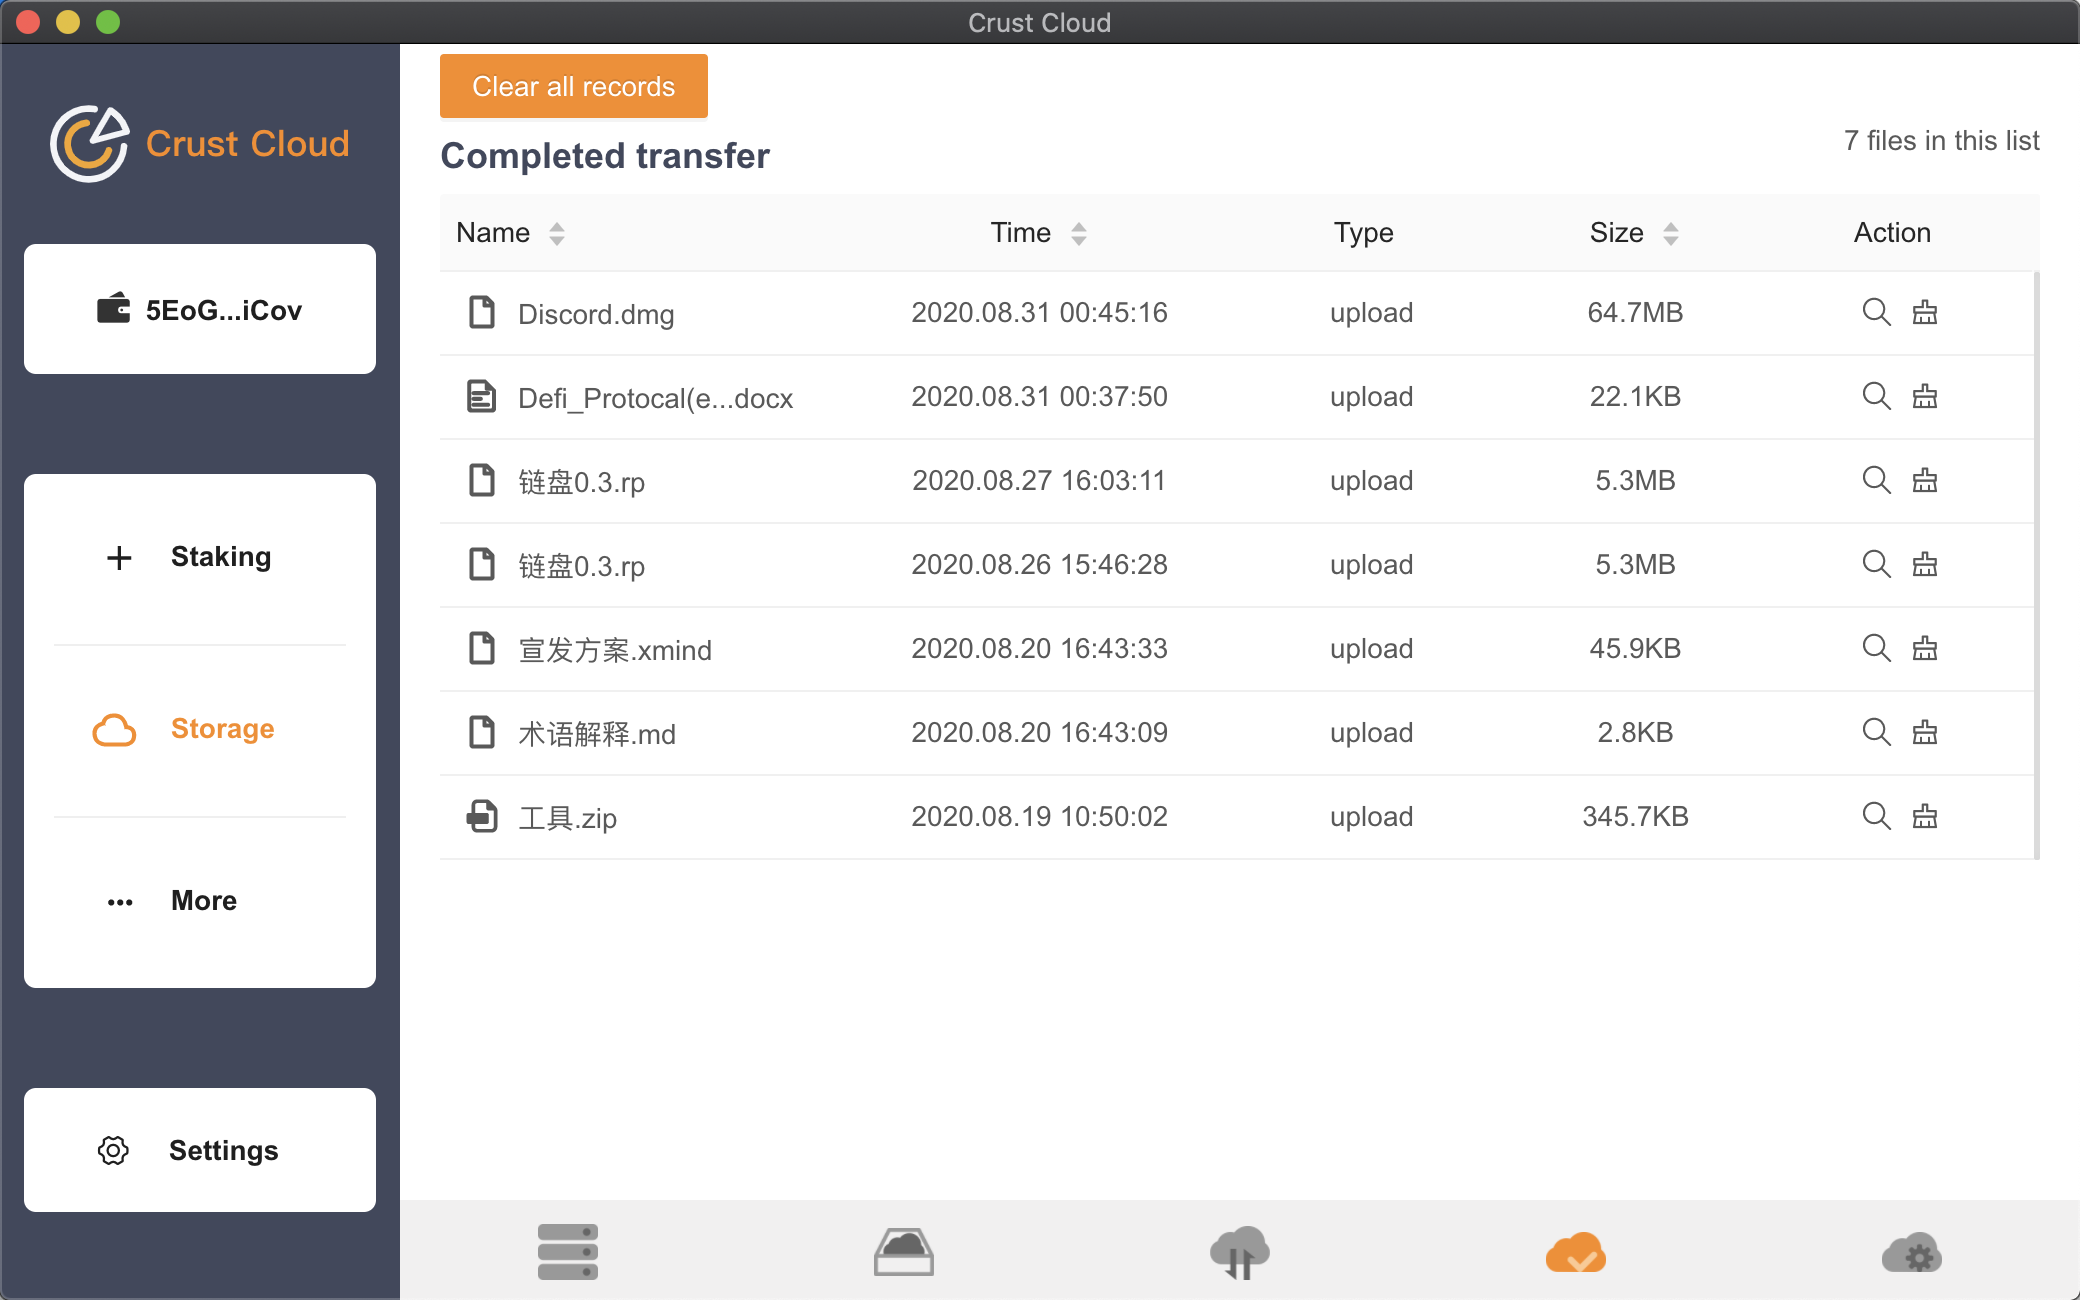
After the upload/download is complete, corresponding records will be displayed below the "Completed transfer" bar, where the user can choose to delete the records or open the file folders, as shown below:
Staking refers to the action of locking a certain number of CRUs to maintain consensus in exchange for rewards. Theoretically, each user can participate in staking on the blockchain of PoS consensus mechanism. In Crust network, node owners can stake CRUs to themselves, while other users will need to first guarantee a portion of CRUs to a node, which becomes a part of the node’s staking where users obtain corresponding revenue. Gains will also be distributed to users in proportion to the amount of CRUs they contributed.
In order to ensure the security of your funds, you need at least two accounts here: one is a stash account, and the other is a controller account. The controller account is a semi-online key that will be directly controlled by the user, and it will be used to start or stop a validation or guarantee procedure. The controller account needs to have some CRUs to pay transaction fees, but it should not be used to save any huge amount of funds or to make long-term fund savings. It is because a controller account will be frequently exposed to an Internet environment, so it should be treated with special care and can be occasionally replaced.
In most cases, a stash account should be set down on a piece of paper protected by multiple layers of hardware. It should rarely (unless highly necessary) be exposed to the Internet or used to submit transactions. This key should be used to store large amounts of funds. Therefore, it can be considered as a saving account in the bank, and should only be used in necessary situations.
Since a stash account is often under protection, its tokens must be bonded to a specific controller account. For non-spending actions, the controller account is backed by stash account tokens. For example, in a guarantee, staking or voting, the controller account can take the place of the stash account to express preference. But it can never be able to transfer or take the funds from the stash account.
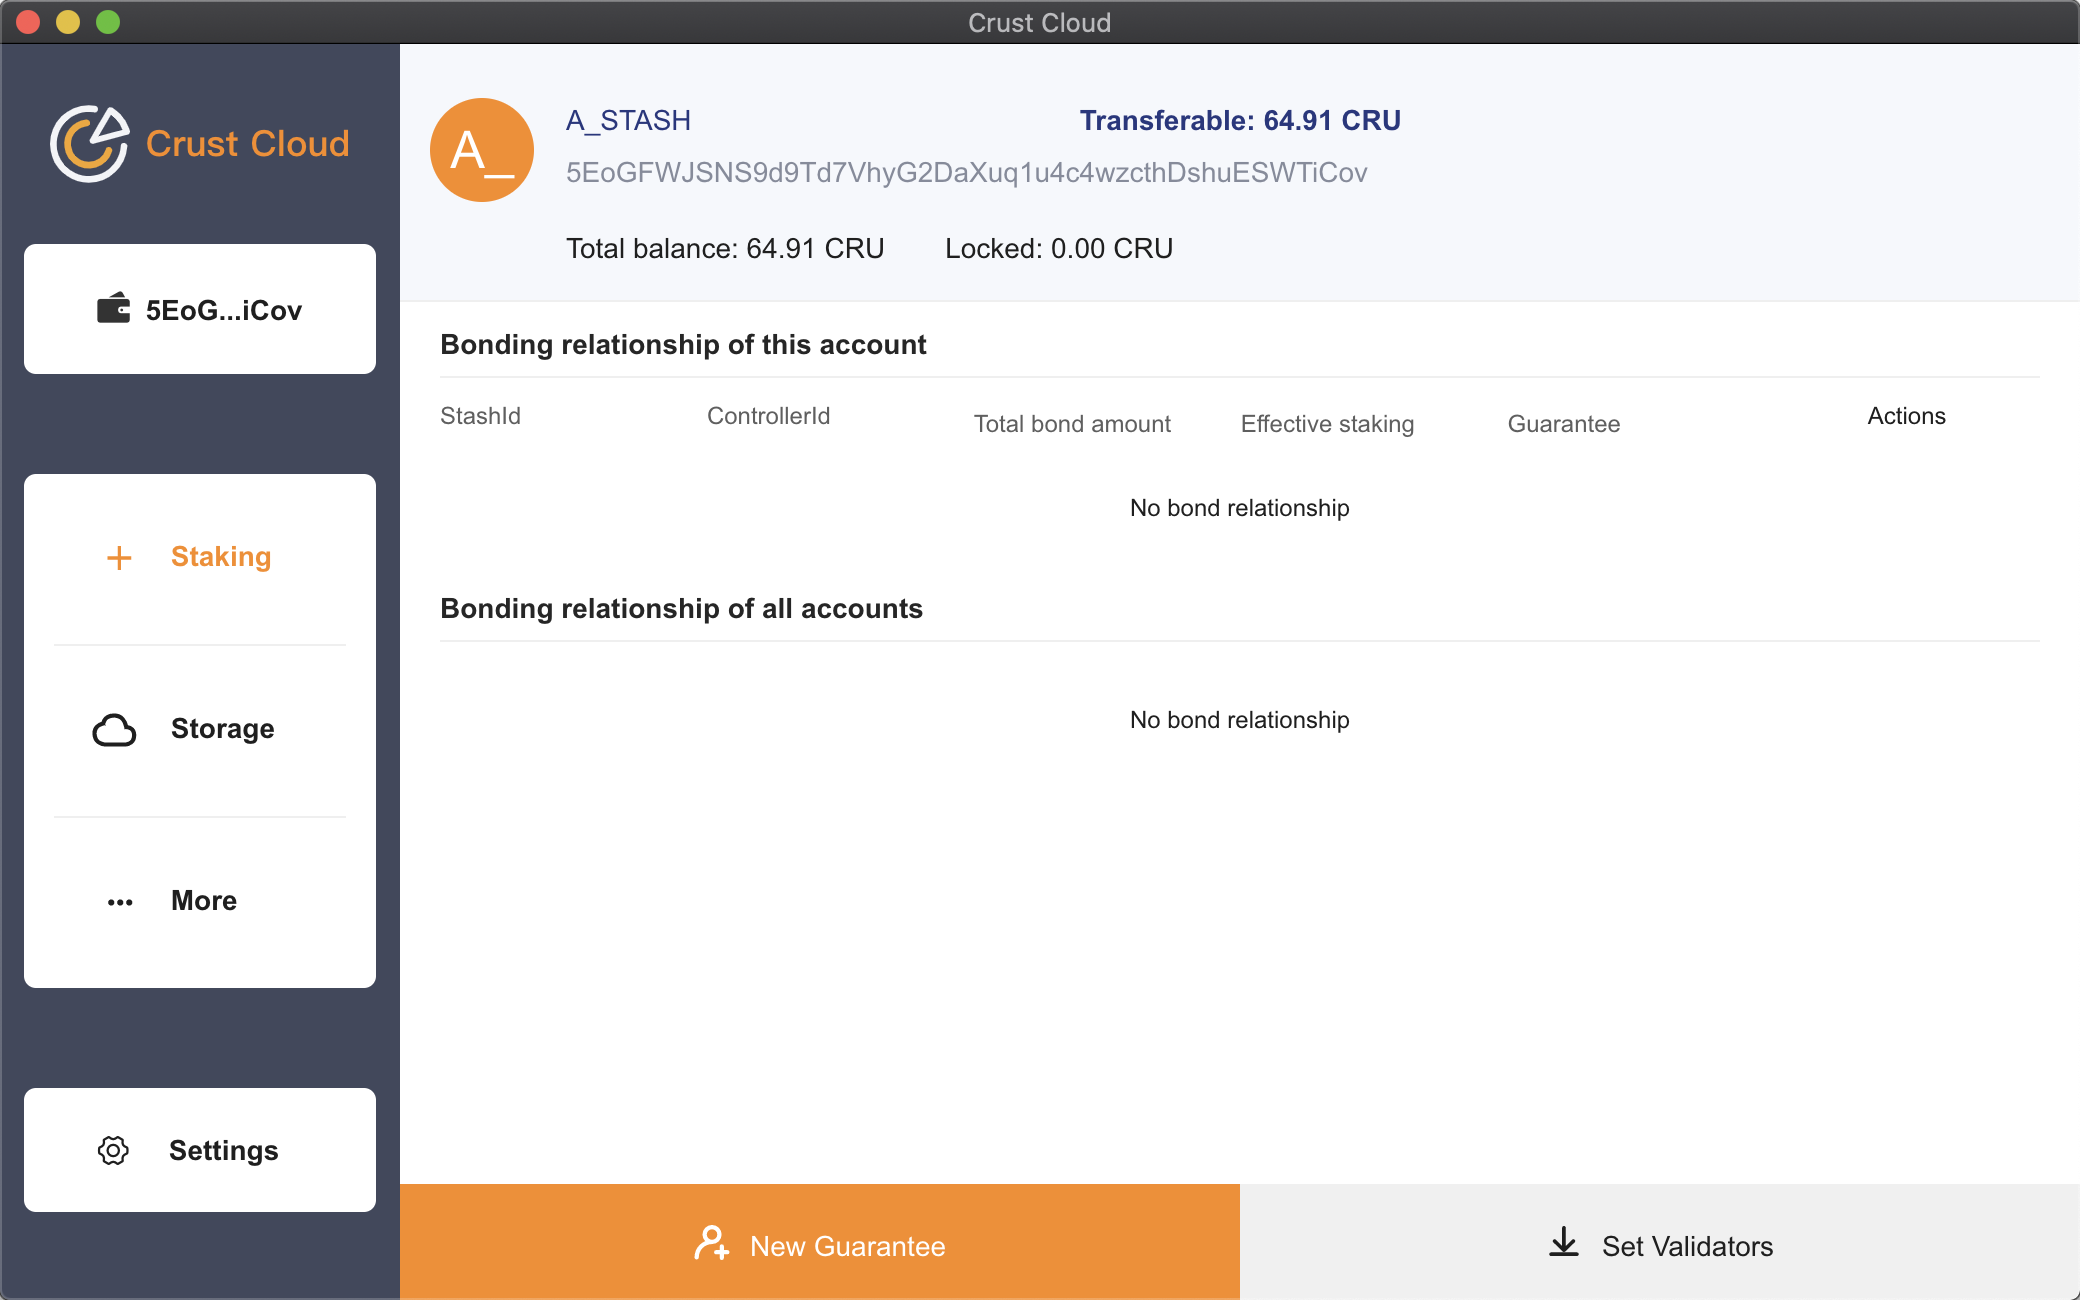
Therefore, you need to set the bonding relationship between these two accounts, as shown below:
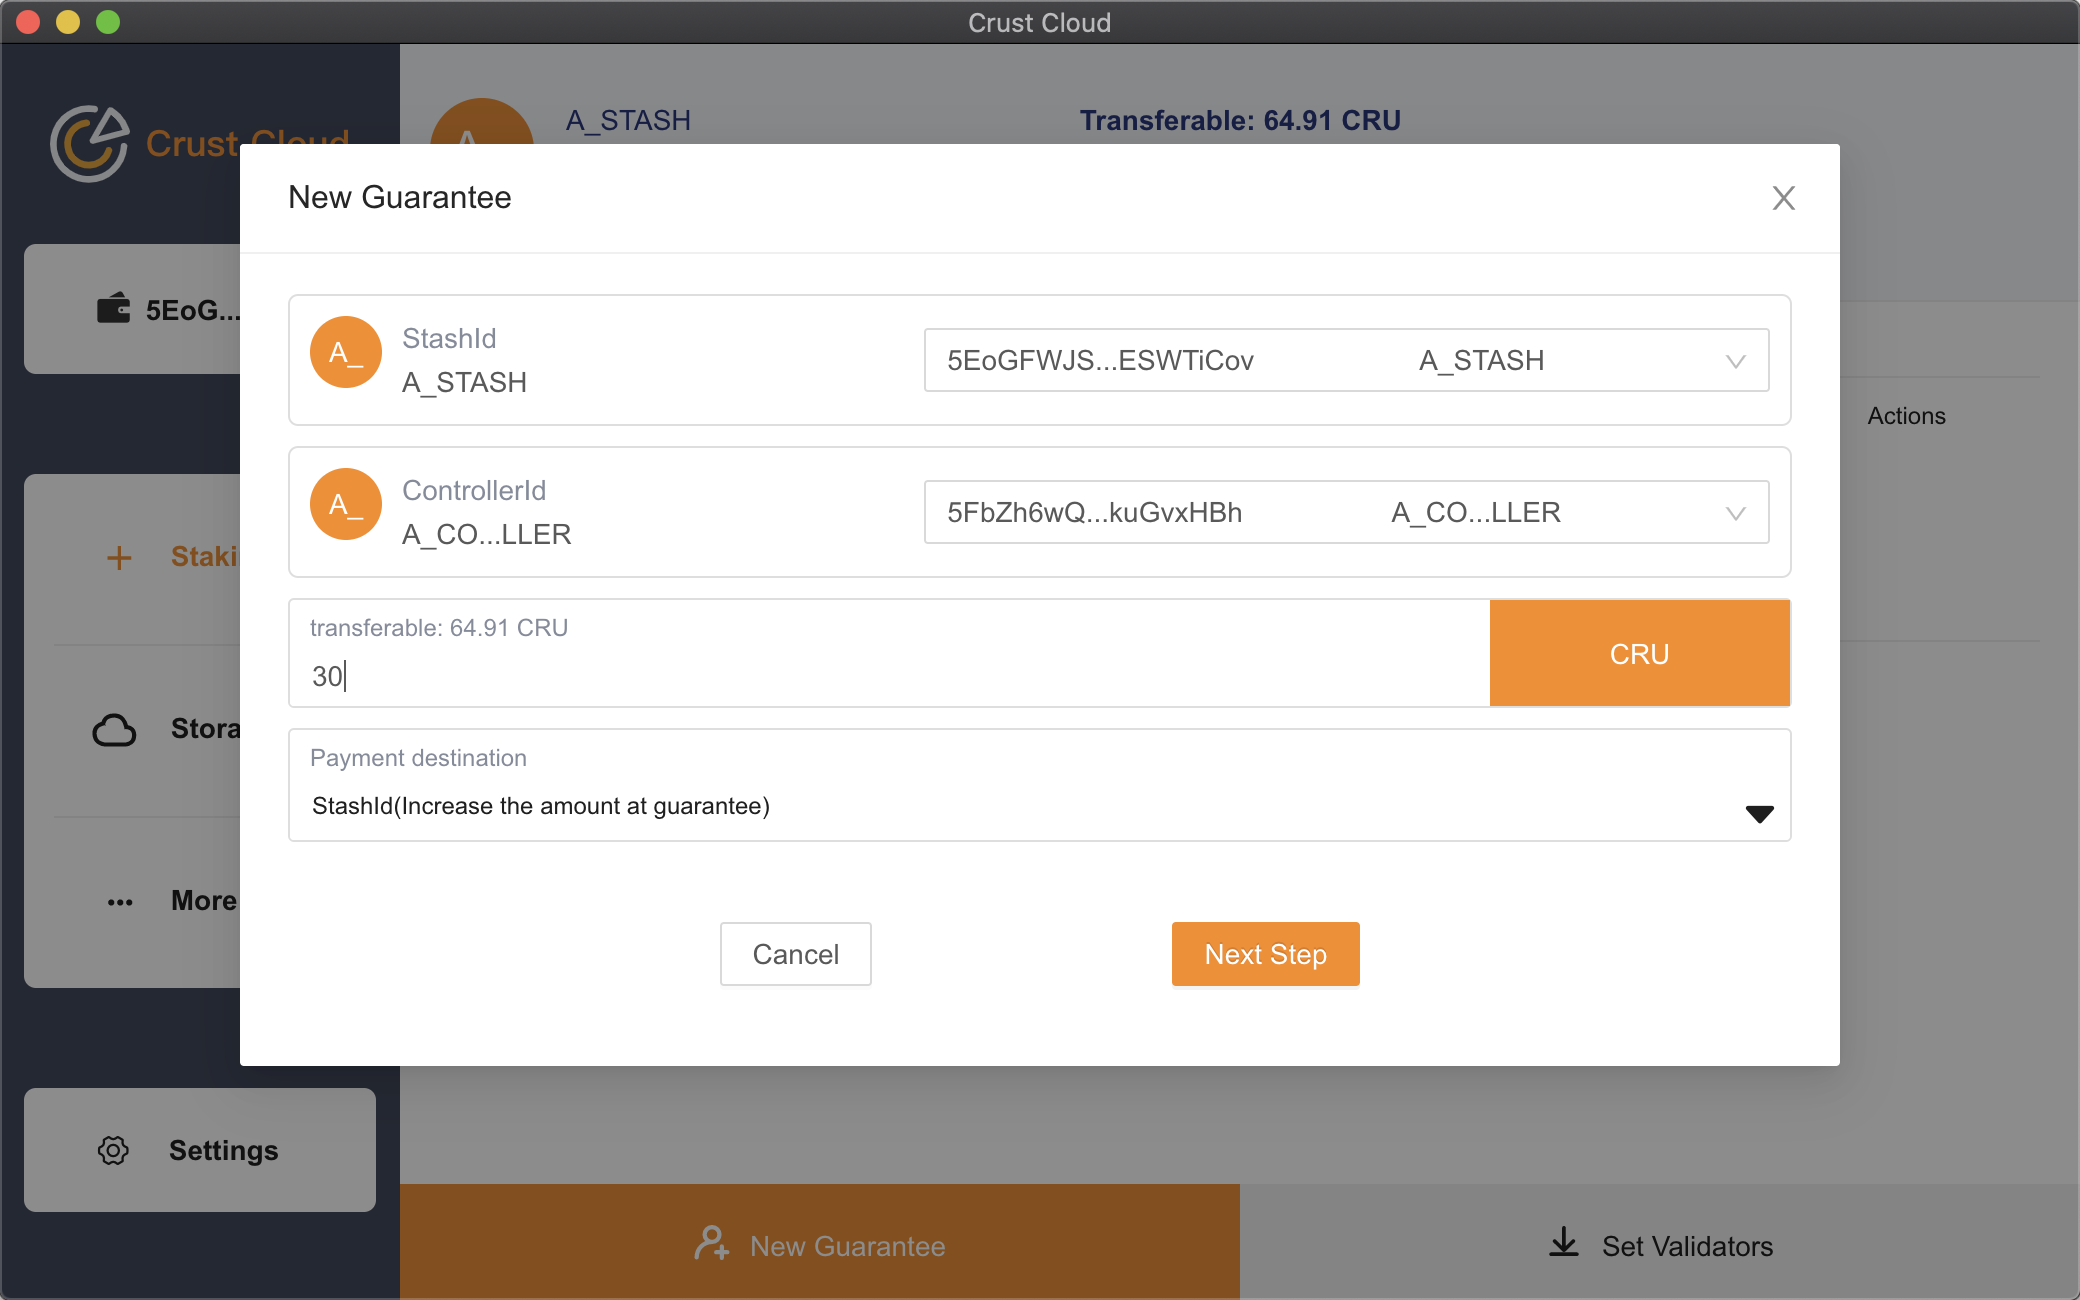
Click "New Guarantee", set the bonding relationship, select the corresponding controller account, set the amount of CRUs to be bonded, and click "Next Step".
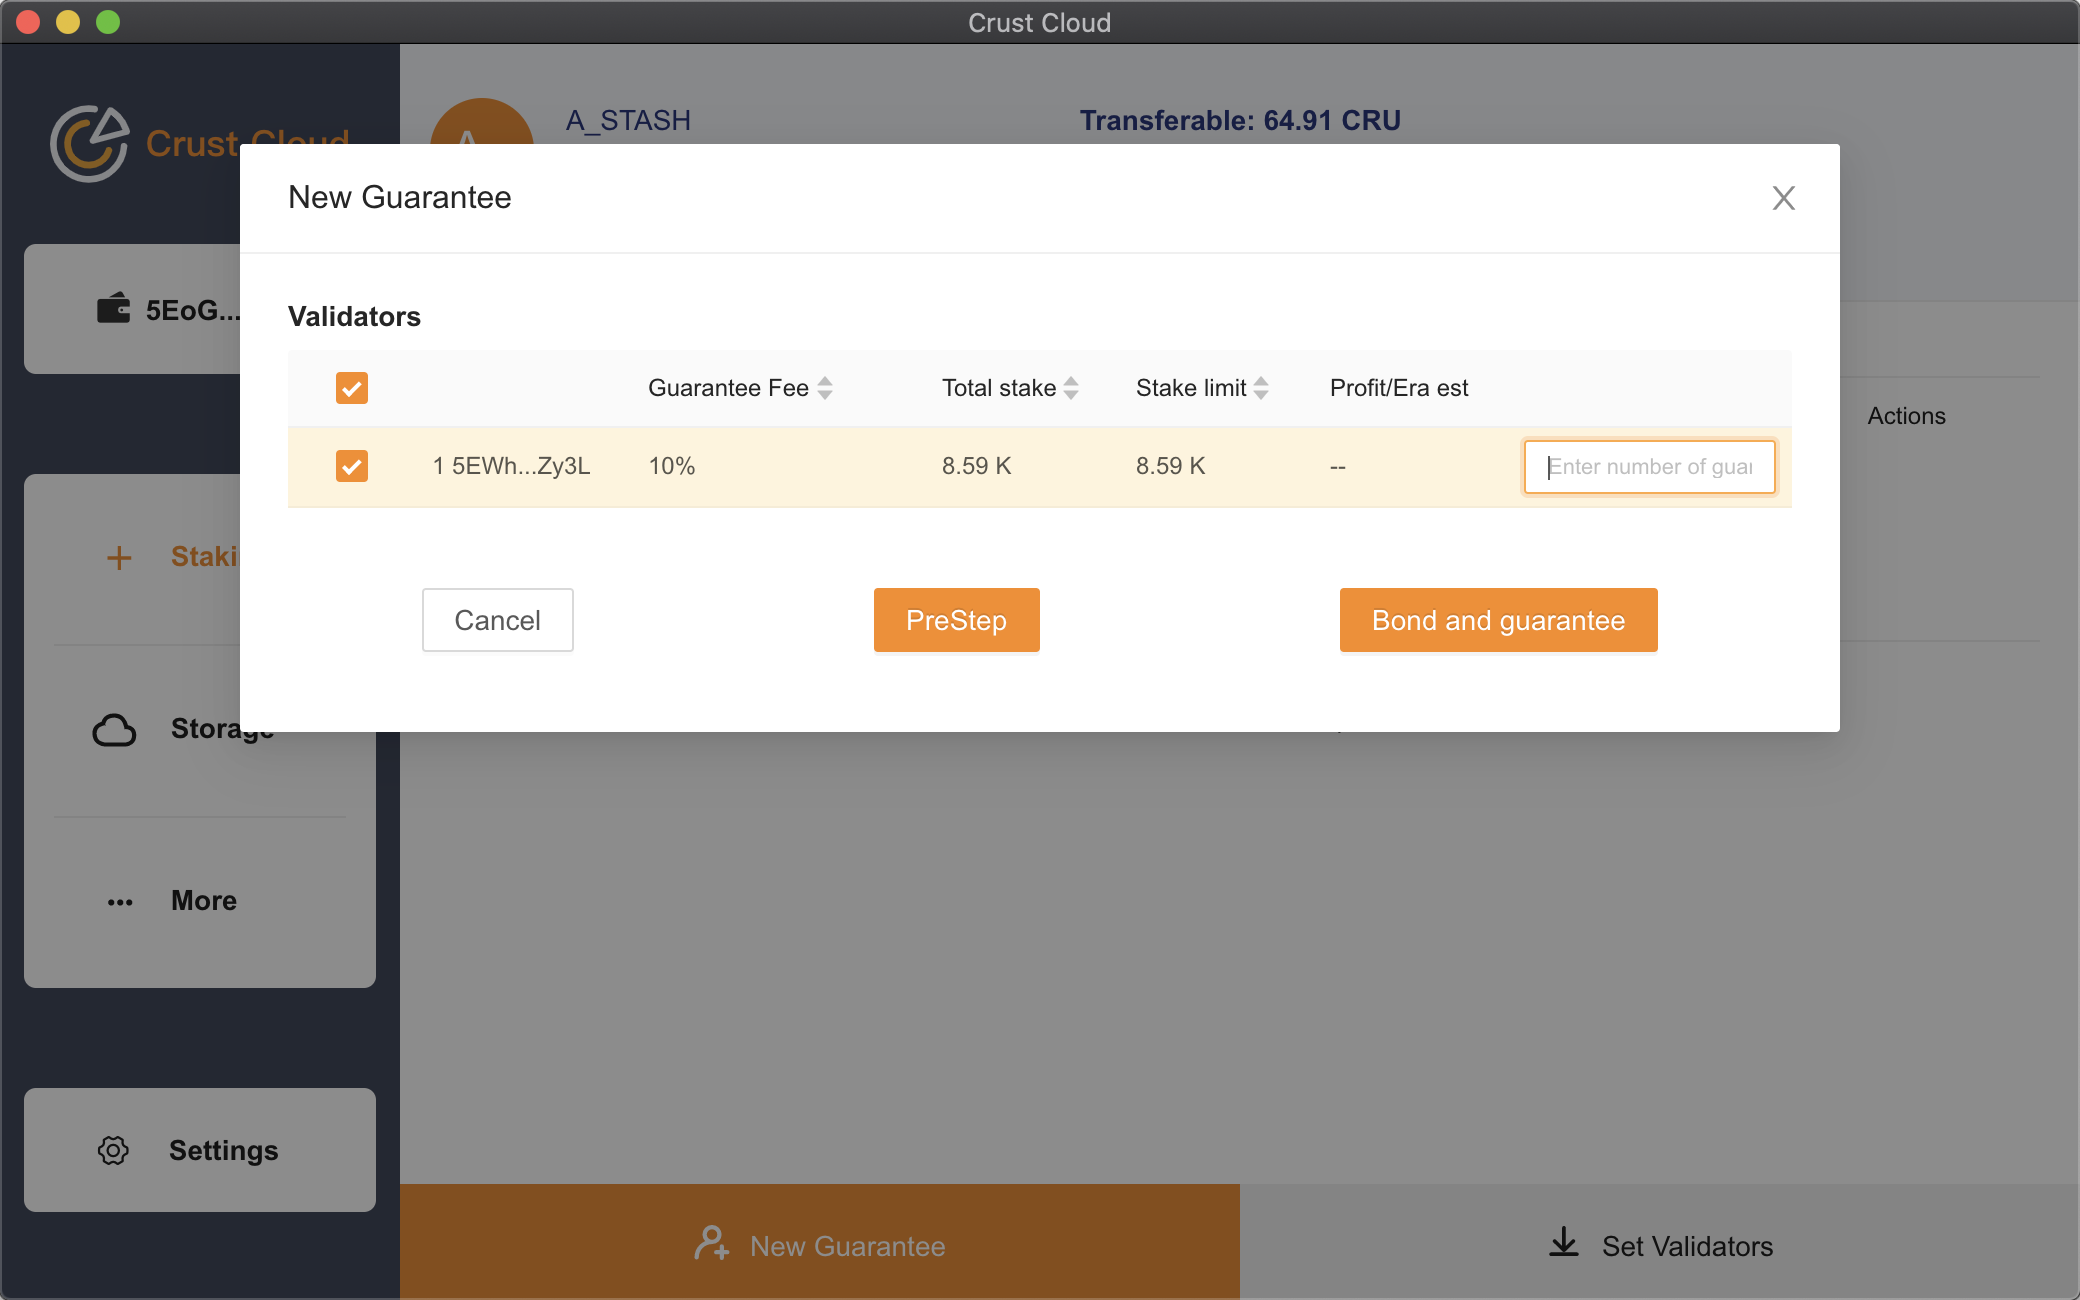
Then please select the node to guarantee, click the validator you want to guarantee, set the amount of CRUs, click the "Bond and guarantee" button, and enter the password to complete the bonding relationship and guarantee setting.
In addition to the above-outlined guarantee procedures, you can also set guarantee on existing bonding relationships, as displayed below:

Click the "···" button on the action bar of designated controller account, and select the "Guarantee" to perform such actions as changing the validator or the amount of guarantee funds.
In the action bar, you can also
-
Stop guarantee: to withdraw all guarantee fees to the validators.
-
Bond more funds: to increase the amount of CRUs that can be operated by the controller account.
-
Unbond funds: to withdraw bonded funds.
-
Change controller account: to cancel bonding relationships of the controller account and establish new bonding relationships.
-
Change reward destination: to set the target account for receiving guaranteed rewards.
After completing corresponding settings according to the requirements of Node Manual, you can also set the guarantee fees through Crust Cloud, as shown below:
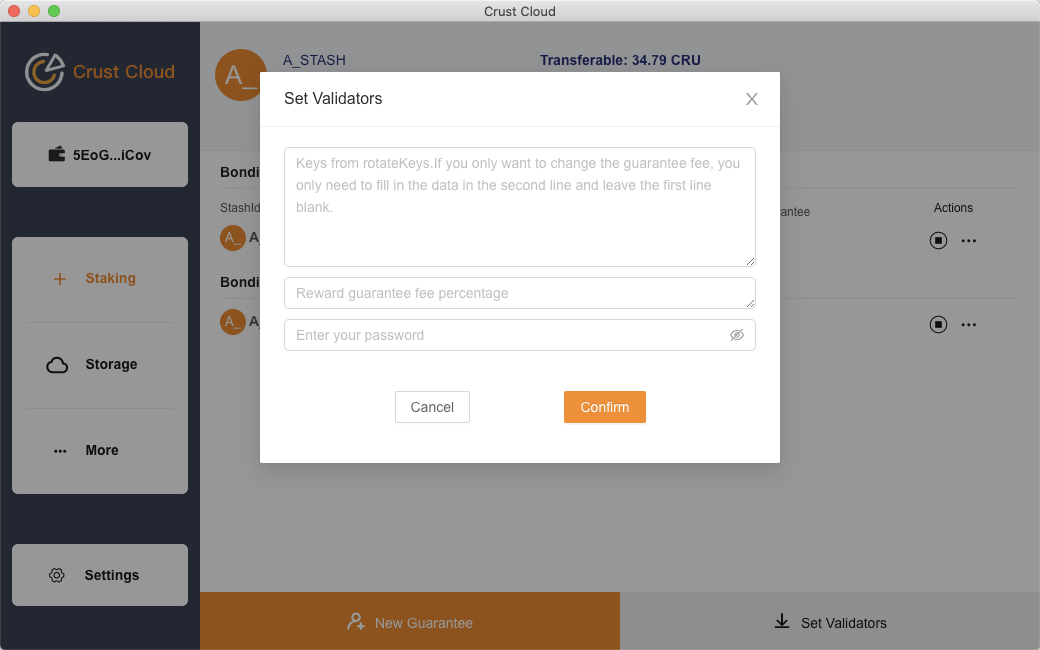
Click "Become a validator", enter the key of the to-be-validator's account, set the percentage of the guarantee fee, and complete the setting. The validator can also quickly modify the guarantee fee here in the future.
If you still have any questions, happen to find any bugs or come up with suggestions for improvement for our product, please submit them to Github or contact our official WeChat assistant: crust_kele, and you can also join our Telegram Group. We will give CRU rewards for your constructive comments.