
This is a health center portal for managing a health center for a college.
- Patient History Maintenance.
- Medicines' Stock Maintenance.
- Appointment Bookings/Cancellations.
- Patient's Profile Visible To Each Doctor.
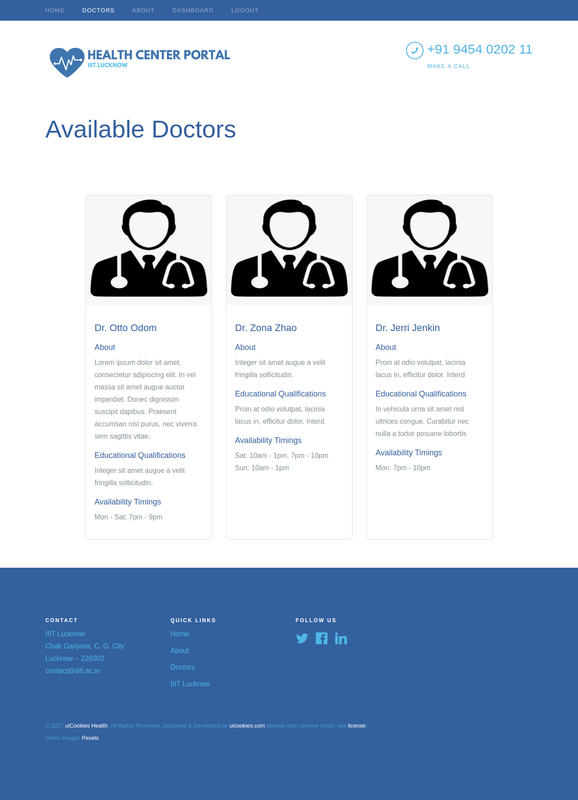
- Doctor's Profile.
- Announcements.
- Different Dashboards For Patients/Staff/Doctors.
- Minimal And Responsive UI.
-
Make sure that you have
Dockeranddocker-composeinstalled. If not, you can install it by following their documentations: docs.docker.com. -
Clone this repository:
git clone https://github.com/dojutsu-user/Health-Center-Portal.git -
Change working directory to project root directory:
cd Health-Center-Portal/ -
Run the following command:
docker-compose -f dockerfiles/docker-compose.dev.yml up --build -
Local server will start at http://0.0.0.0:8000/.
- If you want to load the dummy data, you can do so by running the following command:
docker-compose -f dockerfiles/docker-compose.dev.yml run web ./scripts/load_all_fixtures.sh
- For running tests with Python 3.7:
docker-compose -f dockerfiles/docker-compose.dev.yml run --no-deps --rm --entrypoint dockerfiles/docker-entrypoint.test.sh -e PYTHON_VERSION=3.7 web - For running tests with Python 3.8:
docker-compose -f dockerfiles/docker-compose.dev.yml run --no-deps --rm --entrypoint dockerfiles/docker-entrypoint.test.sh -e PYTHON_VERSION=3.8 web
- If you want to change the max upload size of display picture for doctors, then you can do so by changing value of the variable
MAX_ALLOWED_IMAGE_SIZE_IN_MBinsettings.py. Note that the value is inMB.
- If you want to restrict the domains with which users can signin or signup, you can do so by adding your own domain in
ALLOWED_EMAIL_DOMAINS_FOR_SIGNUPinsettings.py. By default,@iiitl.ac.inis added.
- Change the logo of the website by replacing
logo.pnglocated atstatic/theme/images/logo.png. Size of the new logo should be same as the previous logo which is636 x 144 pixels.
- Make sure the local server is up and running.
- Go to 0.0.0.0:8000/admin/ and login with superuser credentials.
- Go to
Groups. If you load the dummy data, then there should be a group calledStaff Members. If not, click onAdd Group(top right) and enter the name of the group asStaff Membersand choose the following permissions:- announcements | announcement | Can add announcement
- announcements | announcement | Can change announcement
- announcements | announcement | Can delete announcement
- announcements | announcement | Can view announcement
- auth | user | Can change user
- medicines | medicine | Can add medicine
- medicines | medicine | Can change medicine
- medicines | medicine | Can delete medicine
- medicines | medicine | Can view medicine
- student | medicine given history | Can add medicine given history
- student | medicine given history | Can change medicine given history
- student | medicine given history | Can delete medicine given history
- student | medicine given history | Can view medicine given history
- student | visit history | Can add visit history
- student | visit history | Can change visit history
- student | visit history | Can delete visit history
- student | visit history | Can view visit history
- Click on
Save. - Then you can go to
Usersand can assign any user to the group just created and that user will have separate dashboard to do its required tasks.
- Add a new user by going here: 0.0.0.0:8000/admin/auth/user/add/
- Then go to 0.0.0.0:8000/admin/doctor/doctor/add/ and select the user just created and fill the other fields and click on
Save. - The doctor can login with the username and password used in step 1 and can then login in its dashboard and can edit its details manually.
- Go to 0.0.0.0:8000/admin/student/visithistory/add/ and select the and doctor from the list and fill out the other details and click on
Save. - This will be visible to the patient as well as the doctors.
Homepage

Available Doctors
About Page

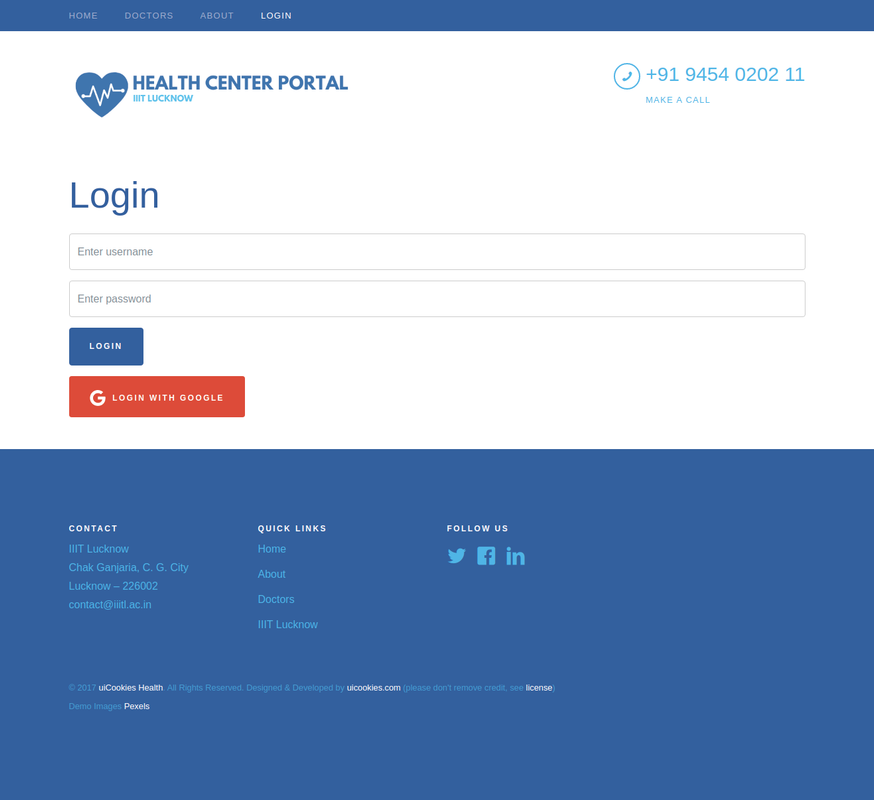
Login Page
Student's Dashboard

Doctor's Dashboard

Staff Dashboard
