Setting up RotorS as Fixed Wing HiL Simulation (Pixhawk, Mavros, Mavlink, QGC)
You'll need to install and configure a few things until the framework is running correctly. Here's a description of the steps on Linux Ubuntu 14.04, running on a Lenovo computer. Besides ROS and the RotorS simulator, you will need a ground control station (QGroundControl), as well as the proper hardware (Pixhawk with correct firmware). These instructions assume you are familiar with Git (documentation can be found on https://git-scm.com/doc).
- Install and initialize ROS indigo desktop full, additional ROS packages, catkin-tools, and wstool:
sudo sh -c 'echo "deb http://packages.ros.org/ros/ubuntu `lsb_release -sc` main" > /etc/apt/sources.list.d/ros-latest.list'
wget http://packages.ros.org/ros.key -O - | sudo apt-key add -
sudo apt-get update
sudo apt-get install ros-indigo-desktop-full ros-indigo-joy ros-indigo-octomap-ros python-wstool python-catkin-tools
sudo rosdep init
rosdep update
source /opt/ros/indigo/setup.bash
- If you do not have a ROS workspace yet you can set up one with
mkdir -p ~/catkin_ws/src
cd ~/catkin_ws/
catkin init  # initialize your catkin workspace
catkin config --merge-devel # Necessary for catkin_tools >= 0.4.
catkin config --extend /opt/ros/indigo
catkin config --cmake-args -DCMAKE_BUILD_TYPE=Release
cd src
wstool init
Note: for setups with multiple workspaces please refer to the official documentation at http://docs.ros.org/independent/api/rosinstall/html/ by replacing
roswsbywstool.
- Get the simulator and additional dependencies:
cd ~/catkin_ws/src
git clone -b <branch_name> git@github.com:ethz-asl/rotors_simulator.git
git clone git@github.com:ethz-asl/mav_comm.git
git clone git@github.com:ethz-asl/yaml_cpp_catkin.git
git clone https://github.com/catkin/catkin_simple.git
Note: if you want to use
wstoolyou can replace the above commands withwstool set --git local_repo_name git@github.com:organization/repo_name.git
Note: if you want to build and use the gazebo_mavlink_interface plugin (which you will have to do for HIL simulation with a Pixhawk) you have to get MAVROS and MAVLINK as additional dependencies:
ASL-internal: git clone git@github.com:ethz-asl/fw_mavros.git (99e4dad)
External: git clone -b indigo-devel git@github.com:mavlink/mavros.git (b307c64)
and MAVLINK: git clone -b debian/kinetic/mavlink git@github.com:mavlink/mavlink-gbp-release.git (0ce4dea)
Note: if you are unable to clone repositories with the above commands, you might need to set up an SSH key and add it to your GitHub account (https://help.github.com/articles/connecting-to-github-with-ssh/). Also, check that you have been given the access rights to all ASL repositories.
- ROS Indigo hosts the 2.x version of Gazebo. This simulation works using at least the 5.x version of Gazebo (more recent versions are less stable). The OSRF repository provides -gazebo5- versions of ROS/Indigo gazebo wrappers (gazebo5_ros_pkgs) which are built on top of the gazebo5 package. To use Gazebo 5.x with ROS Indigo:
sudo sh -c 'echo "deb http://packages.osrfoundation.org/gazebo/ubuntu-stable `lsb_release -cs` main" > /etc/apt/sources.list.d/gazebo-stable.list'
wget http://packages.osrfoundation.org/gazebo.key -O - | sudo apt-key add -
sudo apt-get update
sudo apt-get install ros-indigo-gazebo5-ros-pkgs
- Build your workspace with
python_catkin_tools(therefore you needpython_catkin_tools):
cd ~/catkin_ws/
catkin init  # If you haven't done this before.
catkin build mavros --cmake-args -DCMAKE_BUILD_TYPE=Release -DMAVLINK_DIALECT=ASLUAV
catkin build
Note: You might need to add additional packages as stated by error messages during build (e.g., future (
sudo apt-get install python-pipandsudo pip install future), control_toolbox-config.cmake (sudo apt-get install ros-indigo-control-toolbox)).
Note: if switching a package to another branch, don't forget to re-build it!
- Eventually, add sourcing to your
.bashrcfile
echo "source ~/catkin_ws/devel/setup.bash" >> ~/.bashrc
source ~/.bashrc
Else, do not forget to source this workspace with source ~/catkin_ws/devel/setub.bash whenever working with it.
-
Keyboard and joystick usage should already be working (good way to check whether everything has been installed properly). Install QGroundControl and set up your Pixhawk properly before using the HIL simulation.
-
Reinstallation: if you shall ever need to reinstall everything again, make sure to uninstall Gazebo 5 first (as a new ROS installation will not be compatible with Gazebo 5), and to reinstall SDF libraries :
sudo apt-get remove gazebo*
sudo apt-get install libsdformat1
You can then follow the installation instructions from the beginning again.
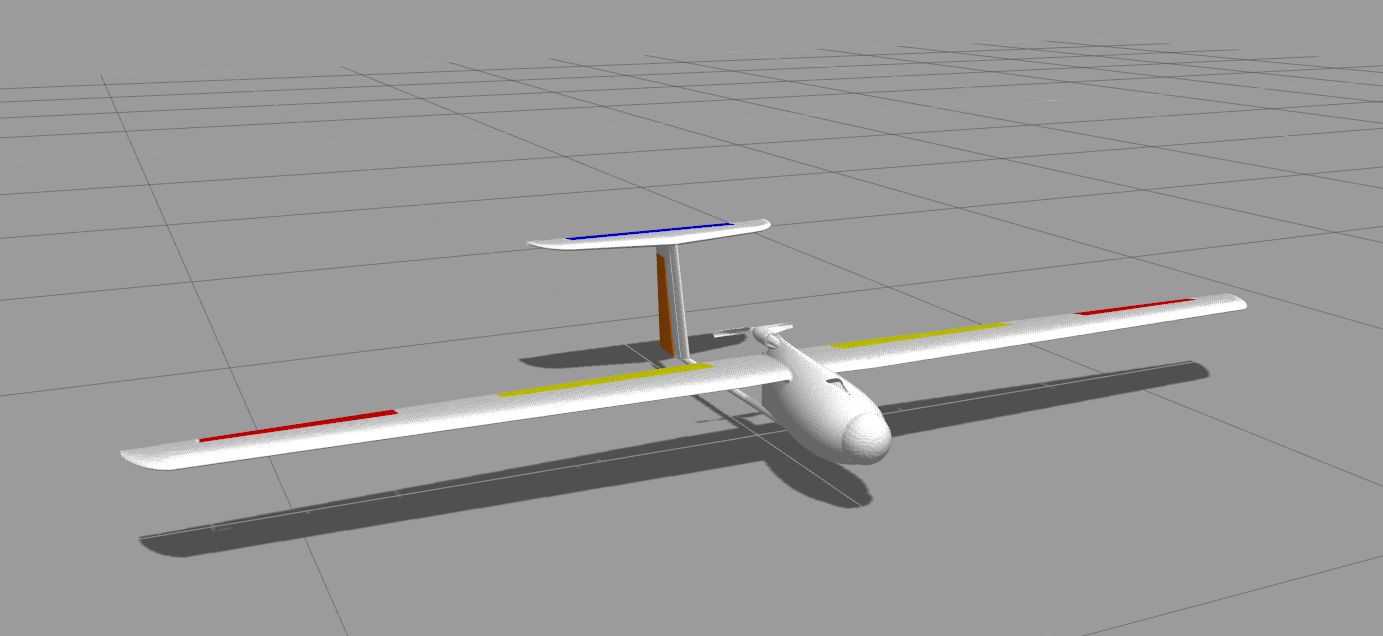
Launch the simulator with a fixed-wing model, in our case, the Techpod model in the Uetliberg world for example:
roslaunch rotors_gazebo fixed_wing_keyboard_teleop.launch uav_name:=techpod world_name:=uetliberg
Unpause the physics (play button at the bottom of the gazebo window), and click on the terminal again. You can now pilot using w,a,d and the keyboard arrows.
Note: You can also load your own worlds if wished. The aircraft spawn position should be adjusted as needed in the launch file.
Connect a USB joystick to your computer and launch the simulator with a fixed-wing model, in our case, the Techpod model in the Yosemite world, which are the default parameters.
roslaunch rotors_gazebo fixed_wing_with_joy.launch uav_name:=techpod world_name:=yosemite
Depending on the type of the joystick and the personal preference for operation, you can assign the axis number using the axis_<roll/pitch/thrust>_ parameter and the axis direction using the axis_direction_<roll/pitch/thrust> parameter.
-
To run the hardware-in-the-loop (HIL) simulation you have to have gotten MAVROS as an additional dependency (step 3 of the installation instructions), configured your Pixhawk autopilot and installed QGroundControl.
-
Launch the simulator with a fixed-wing model and the HIL interface node.
roslaunch rotors_gazebo fixed_wing_hil.launch
- Connect the PX4 autopilot to your computer (first SERIAL, then TELEM 1, as described in point 4 of the Pixhawk setup process) and launch an instance of MAVROS to relay messages to/from the hardware.
roslaunch mavros px4.launch fcu_url:=<PX4_telem_address>:921600 gcs_url:=udp://127.0.0.1:14555@127.0.0.1:14560
Where 'PX4_telem_address' is the device port on which the PX4 is connected (for example, '/dev/ttyUSB1') and the baud rate of 921600 is used for HIL communication. If the MAVROS node is operating properly, the RotorS GUI should receive a heartbeat message from the PX4 and some functionality should become enabled. The gcs_url sets up a UDP bridge to enable the telemetry data to be used both by mavros and a ground control station - e.g., QGC (14555 is the target host, and 14560 the listening port).
-
If wished, open QGC and connect to PX4 via UDP link.
-
Click the 'Enable HIL' button in the GUI.
-
Once the 'HIL' mode has switched from OFF to ON, restart the PX4 by clicking the 'Reboot Autopilot' button in the GUI to restart the state estimator in HIL mode. Wait until the PX4 reboots and comes back online.
-
Click the 'Arm' button in the GUI to arm the motors.
-
At this point, the aircraft will move in accordance with the HIL_CONTROLS messages coming from the autopilot. It can be operated in a manual mode via a remote control communicating directly with the PX4.
Note: If for some reason the commands are not passed on to the simulation, try loading, setting and writing the correct parameters for the aircraft using QGC.
Install QGroundControl to be able to monitor parameters while running the simulation.
- You will first need the source code of the ASL version of the program:
git clone https://github.com/ethz-asl/fw_qgc.git
git submodule init
git submodule update
Note: At the time of writing, fw_qgc master was on commit a4356bb.
- Then, install Qt 5.5.1 to build the source code. Download the unified installer from https://www.qt.io/download-open-source/ and make it executable using :
chmod +x qt-unified-linux-x64-2.0.3-1-online.run
Launch the installer with root privileges:
sudo ./qt-unified-linux-x64-2.0.3-1-online.run
and follow the installation instructions. Make sure to select the correct version (5.5). Additionally, you will need the SDL1.2 and SDL2 libraries, which can be downloaded with:
sudo apt-get install libsdl1.2-dev
sudo apt-get install libsdl2-dev
-
With QT Creator, open the project qgroundcontrol.pro located in fw_qgc, and make sure to select QT 5.5.1 GCC 64bit before clicking 'Configure project'. Before building and running, switch to 'Release' mode (and not 'Debug'). Once it is finished, a new folder should have appeared, named 'build-qgroundcontrol-Desktop_Qt_5_5_1_GCC_64bit-Release' or something similar. In the 'release' subfolder, double-click qgroundcontrol to open it. You can lock it to the launcher for added convenience in the future (if no icon present, you can set it manually by updating the path to it in ~/.local/share/applications/qgroundcontrol.desktop).
-
Set the correct user permissions to access serial devices. You should also remove modemmanager since it also interferes. Execute the following commands to fix these issues:
sudo usermod -a -G dialout $USER
sudo apt-get remove modemmanager
-
When opening QGC for the first time, go to File->Settings->MAVLink and uncheck 'Only accept MAVs with the same protocol version'.
-
Set up the necessary communication link. Go to File->Manage Communication Links, and click 'Add'. We are going to connect to the telemetry data used by MAVROS using its built-in UDP bridge as explained in the RotorS Fixed-wing Aircraft Usage section, point 3 of the HIL usage subsection. Name the link (e.g, 'PX4 UDP'), and set its type to 'UDP'. Listening Host is 14560, and Target Host is 127.0.0.1:14555.
-
If you are connected to the Pixhawk (when the simulation and mavros are running), you can set the onboard parameters by going to the 'Analyze' menu and loading the correct .params file, clicking 'Set' and then 'Write (ROM)'. This will save the parameter values into the Pixhawk.
The Developer's guide for the PX4 can be found at dev.px4.io. It provides a lot of information concerning the possible uses of the autopilot.
- Write needed startup scripts onto the SD card: 'etc' folder containing 'rc.txt' as well as a 'telem_config' subfolder with 'telem0.txt' and 'telem1.txt' files. In 'rc.txt', make sure that the value of 'set HIL' is 'yes', on line 10. 'dataman' file and 'params' file will appear when connecting the autpilot to MAVROS for the first time and setting it up with QGC.
Note: Various log files and folders will also appear when using the Pixhawk, which can be used for debugging. It is advised to delete them from time to time to keep the SD card clean.
- Get the correct version of the firmware from the ASL GitHub:
git clone https://github.com/ethz-asl/fw_px4.git
git submodule init
git submodule update
- Flash the correct version of the firmware onto the Pixhawk. First, prepare the toolchain installation following the steps given on the DevGuide (Pixhawk is a NuttX based hardware):
http://dev.px4.io/starting-installing-linux.html
Note: Installing Ninja is not a bad idea.
The actual flashing process is similar to that described in
http://dev.px4.io/starting-building.html
The difference is that we are using our own firmware, not the standard PX4 Firmware. The relevant directory is therefore 'fw_px4' instead of 'Firmware', and the firmware version is 'px4fmu-v2_asl'.
Note: If 'make' does not yield the expected results (i.e., if 'make px4fmu-v2_asl' does not produce a successful run) and errors arise (ENOTSUP in my case), you might need to install GCC 4.9 manually as indicated in the toolchain installation, restart your computer and try flashing again.
- Connect the Pixhawk. The program 'screen' allows one to view the Pixhawk console (NuttShell) in the terminal, and to see the boot process, etc. It is very useful to monitor what happens with the Pixhawk. To install it, type the following in a terminal:
sudo apt-get install screen
If you are powering the Pixhawk by USB, first plug the SERIAL cable into your computer, open the link to the console in a terminal by typing
screen <PX4_serial_address> 57600 8N1
Where 'PX4_serial_address' is the device port on which the serial cable of the device is connected (for example, /dev/ttyUSB0) and the baud rate of 57600 is used. Then plug in the microUSB. You should see the booting process on the console. Then plug in TELEM1, and your Pixhawk is ready to use.
Note: To close the console, use the combination
Ctrl + A,Shift+Kand theny/nor simply disconnect the Pixhawk. If you want to scroll in the console (for example to see the booting process), pressCtrl + Aand thenEsc. PressEscagain to go back to normal mode.