A chatbot companion project.

Combines openai's chat and voice apis with hardware to make an AI you can talk to.
This project was developped on Macbook and a Raspberry Pi.
Before running this make sure you set your OPENAI_KEY environment variable:
export OPENAI_KEY=<my-openai-key>
On a Macbook, there is a TUI (terminal UI) which simulates some of the hardware such as LEDs, LCD and Pushbutton. It will use your computers microphone and speaker hardware, just like the raspberry pi does.

To develop on a raspberry pi, I suggest running this with:
go run . 2> /dev/null
Otherwise you may see a lot of ALSA logs complaining about the hardware... I tried to remove these in a sensible way, but it appears to be a known issue with portaudio and ALSA's libraries.
To deploy this on your Raspberry Pi, run:
go build .
./service/addService.sh
systemctl --user start chatbox
To make it run on boot:
systemctl --user enable chatbox
To check logs:
journalctl --user -u chatbox --since "10 minutes ago"
The hardware I run this on is a Rasberry Pi 4B 2GB... hopefully there are no memory leaks.
Running this on a Raspberry Pi with Desktop is fine, but I suggest switching to terminal mode once you have put your Pi in your enclosure.
This project expects that the raspberry pi is connected to an arduino running serial pixel: https://github.com/hoani/serial-pixel
Make sure you enable I2C in the raspberry pi - this is needed for the LCD.
The basic audio libraries used are:
apt install mpg123 portaudio19-dev espeak
In addition, I use mbrola voices, which sound a little better than espeak's defaults:
apt install mbrola mbrola-en1 mbrola-us1
The LCD used for this project is LCD1602.
This is connected to the i2c pins 3 and 5, as well as GND and 3V3.

A push button is used for signalling when it is time to talk to the chatbox. This is connected to GPIO 5 and GND:

In my build, I:
- connected my serial-pixel arduino into a USB port
- used a USB speaker which connected to the Pi with an audio jack
- used a USB webcam as my microphone
I got sick of rebooting my raspberry pi. So I have added a couple of control commands that you can speak to the chatbox:
"shutdown"will shutdown the raspberry pi... very helpful in avoiding corrupting your disk drives."change personality to <Someone>"will change the personality of the chatbox and reset your chat history
This list isn't exhaustive, a lot of the decisions I made were based around what is available to buy locally in New Zealand.
- Raspberry Pi 4B/3B+
- any RAM is fine, this project uses only ~200Mb max
- Raspberry Pi 3B+
- Teensy 4.0
- Pretty much any other arduino that fits in the box also works
- Genius SP-HF280 USB Speakers
- Duinotech 24 LED 72mm circular board
- Sunfounder USB Microphone
- Waveshare RGB 1602 LCD
- Push button
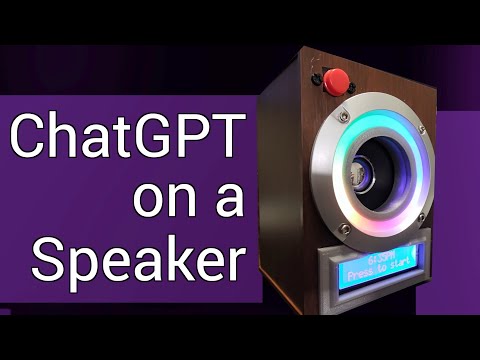
There were also a bunch of 3D printed parts and so on. A video showing the build is on youtube: