Real-time audio visualization for raspberry pi
- Purchase everything from this guide except for the
DFRobot ESP32 FireBeetlechip. - Assemble following the adafruit guide here. One tricky thing is sodering the white wire from the rainbow cable to the 24 GPIO pin. You can see an image of this below. Also of note, we did NOT need to solder the E jumper between the 8 or 16 location. Everything worked fine without this.
- You'll also need a usb microphone. I used this one.

- Audio Processing
- You can display the frequency steptrum of audio in near real-time as shown below.

- In addition, there is an option to have the color bars change gradually over time shown below.
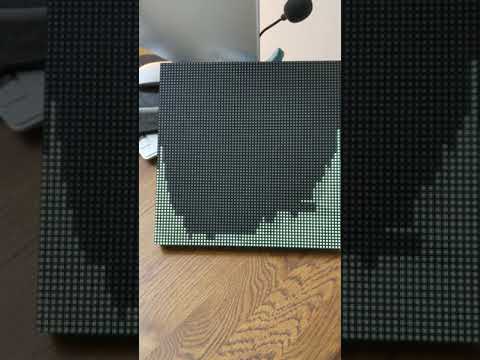
- Displaying Images
- With the 64x64 matrix hooked up to the pi, you can also display images such as this image of a walk in the woods.

- All on your raspberry pi
-
Follow the instructions here https://github.com/hzeller/rpi-rgb-led-matrix/tree/master/bindings/python
-
Install
apt-get libasound2-devon your raspberry pi
- Install Poetry
curl -sSL https://raw.githubusercontent.com/python-poetry/poetry/master/get-poetry.py | python- Install poetry dependencies
poetry installThis should all be run on your raspbrerry pi
- Launch this program
sudo python3 -m run_audio_processing- This uses two threads to read in audio data pushed to a queue. Then, we read data from the queue and pass it to the visuzliation program.
- Alternatively, you can use this bash script
sudo ./run_audio_processing.sh- This passes in audio data using a named pipe from ffmeg to
spectrum_matrix.py