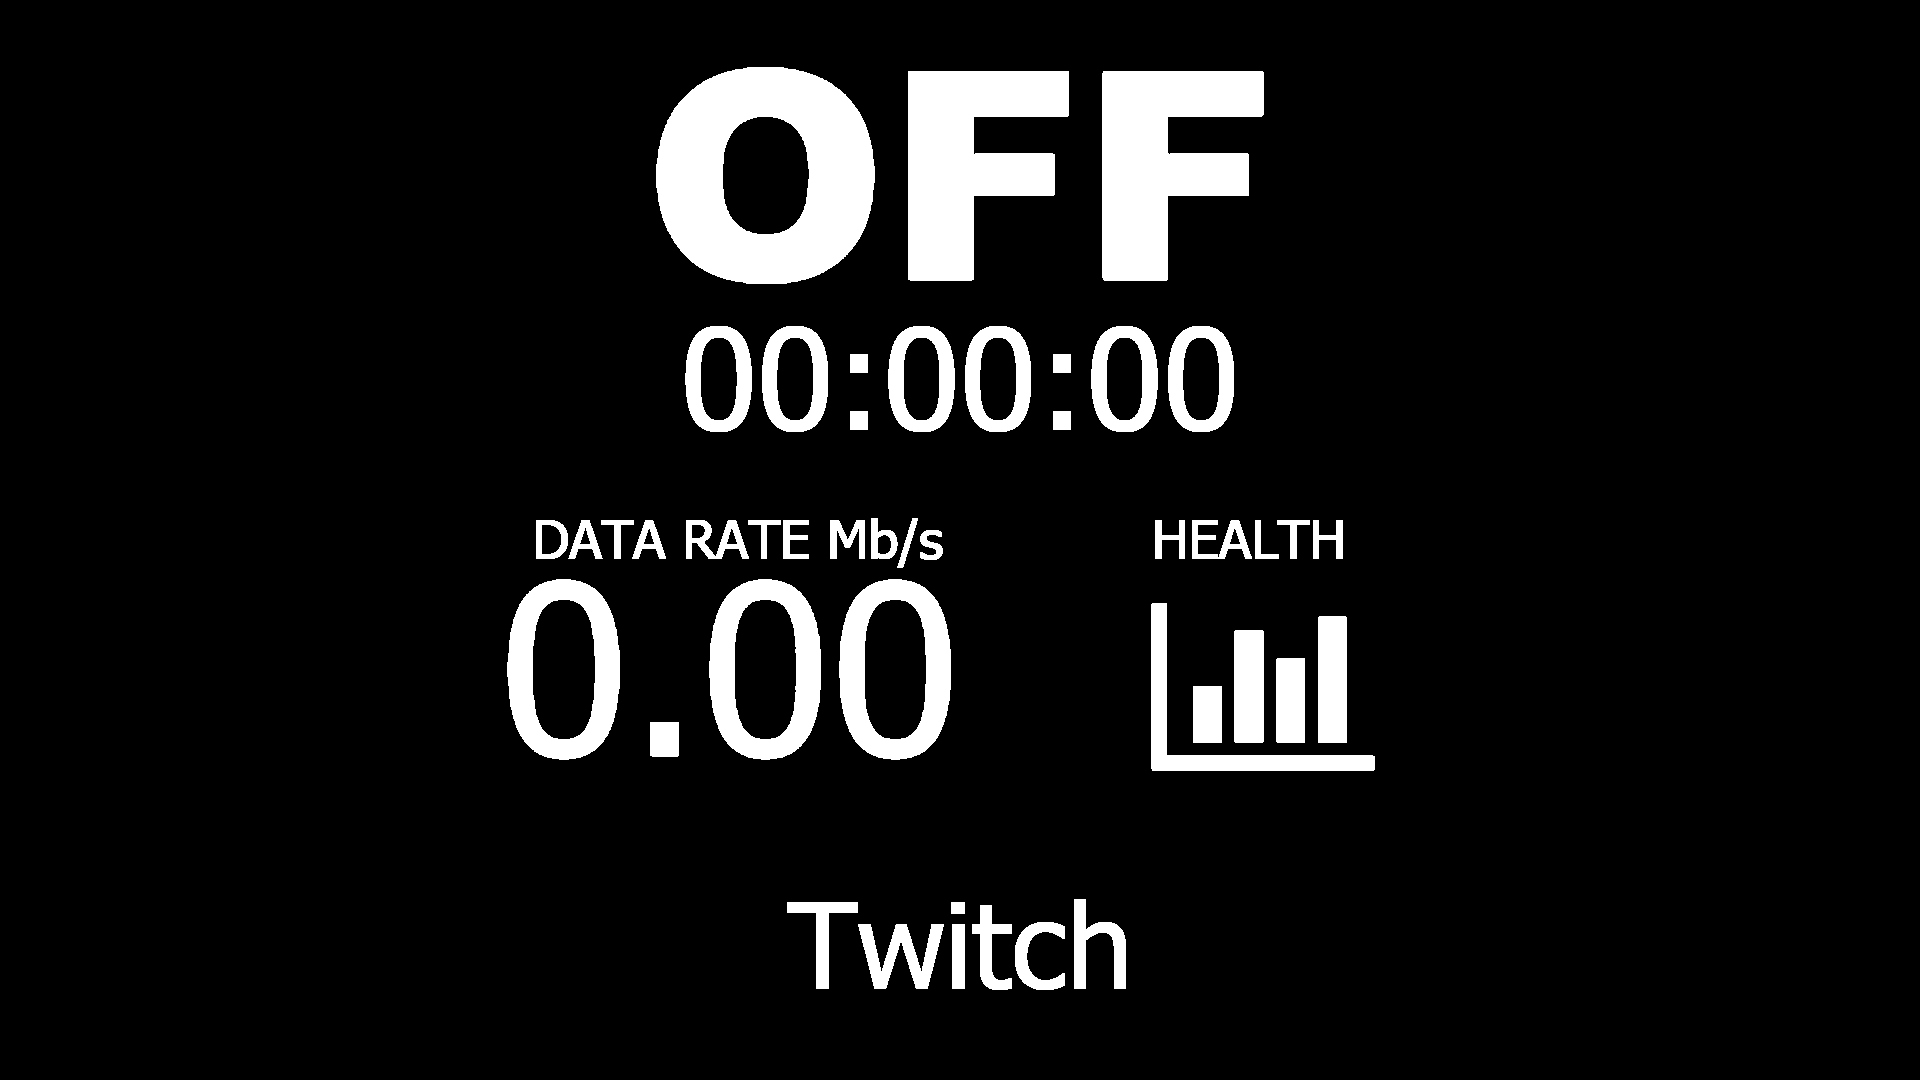
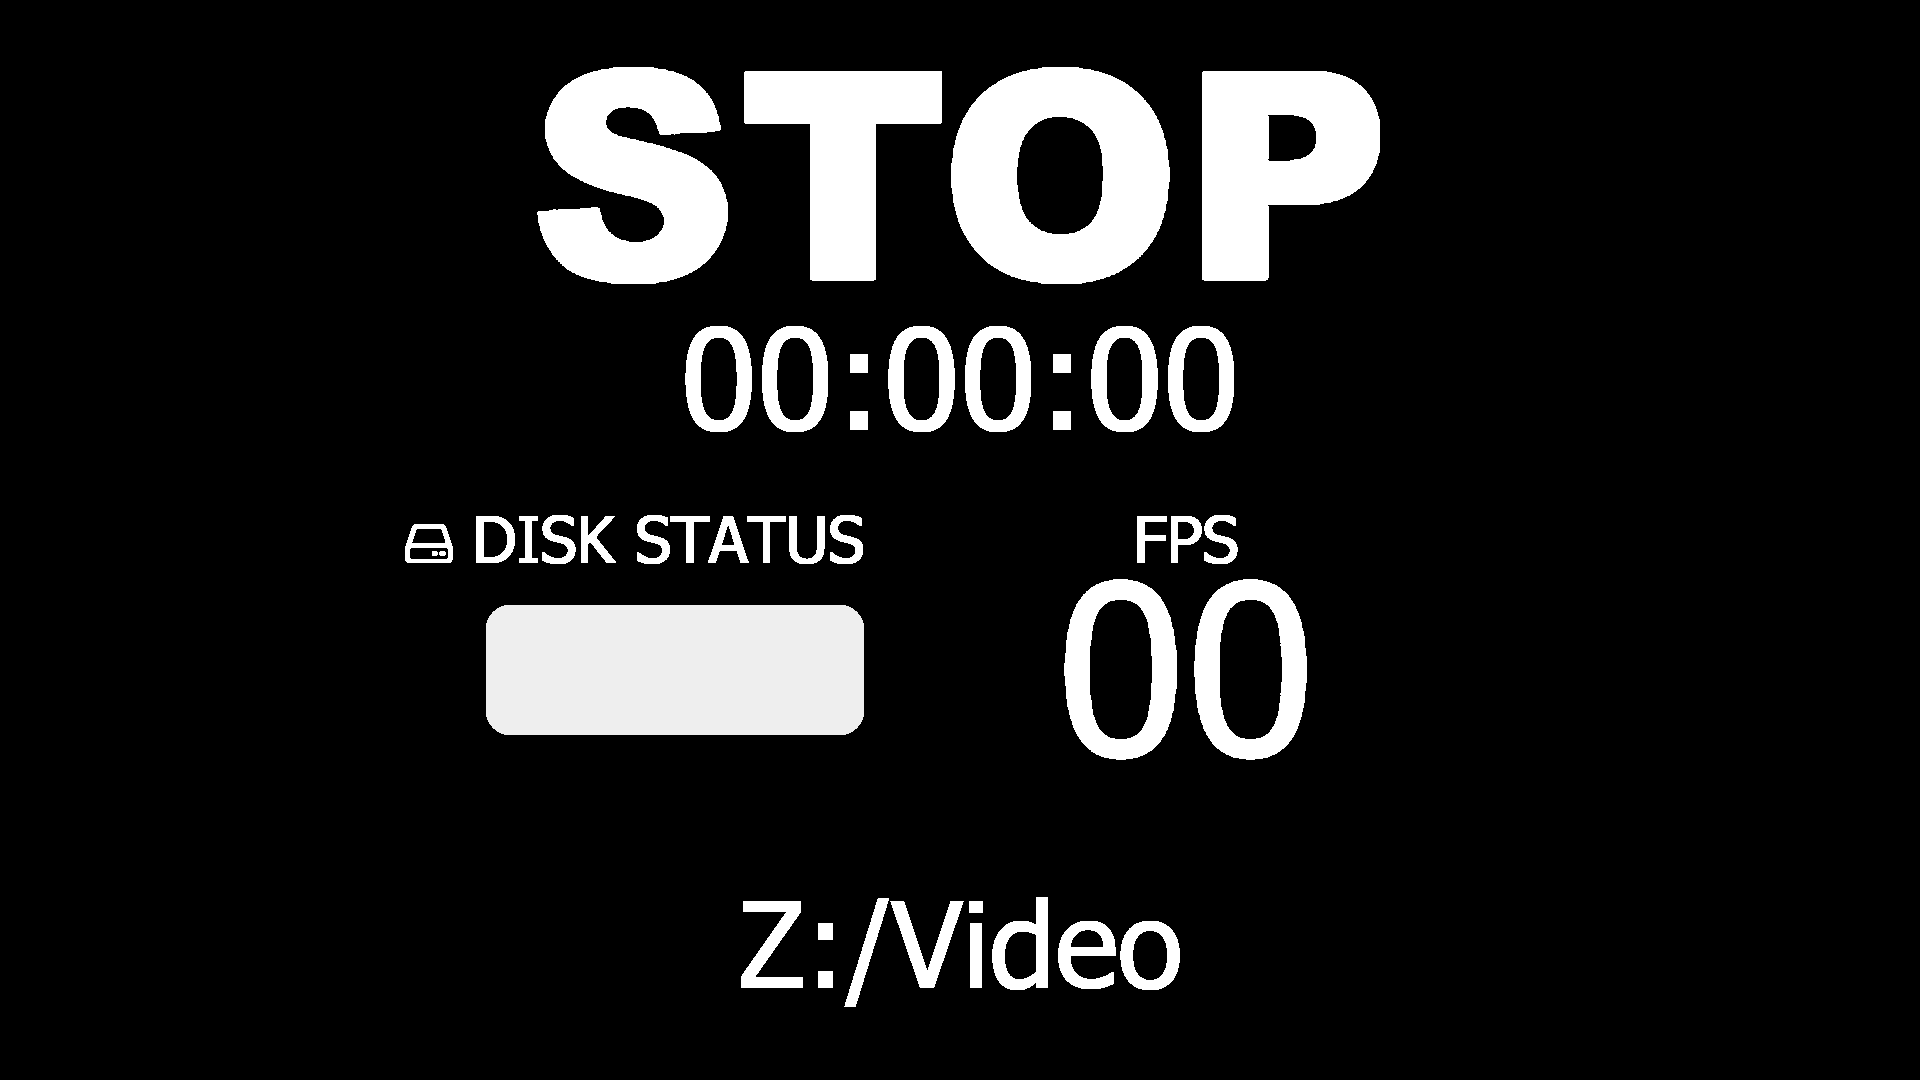
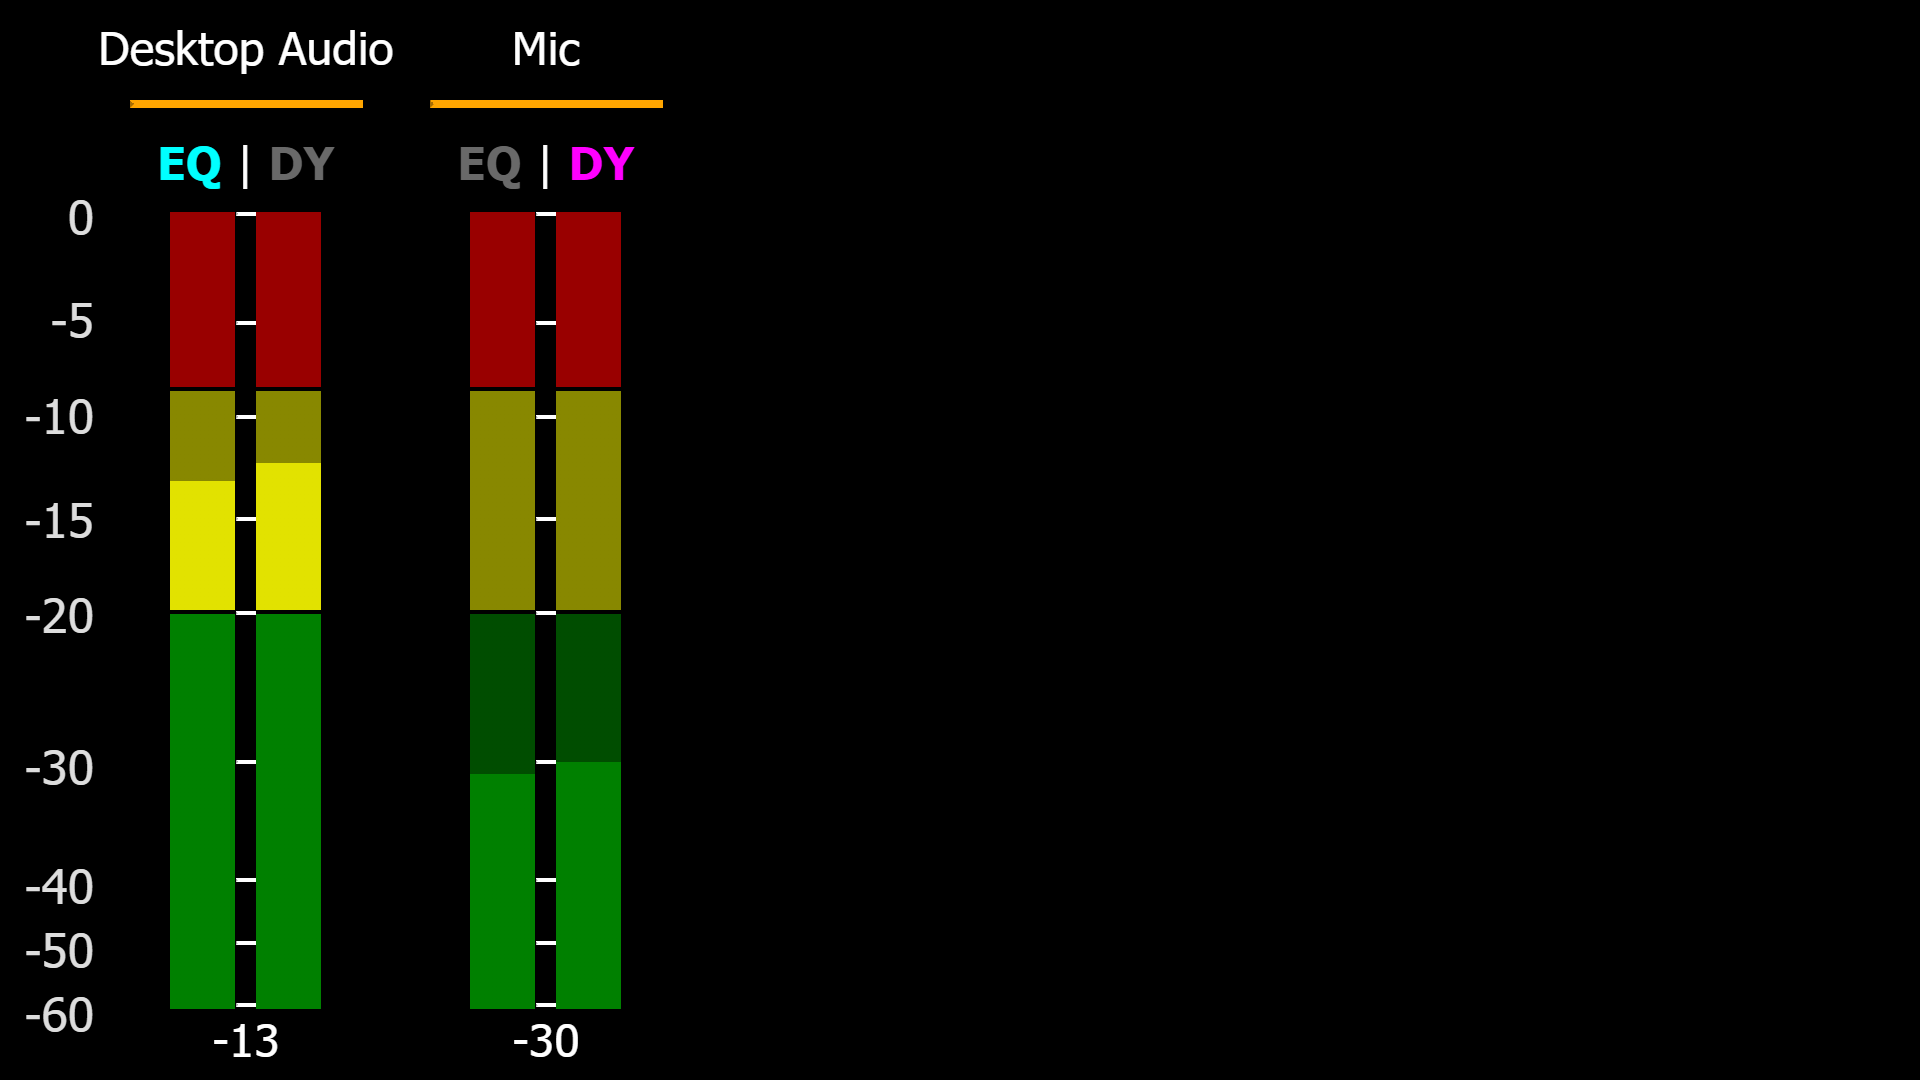
This provides you with an atem-mini like multiview stats display to show the recording/streaming status, free disk space, stream health, current stream bitrate, streaming/recording timecode, audio levels and selected audio filters.
display1.html is all about streaming related stats. The big text on the top shows the current streaming status and the stream timecode. The middle left part displays the current bitrate that is beeing sent and the middle right part shows the network congestion in the same color that the small rectangle in the obs status bar would show. The bottom line shows the streaming service (Either the name or the custom url).
display2.html is mostly about recording related stats. The big text on the top shows the current recording status and the recording timecode. The middle left part displays the free disk space but be warned this is not an absolute value but calculated relative to the first free disk space value that obs sends (which is basically the free space before the recording started). The middle right part shows the current render framerate. The bottom text shows the current configured recording path.
display3.html is all about audio related stats. It shows all the input sources you have. The EQ shows if you have an Equalizer filter enabled. The DY shows if you have a compressor filter enabled. The maximum of sources it can and will show is 10. After that, the volume numbers and the other sources won't show up anymore. When a source is muted, the level will ignore the volume setting, there is no way to avoid that. Hidden sources will still show and sources that don't show up in OBS, like browser views without the control audio in OBS, will also show.
All data will auto-populate when the page is loaded and obs with obs-websocket enabled is running.
- OBS 30 or later
- An internet connection
- Start OBS, open the "Tools" menu and select "obs-websocket Settings"
- Make sure that "Enable Websocket server" is checked, "Server Port" is 4455
- (If "Enable Authentication" is enabled) Copy the websocket password by clicking on "Show Connect Info"-Button -> Next to the "Server Password" field -> "Copy"-Button
Using the web hosted version:
- URL for streaming stats: http://mv-stats.lebaston100.de/display1.html?password=mypassword
- URL for recording stats: http://mv-stats.lebaston100.de/display2.html?password=mypassword
- URL for audio stats: http://mv-stats.lebaston100.de/display3.html?password=mypassword
- Create a scene for each of the required pages
- Create a browser source per scene
- Paste the url into the "URL" input with your password updated if you use one (For more details see "Configuration (parameters)" section below)
- Set resolution to 1920x1080
- (Optional to save a few resources) Check "Use custom frame rate" and lower render framerate to something like 10/15.
Using the downloaded version:
- Download this repository and unpack OR clone it (you only need the display1.html and display2.html files)
- Create a scene for each of the required pages
- Create a browser source per scene
- Depending on how you want to supply your settings you can either:
- RECOMMENDED: Input the path to your local file into the URL input prefixed with a
file:///. For example:file:///C:\display1.html?password=mypassword. This way you can use the url parameters for configuration! - Alternative: Select "Local file" and select the html file from the file browser. You'll need to edit the common.js file with a text editor to change settings like the password or run transferSettings.bat if you're on windows.
- RECOMMENDED: Input the path to your local file into the URL input prefixed with a
- Set resolution to 1920x1080
- (Optional to save a few resources) Check "Use custom frame rate" and lower render framerate to something like 10/15.
- Note: The downloaded version still needs an internet connection to load third party dependencies for symbols and the obs connector.
There are two different way to set settings, either by editing the default values in the common.js file directly or using url parameters on the html files (all parameters are optional).
The first url parameter needs to use a ? instead of &. Also it's possible that you may need to url-encode your host/password values if they contain special characters (esp. ?&=). Just type your host/password into this website, click encode and use the displayed value in the url.
- &host= (url param) / var obsHost = (file): This configures the ip or hostname and port of the machine running obs-websocket. It defaults to localhost/127.0.0.1 so only needs to be added if you're connecting from a different machine then the local one.
- &password= (url param) / var obsPassword = (file): This configures the password used to authenticate with obs-websocket. Only needed if you have enabled authentication in obs-websocket.
- &hidebottom (url param) / (no file param): This hides the server address for monitor1 and recording path for monitor 2 to not overlay with the multiview scene name labels.
- &secure (url param) / obsProtocol = (file): Only use this if you know exactly what you are doing! Can be used to switch to wss for the websocket connection when using a wss proxy.
- &metersource (url param) / (no file param): Statically selects which meters to show. 1=postfader (post-fader post-mute), 2=prefader(pre-fader pre-mute). Default is dynamic switching between 1 (source unmuted) and 2 (source muted). Only works for monitor3.html
If you have any problems, just open a Github issue or join my Discord Server.
Big thanks to my co-dev Rgenxer (facebook.com/temzlemdor / Rgenxer#1169) for doing all the initial frontend development for monitor1.html and monitor2.html. And thanks to Miniontoby for making the display3.html page.
All pages used in multiview:


