[![Build Status][travis-img]][travis-repo] [![Coverage Status][coveralls-img]][coveralls-repo] [travis-img]: https://travis-ci.org/micropython/micropython.png?branch=master [travis-repo]: https://travis-ci.org/micropython/micropython [coveralls-img]: https://coveralls.io/repos/micropython/micropython/badge.png?branch=master [coveralls-repo]: https://coveralls.io/r/micropython/micropython?branch=master
This is the MicroPython project, which aims to put an implementation of Python 3.x on microcontrollers and small embedded systems. You can find the official website at micropython.org.
WARNING: this project is in beta stage and is subject to changes of the code-base, including project-wide name changes and API changes.
MicroPython implements the entire Python 3.4 syntax (including exceptions, "with", "yield from", etc., and additionally "async" keyword from Python 3.5). The following core datatypes are provided: str (including basic Unicode support), bytes, bytearray, tuple, list, dict, set, frozenset, array.array, collections.namedtuple, classes and instances. Builtin modules include sys, time, and struct, etc. Select ports have support for _thread module (multithreading). Note that only subset of Python 3.4 functionality implemented for the data types and modules.
See the repository www.github.com/micropython/pyboard for the MicroPython board (PyBoard), the officially supported reference electronic circuit board.
Major components in this repository:
- py/ -- the core Python implementation, including compiler, runtime, and core library.
- unix/ -- a version of MicroPython that runs on Unix.
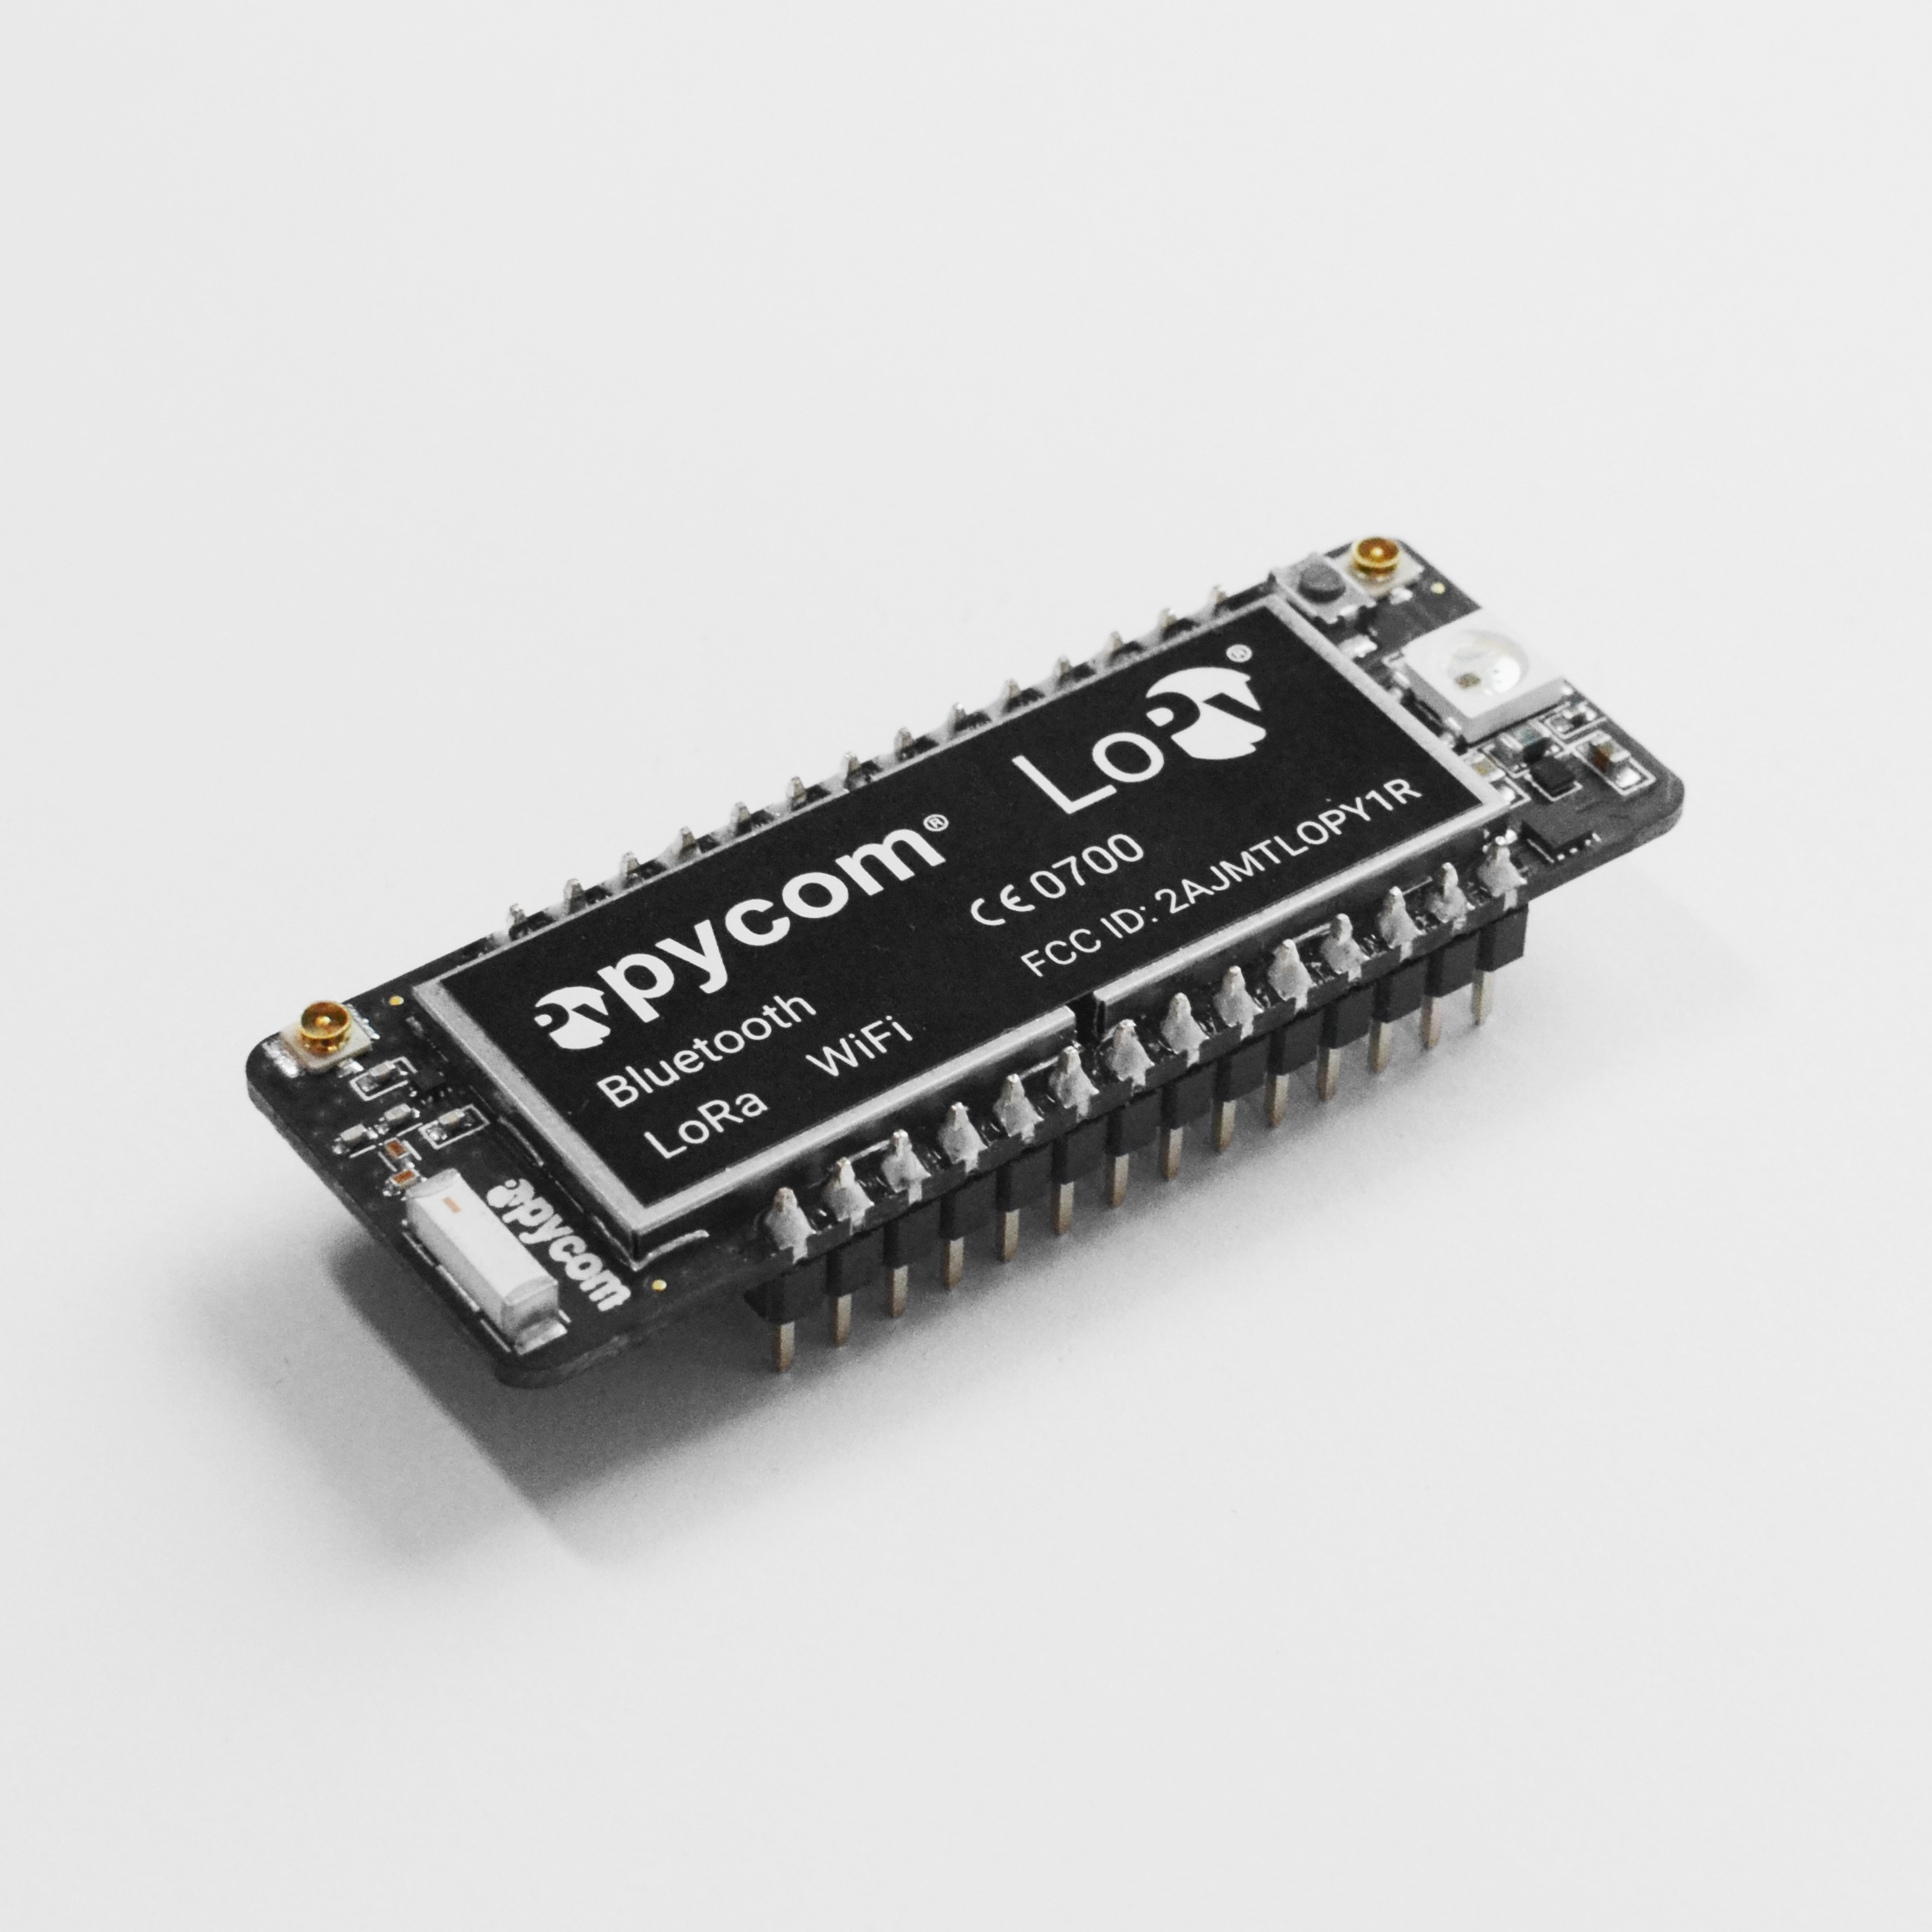
- exp32/ -- a version of MicroPython that runs on the ESP32 based boards from Pycom.
- stmhal/ -- a version of MicroPython that runs on the PyBoard and similar STM32 boards (using ST's Cube HAL drivers).
- minimal/ -- a minimal MicroPython port. Start with this if you want to port MicroPython to another microcontroller.
- tests/ -- test framework and test scripts.
- docs/ -- user documentation in Sphinx reStructuredText format.
Additional components:
- bare-arm/ -- a bare minimum version of MicroPython for ARM MCUs. Used mostly to control code size.
- teensy/ -- a version of MicroPython that runs on the Teensy 3.1 (preliminary but functional).
- pic16bit/ -- a version of MicroPython for 16-bit PIC microcontrollers.
- cc3200/ -- a version of MicroPython that runs on the CC3200 from TI.
- esp8266/ -- an experimental port for ESP8266 WiFi modules.
- tools/ -- various tools, including the pyboard.py module.
- examples/ -- a few example Python scripts.
The subdirectories above may include READMEs with additional info.
"make" is used to build the components, or "gmake" on BSD-based systems. You will also need bash and Python (at least 2.7 or 3.3).
The "unix" port requires a standard Unix environment with gcc and GNU make. x86 and x64 architectures are supported (i.e. x86 32- and 64-bit), as well as ARM and MIPS. Making full-featured port to another architecture requires writing some assembly code for the exception handling and garbage collection. Alternatively, fallback implementation based on setjmp/longjmp can be used.
To build (see section below for required dependencies):
$ cd unix
$ make axtls
$ make
Then to give it a try:
$ ./micropython
>>> list(5 * x + y for x in range(10) for y in [4, 2, 1])
Use CTRL-D (i.e. EOF) to exit the shell.
Learn about command-line options (in particular, how to increase heap size
which may be needed for larger applications):
$ ./micropython --help
Run complete testsuite:
$ make test
Unix version comes with a builtin package manager called upip, e.g.:
$ ./micropython -m upip install micropython-pystone
$ ./micropython -m pystone
Browse available modules on PyPI. Standard library modules come from micropython-lib project.
Building Unix version requires some dependencies installed. For
Debian/Ubuntu/Mint derivative Linux distros, install build-essential
(includes toolchain and make), libffi-dev, and pkg-config packages.
Other dependencies can be built together with MicroPython. Oftentimes, you need to do this to enable extra features or capabilities. To build these additional dependencies, first fetch git submodules for them:
$ git submodule update --init
Use this same command to get the latest versions of dependencies, as
they are updated from time to time. After that, in unix/ dir, execute:
$ make deplibs
This will build all available dependencies (regardless whether they
are used or not). If you intend to build MicroPython with additional
options (like cross-compiling), the same set of options should be passed
to make deplibs. To actually enabled use of dependencies, edit
unix/mpconfigport.mk file, which has inline descriptions of the options.
For example, to build SSL module (required for upip tool described above),
set MICROPY_PY_USSL to 1.
In unix/mpconfigport.mk, you can also disable some dependencies enabled
by default, like FFI support, which requires libffi development files to
be installed.
The "esp32" port requires an xtensa gcc compiler, which can be downloaded from the Espressif website:
-
for 64-bit Linux::
https://dl.espressif.com/dl/xtensa-esp32-elf-linux64-1.22.0-59.tar.gz
-
for 32-bit Linux::
https://dl.espressif.com/dl/xtensa-esp32-elf-linux32-1.22.0-59.tar.gz
-
for Mac OS:
https://dl.espressif.com/dl/xtensa-esp32-elf-osx-1.22.0-59.tar.gz
To use it, you will need to update your PATH environment variable in ~/.bash_profile file. To make xtensa-esp32-elf available for all terminal sessions, add the following line to your ~/.bash_profile file::
export PATH=$PATH:$HOME/esp/xtensa-esp32-elf/bin
Alternatively, you may create an alias for the above command. This way you can get the toolchain only when you need it. To do this, add different line to your ~/.bash_profile file::
alias get_esp32="export PATH=$PATH:$HOME/esp/xtensa-esp32-elf/bin"
Then when you need the toolchain you can type get_esp32 on the command line and the toolchain will be added to your PATH.
You also need the ESP IDF along side this repository in order to build the ESP32 port. To get it:
$ git clone https://github.com/pycom/pycom-esp-idf.git
After cloning, make sure to checkout all the submodules:
$ cd pycom-esp-idf
$ git submodule update --init
Finally, before building, export the IDF_PATH variable
$ export IDF_PATH=~/pycom-esp-idf
To build and flash your LoPy for 868MHz regions:
$ cd esp32
$ make BOARD=LOPY LORA_BAND=USE_BAND_868 flash
or for 915MHz regions:
$ make BOARD=LOPY LORA_BAND=USE_BAND_915 flash
or the WiPy 2.0:
$ make BOARD=WIPY flash
Make sure that your board is placed into programming mode, otherwise flahing will fail.
To do this, connect P2 to GND and then reset the board.
