Setup Guide
This setup guide covers how to set up a project on the SonarQube dashboard and scan your project source code.
To start SonarQube dashboard, you can execute the up command. Alternatively, you can use the start alias command.
# Start SonarQube Docker containers.
$ sonarqube up

# Or use alias command
$ sonarqube start
The Docker containers will run in the background ("detached" mode).
Preview
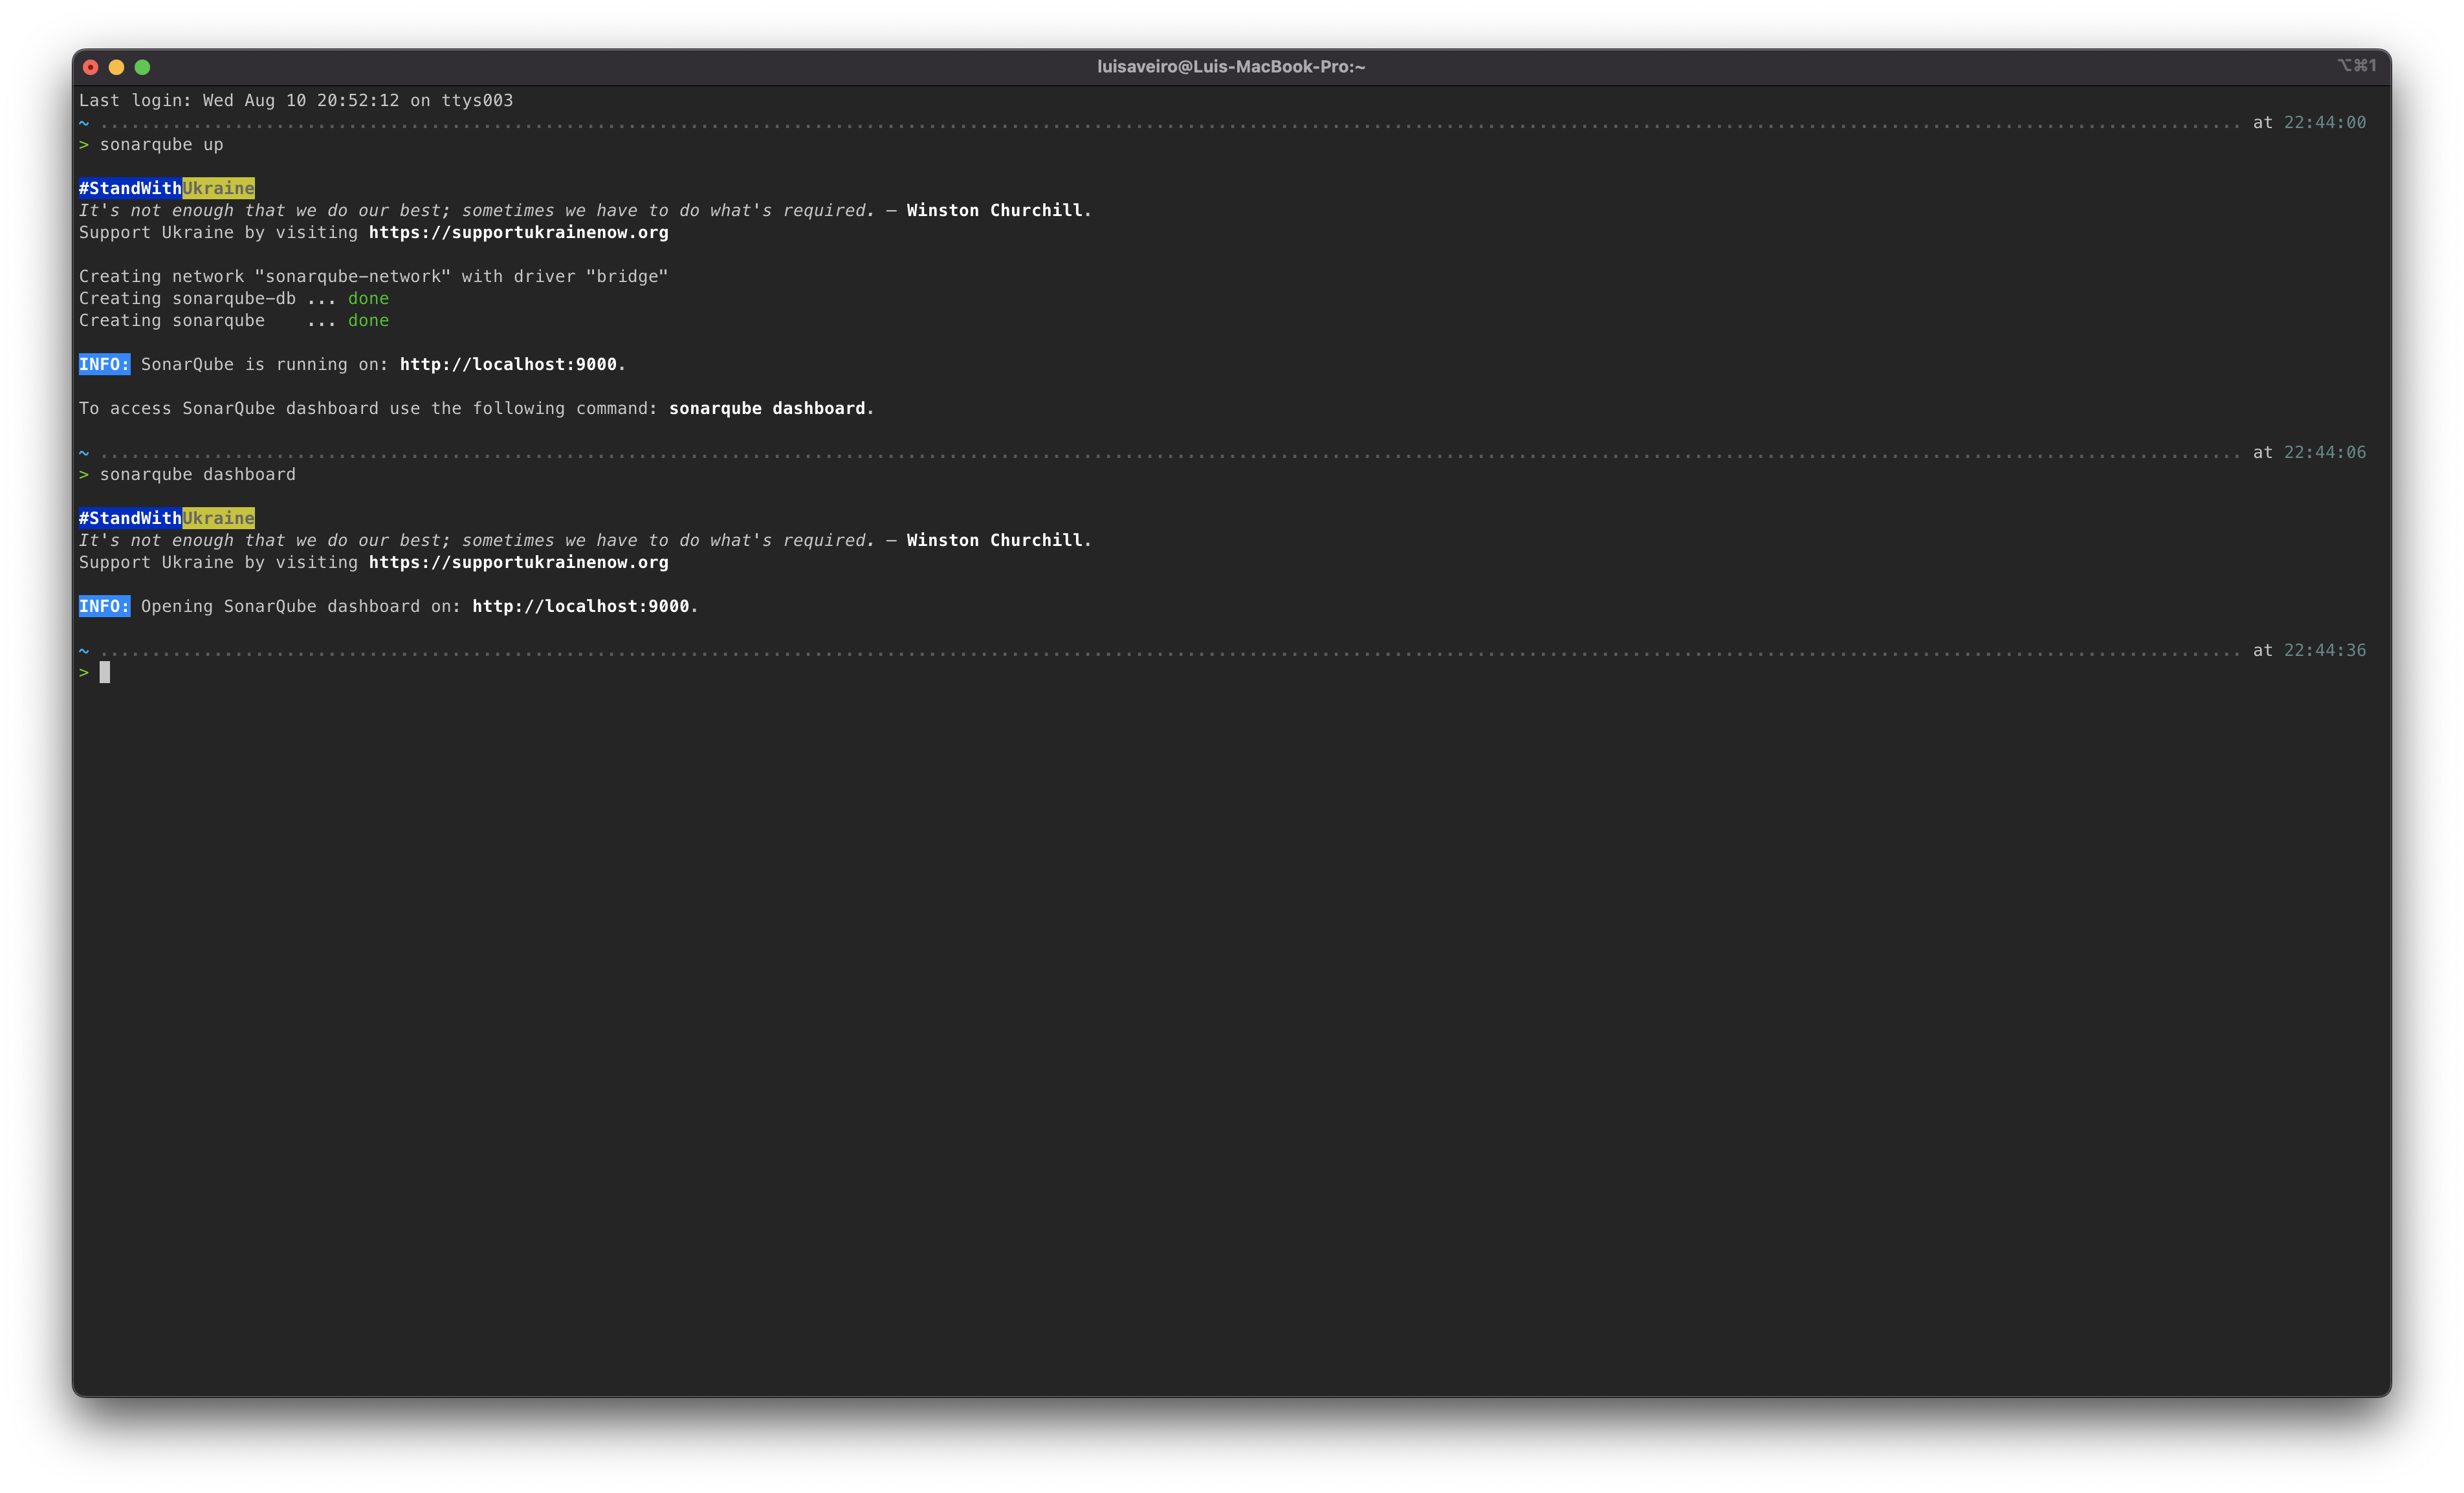
Once the SonarQube containers are up and running, you will access SonarQube dashboard in your web browser at: http://localhost:9000 or use the dashboard command to open SonarQube dashboard in your default browser.
# Open SonarQube dashboard in the browser.
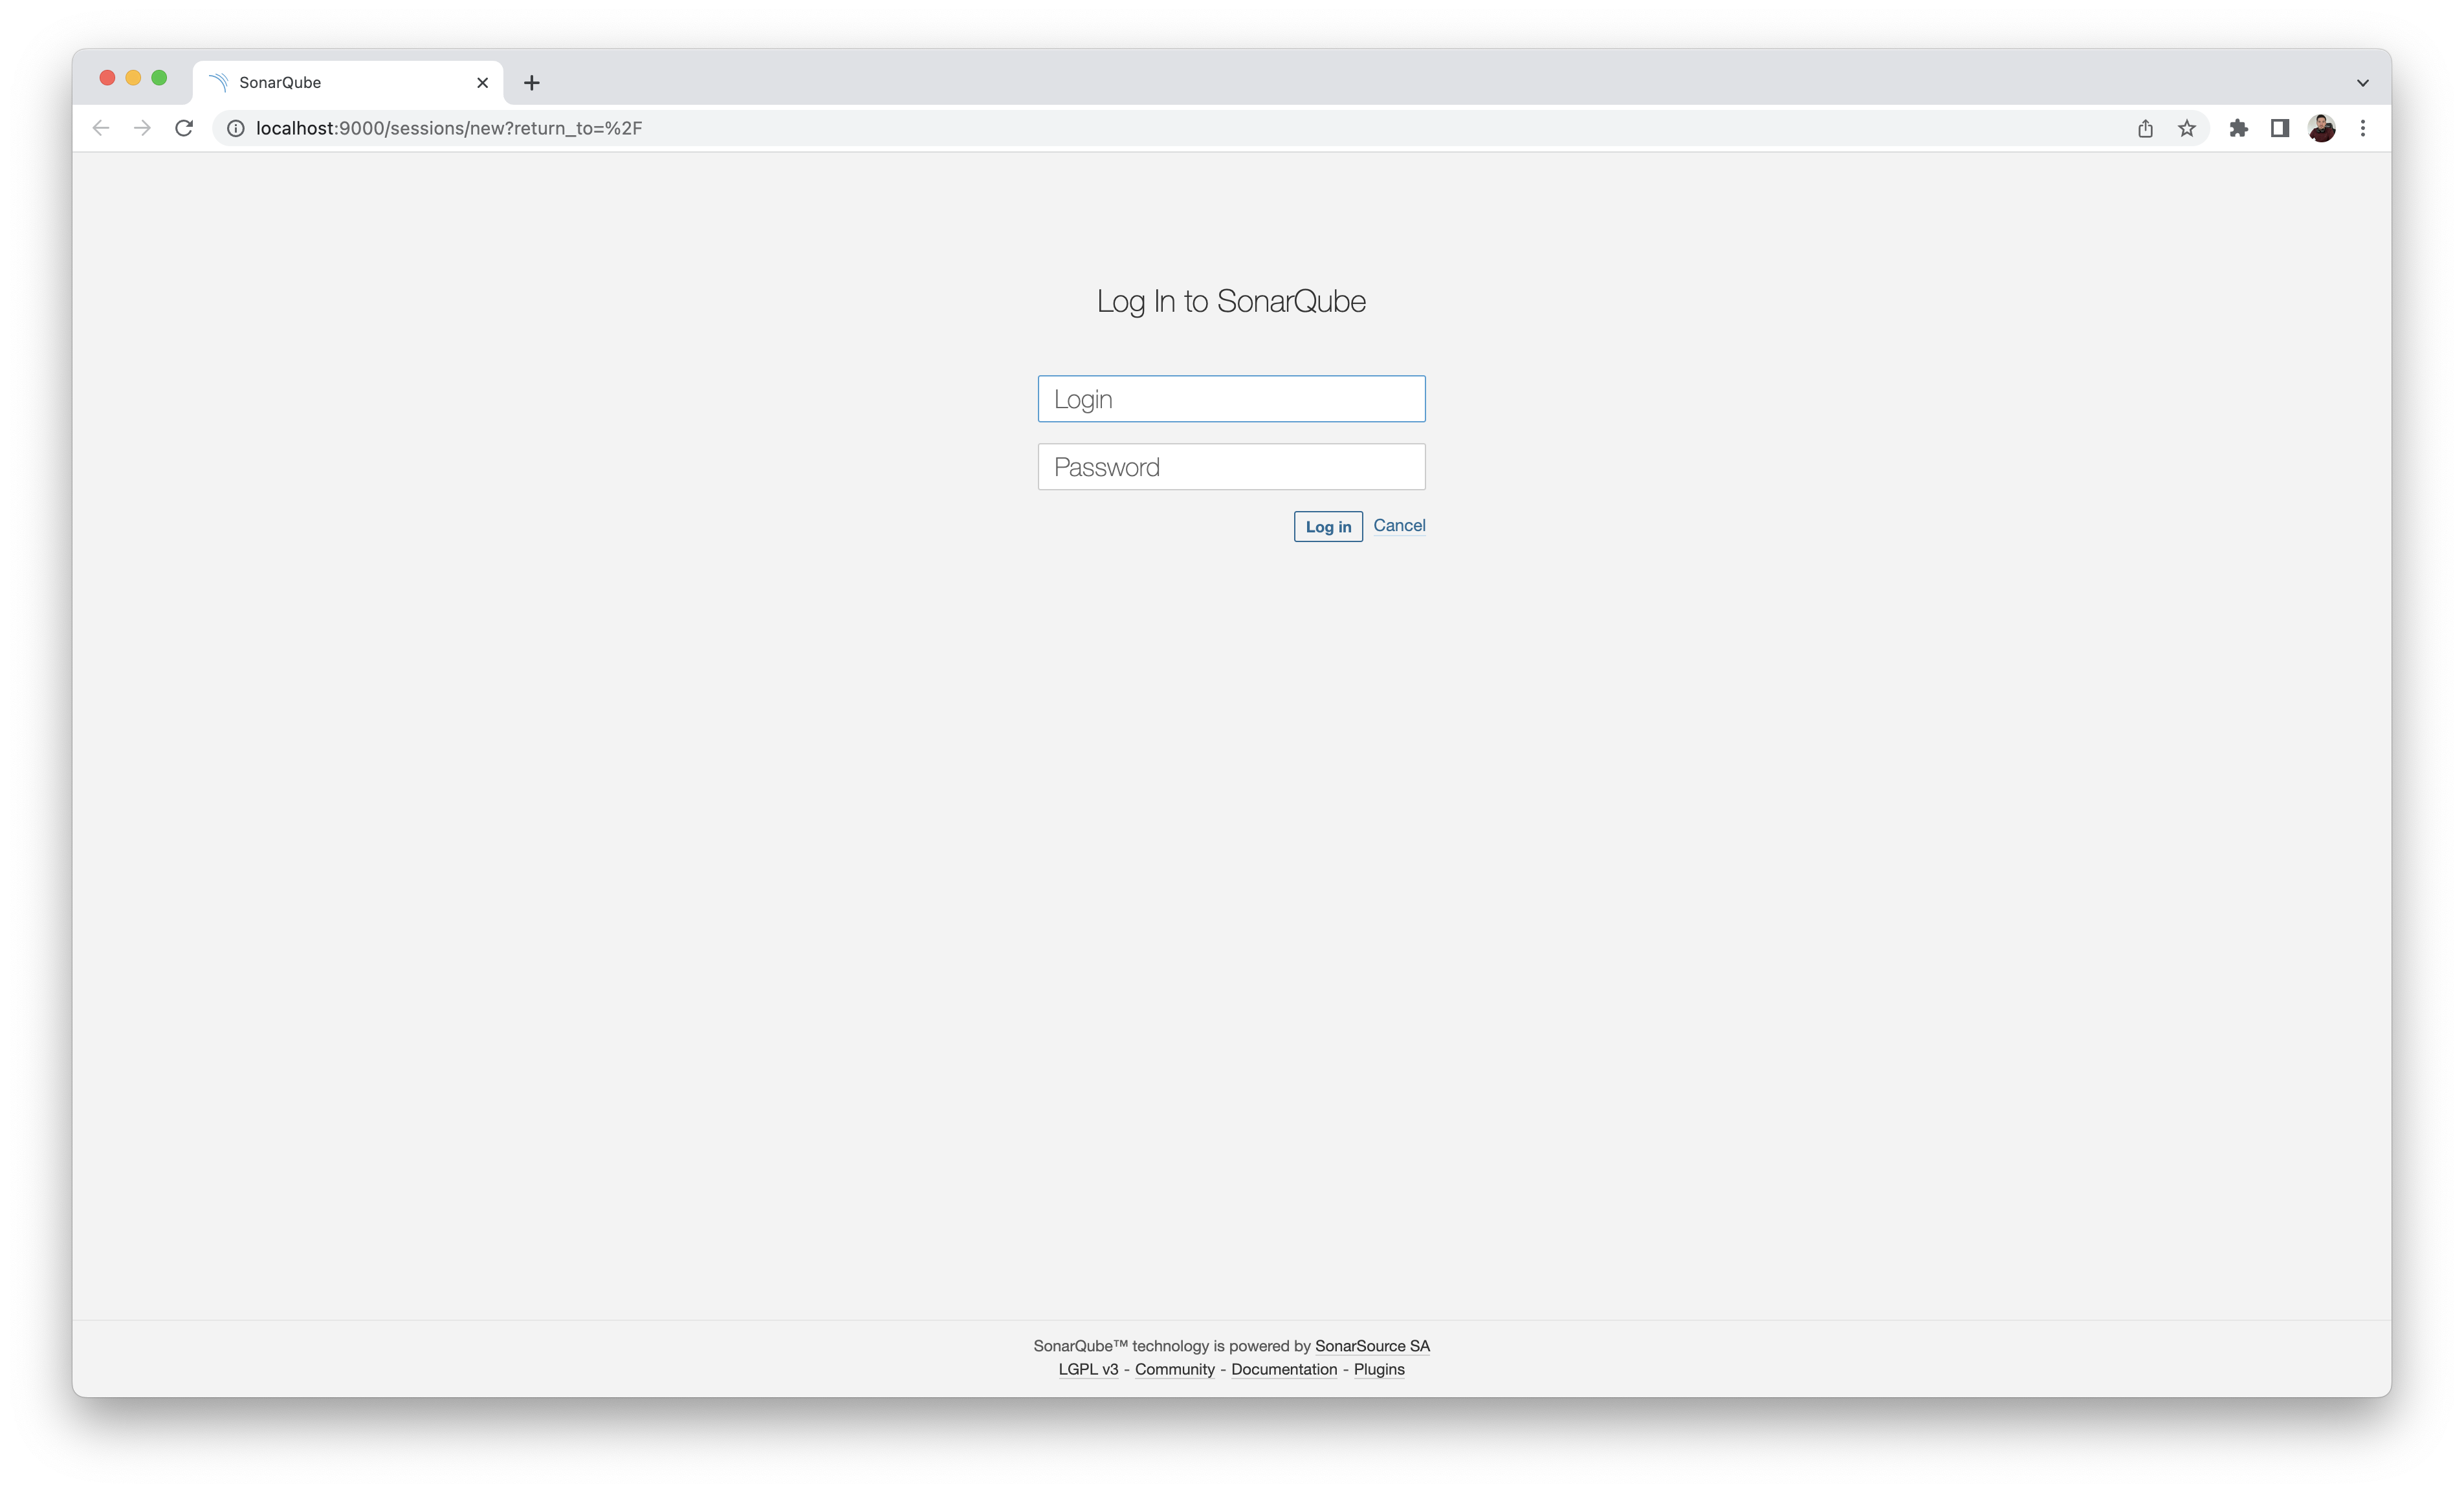
$ sonarqube dashboardThe first time you log in to the SonarQube dashboard, you will use the default System Administrator credentials:
- login: admin
- password: admin
Preview
SonarQube will request you to change your password once you are logged in with the default System Administrator credentials.
Preview

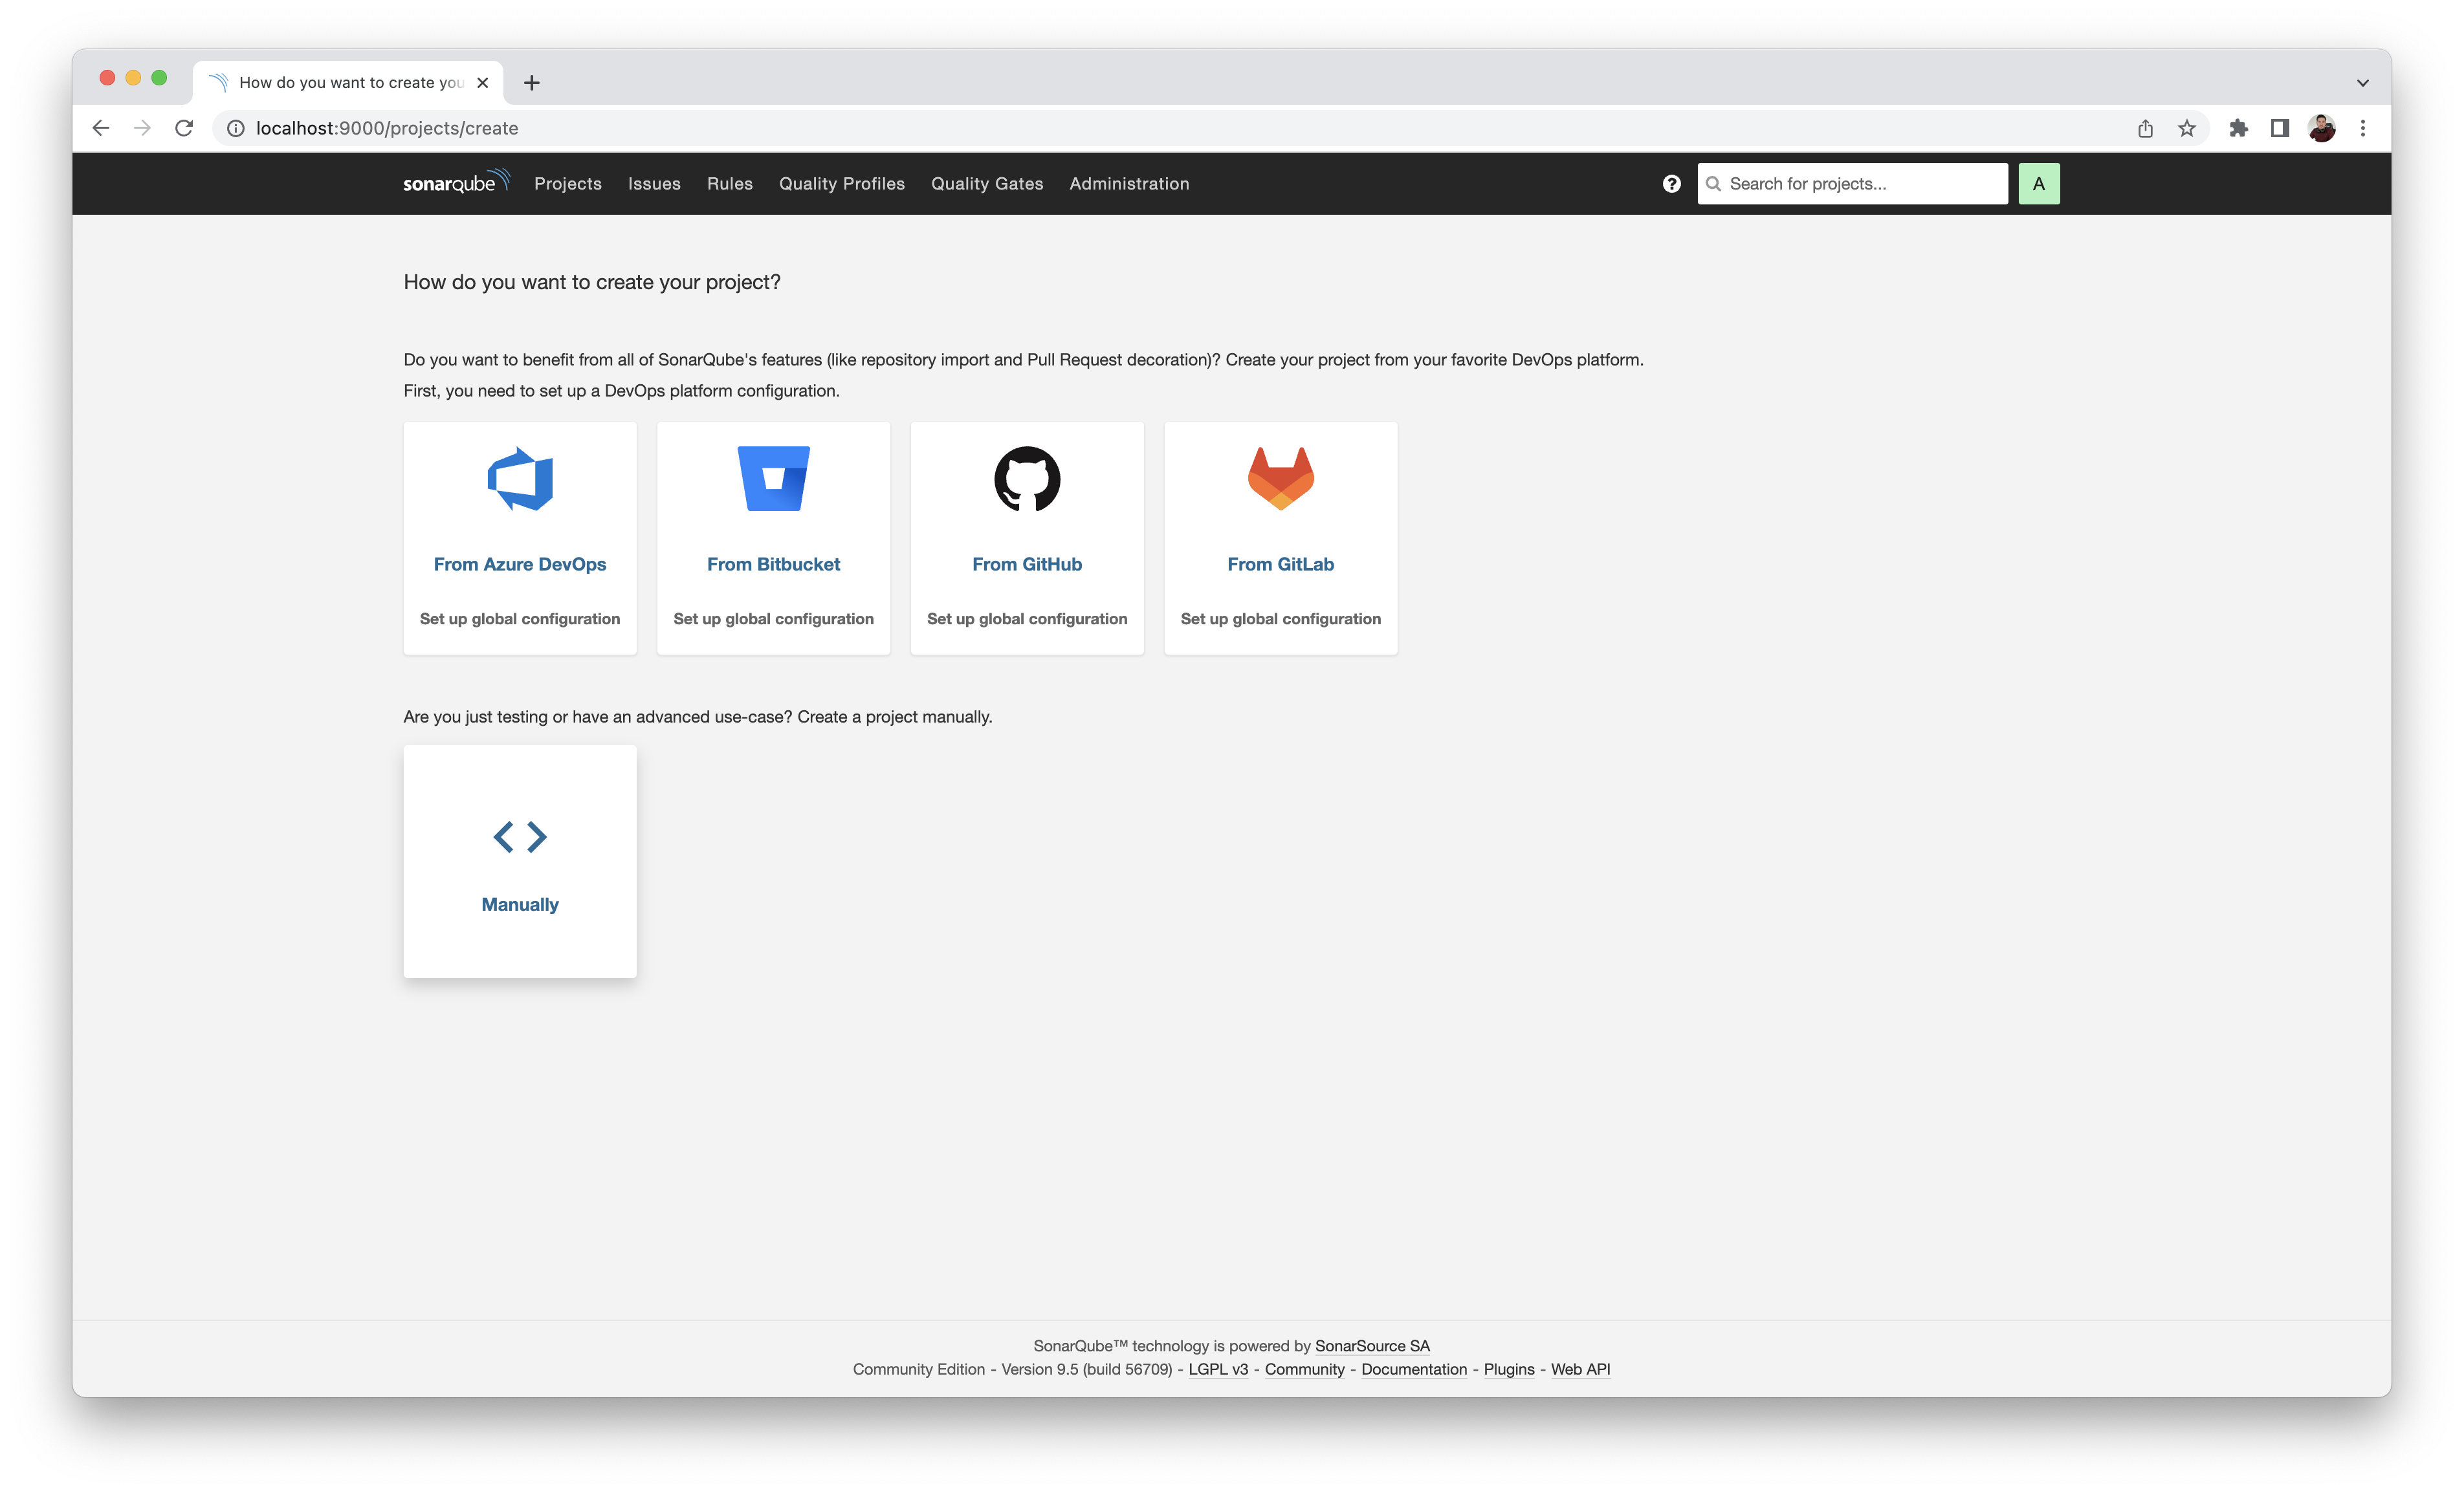
SonarQube dashboard will present you with the "How do you want to create your project?" prompt. You will select the "Manually" option.
Preview
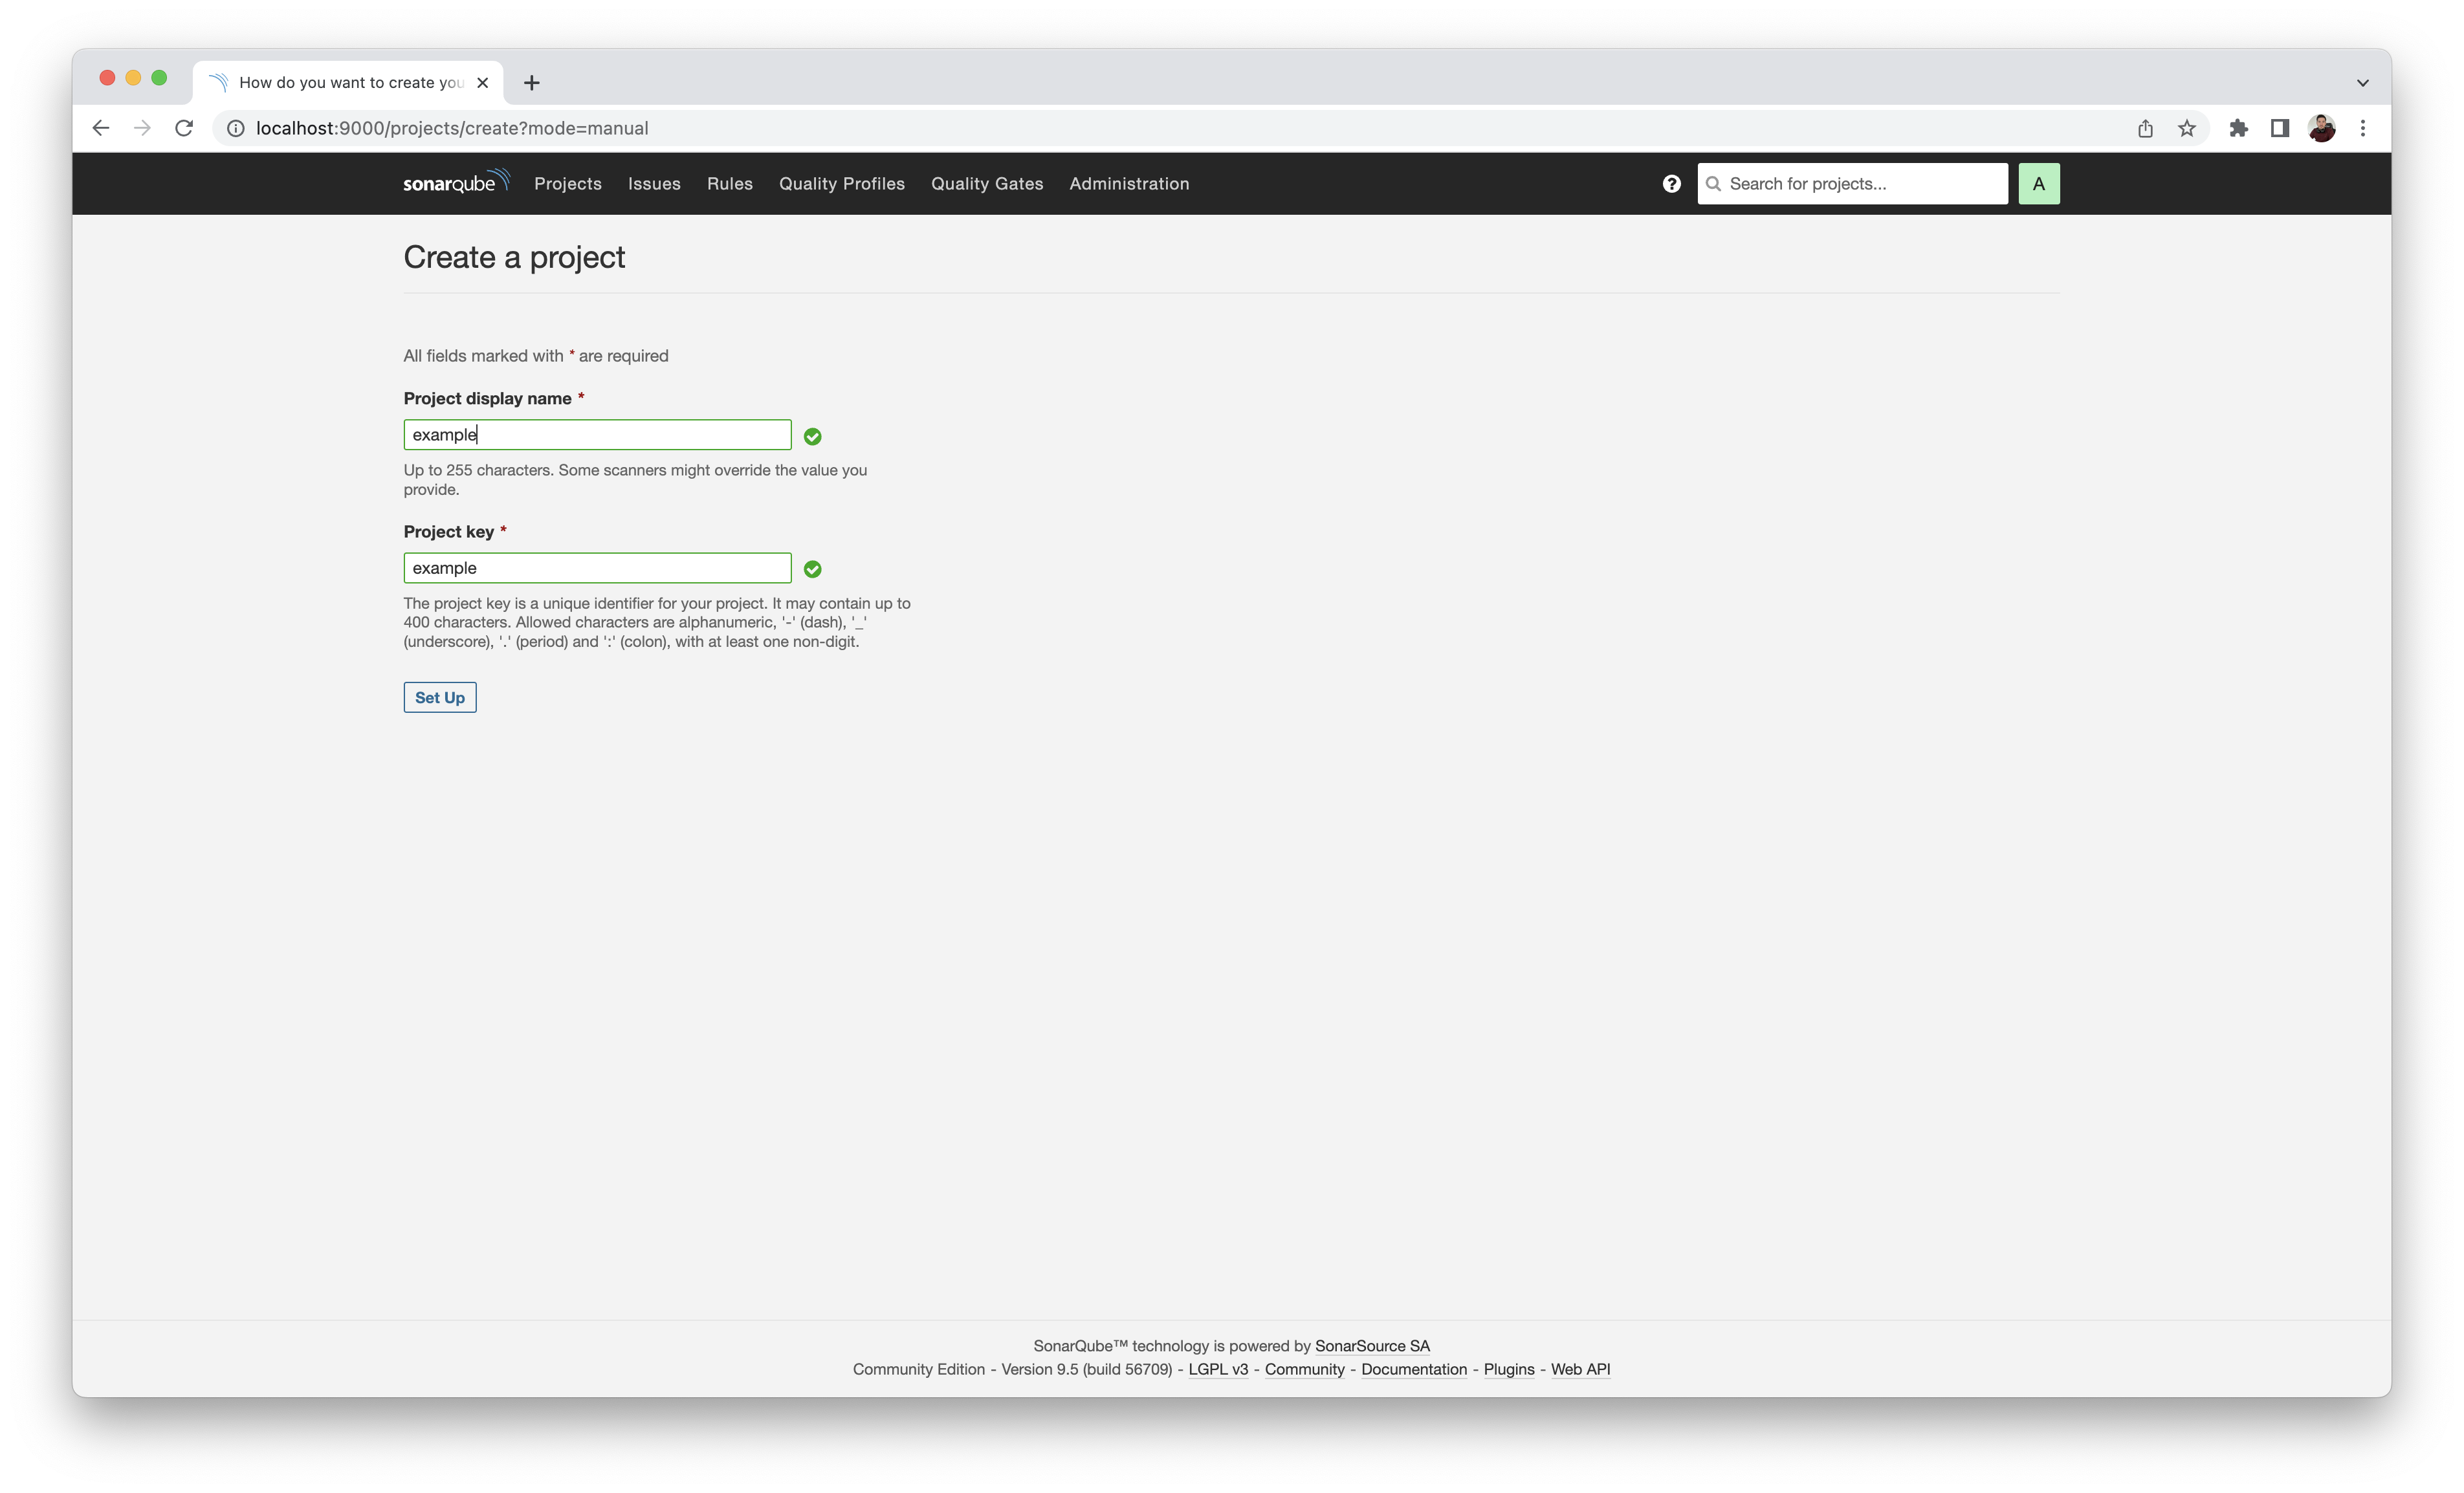
You will need to provide a Project Display Name, Project Key and click the Set Up button. SonarQube automatically pre-populates the Project Key when you enter the Project Display Name.
Preview
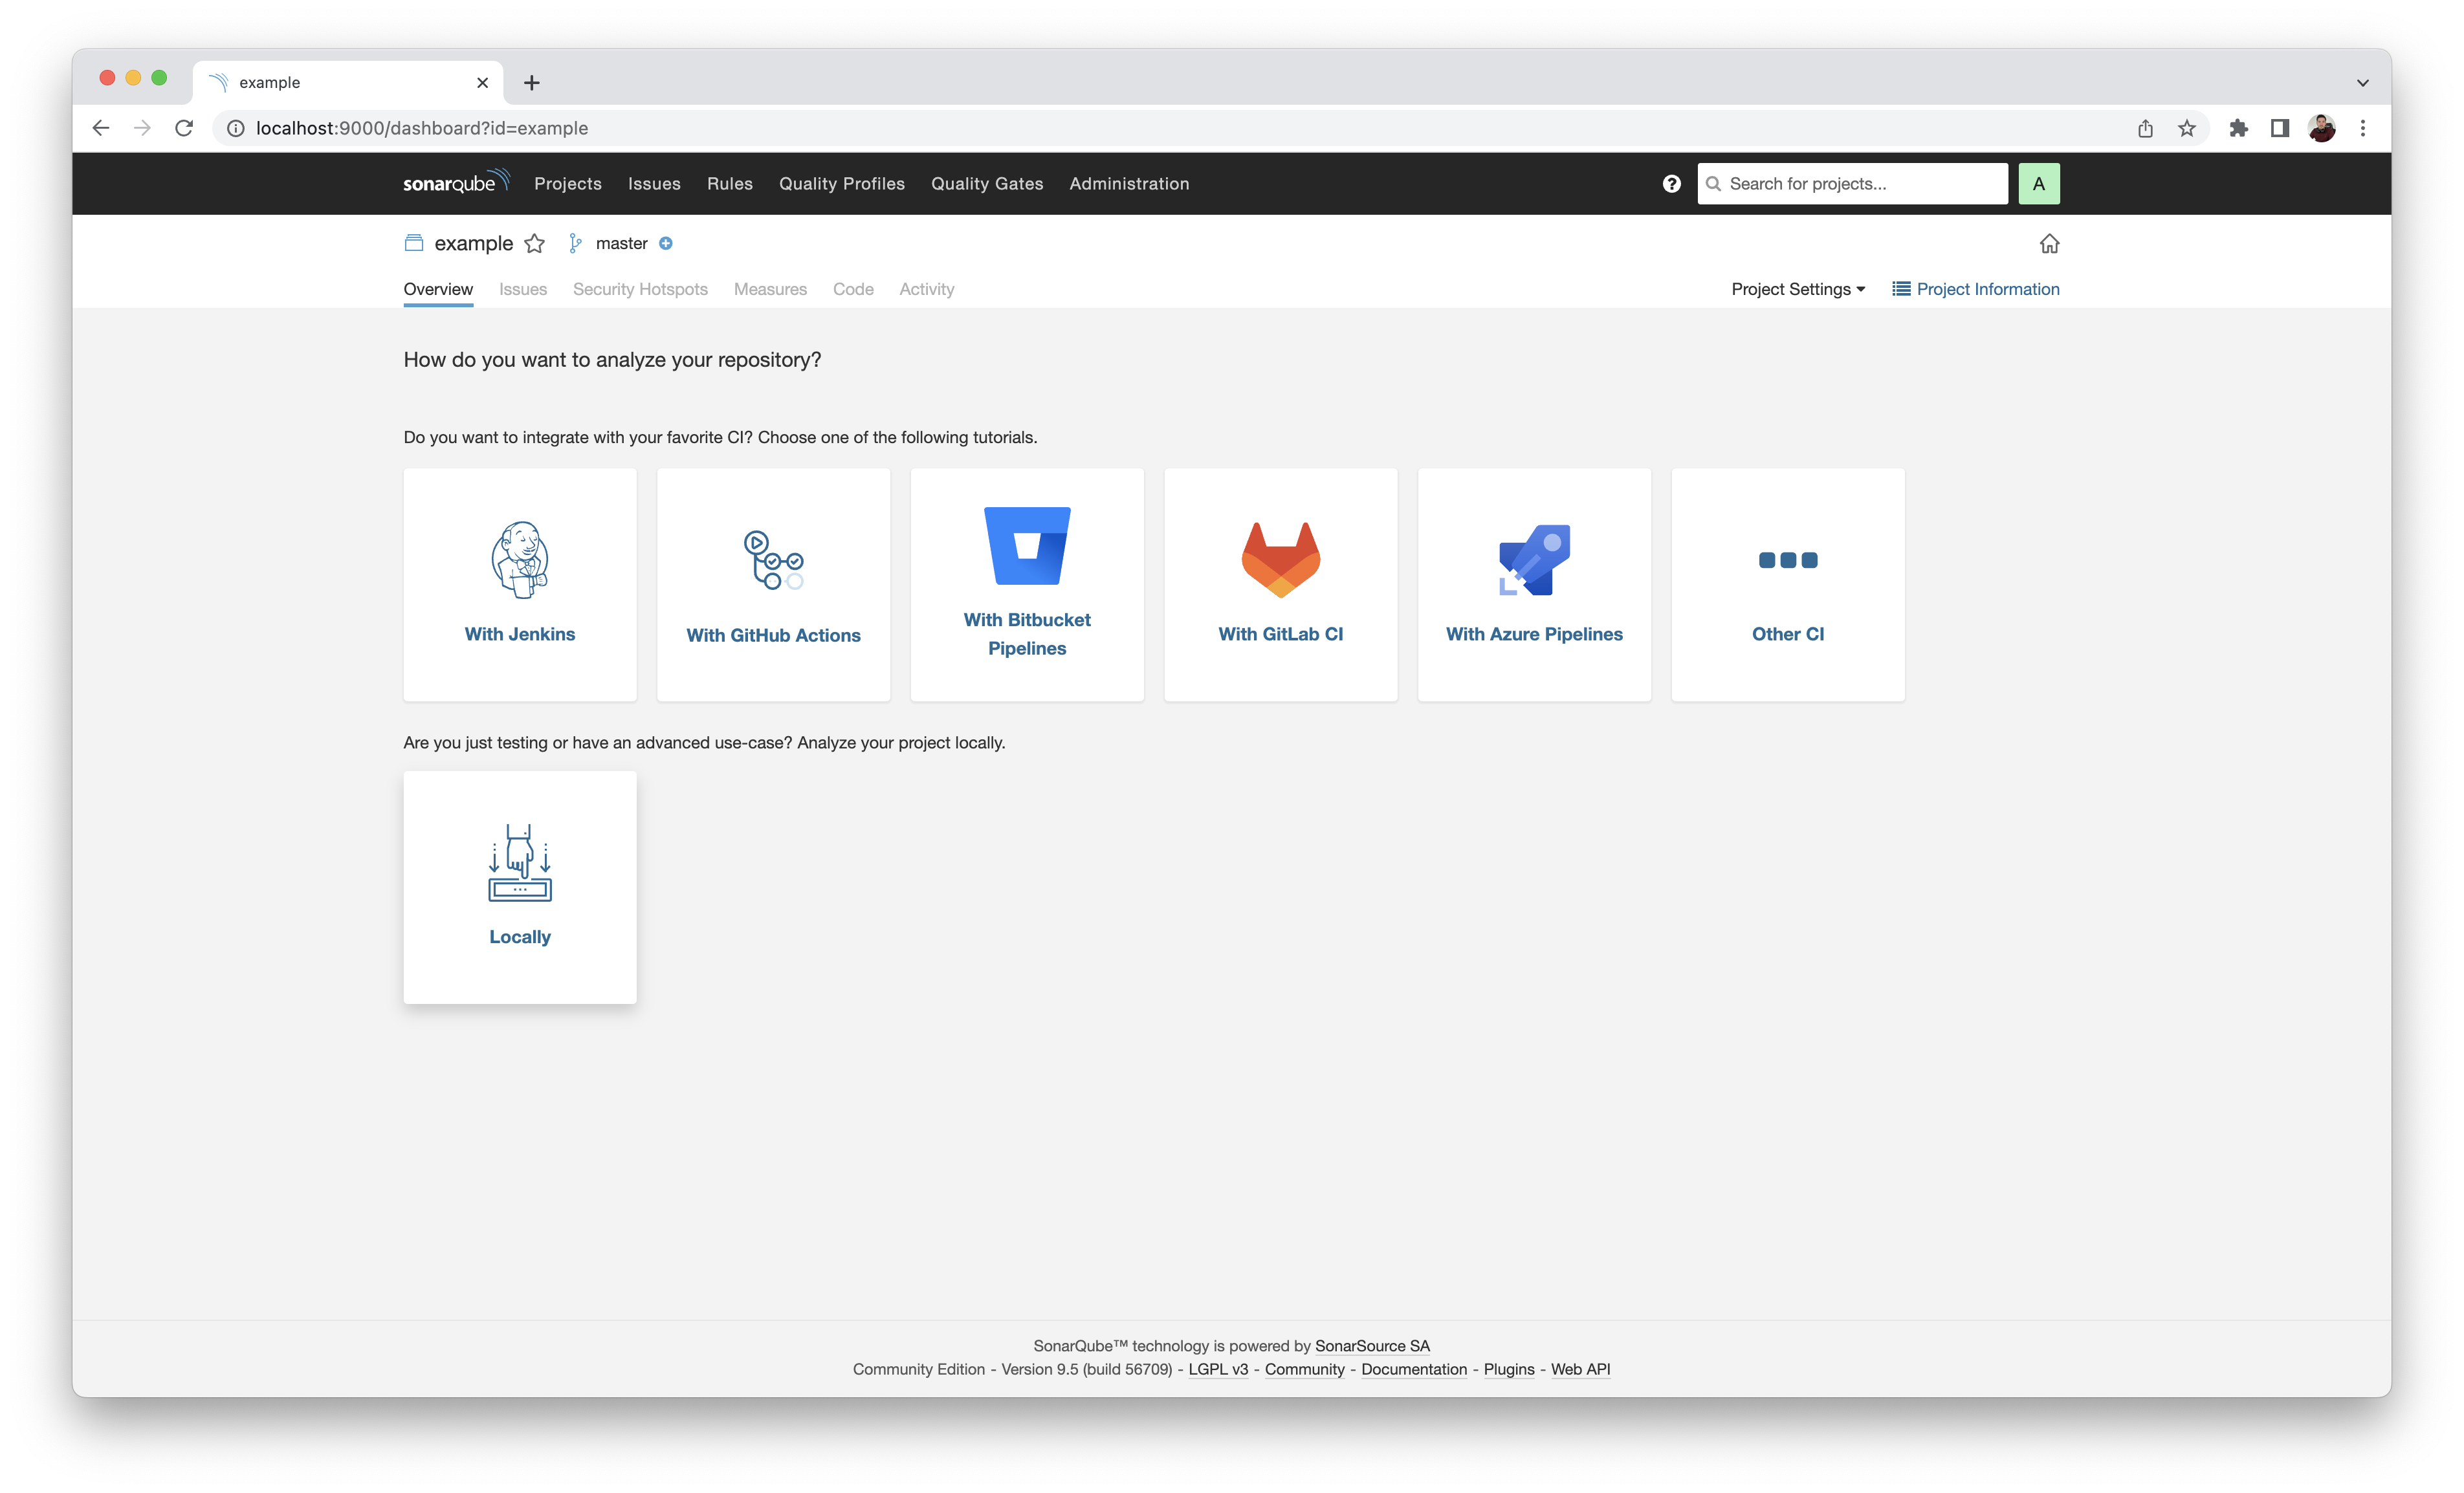
SonarQube dashboard will present you with the "How do you want to analyze your repository?" prompt. You will select the "Locally" option.
Preview
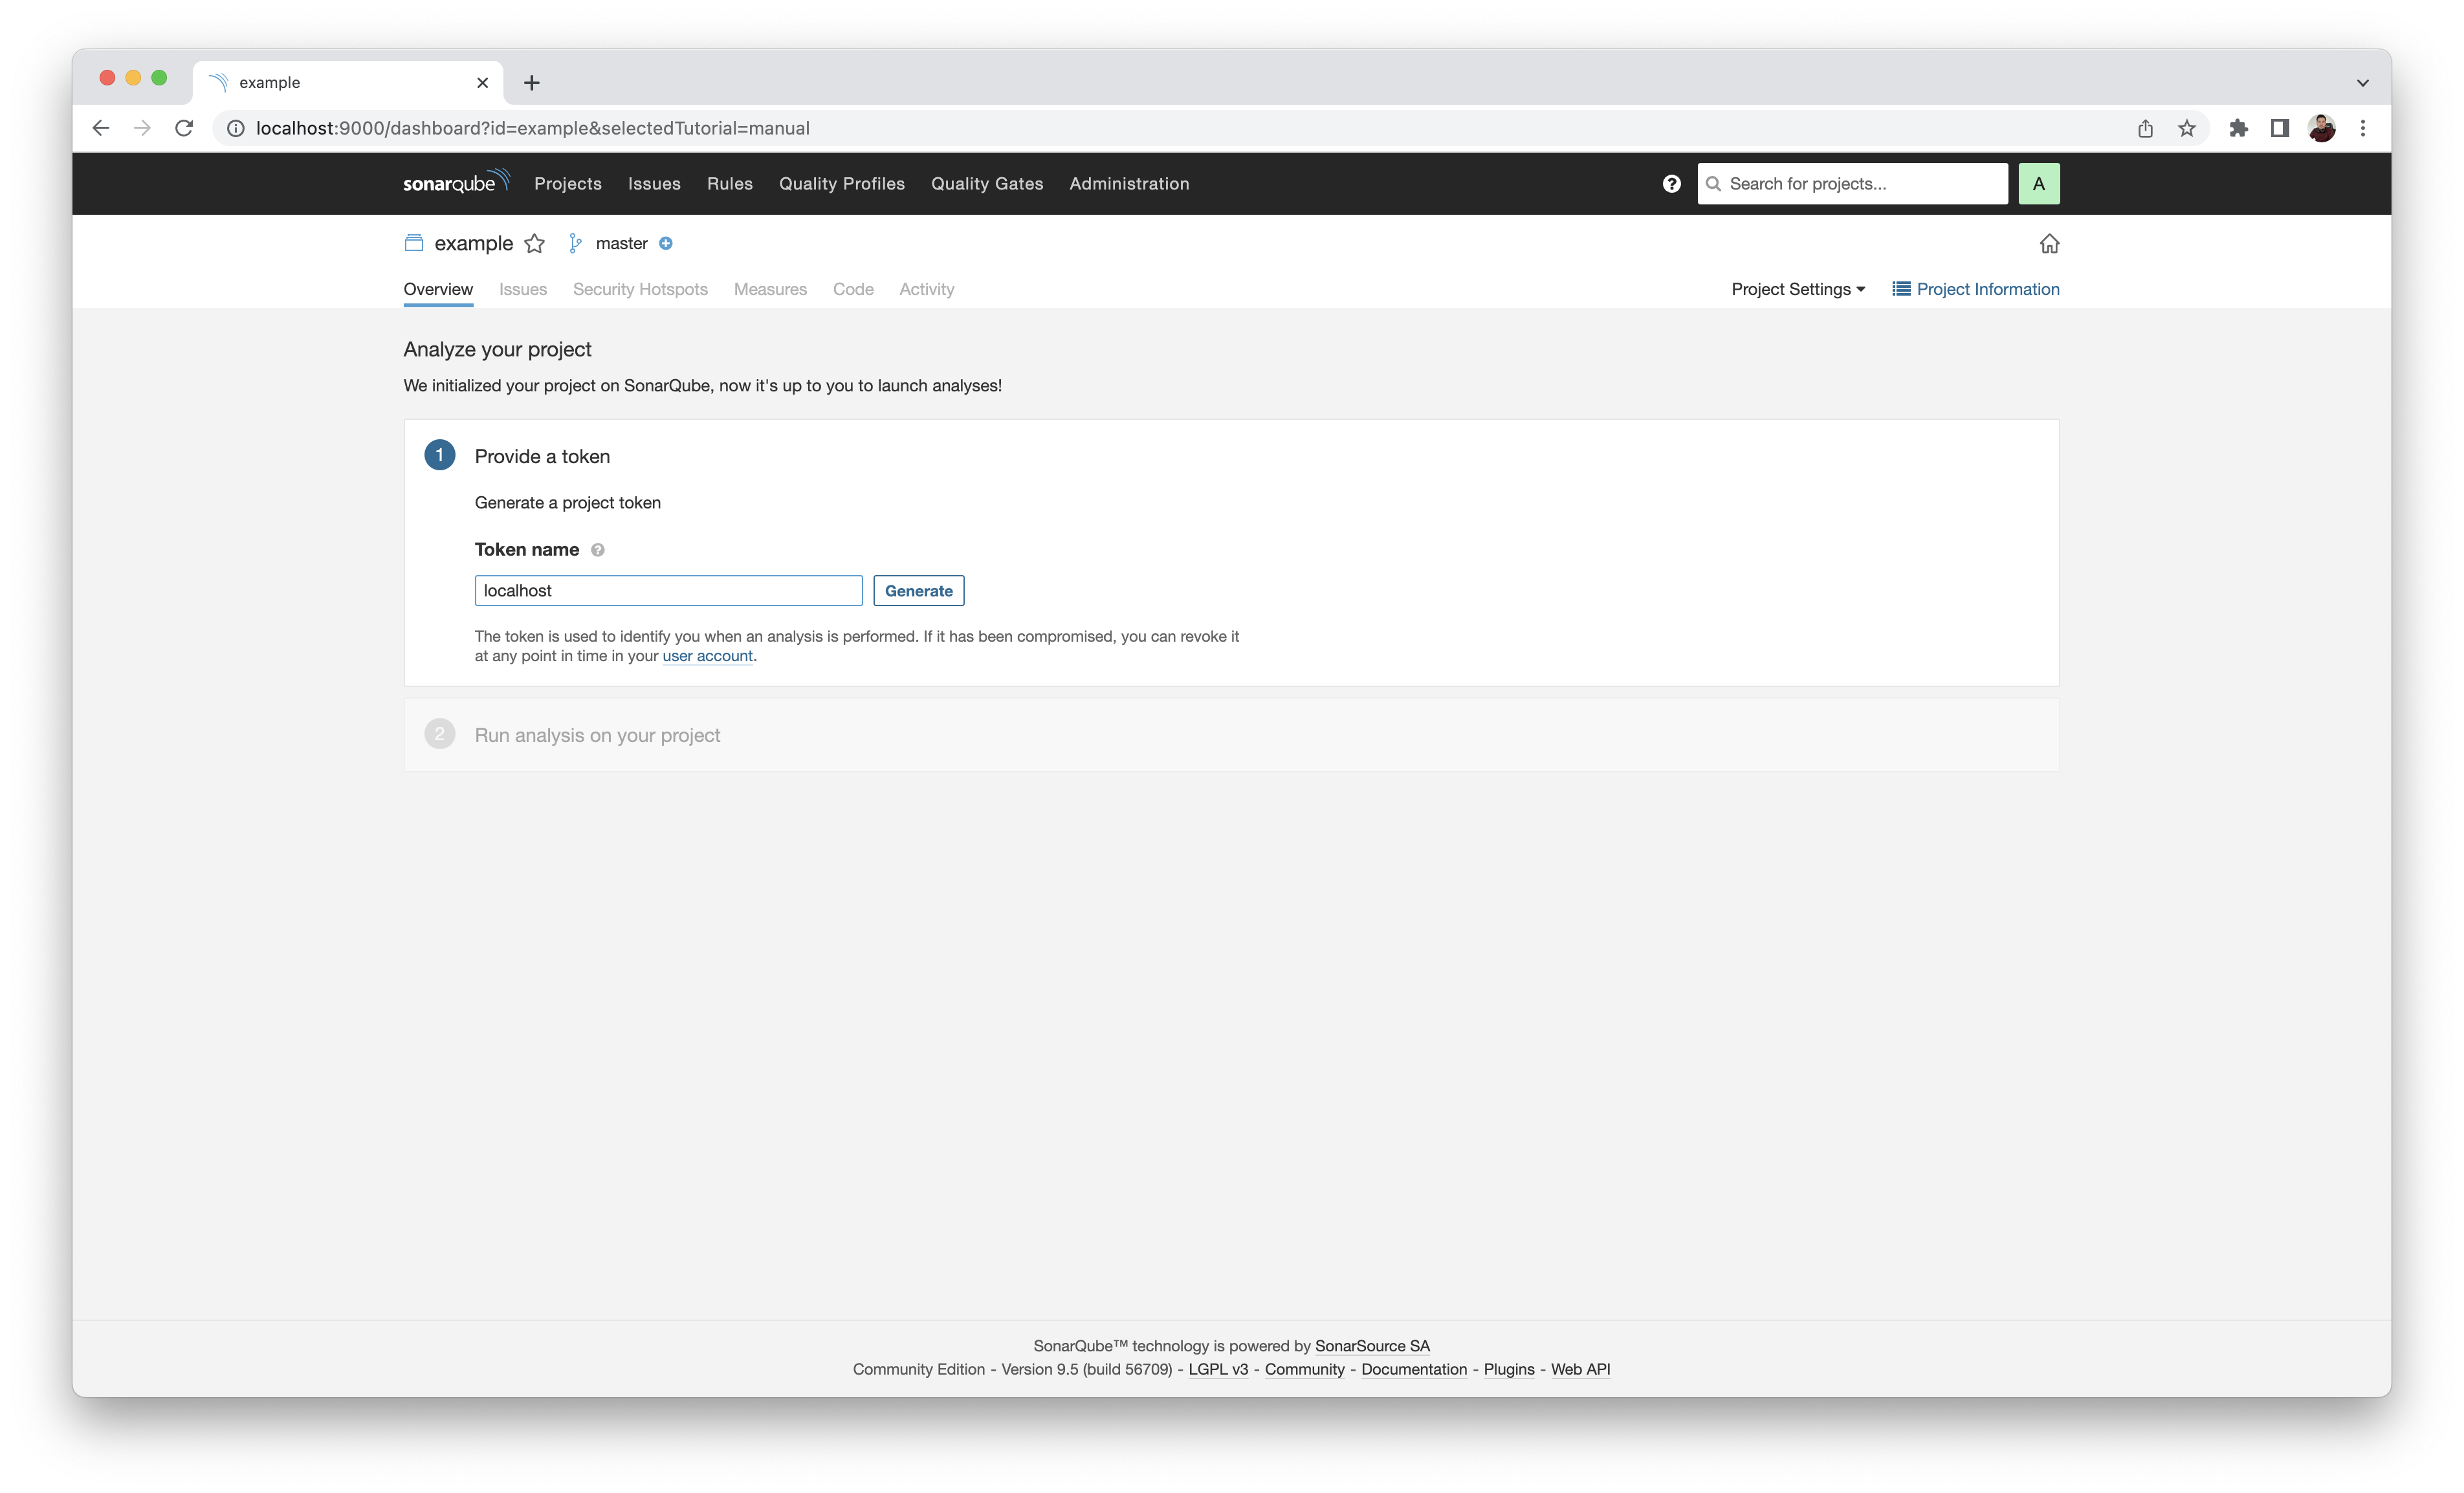
You will need to generate a Project Token. This token is the authorisation token used by SonarScanner to submit your project source code analysis report to the SonarQube dashboard. Provide a Token name and click the Generate button.
Preview
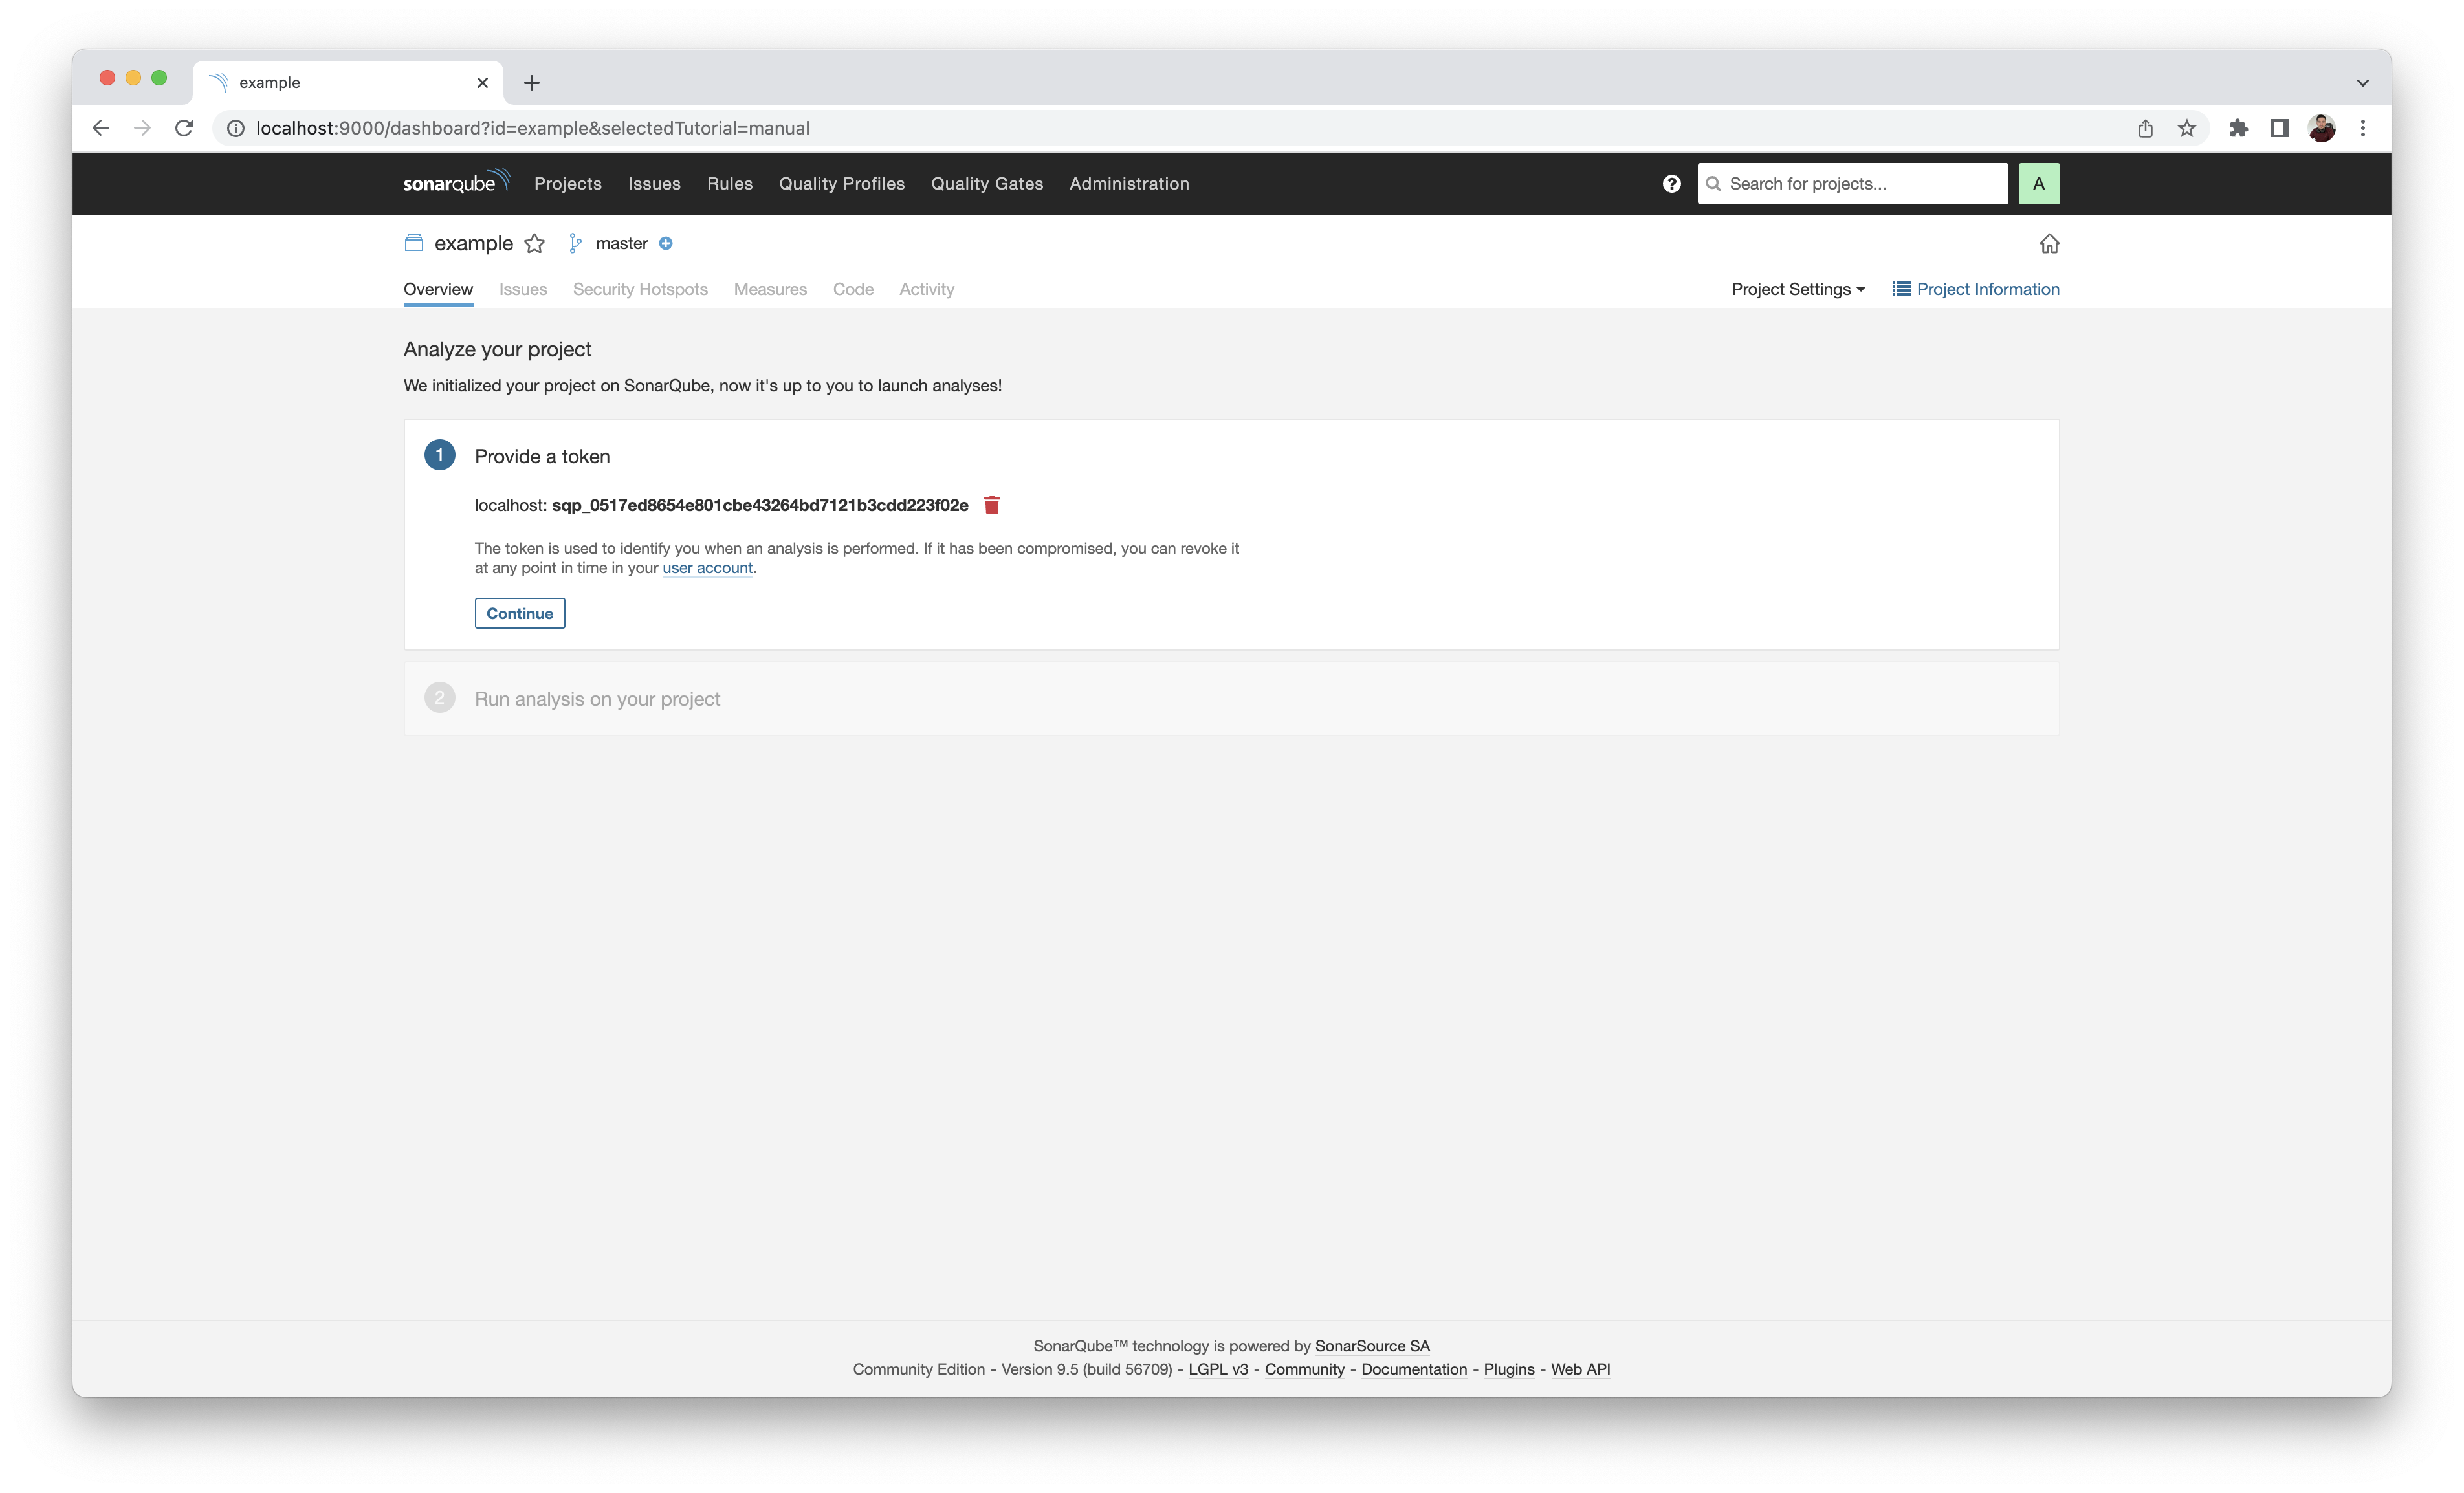
Once you clicked on the Generate button, SonarQube will provide you with your new generated token. In our example the Project Token is:
sqp_0517ed8654e801cbe43264bd7121b3cdd223f02e
Preview
SonarQube dashboard will provide options on how to analyse your project source code. Localhost SonarQube
simplifies this process. Before you scan your project source code, you must configure SonarScanner
sonar-project.properties file that is most appropriate for your needs.
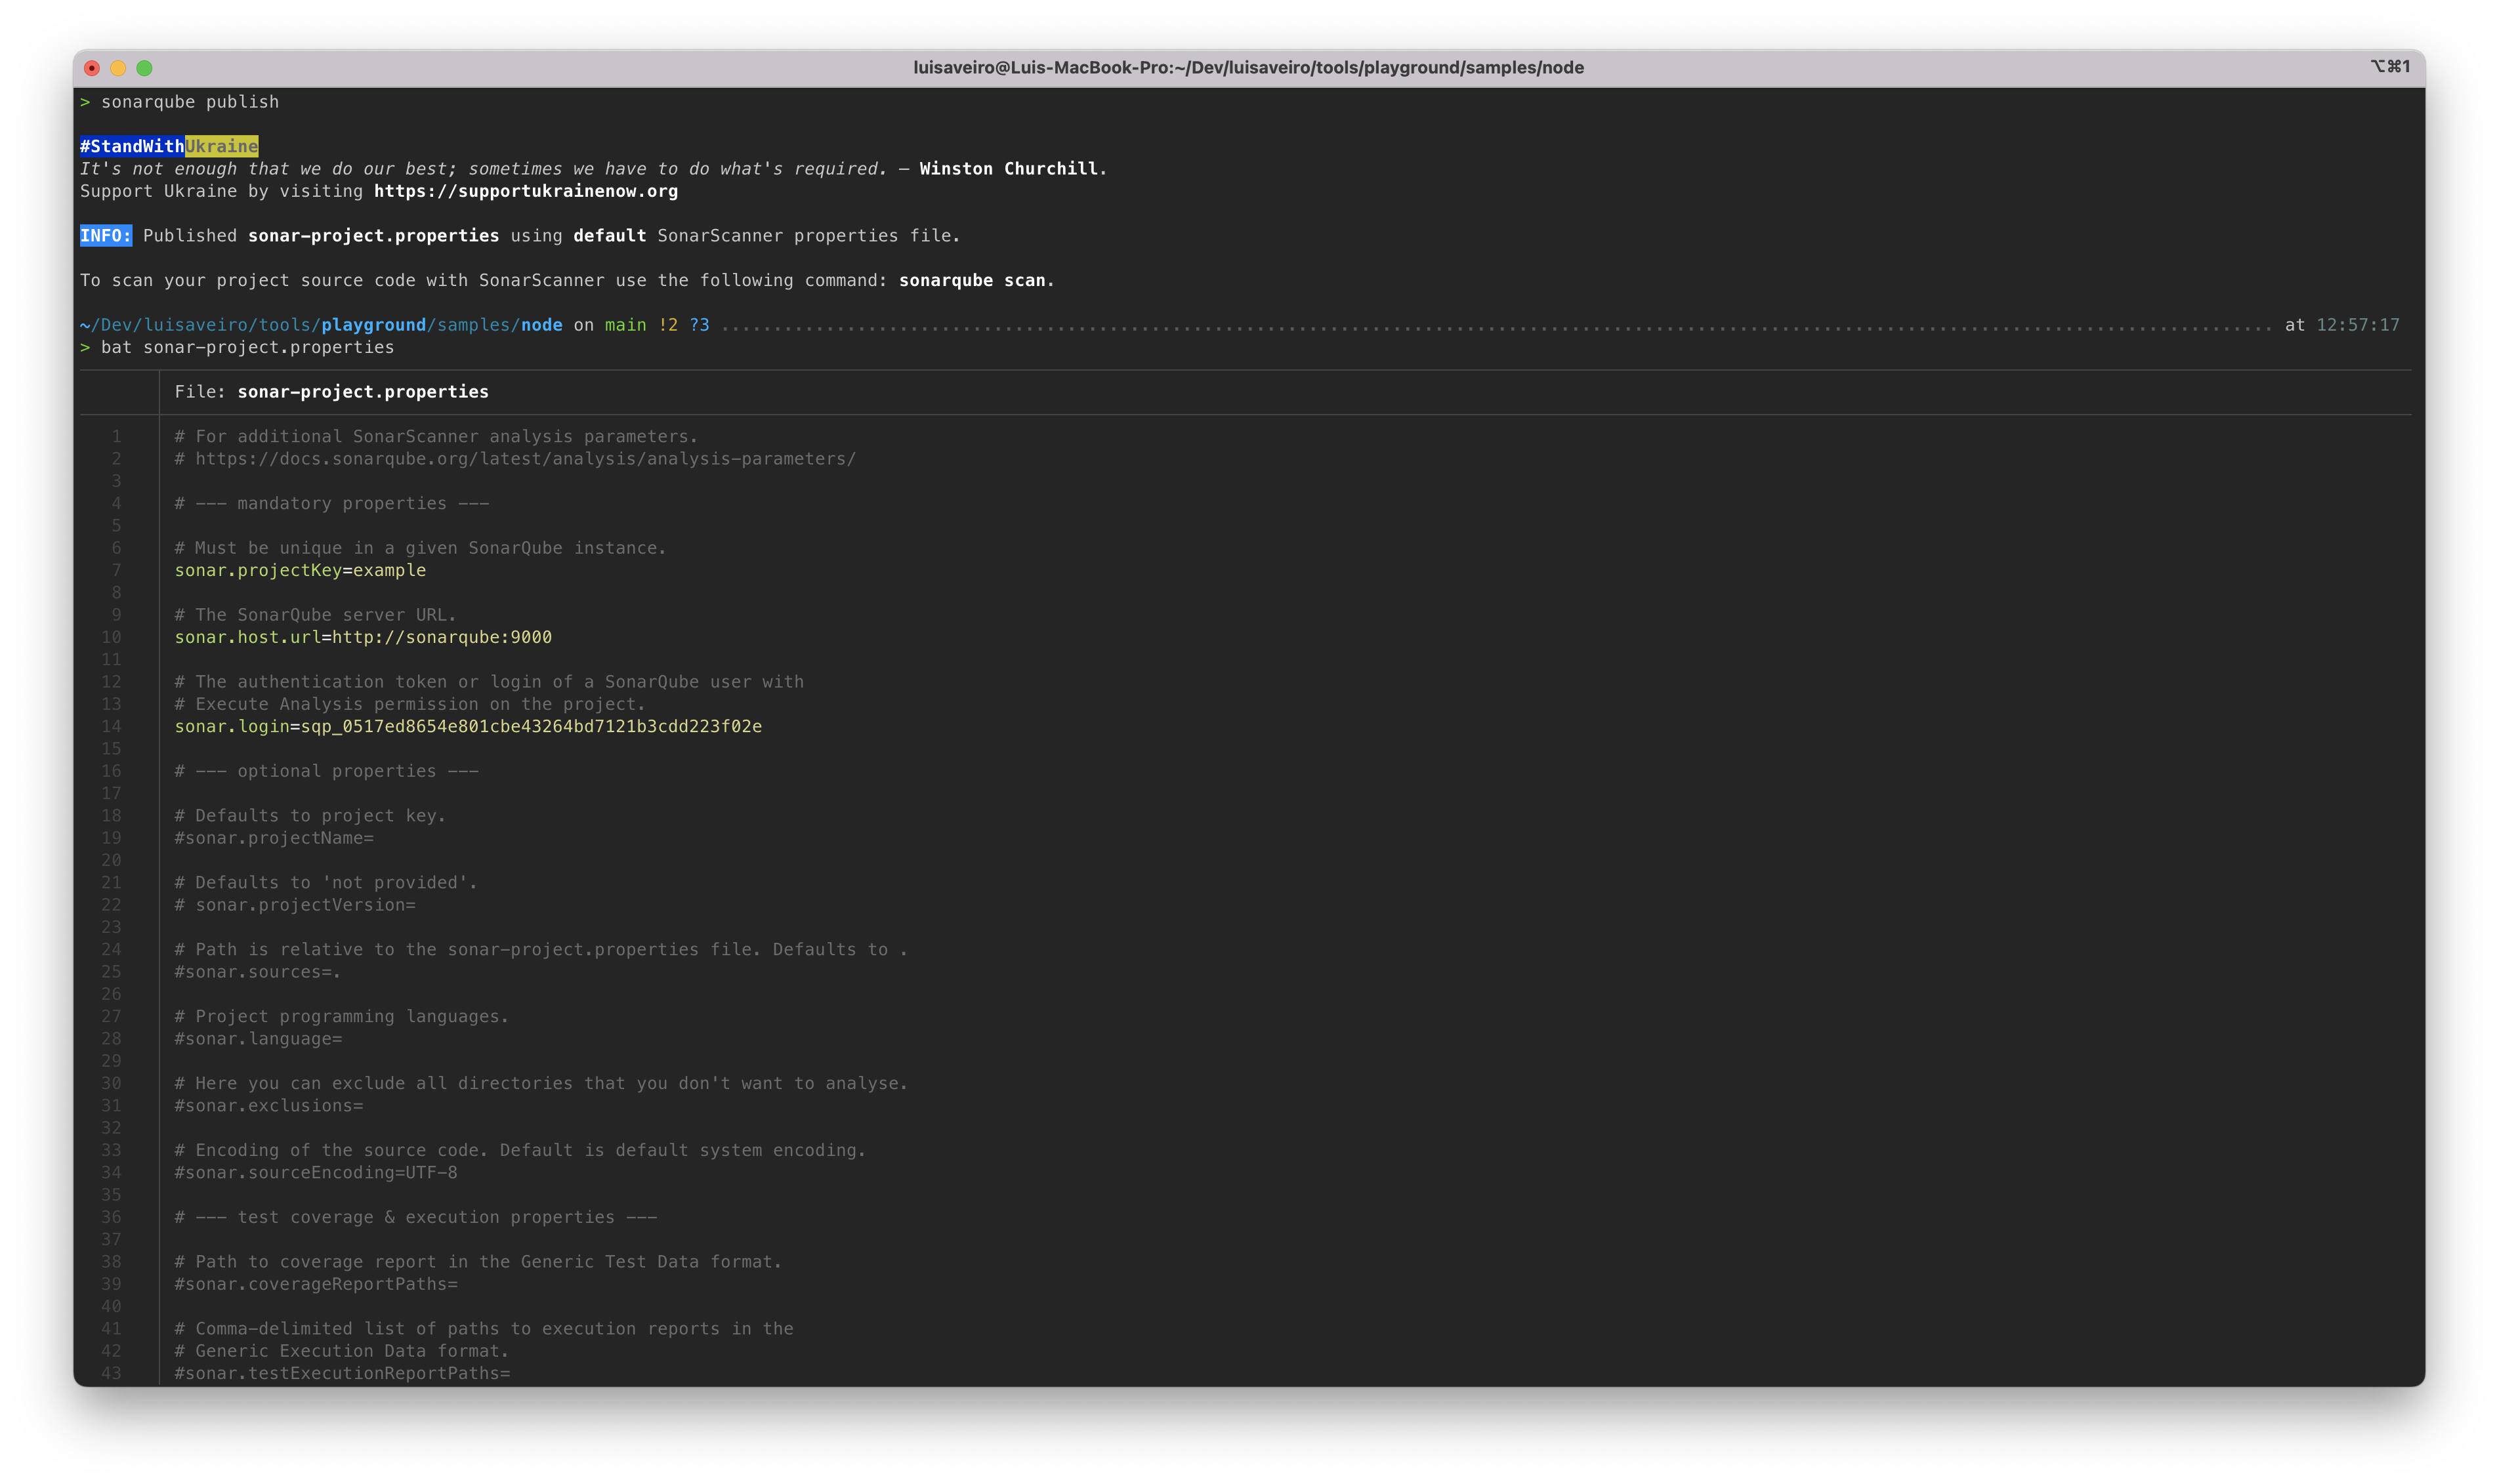
In our example, we will use the default sonar-project.properties that Localhost SonarQube provides. You can use
the publish command to copy the default sonar-project.properties file to your project root directory.
$ sonarqube publishYou will need to modify the sonar-project.properties file to include the Project Key and Project Token.
# Must be unique in a given SonarQube instance.
sonar.projectKey=example

# The authentication token or login of a SonarQube user with
# Execute Analysis permission on the project.
sonar.login=sqp_0517ed8654e801cbe43264bd7121b3cdd223f02e
Please visit SonarScanner Analysis Parameters Documentation for additional instructions to configure project analysis settings.
Preview
Once you have configured SonarScanner sonar-project.properties file for your project. You can run the scan
command in your project root directory to analyse your project source code. Alternatively, you can use the analyse
alias command.
# Scan project source code with SonarScanner.
$ sonarqube scan

# Or use alias command
$ sonarqube analyse
Preview
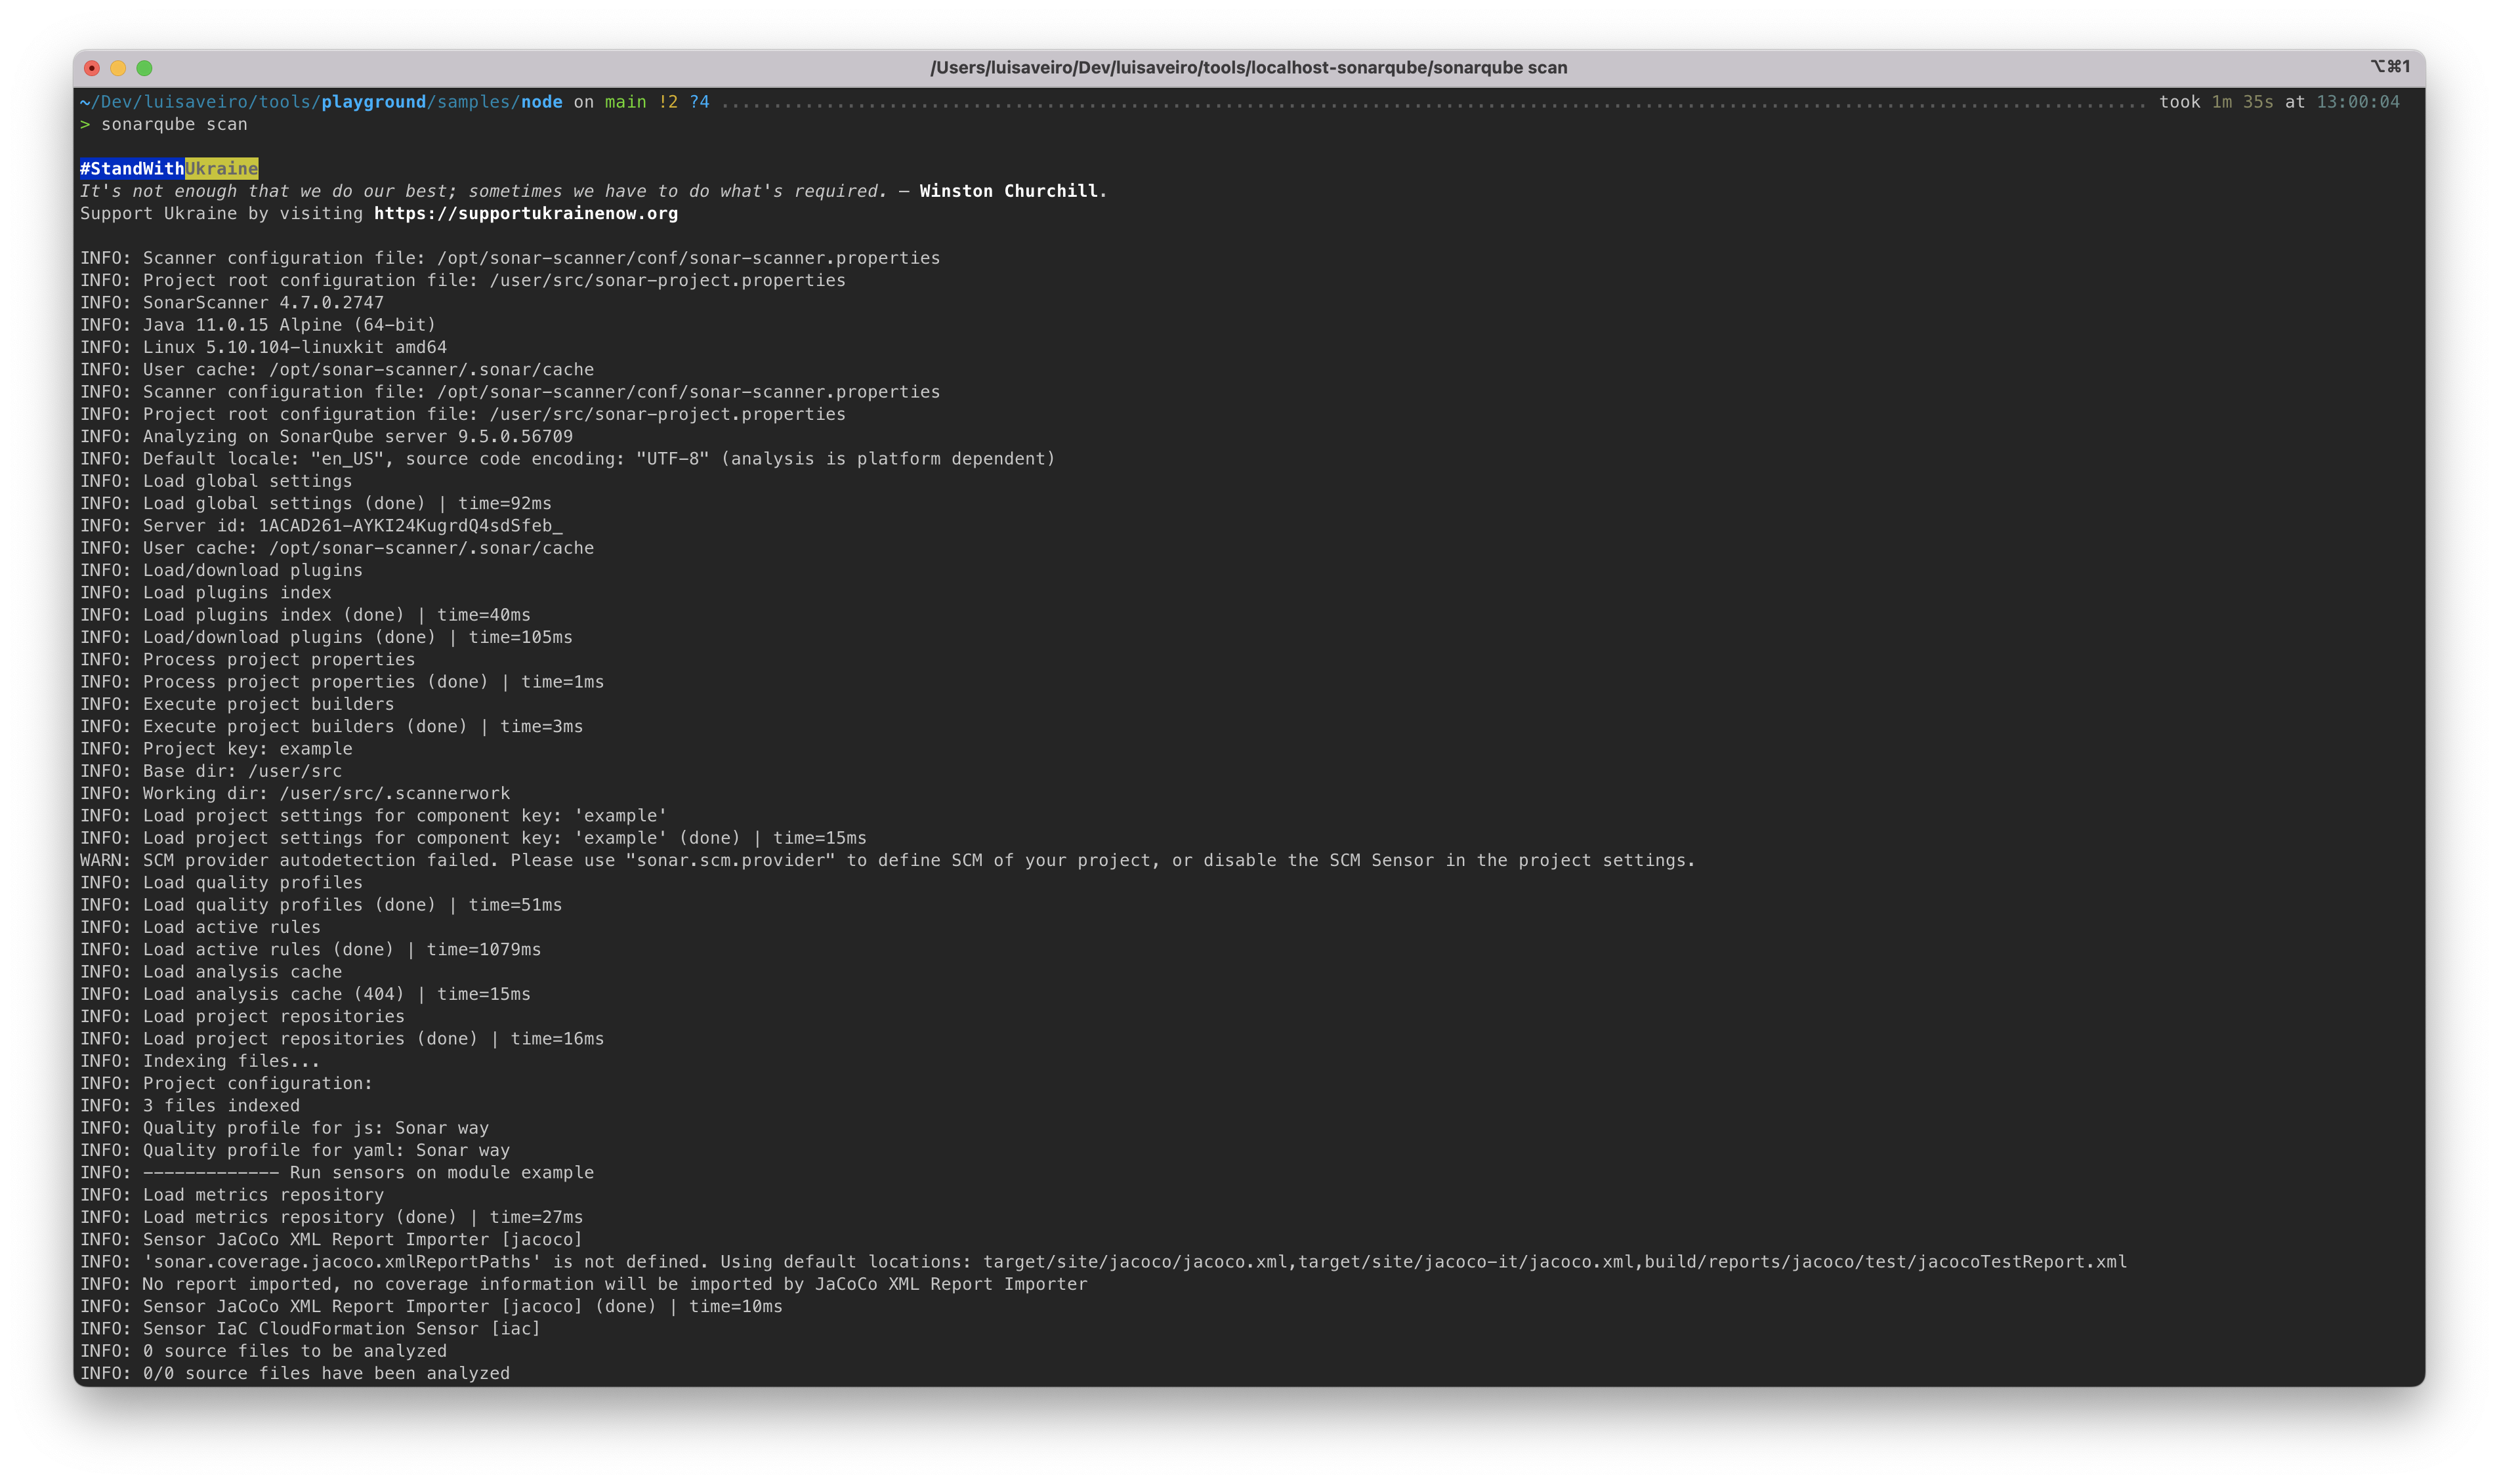
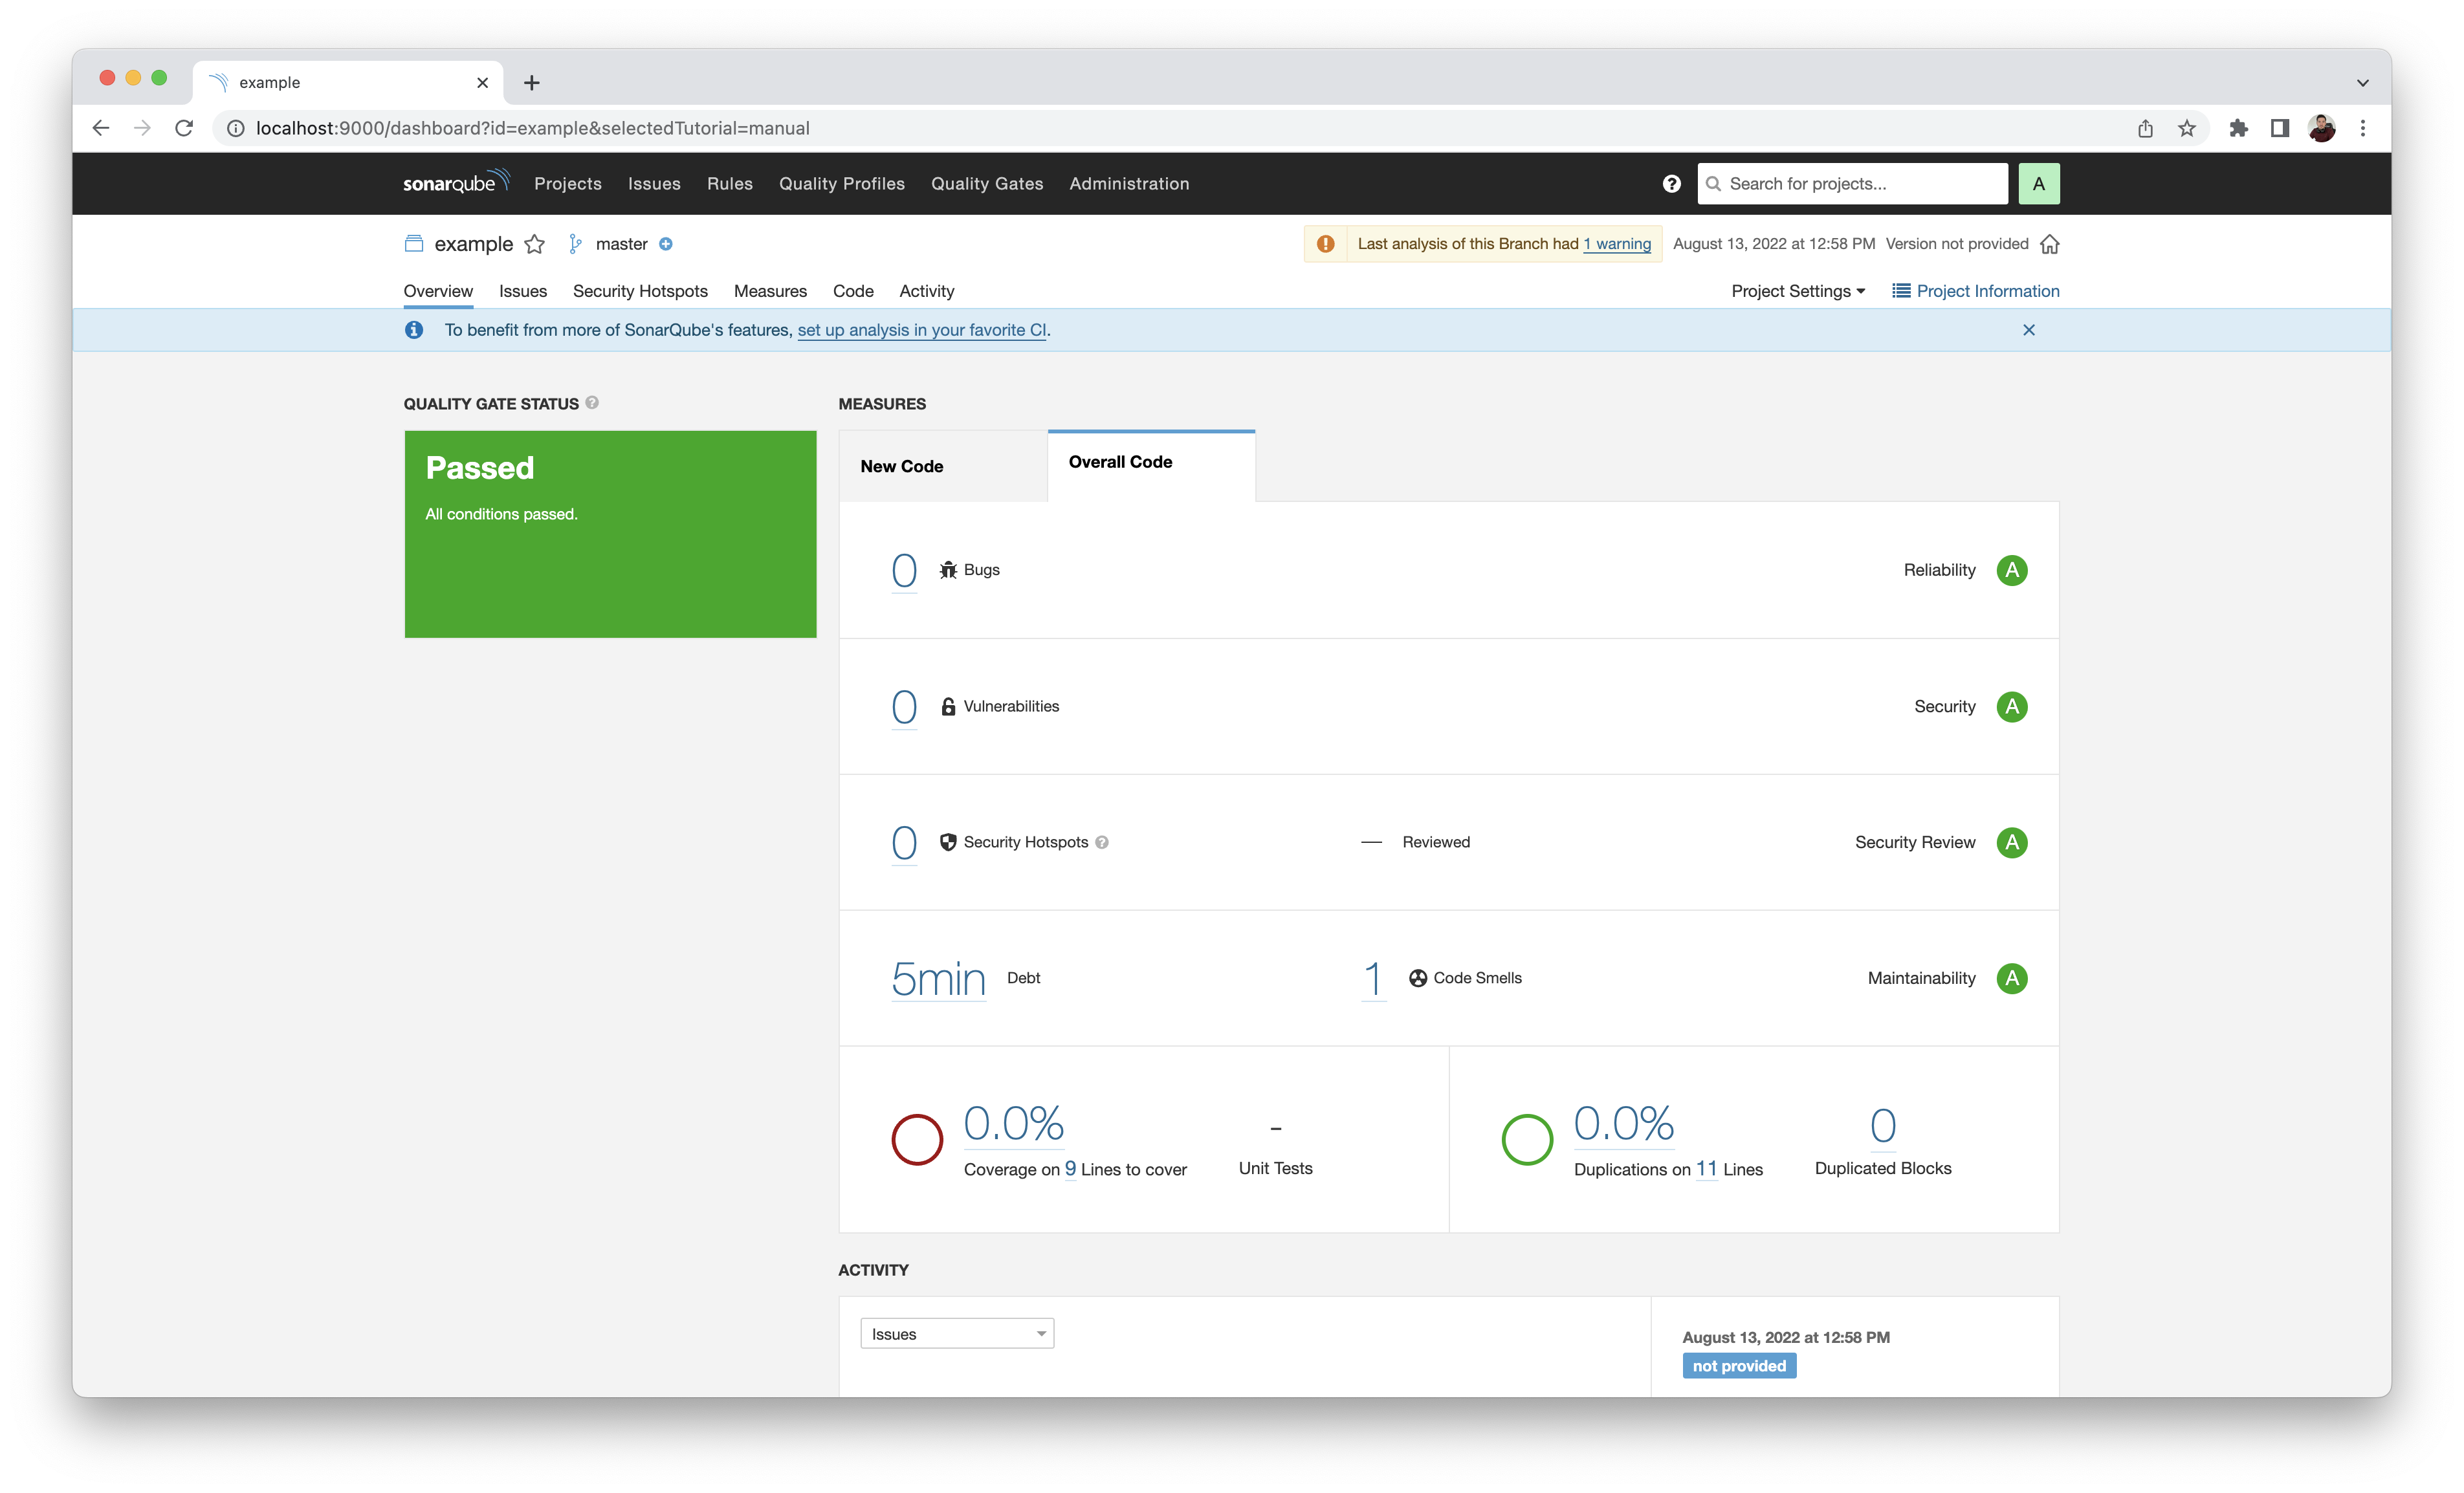
Once SonarScanner has completed analysing your project source code, the SonarQube dashboard will automatically be updated with the analysis report.
Preview