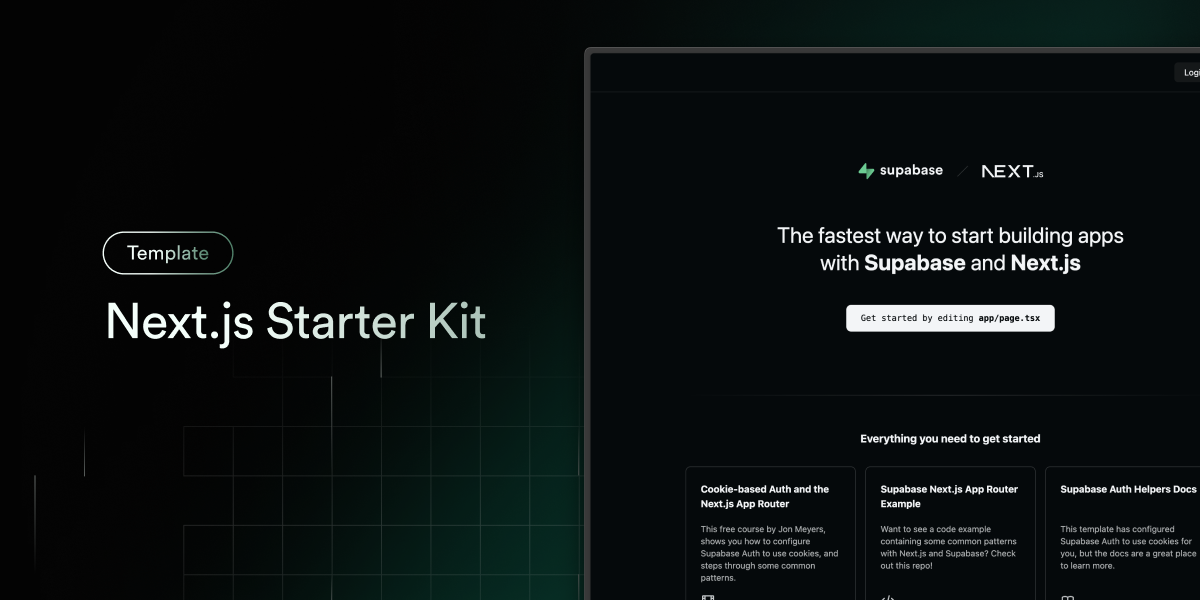
This starter configures Supabase Auth to use cookies, making the user's session available throughout the entire Next.js app - Client Components, Server Components, Route Handlers, Server Actions and Middleware.
Features · Demo · Deploy to Vercel · Clone and run locally · How to use · Feedback and issues
- Next.js App router ready App Router
- Client Components examples
- React Server Components (RSCs) examples
- Route Handlers examples
- Server Actions examples
- supabase-js. Supabase's isomorphic JavaScript library.
- Supabase Auth using cookies, making the user's session available throughout the entire Next.js app, for both client and server.
- Styling with Tailwind CSS
- Optional deployment with Supabase Vercel Integration and Vercel deploy
- Environment variables automatically assigned to Vercel project
You can view a fully working demo at demo-nextjs-with-supabase.com.
Vercel deployment will guide you through creating a Supabase account and project.
After installation of the Supabase integration, all relevant environment variables will be assigned to the project so the deployment is fully functioning.
The above will also clone the Starter kit to your GitHub, you can clone that locally and develop locally.
If you wish to just develop locally and not deploy to Vercel, follow the steps below.
-
You'll first need a Supabase project which can be made via the Supabase dashboard
-
Create a Next.js app using the Supabase Starter template npx command
npx create-next-app -e with-supabase
-
Use
cdto change into the app's directorycd name-of-new-app -
Rename
.env.local.exampleto.env.localand update the following:NEXT_PUBLIC_SUPABASE_URL=[INSERT SUPABASE PROJECT URL] NEXT_PUBLIC_SUPABASE_ANON_KEY=[INSERT SUPABASE PROJECT API ANON KEY]Both
NEXT_PUBLIC_SUPABASE_URLandNEXT_PUBLIC_SUPABASE_ANON_KEYcan be found in your Supabase project's API settings -
You can now run the Next.js local development server:
npm run dev
The starter kit should now be running on localhost:3000.
Check out the docs for Local Development to also run Supabase locally.
There are a variety of example files for you to copy and build your app with in the starter kit.
Check out the /app/_examples folder for an example of creating a Supabase client in:
Navigate to your project's SQL Editor, click New query, paste the contents of the init.sql file and click RUN.
This will create a basic todos table, enable Row Level Security (RLS), and write RLS policies enabling select and insert actions for authenticated users.
To seed your todos table with some dummy data, run the contents of the seed.sql file.
Please file feedback and issues over on the Supabase GitHub org.