Tally
Tally implementation for following which inputs are active on destinations.
The tally process connects to any discovered E2 systems, and follows their system state using a read-only
implementation of the XML protocol.
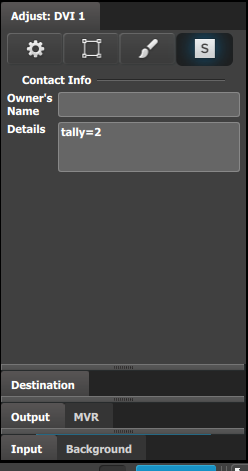
Input sources can be tagged with a tally=ID in their Contact field.
Each tally ID has program, preview and active status if any input with a matching tally ID is used as the
program or preview source on any screen destination layer, or Aux output.
Multiple E2 systems can be connected, and their input/output state is merged. Stacked systems are supported, the tally system will only connect to the stack master. The tally system should be restarted if the stack master changes.
The tally system will indicate an error status if any E2 system is disconnected (stops responding within the --e2-timeout=).
The tally system will reconnect to any E2 system once is starts responding to discovery packets again.
Tag the relevant inputs in EMTS with tally=ID in their Contact details field:
Run the tally software using a network interface connected to the same network as the E2 device:
$GOPATH/bin/tally --discovery-interface=eth0
Use --tally-ignore-dest=REGEXP to ignore matching destinations for tally state.
For example, if you have local monitors connected to an Aux output named "Monitor 1", "Monitor 2" and you do not want to indicate tally inputs as being active on program if they are viewed on the Aux monitor, use --tally-ignore-dest=Monitor to ignore all destinations containing "Monitor" in their name.
The --tally-ignore-dest option uses the golang regexp implementation with the RE2 syntax. Basic regular expressions like --tally-ignore-dest=^(.* Monitor|Test .+)$ can be used to ignore e.g. destinations ending with "Monitor" or starting with "Test". Be sure to use '' quotes around the option when passing it from the shell.
Multiple separate tally systems can be run, using the --tally-contact-name= to select the tally=ID name used to configure the Input's tally ID.
For example, using --tally-contact-name=tally-test would follow the input with a Contact field containing tally-test=2 as the #2 tally output.
The tally state can be output on a HTTP REST/WebSocket API, on GPIO pins, or RGB LEDs on the SPI bus.
The Web output provides an JSON REST API, a JSON WebSocket API:
tally --http-listen=:8001
Example JSON http://localhost:8001/api/tally output:
{
   "Inputs" : [
	  {
		 "Name" : "DVI 1",
		 "Source" : "192.168.2.102",
		 "ID" : 2,
		 "Status" : "ok"
	  }
   ],
   "Errors" : null,
   "Tally" : [
	  {
		 "Outputs" : [
			{
			   "Name" : "ScreenDest1",
			   "Active" : true,
			   "Program" : true,
			   "Preview" : true,
			   "Source" : "192.168.2.102"
			},
			{
			   "Preview" : true,
			   "Source" : "192.168.2.102",
			   "Program" : true,
			   "Active" : true,
			   "Name" : "ScreenDest2"
			},
			{
			   "Program" : true,
			   "Source" : "192.168.2.102",
			   "Preview" : true,
			   "Name" : "Mon",
			   "Active" : false
			}
		 ],
		 "Inputs" : [
			{
			   "Source" : "192.168.2.102",
			   "ID" : 2,
			   "Status" : "ok",
			   "Name" : "DVI 1"
			}
		 ],
		 "Errors" : null,
		 "Active" : true,
		 "ID" : 2,
		 "Preview" : true,
		 "Program" : true
	  }
   ]
}
The same JSON document is also published on ws://localhost:8001/events in the {"tally": { ... }} format whenever it is updated.
A HTTP Origin: header must be set.
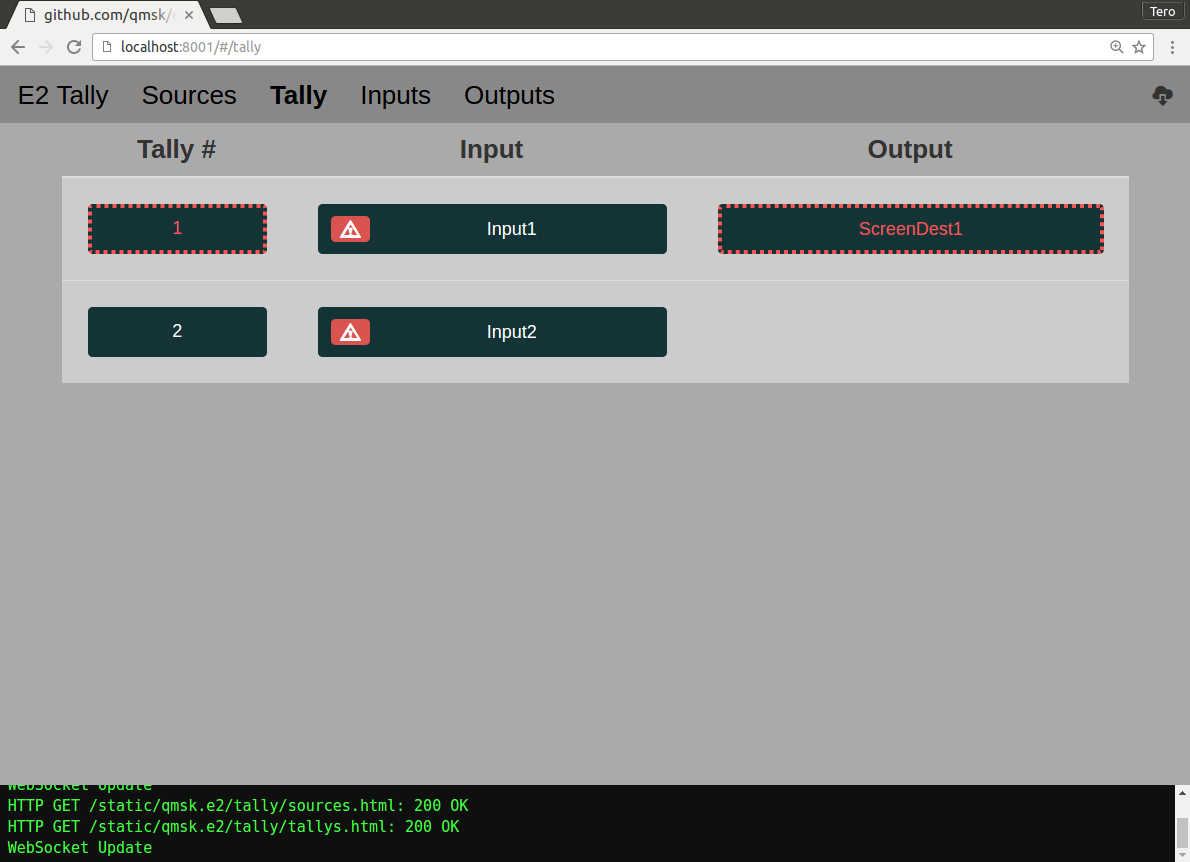
The Web output also provides an AngularJS frontend using the JSON WebSocket API:
tally --http-listen=:8001 --http-static=./static
The --http-static is optional, and is only needed for the UI. Using the Tally Web UI requires Building the static assets for the web frontend.
The Web UI uses this WebSocket stream to display a live-updating tally state:
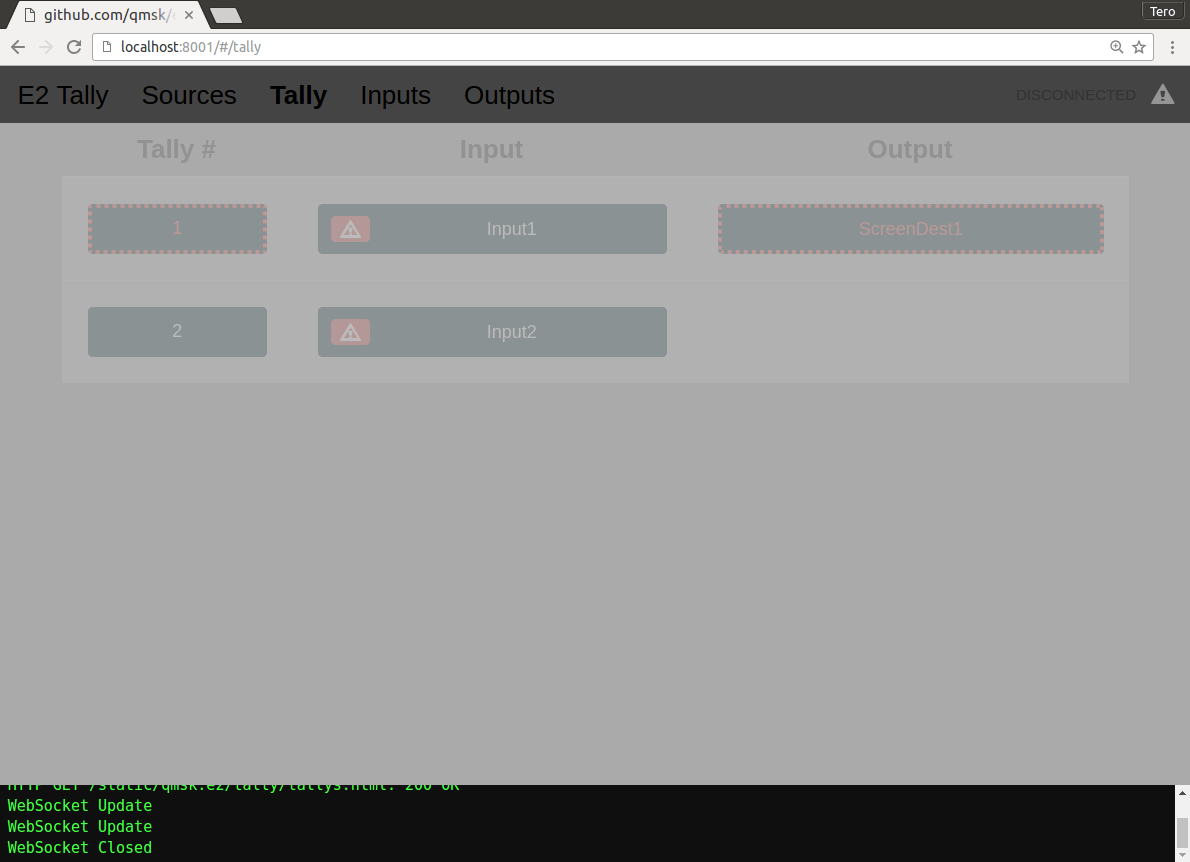
If the WebSocket connection is lost, the header turns dark grey, and the view fades:
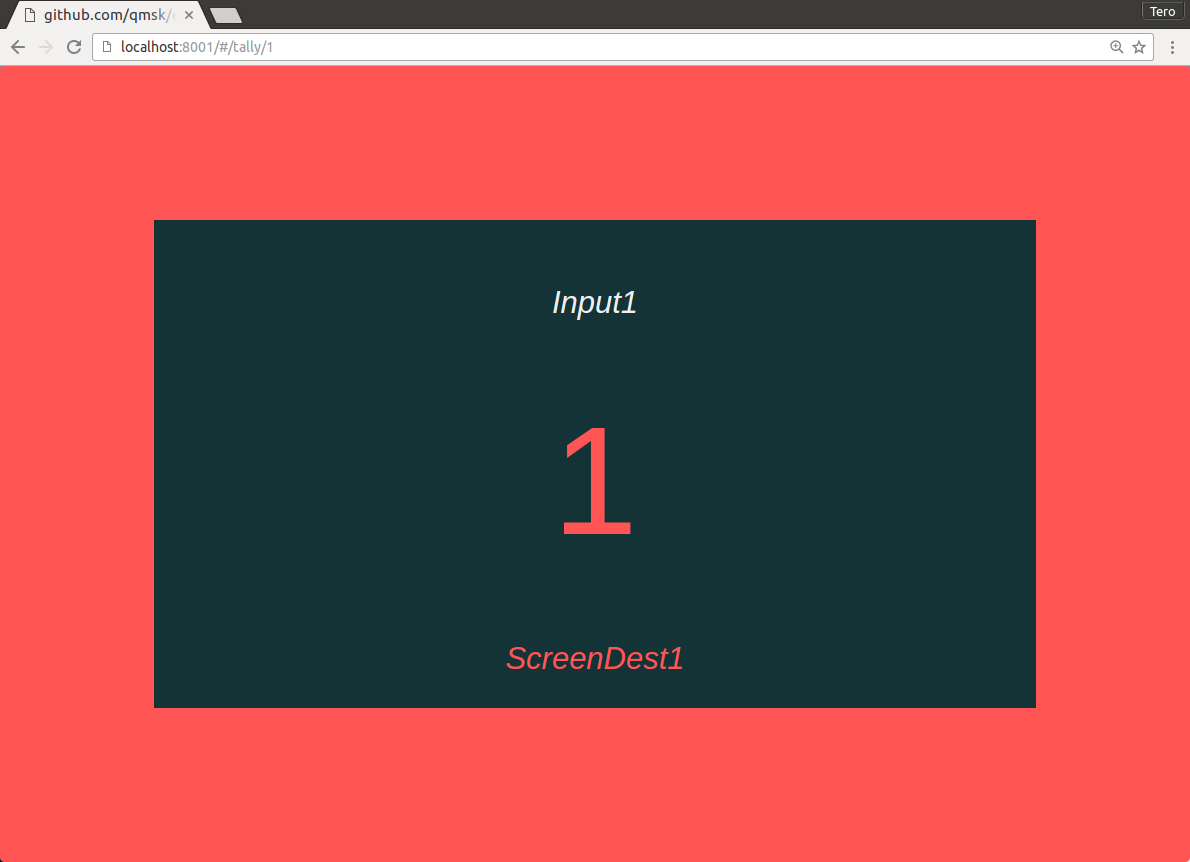
Click on the tally number to open up a large single-tally view that can be zoomed as needed:
![]()
Click on the large tally button to toggle fullscreen view:
The Web UI also includes a list of discovered sources and their status, including possible connection errors:

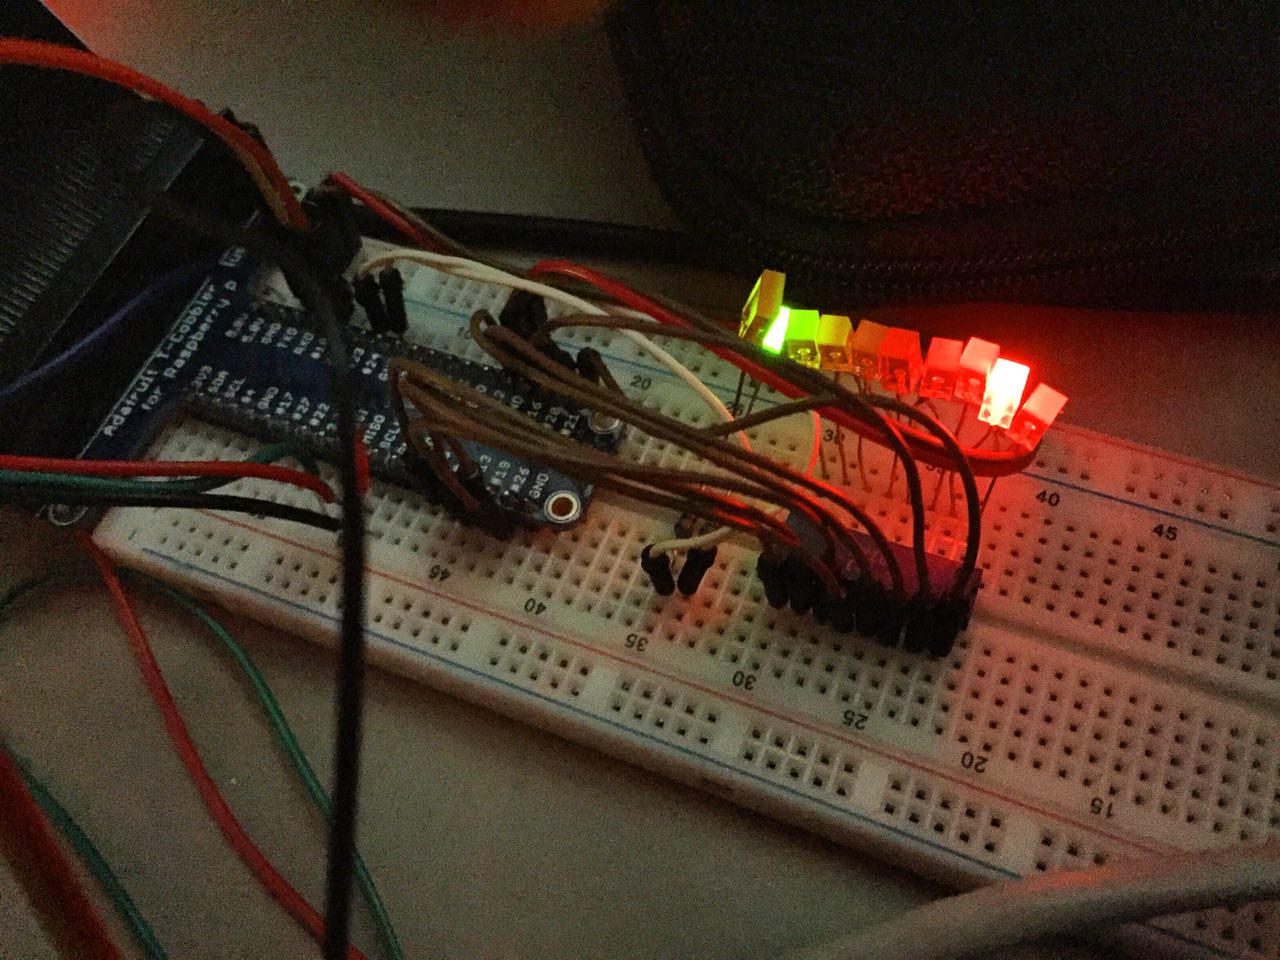
Support for Linux RaspberryPI GPIO output using /sys/class/gpio. Use the --gpio options to configure:
  --gpio-green-pin=GPIO-PIN           GPIO pin for green status LED
  --gpio-red-pin=GPIO-PIN             GPIO pin for red status LED
  --gpio-tally-pin=GPIO-PIN           Pass each tally pin as a separate option
  --gpio                              Enable GPIO output
Example: $GOPATH/bin/tally ... --gpio --gpio-green-pin=23 --gpio-red-pin=24 --gpio-tally-pin=21 --gpio-tally-pin=20 --gpio-tally-pin=16 --gpio-tally-pin=12 --gpio-tally-pin=26 -gpio-tally-pin=19 --gpio-tally-pin=13 --gpio-tally-pin=6
The --gpio-green-pin= and --gpio-red-pin= are used for the status of the tally system itself:
| Green | Red | Status |
|---|---|---|
| Off | Off | Not running. |
| Off/Blink | Off | Discovering. |
| On/Blink | Off | Connected with tally inputs. |
| On/Blink | Blinking | Partially connected. |
| Off/Blink | Blinking | Reconnecting. |
Each --gpio-tally-pin= is used for sequentially numbered tally ID output. Passing eight --gpio-tally-pin= options will enable tally output for IDs 1, 2, 3, 4, 5, 6, 7 and 8.
The GPIO pin will be set high if the tally input is output on program, and low otherwise.
If running the tally binary as root, it will handle exporting and setup of the /sys/class/gpio devices itself.
If running as a user in the gpio group, the permissions on the exported GPIO pins must be configured by udev before running the tally binary.
Use the included cmd/tally/gpio-export.sh ... script to pre-export the GPIO pins.
The tally program will exit and drive the GPIO pins low on SIGINT. If the tally program crashes or is killed, the GPIO pins will remain stuck
in their previous state. Use the cmd/tally/gpio-unexport.sh ... script to clear the GPIO output.
Example systemd service to pre-export the GPIO pins, and drive them low if the tally program exits: cmd/tally/qmsk-e2-tally.service
[Unit]
Description=github.com/qmsk/e2 tally
After=network.target

[Service]
User=e2-tally
ExecStartPre=/opt/qmsk-e2/bin/gpio-export.sh 23 24 21 20 16 12 26 19 13 6
ExecStart=/opt/qmsk-e2/bin/tally \
	--discovery-interface=eth0 \
	--gpio --gpio-green-pin=23 --gpio-red-pin=24 \
	--gpio-tally-pin=21 --gpio-tally-pin=20 --gpio-tally-pin=16 --gpio-tally-pin=12 --gpio-tally-pin=26 --gpio-tally-pin=19 --gpio-tally-pin=13 --gpio-tally-pin=6 \

KillSignal=SIGINT
ExecStopPost=/opt/qmsk-e2/bin/gpio-unexport.sh 23 24 21 20 16 12 26 19 13 6

[Install]
WantedBy=multi-user.target
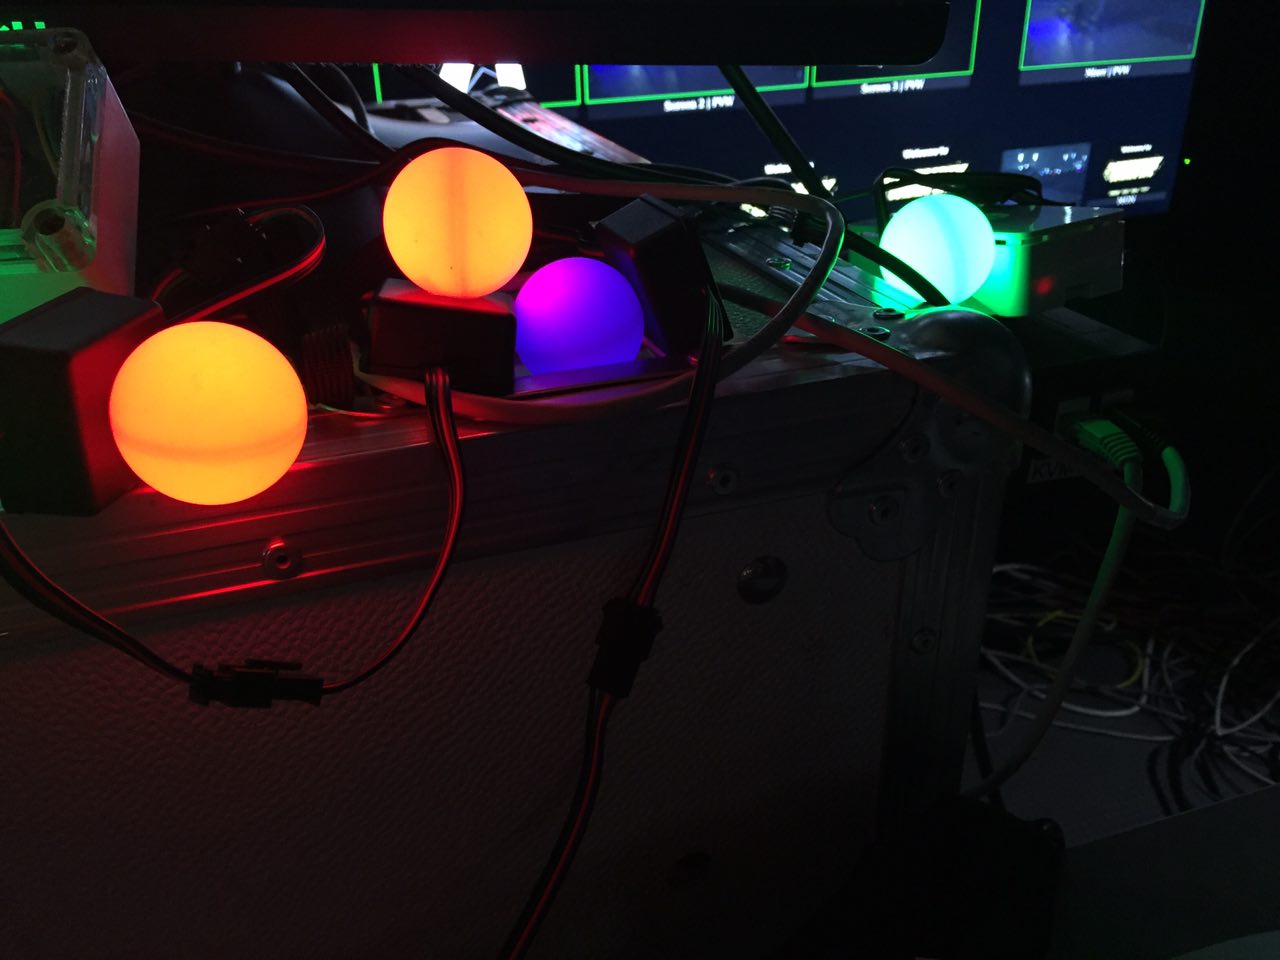
Support for APA102 RGB LEDs connected to the Linux RaspberryPI SPI bus using /dev/spidev. Use the --spiled options to configure:
  --spiled-channel=N                  /dev/spidev0.N
  --spiled-speed=HZ
  --spiled-protocol=apa102|apa102x    Type of LED
  --spiled-count=COUNT                Number of LEDs
  --spiled-debug                      Dump SPI output
  --spiled-intensity=0-255
  --spiled-refresh=HZ
  --spiled-tally-idle=RRGGBB
  --spiled-tally-preview=RRGGBB
  --spiled-tally-program=RRGGBB
  --spiled-tally-both=RRGGBB
  --spiled-status-idle=RRGGBB
  --spiled-status-ok=RRGGBB
  --spiled-status-warn=RRGGBB
  --spiled-status-error=RRGGBB
  --spiled                            Enable SPI-LED output
Supported protocols:
-
apa102standard APA102 LEDs -
apa102xvariant of APA-102 using 0x00 stop frames.
Example:
tally ... --spiled --spiled-channel=0 --spiled-speed=100000 --spiled-protocol=apa102x --spiled-count=2 --spiled-tally-idle=000010
The first SPI-LED is used as a status LED, use the --spiled-status-* options to configure output colors:
| Option | Default Color | Meaning |
|---|---|---|
--spiled-status-idle= |
0000ff (Blue) | Discovering |
--spiled-status-ok= |
00ff00 (Green) | Connected |
--spiled-status-warn= |
ffff00 (Orange) | Partially connected |
--spiled-status-error= |
ff0000 (Red) | Disconnected |
The remaining LEDs are used for sequentially numbered tally ID output. Use the --spiled-tally-* options to configure output colors:
| Option | Default Color | Meaning |
|---|---|---|
| Off | No tally input configured | |
--spiled-tally-idle= |
000010 (Dim Blue) | Not active on any outputs |
--spiled-tally-preview= |
00ff00 (Green) | Preview on active destination |
--spiled-tally-program= |
ff0000 (Red) | Program on destination |
--spiled-tally-both= |
ff4000 (Orange) | Program on destination, and Preview on active destination |
The tally output LED will start pulsing if the input connector is disconnected or has an invalid video signal.
The tally program will exit and drive the SPI LEDs off on SIGINT. If the tally program crashes or is killed, the SPI bus will remain stuck in its previous state.
Use the included cmd/tally/spiled-down.sh <count> script to force the SPI LEDs off.