age-plugin-se is a plugin for age,
enabling encryption using Apple's Secure
Enclave.
$ age-plugin-se keygen --access-control=any-biometry -o key.txt
Public key: age1se1qgg72x2qfk9wg3wh0qg9u0v7l5dkq4jx69fv80p6wdus3ftg6flwg5dz2dp
$ tar cvz ~/data | age -r age1se1qgg72x2qfk9wg3wh0qg9u0v7l5dkq4jx69fv80p6wdus3ftg6flwg5dz2dp > data.tar.gz.age
$ age --decrypt -i key.txt data.tar.gz.age > data.tar.gz
Besides direct usage with age as above, you can use it with any tool that uses age in the backend. For example, you can store your passwords with passage, and conveniently access them with Touch ID.
To generate identities (private keys) and decrypt encrypted files, you need a Mac running macOS 13 (Ventura) with a Secure Enclave processor.
For encrypting files, you need macOS 13 (Ventura), Linux, or Windows. A Secure Enclave processor is not necessary.
brew install age-plugin-se
- Download a binary from the releases page
- Extract the package
- (Windows only) Download and install Swift
- (macOS only) Trust
age-plugin-seonce by Control-clicking the file in Finder, choosing Open, and confirming trust - Move
age-plugin-seto somewhere on your executable path (e.g./usr/local/bin)
For Alpine Linux, there are also pre-built .apk packages available on the releases page.
To instal them:
-
Download the package signing key, and install it in
/etc/apk/keys.doas wget -P /etc/apk/keys https://raw.githubusercontent.com/remko/age-plugin-se/main/Scripts/alpine/r@mko.re-66596f64.rsa.pub -
Download the binary (and optionally the
-doc).apkfile from the releases page. -
Install the downloaded package(s):
 doas apk add ./age-plugin-se-0.1.3-r0-x86_64.apk
 doas apk add ./age-plugin-se-doc-0.1.3-r0-noarch.apk
-
(non-macOS only) Download and install Swift
-
Clone the source code repository or get a source package from the releases page
-
Build the plugin
make -
Install the plugin
sudo make install PREFIX=/usr/local
In order to encrypt data using the Secure Enclave of your machine, you need to
generate a private key that is bound to the Secure Enclave. You can generate
such a private key for age using the age-plugin-se keygen command. When
creating such a key, you also specify which type of protection you want, which
is a combination of biometry (e.g. Touch ID) and passcode:
$ age-plugin-se keygen --access-control=any-biometry -o key.txt
Public key: age1se1qfn44rsw0xvmez3pky46nghmnd5up0jpj97nd39zptlh83a0nja6skde3ak
The public key (recipient) is printed on standard output. This is the key you need to encrypt data, and can be freely distributed.
The private key is stored in key.txt:
# created: 2023-07-08T19:00:19Z
# access control: any biometry
# public key: age1se1qfn44rsw0xvmez3pky46nghmnd5up0jpj97nd39zptlh83a0nja6skde3ak
AGE-PLUGIN-SE-1QJPQZLE3SGQHKVYP75X6KYPZPQ3N44RSW0XVMEZ3QYUNTXXQ7UVQTPSPKY6TYQSZDNVLMZYCYSRQRWP
This is the key you need to be able to decrypt the data encrypted for the public key. You have to keep this key private.
ℹ️ The private key is bound to the secure enclave of your machine, so it cannot be transferred to another machine. This also means that you should take the necessary precautions, and make sure you also encrypt any long-term data to an alternate backup key.
Using the public key, you can now encrypt data from any machine (even machines without a Secure Enclave, or even machines running Linux or Windows):
$ tar cvz ~/data | age -r age1se1qfn44rsw0xvmez3pky46nghmnd5up0jpj97nd39zptlh83a0nja6skde3ak
age will automatically pick up the plugin from your execution path, and detect that it needs to use this plugin for encrypting to the specified recipient.
To decrypt the encrypted file, pass the private key as an identity to age (running on the machine with the corresponding Secure Enclave for the private key):
$ age --decrypt -i key.txt data.tar.gz.age > data.tar.gz
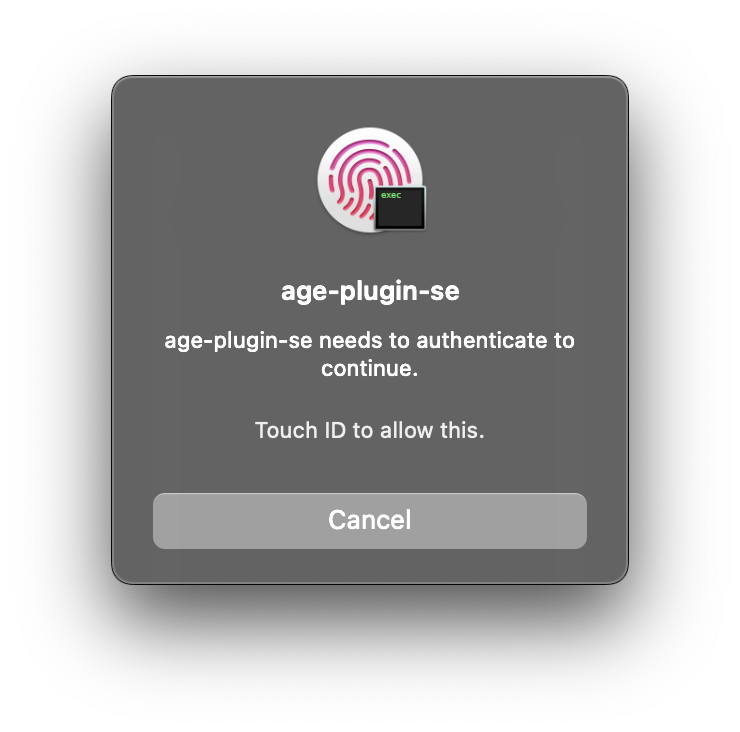
The decrypt operation will now require Touch ID to use the Secure Enclave to decrypt it:
age-plugin-se recipients can be converted to
age-plugin-yubikey recipients
(and vice versa), and be decrypted with the same age-plugin-se private key.
This could be useful if the system on which you want to encrypt your data has
the age-plugin-yubikey plugin installed, but you're unable to install
age-plugin-se. This also obfuscates the fact that your key is protected by
Apple Secure Enclave.
To convert recipients, you can use the ConvertBech32HRP.swift script.
For example, to convert the recipient from earlier to a age-plugin-yubikey recipient:
$ ./Scripts/ConvertBech32HRP.swift \
      age1se1qgg72x2qfk9wg3wh0qg9u0v7l5dkq4jx69fv80p6wdus3ftg6flwg5dz2dp \
      age1yubikey
age1yubikey1qgg72x2qfk9wg3wh0qg9u0v7l5dkq4jx69fv80p6wdus3ftg6flwgjgtev8
This key can now be used to encrypt data for the same private key:
$ tar cvz ~/data | age -r age1yubikey1qgg72x2qfk9wg3wh0qg9u0v7l5dkq4jx69fv80p6wdus3ftg6flwgjgtev8
$ age --decrypt -i key.txt data.tar.gz.age > data.tar.gz
age-plugin-se keygen [-o OUTPUT] [--access-control ACCESS_CONTROL]
age-plugin-se recipients [-o OUTPUT] [-i INPUT]

The `keygen` subcommand generates a new private key bound to the current
Secure Enclave, with the given access controls, and outputs it to OUTPUT
or standard output.

The `recipients` subcommand reads an identity file from INPUT or standard
input, and outputs the corresponding recipient(s) to OUTPUT or to standard
output.


Options:
  --access-control ACCESS_CONTROL   Access control for using the generated key.

        Supported values: none, passcode,
          any-biometry, any-biometry-and-passcode, any-biometry-or-passcode,
          current-biometry, current-biometry-and-passcode
        Default: any-biometry-or-passcode.

        When using current biometry, adding or removing a fingerprint stops the
        key from working. Removing an added fingerprint enables the key again.

  -o, --output OUTPUT               Write the result to the file at path OUTPUT

  -i, --input INPUT                 Read data from the file at path INPUT
Build the plugin
make
Make sure .build/debug/age-plugin-se is in your execution path (or
softlinked from a folder in your path), so age can find the plugin.
To run the unit tests:
make test
To get a coverage report of the unit tests:
make test COVERAGE=1
Annotated coverage source code can be found in .build/coverage.html.
To run a smoke test:
make smoke-test
