GCS ~ Mission Planner
Mission Planner (MP) is a Ground Control Station (GCS) software for all types of vehicles based upon the ArduPilot open source autopilot system, e.g. ArduPlane, ArduCopter, ArduRover or newest to the family ArduSub. It is compatible with Windows only. It can be used as a configuration utility or as a dynamic control supplement for your autonomous vehicle. Here are just a few things you can do with MP:
- Flash firmware (the software) into the autopilot board (i.e. Pixhawk series) that controls your vehicle.
- Setup, configure, and tune your vehicle for optimum performance.
- Plan, save and load autonomous missions into the autopilot with simple point-and-click way-point entry on Google or other maps.
- Download and analyze mission logs created by the autopilot.
- Interface with a PC flight simulator to create a full hardware-in-the-loop UAV simulator.
- Monitor your vehicle’s status while in operation.
- Record telemetry logs which contain much more information than the on-board autopilot logs.
- View and analyze the telemetry logs.
- Operate your vehicle in FPV (first person view)
In order to use MP in conjunction with EZ-WifiBroadcast it is necessary to forward all telemetry to the PC. In the course of this walk-through we will choose to do it the most convenient way, namely using the Wifi-Hotspot feature running off the EZ-WifiBroadcast GroundPi (of course you can alternatively connect your PC also via USB Tethering, or Ethernet-Hotspot).
!!! Before we start make sure you have read and followed the section on how to setup RC via Ardupilot and setting FC Parameters. Those things are prerequisites for the following to work properly !!!
Now, Let's gets get started:
- Enable the WiFi-Hotspot on your GroundPi by editing the wifibroadcast_1.txt. Set the following parameters:
TELEMETRY_UPLINK=mavlink
ENABLE_RC=mavlink
WIFI_HOTSPOT=Y - Next power on your Air- and GroundPi
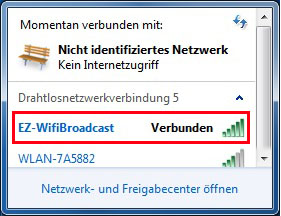
- With your PC connect to the Wifi-Hotspot named "EZ-Wifibroadcast" (password = wifibroadcast)
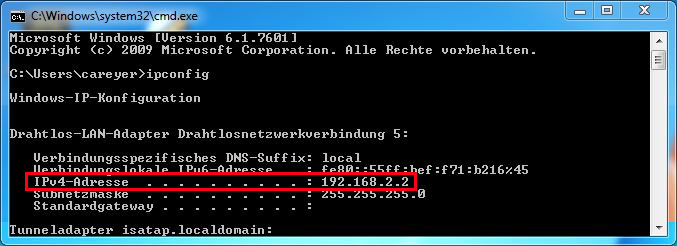
- Next open up a Command Prompt (press Win+R -> type:
cmd.exe-> Press Enter) - Next we are going to find out the IP of our GroundPi. Type
ipconfig-> press Enter Watch out for the IP-v4 address of your PC's Wifi adapter.
It should read something like:IPv4 address.....: 192.168.2.2- Awesome! This address -1 on the last address block is the IP address of your GroundPi: i.e.192.168.2.1
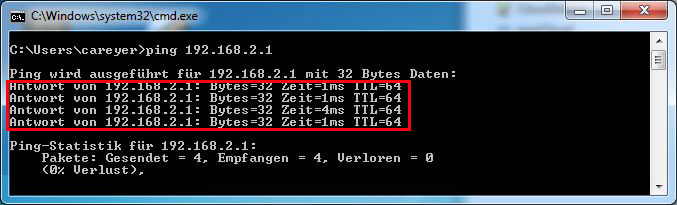
- Let's see if we can Ping that thing. Type
ping 192.168.2.1-> Press Enter. Are you getting a reply? Perfect!
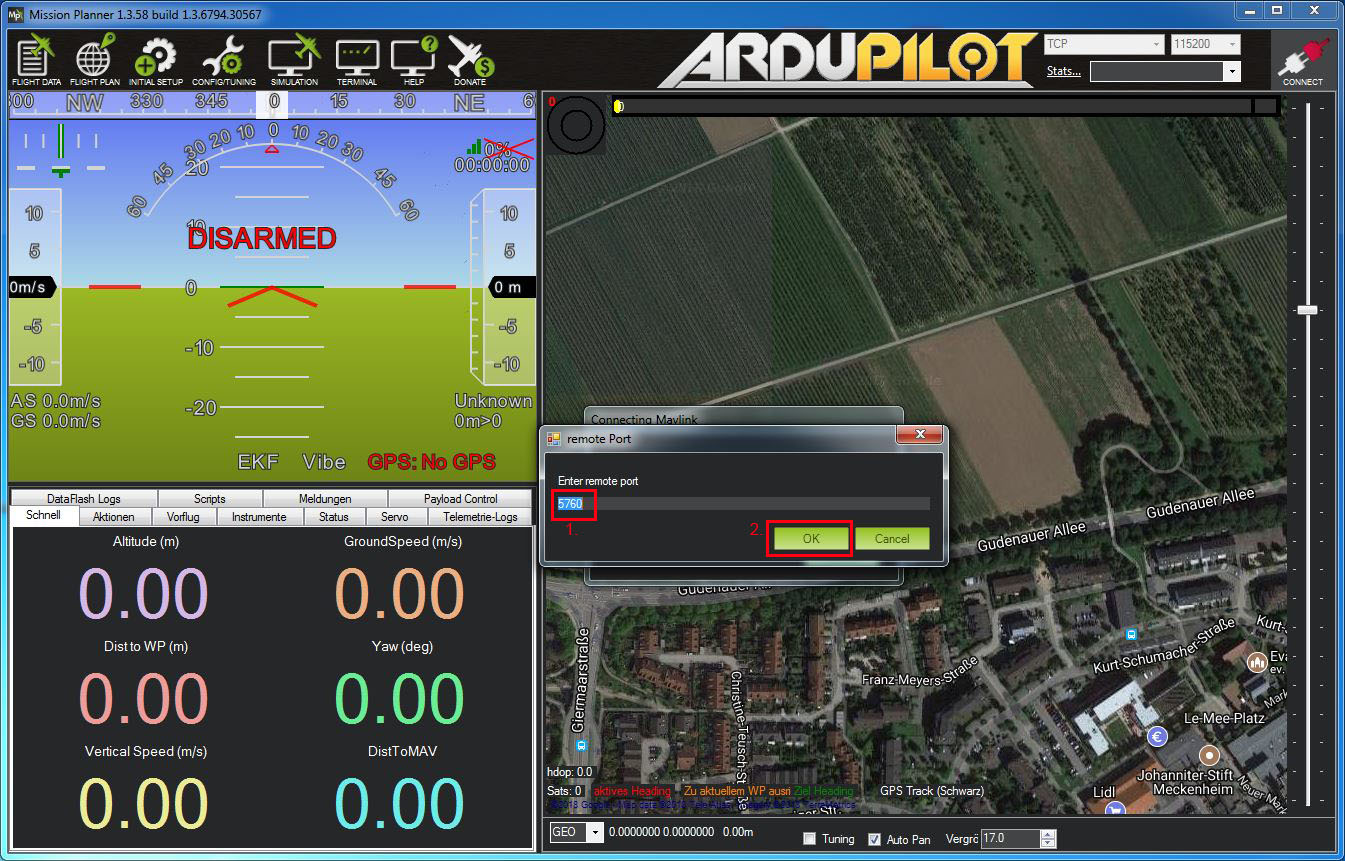
- Now start MP and choose
TCPas the method to connect. Press the Connect Button
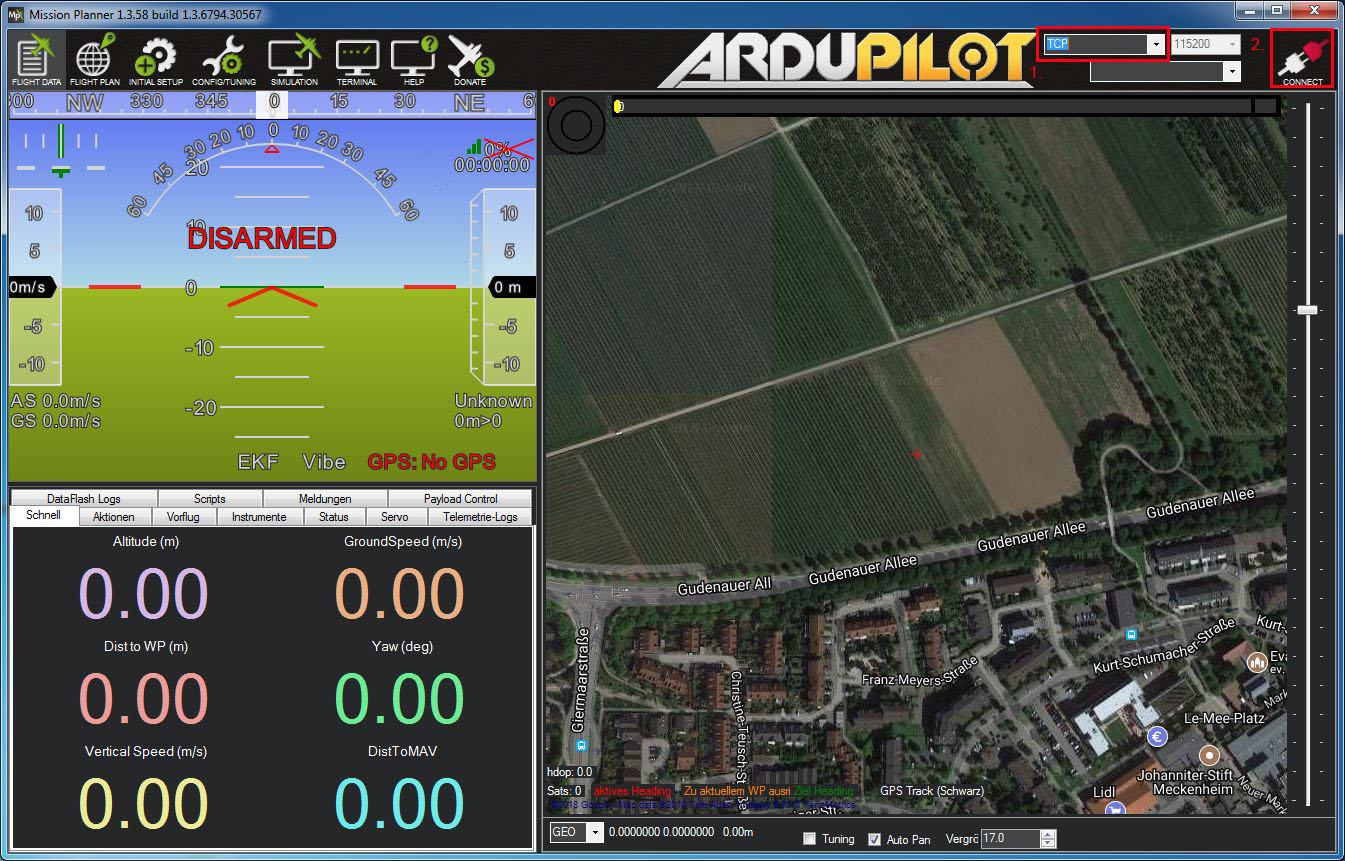
and enter the IP of your GroundPi in the upcomming dialogue window:192.168.2.1. Next select the port (nothing needs to be changed - the default is:
 5760)
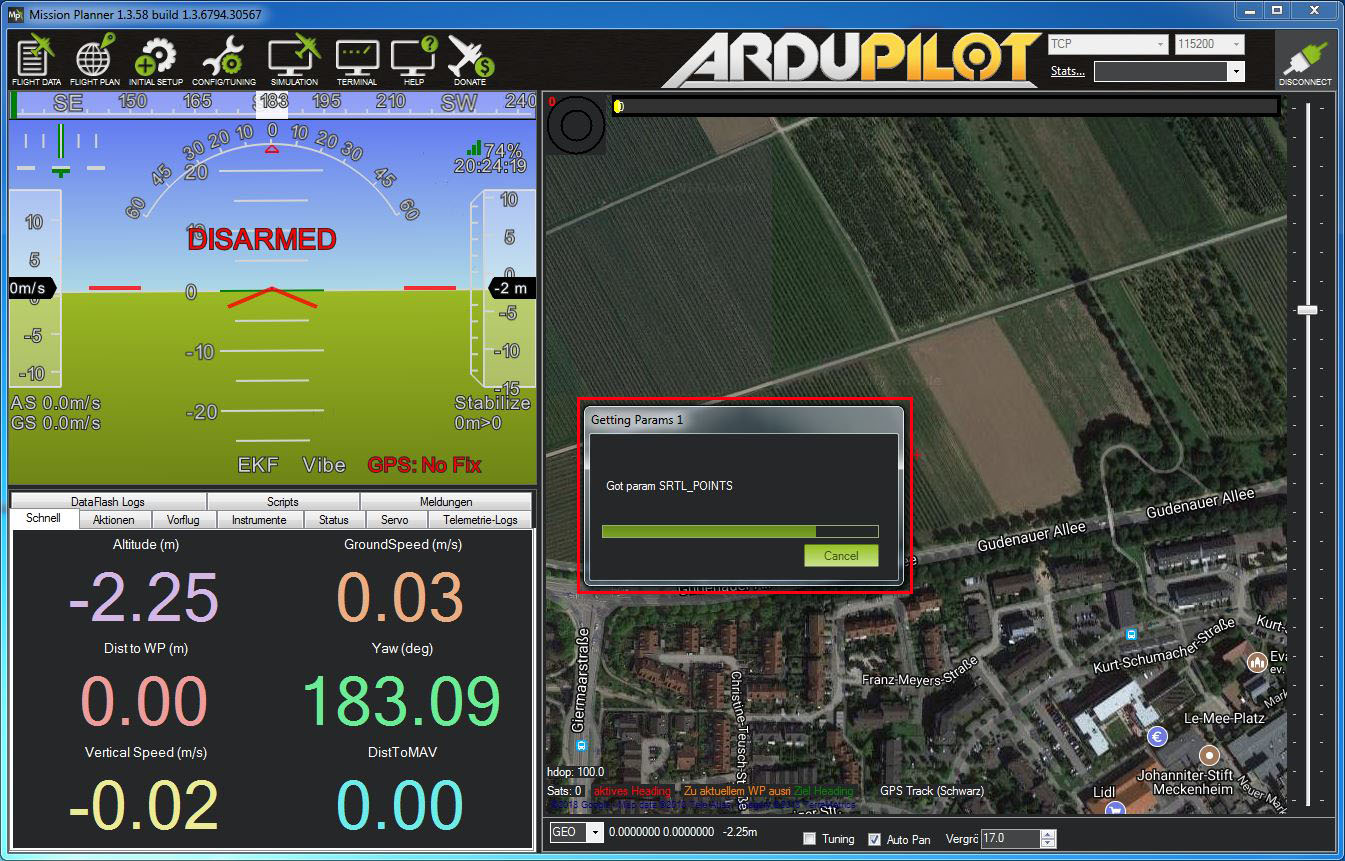
- Now! Here we are! - Your MP should now happily connect to your Flight Controller (FC) through the EZ-WifiBroadcast radio link. Once the initial parameter set has been transferred you can either enjoy your fancy real time telemetry or go ahead and configure your autonomous vehicle in-style.
Forwarding the HD-Video stream to MP is a little bit tricky and does not work right out of the box (other than e.g. for QGroundControl). However once you succeed you will have some neat benefits such as stacking the MP HUD on top of your live video.
Now, Let's do it:
- In order to display the HD-video we need a third party software named Gstreamer. (Download the 32bit version, since the 64bit version is known to cause issues). You can download it here
- Now install Gstreamer by choosing the "Complete Install" option. Most preferably install it to
C:\gstreamersince it is the default path and some programs depend on the binaries to be found exactly there. - Now edit your GroundPi's wifibroadcast_1.txt and alter the following parameter:
VIDEO_UDP_PORT=5600-->VIDEO_UDP_PORT=5500
FORWARD_STREAM=raw - Put the MicroSD card back into GroundPi and power it on.
- Connect to the "EZ-Wifibroadcast" Hotspot.
- Once connected, open up a Command Prompt (press Win+R -> type:
cmd.exe-> Press Enter) - Change to the
C:\gstreamer\1.0\x86\bindirectory and type the following command (you can put this in a *.bat batch-file later on):
gst-launch-1.0.exe udpsrc port=5500 ! h264parse ! rtph264pay ! udpsink host=127.0.0.1 port=5600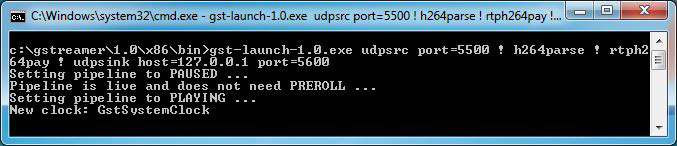
- Now start MP. Upon first start it should notify you that a video-stream was detected and advice you to install a missing Addon. Please follow the dialog and install the component. After the install MP will automatically restart.
- After the restart your live HD-video stream should show in the HUD window.
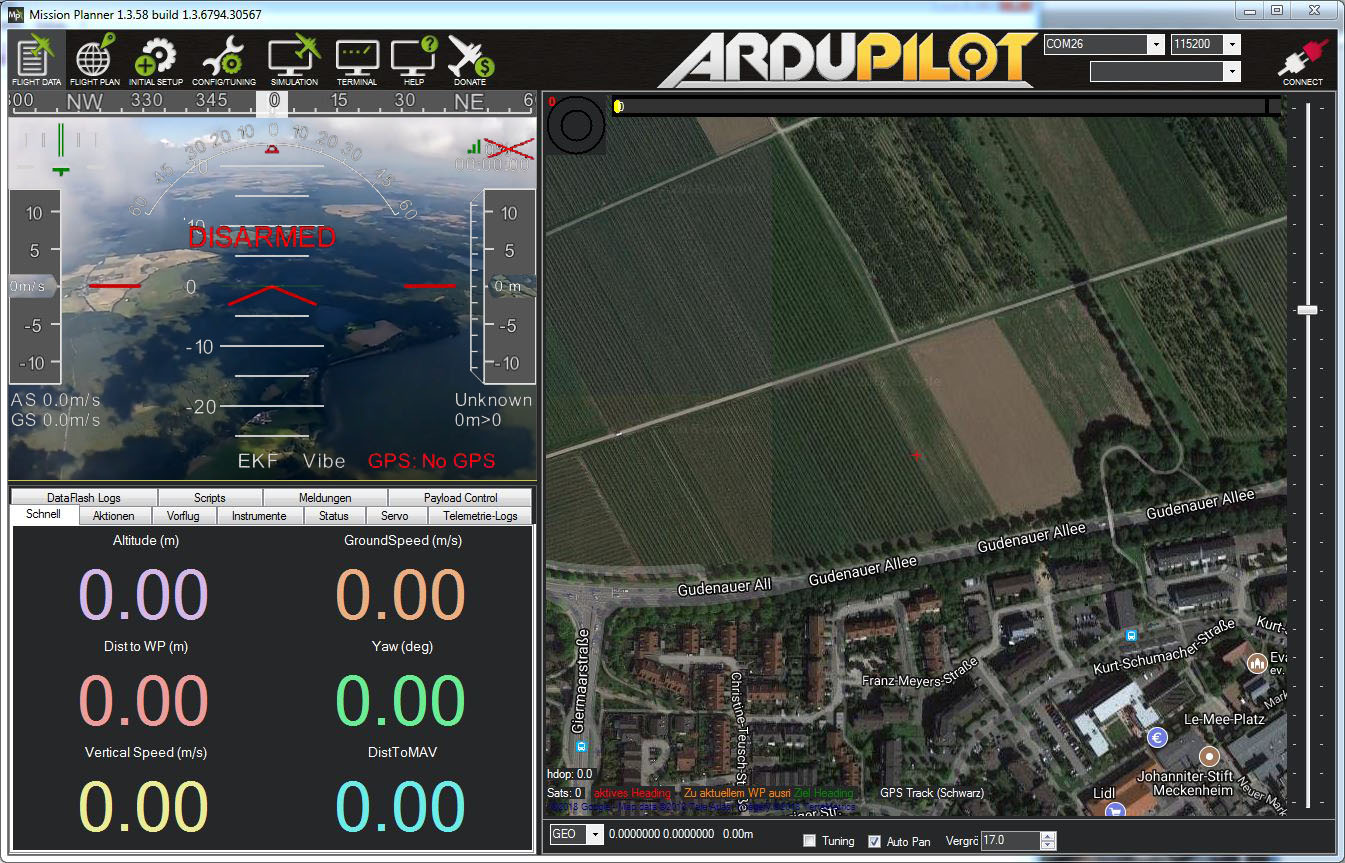
- Go ahead and connect the telemetry link by choosing the
TCPconnect option and proceed as described above.
Have fun! - Fly safe!