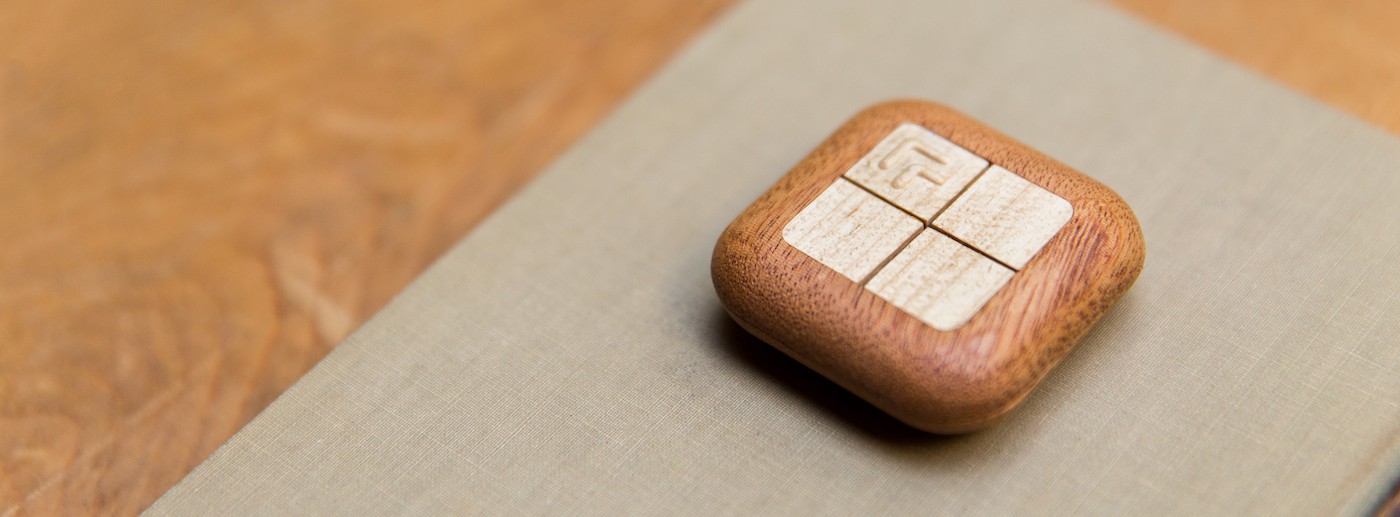
The design files used for the nrf51-based Turn Touch remote.
| PCB | EAGLE |
|---|---|
 |
 |
| Top | Bottom |
|---|---|
 |
 |
You can read the complete documentation and background on the Turn Touch blog series.
Turn Touch is a smart home remote control carved out of beautiful mahogany wood. This is a remote control for Hue lights, Sonos speakers, and all the other connected devices in your home. Turn Touch works on iOS and macOS, giving you control of your music, videos, presentations, and more.
- Extraordinary design: This isn't yet another plastic remote. Turn Touch is carved from solid wood and worked to a show-stopping, textured finish.
- Well connected: Turn Touch connects to most smart devices in your home that speak WiFi. And this is just the first version. Over time, there's no telling what you'll be able to control.
- Always ready: Turn Touch is always on, always connected, and always ready to take your breath away. Once you connect your Turn Touch via Bluetooth it stays connected and always available, even without the Turn Touch app actively running. And there's no delay, when you press a button the result is instant.
- Built to last: Not only will your Turn Touch stand up to drops and shock — its entire circuit board can be inexpensively replaced with newer, future wireless tech. You won't have to buy a new remote every time Apple comes out with a new phone. And instead of flimsy plastic clasps, a set of 8 strong magnets invisibly hold the remote together.
- macOS or Windows
- nrf51 Development Kit ($39 on Digikey)
- EAGLE for schematic and board layout
- ARM toolchain for firmware
To install dependencies, start here:
https://devzone.nordicsemi.com/blogs/22/getting-started-with-nrf51-development-on-mac-os-x/
To use gcc, you will need to download:
-
nRF51 SDK
-
S110 SoftDevice
-
J-Link by Segger
-
srec_cat
$ brew install srecord -
GCC ARM Embedded
When installing GCC tools, do not use "The Unarchiver". It messes up the symlinks for all of the binaries. Make sure to use "Archive Utility"
$ mv -f ~/Downloads/gcc-arm-none-eabi-4_9-2015q2 ~/projects/code/ $ ln -s ~/projects/code/gcc-arm-none-eabi-4_9-2015q2 /usr/local/gcc-arm-none-eabi-4_9-2015q2 -
./bin/nrfjprog.sh into /usr/local/bin/nrfjprog
$ make
$ make bootloader
$ make flash
$ ./bin/nrfjprog.sh --rtt
$ C:\Keil_v5\ARM\ARMCC\bin\fromelf.exe --bin --output Z:\remote\ble_peripheral\ble_app_template\pca10028\s110\arm5\_build\nrf51422_xxac_s110.bin Z:\remote\ble_peripheral\ble_app_template\pca10028\s110\arm5\_build\nrf51422_xxac_s110.axf

$ & 'C:\Program Files (x86)\Nordic Semiconductor\Master Control Panel\3.10.0.14\nrf\nrfutil.exe' dfu genpkg --sd-req 0xfffe --application Z:\remote\ble_peripheral\ble_app_template\pca10028\s110\arm5\_build\nrf51422_xxac_s110.bin --application-version 0x06 --dev-revision 0x01 Z:\remote\ble_peripheral\nrf51_06.zip
$ cp ../ble_peripheral/nrf51_*.zip ../../app/Turn\ Touch\ Mac/DFU/firmwares/
$ cp ../ble_peripheral/nrf51_*.zip ../../ios/Turn\ Touch\ iOS/DFU/
In Supporting Files/defaults.plist, change TT:firmware:version
$ mergehex -m Z:/remote/firmware/libs/components/softdevice/s110/hex/s110_nrf51_8.0.0_softdevice.hex Z:/remote/ble_peripheral/dfu/bootloader/pca10028/dual_bank_ble_s110/arm5/_build/nrf51422_xxac.hex Z:/remote/ble_peripheral/ble_app_template/pca10028/s110/arm5/_build/nrf51422_xxac_s110.hex -o Z:/remote/ble_peripheral/nrf51_sd_bootloader_app.hex
- Replace app_error.c with RTT logs
- Add BSP_BUTTON_ACTION_LONG_PUSH and BSP_BUTTON_ACTION_RELEASE to bsp.c
We would love you for the contribution to the Turn Touch remote firmware. Feel free to submit a Pull Request with the improvements or additions you've made.
Everything about Turn Touch is open source and well documented. Here are all of Turn Touch's repos:
- Turn Touch Mac OS app
- Turn Touch iOS app
- Turn Touch remote firmware and board layout
- Turn Touch enclosure, CAD, and CAM
The entire Turn Touch build process is also documented:
- Everything you need to build your own Turn Touch smart remote
- Step one: Laying out the buttons and writing the firmware
- Step two: Designing the remote to have perfect button clicks
- Step three: CNC machining and fixturing to accurately cut wood
- Step four: Inlaying the mother of pearl
Samuel Clay – @samuelclay – samuelclay.com
Distributed under the MIT license. See LICENSE for more information.


