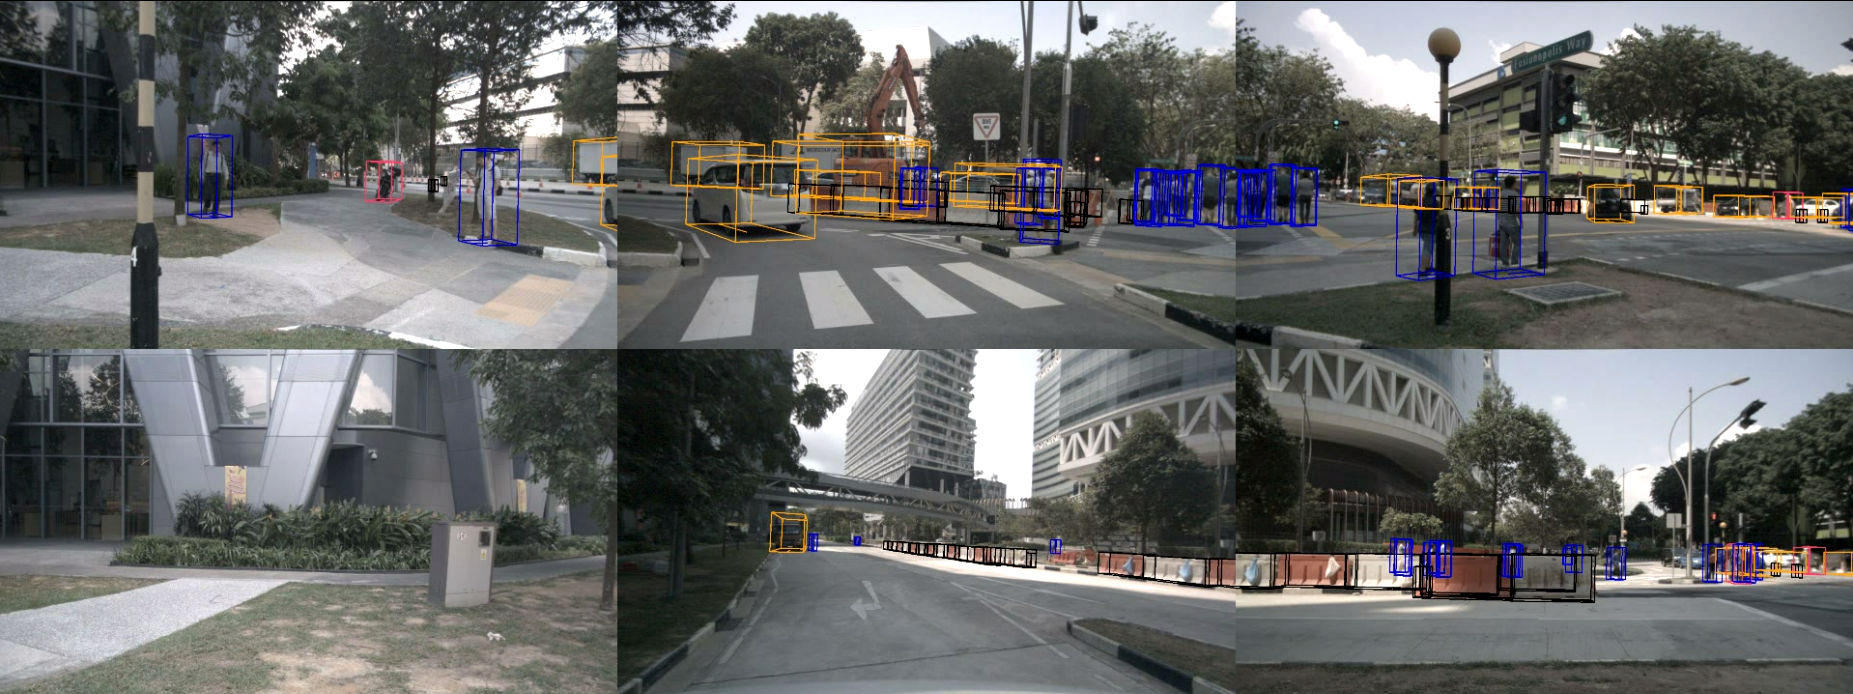
Welcome to the devkit of the nuScenes dataset.
- Changelog
- Dataset download
- Devkit setup
- Getting started
- Frequently asked questions
- Setting up a new virtual environment
- Nov. 21, 2018: RADAR filtering and multi sweep aggregation.
- Oct. 4, 2018: Code to parse RADAR data released.
- Sep. 12, 2018: Devkit for teaser dataset released.
To download nuScenes you need to go to the Download page,
create an account and confirm the nuScenes Terms of Use.
After logging in you will see multiple archives for images, pointclouds and meta data.
For the devkit to work you will need to download all archives.
Please unpack the archives to the /data/nuscenes folder *without* overwriting folders that occur in multiple archives.
Eventually you should have the following folder structure:
/data/nuscenes
    maps	-	Large image files (~500 Gigapixel) that depict the drivable surface and sidewalks in the scene.
    samples	-	Sensor data for keyframes.
    sweeps	-	Sensor data for intermediate frames.
    v0.1	-	JSON tables that include all the meta data and annotations.
If you want to use another folder, specify the dataroot parameter of the NuScenes class below.
Download the devkit to your home directory using:
cd && git clone https://github.com/nutonomy/nuscenes-devkit.git
The devkit is tested for Python 3.7. To install Python 3.7 and set up a new virtual environment, you can look at these instructions. To install the required packages, run the following command in your favourite virtual environment:
pip install -r requirements.txt
Also add the python-sdk directory to your PYTHONPATH environmental variable, e.g. by adding the
following to your ~/.virtualenvs/nuscenes/bin/postactivate (virtual environment) or ~/.bashrc (global):
export PYTHONPATH="${PYTHONPATH}:$HOME/nuscenes-devkit/python-sdk"
To get started with the nuScenes devkit, please run the tutorial as an IPython notebook:
jupyter notebook $HOME/nuscenes-devkit/python-sdk/tutorial.ipynb
In case you want to avoid downloading and setting up the data, you can also take a look at the same notebook on Github. To learn more about the dataset, go to nuScenes.org or take a look at the database schema and annotator instructions.
-
How come some objects visible in the camera images are not annotated? In the annotator instructions we specify that an object should only be annotated if it is covered by at least one LIDAR point. This is done to have precise location annotations, speedup the annotation process and remove faraway objects.
-
I have found an incorrect annotation. Can you correct it? Please make sure that the annotation is indeed incorrect according to the annotator instructions. Then send an email to nuScenes@nutonomy.com.
-
How can I use the RADAR data? We recently added features to parse and visualize RADAR point-clouds. More visualization tools will follow.
-
Why are there less sample pointclouds than samples? See this issue. Scenes 169 and 170 overlap and going forward we will remove scene 169.
It is recommended to install the devkit in a new virtual environment. Here are the steps you can follow to create one:
If you don't have Python 3.7 on your system, you can use the following steps to install it.
Ubuntu:
sudo add-apt-repository ppa:deadsnakes/ppa
sudo apt-get update
sudo apt-get install python3.7
Mac OS: Download from https://www.python.org/downloads/mac-osx/ and install.
pip install virtualenvwrapper
Add these two lines to ~/.bashrc (~/.bash_profile on MAC OS) to set the location where the virtual environments
should live and the location of the script installed with this package:
export WORKON_HOME=$HOME/.virtualenvs
source [VIRTUAL_ENV_LOCATION]
Replace [VIRTUAL_ENV_LOCATION] with either /usr/local/bin/virtualenvwrapper.sh or ~/.local/bin/virtualenvwrapper.sh
depending on where it is installed on your system.
After editing it, reload the shell startup file by running e.g. source ~/.bashrc.
mkvirtualenv nuscenes --python [PYTHON_BINARIES]
PYTHON_BINARIES are typically at either /usr/local/bin/python3.7 or /usr/bin/python3.7.
If you are inside the virtual environment, your shell prompt should look like: (nuscenes) user@computer:~$
If that is not the case, you can enable the virtual environment using:
workon nuscenes
To deactivate the virtual environment, use:
deactivate

