VISIT THE SITE LIVE
Welcome to 🗞 Coder News 🗞 - a blog designed with the developer in mind.
⚙️ Purpose: On the surface, this blog looks like any other functioning site for a blogger. The difference is in the setup! This blog is designed with the Gatsby MDX Plugin. This expands the opportunity for a developer to incorporate JSX within the markdown.
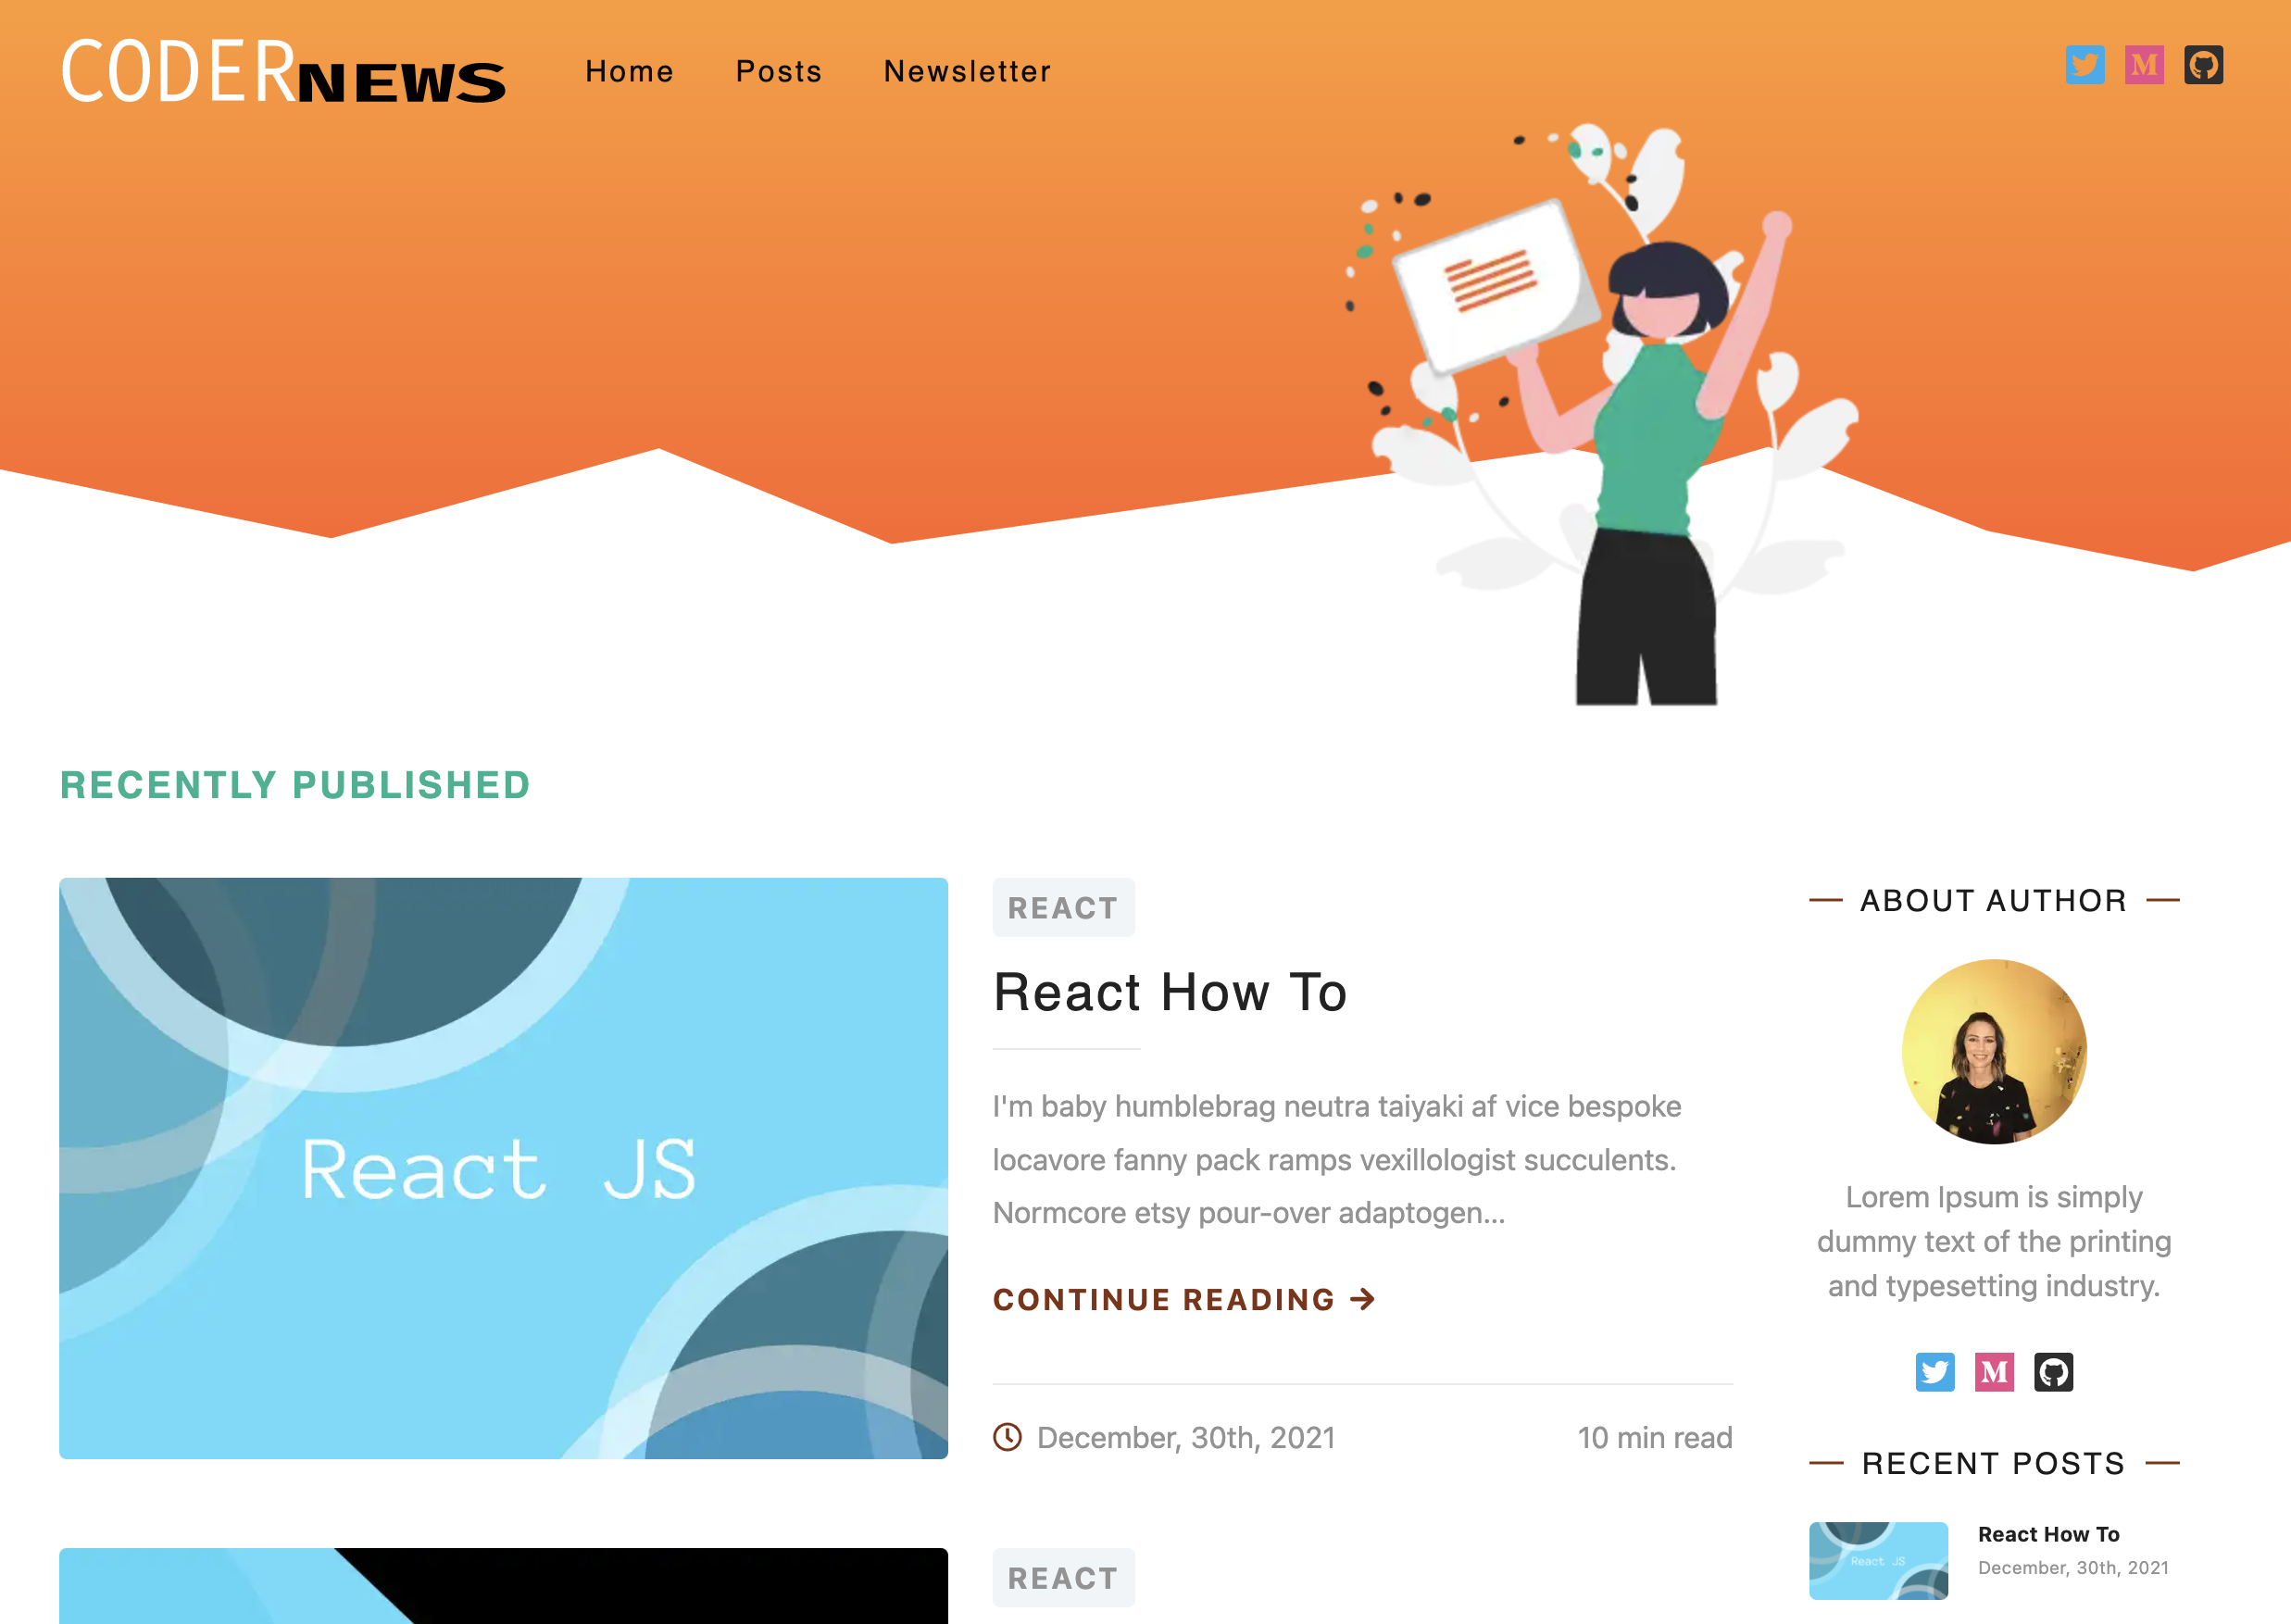
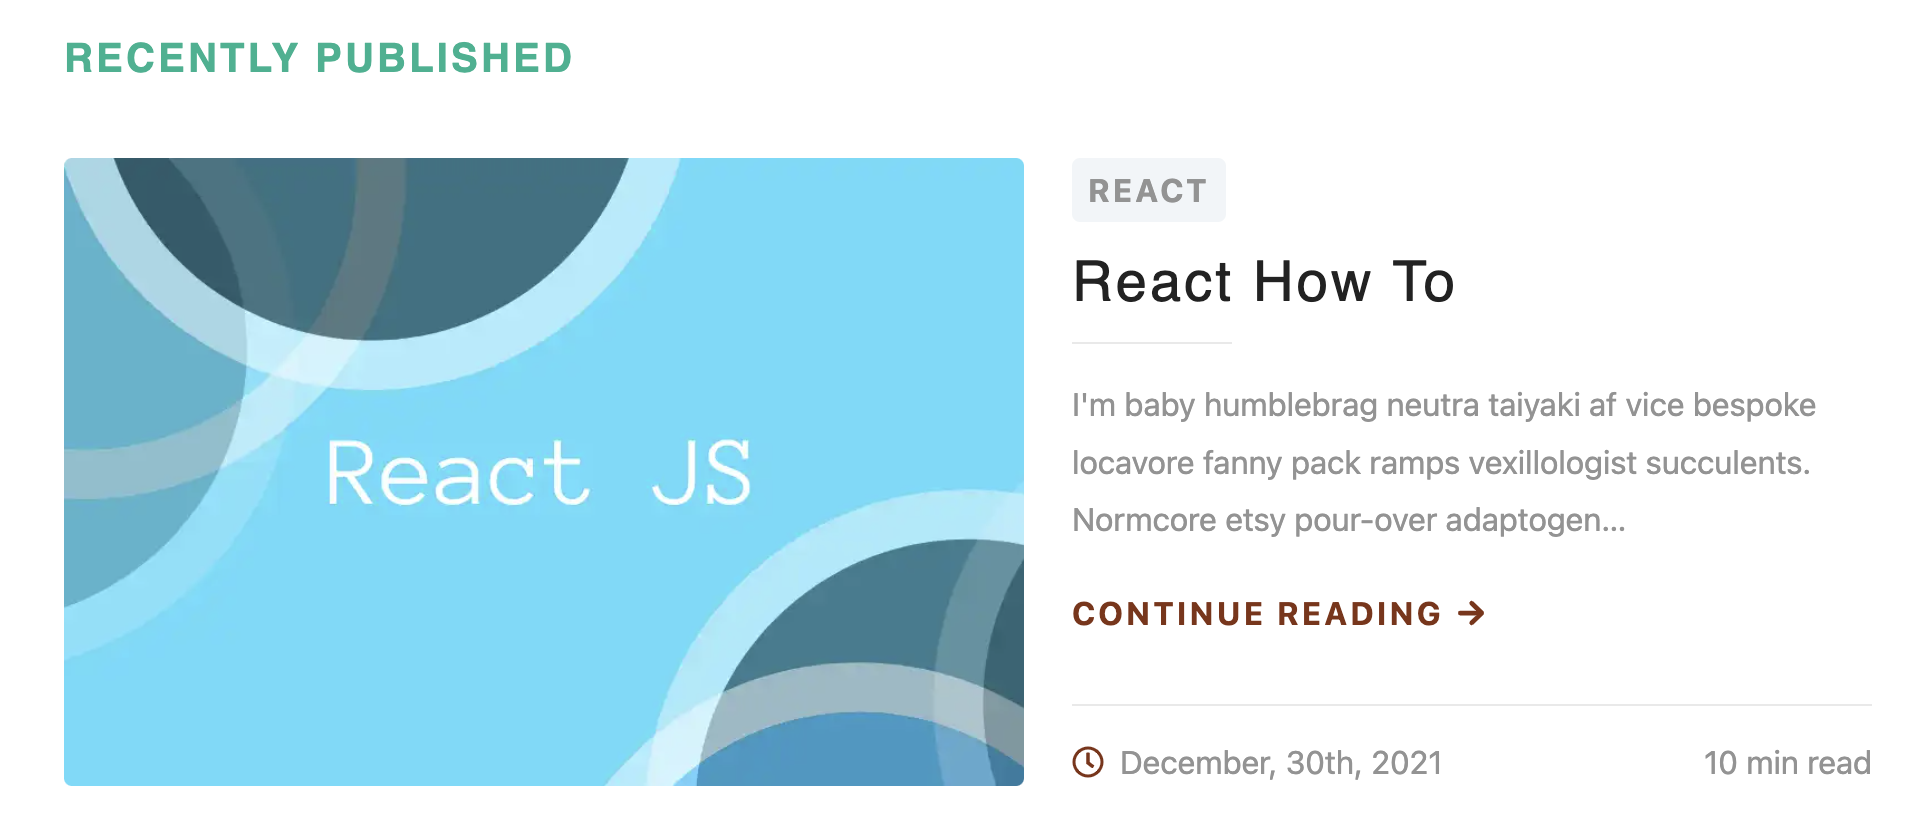
⚙️ Blog View: The home screen is retrieving data on three posts, based on publish DATE. This quick view is organized to retrieve quick information about the posts, such as an EXCERPT, the CATEGORY, the estimated READ TIME, and provides a LINK for further reading.
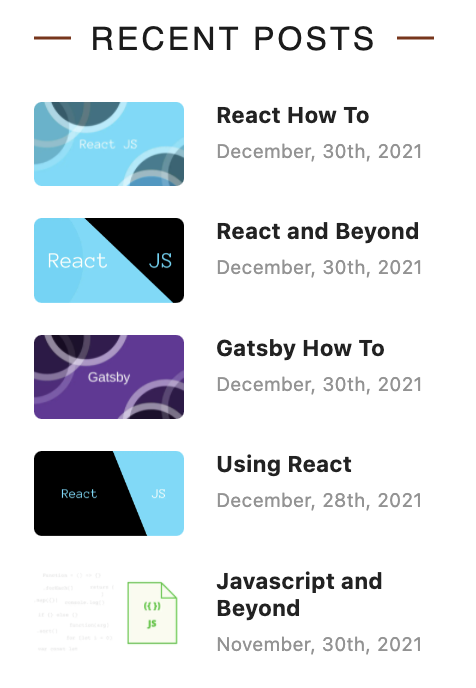
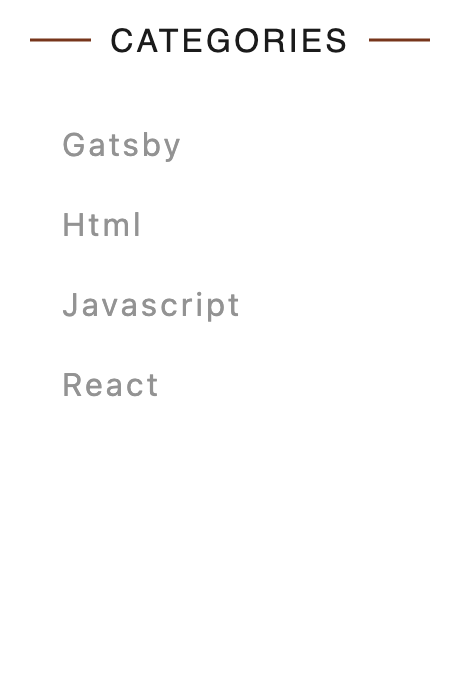
⚙️ A Quick Glance: In the above screenshot, you can see the sophistication of the layout. These side components on the home page retrieve POSTS data to offer the user two different avenues for viewing content - RECENT POSTS that give the viewer a little sneak preview on five of the most recent posts, and CATEGORIES that filter the posts based on the assigned category.
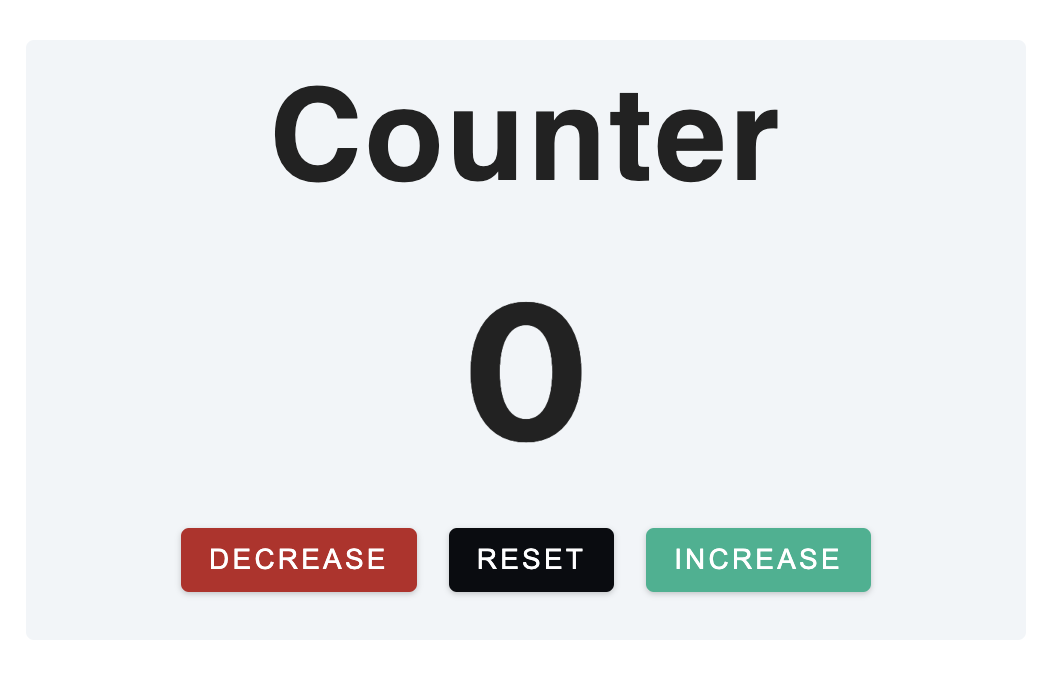
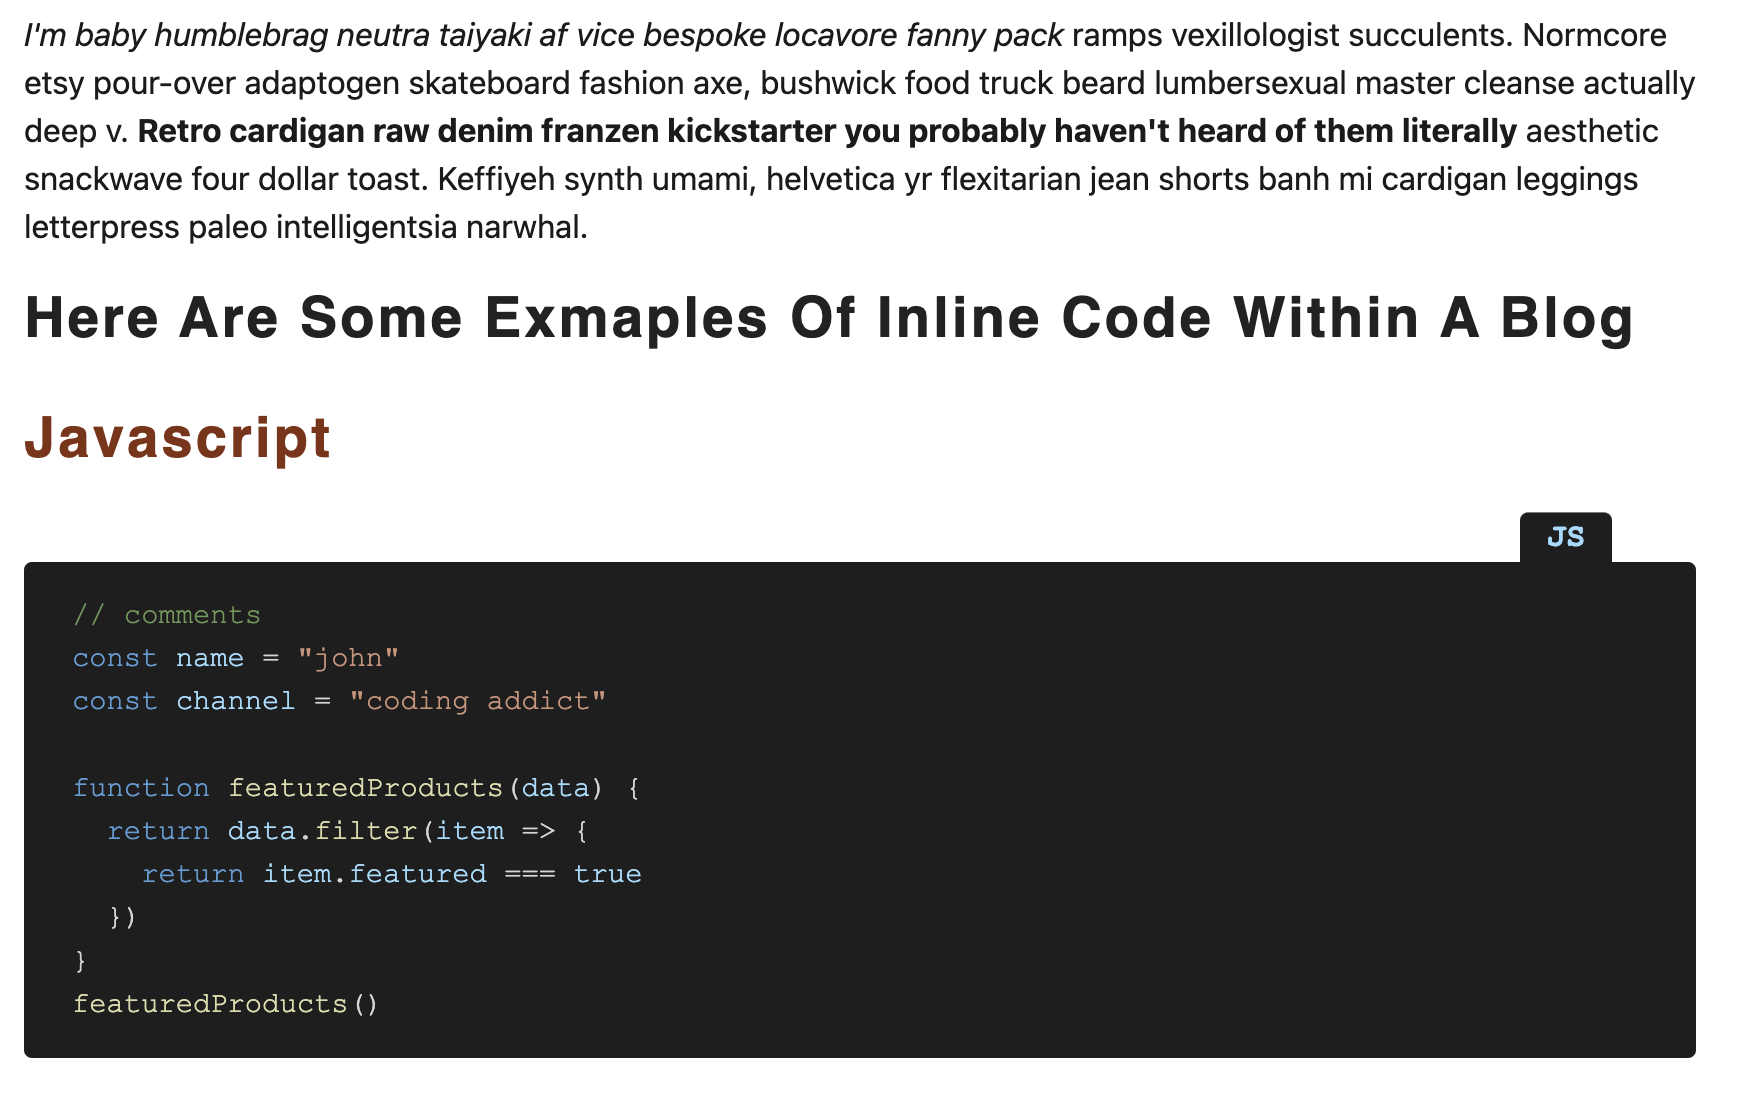
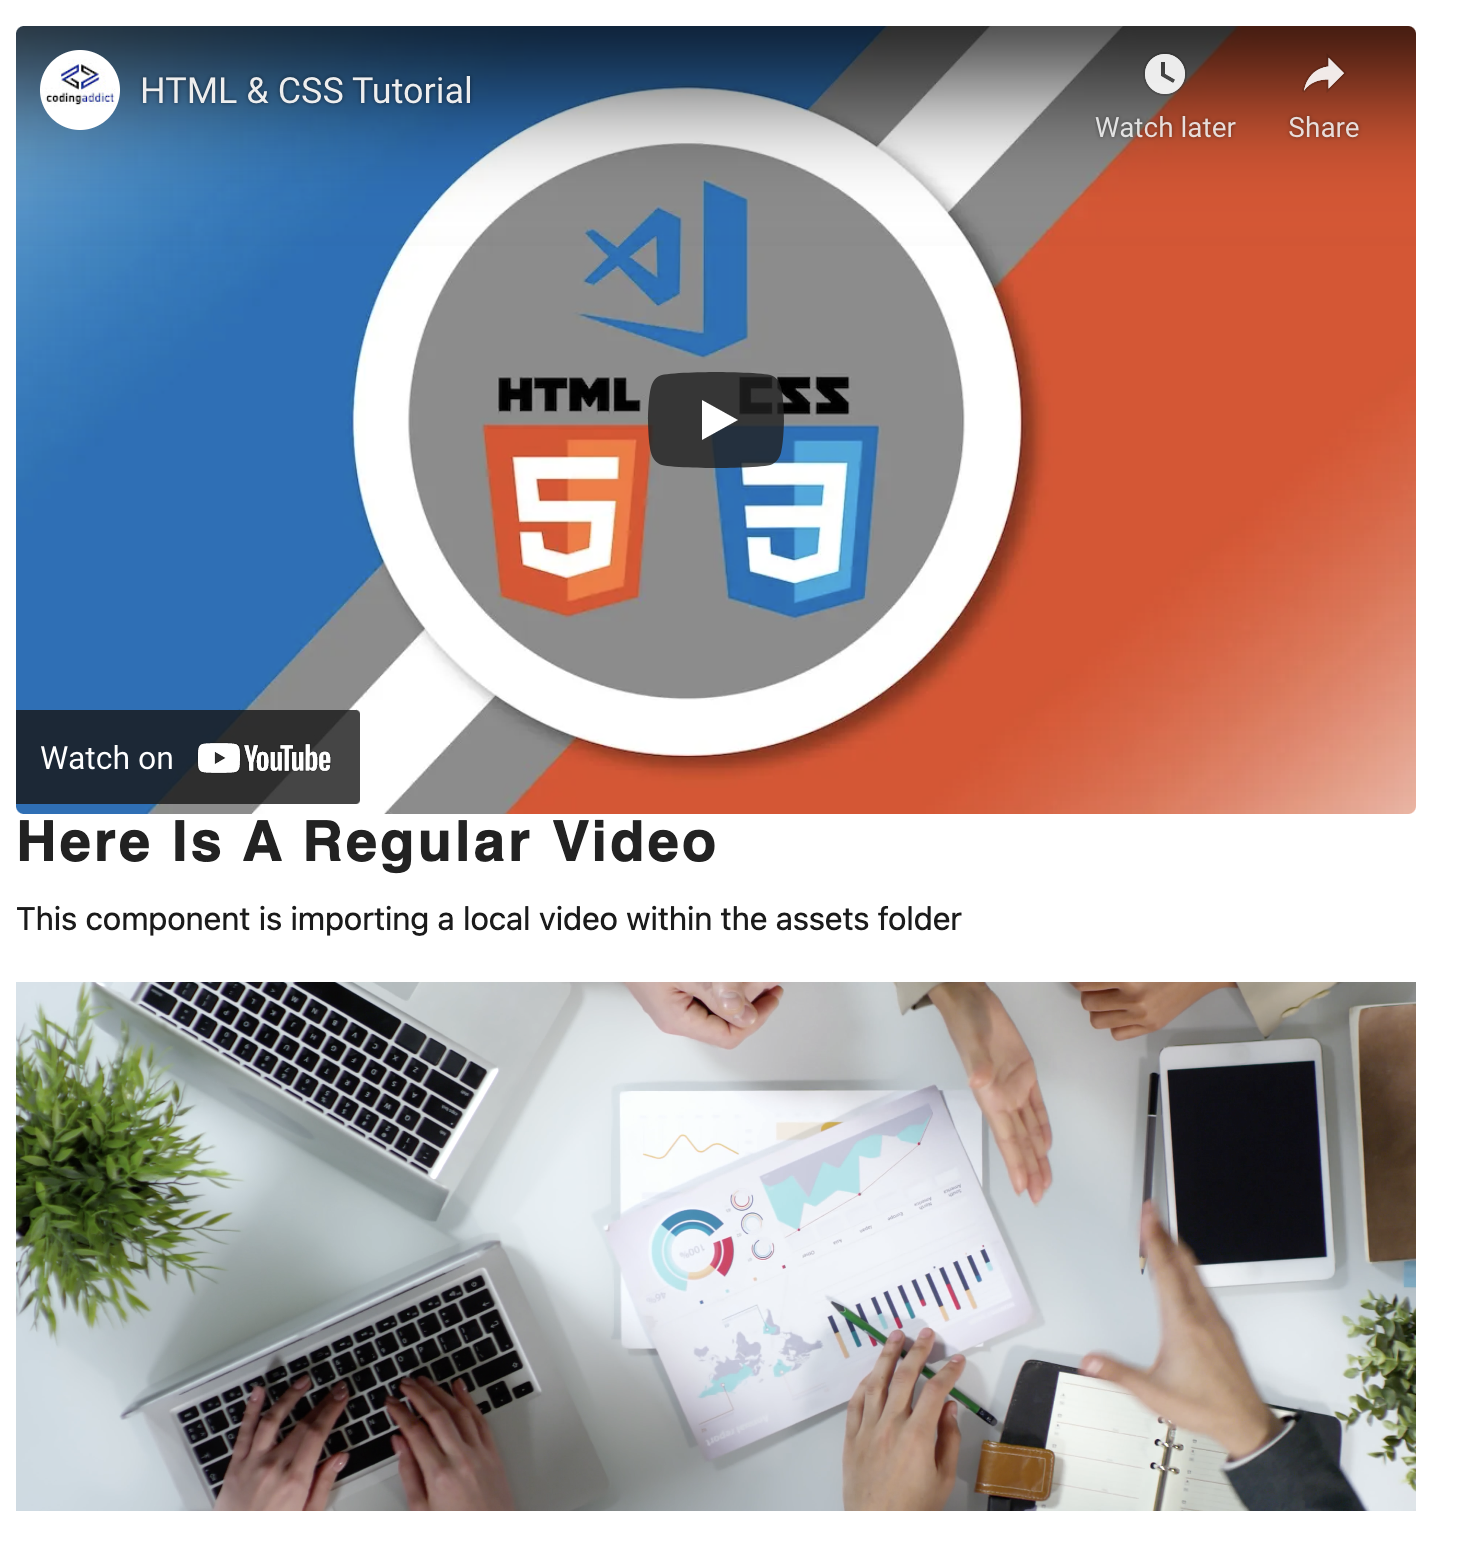
⚙️ POSTS: A click on a post will bring you to a dynamic template that lists the full content for that post. Posts contain examples of either React components incorporated into the blog, or an example of global styling that has been incorporated within the root-mdx.js file.
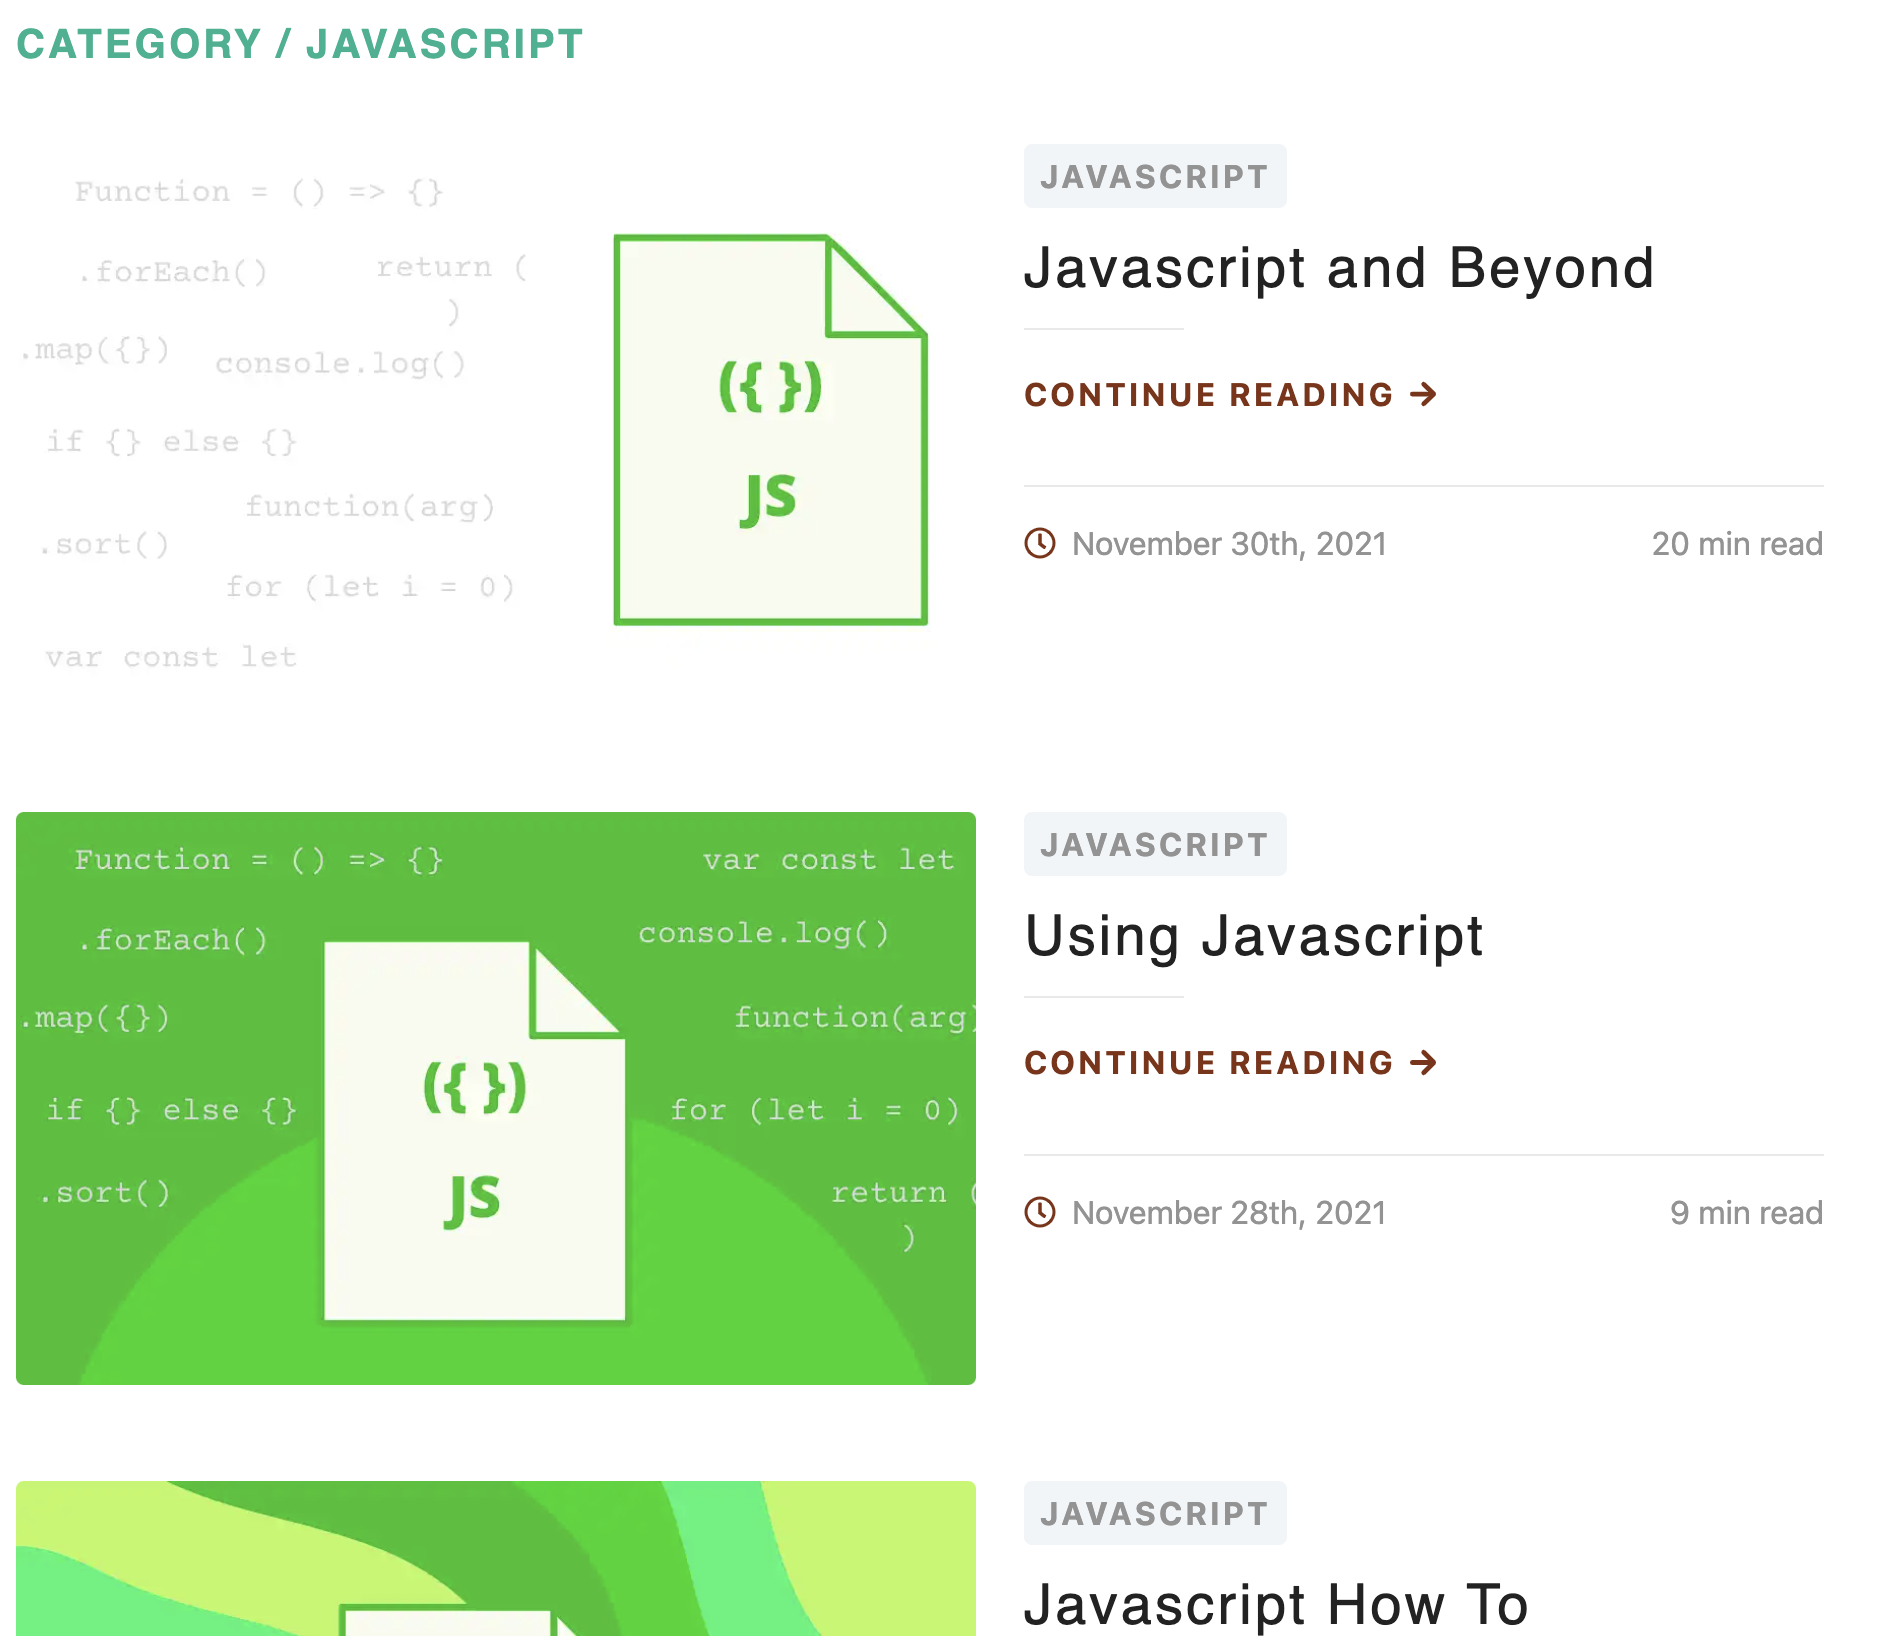
⚙️ Categories: A click on a category will bring you to a dynamic template that lists only posts within that specific category. Similar to the home page layout, the template is retrieving a blog IMAGE, TITLE, associated CATEGORY, and a LINK for continued reading.
⚙️ Other Pages: Feel free to try out the NEWSLETTER submission form. This utilizes Netlify Forms to execute the action method and to keep a record of each submission entry.
🗞 Coder News 🗞 is made possible by utilizing the Javascript library, REACT, combined with the sophistication of the framework, GATSBY - a powerful static site generator.
🗞 Coder News 🗞 communicates with the data by utilizing the query language, GraphQL. Components throughout the project invoke queries requesting specific data objects that then get destructured and called to render iterated lists of information.
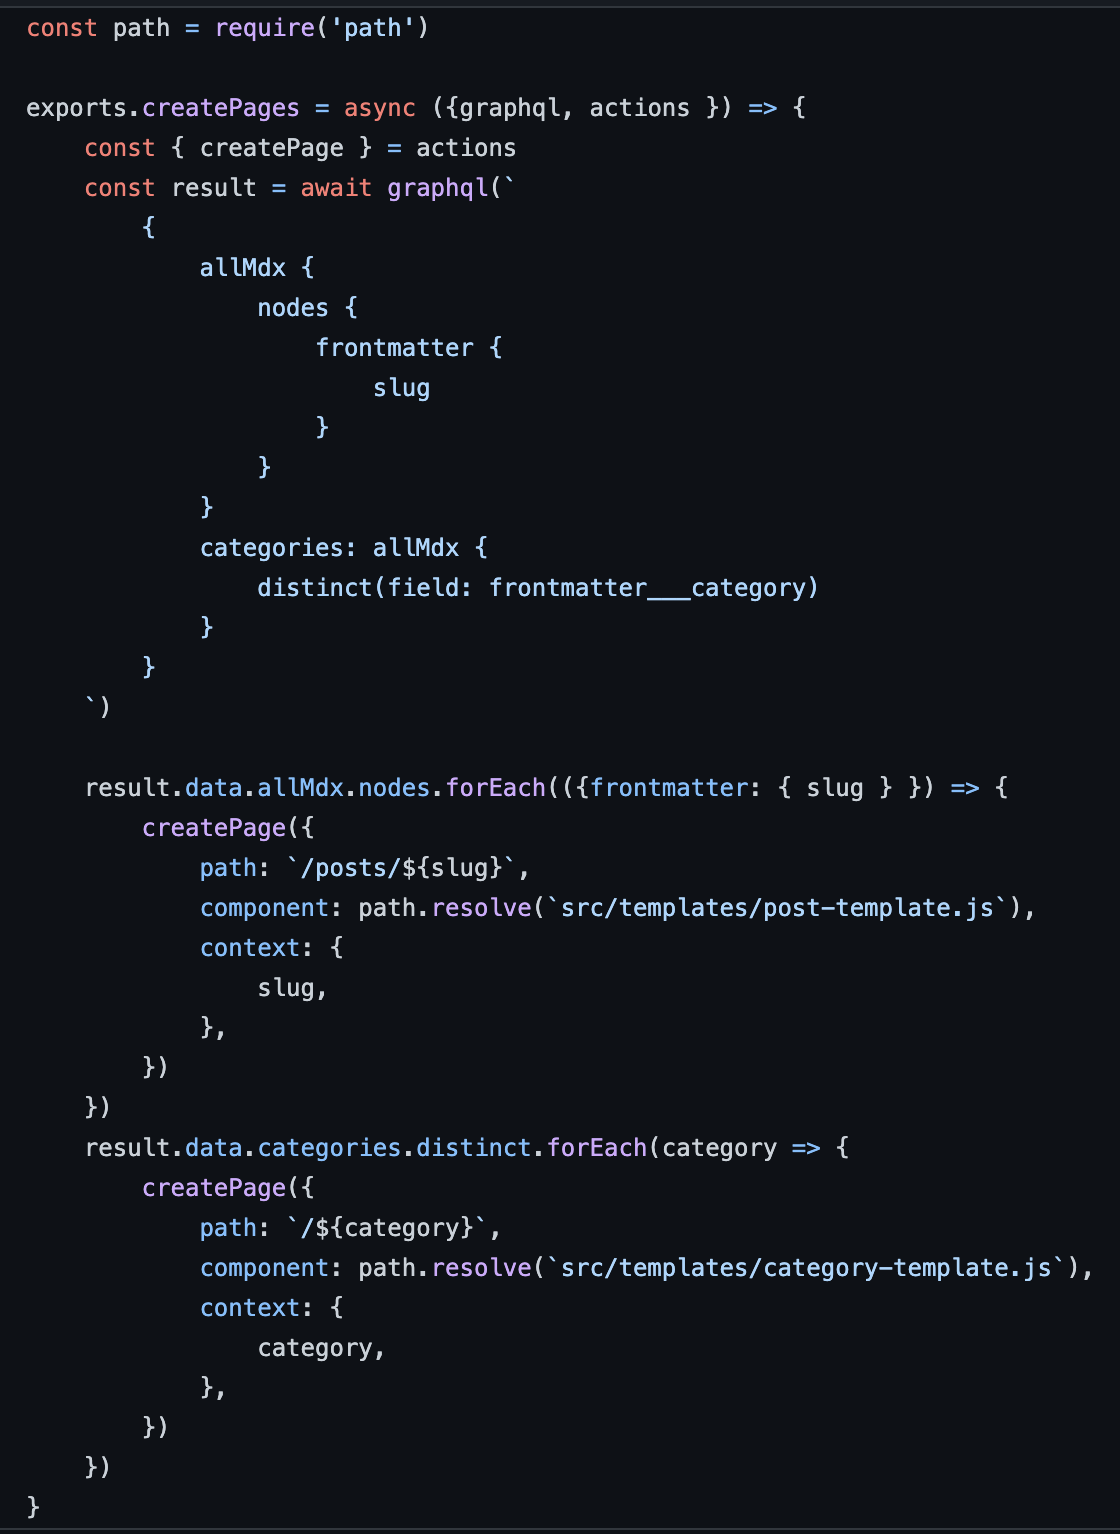
This project is integrated with the Gatsby Node API in order to create the POSTS and CATEGORIES pages. This execution will insert the newly created pages into the schema, which then creates pages for the frontend and for running queries within components.
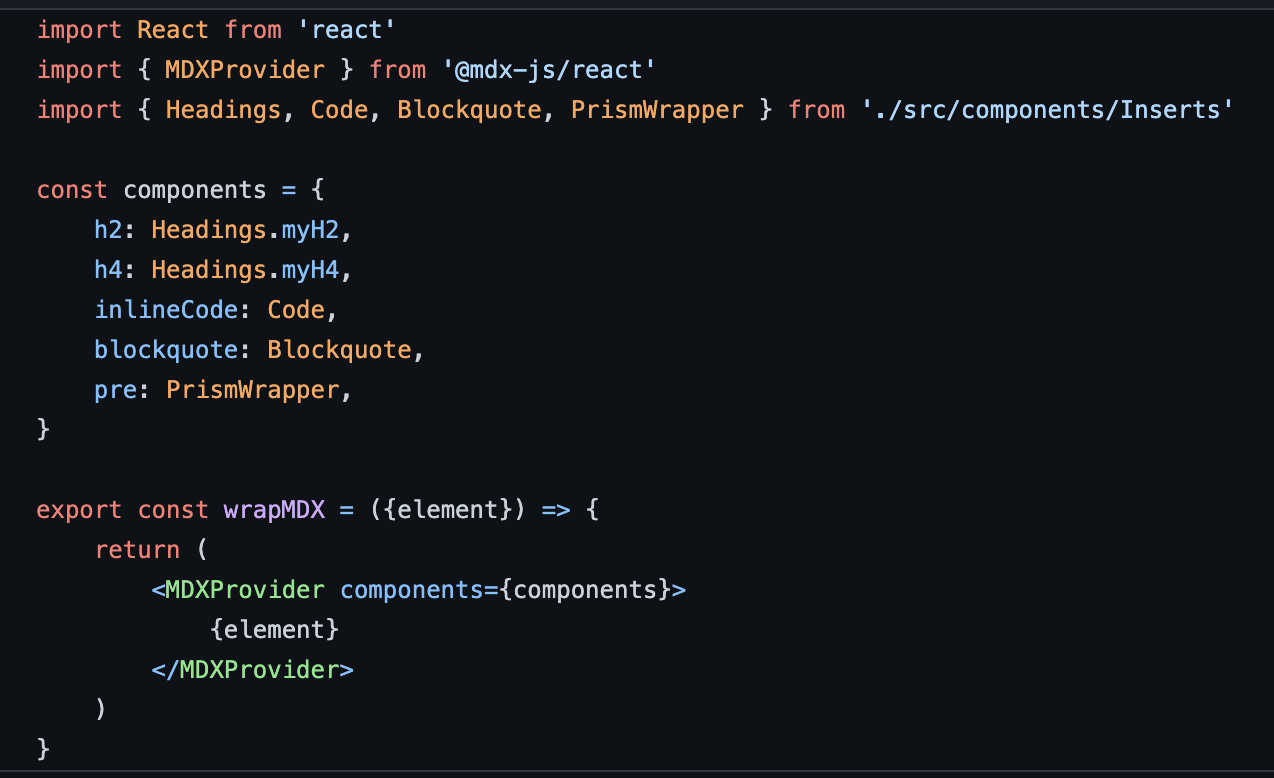
To give the blog developer flexibility, the Gatsby MDX plugin was utilized for this project. This allows MDX pages to embed JSX within the markdown (hence the MDXProvider export), and to provide a more interactive blog post for the user.
The Gatsby MDX plugin was also used to incorporate global styling for a few HTML elements within this project, such as h2, h4, inlineCode, blockquote and pre.
🗞 Coder News 🗞 is connected to the web hosting infrastructure, Netlify. Through this project's Github repository, Netlify selects the best CDN and distributes the content on its own microservices. This creates a pre-built, faster loading website.
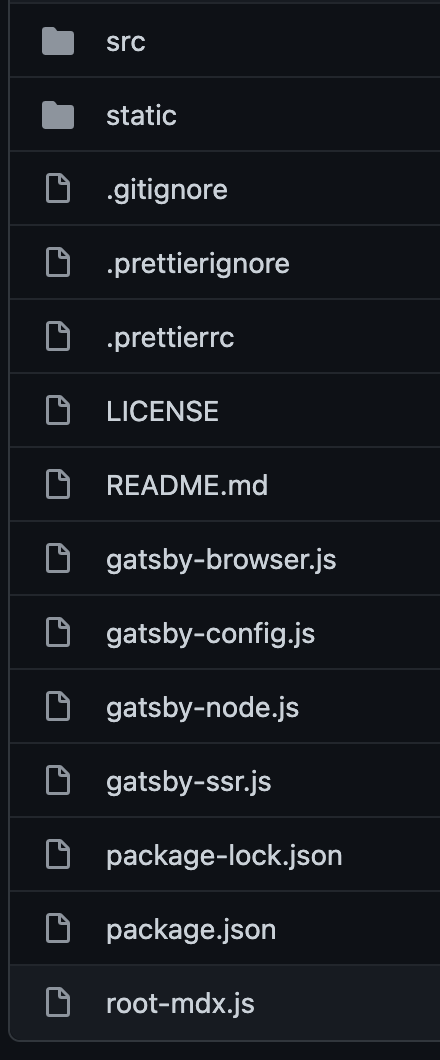
⚙️ Where to Go from Here: Freely explore all files within the folders and files in the Github repo. If so inclined, feel free to clone this repository. Be sure to install all dependencies. All example posts are included within this project.
Kick off your project with this hello-world boilerplate. This starter ships with the main Gatsby configuration files you might need to get up and running blazing fast with the blazing fast app generator for React.
Have another more specific idea? You may want to check out our vibrant collection of official and community-created starters.
-
Create a Gatsby site.
Use the Gatsby CLI (install instructions) to create a new site, specifying the hello-world starter.
# create a new Gatsby site using the hello-world starter gatsby new my-hello-world-starter https://github.com/gatsbyjs/gatsby-starter-hello-world -
Start developing.
Navigate into your new site’s directory and start it up.
cd my-hello-world-starter/ gatsby develop -
Open the source code and start editing!
Your site is now running at
http://localhost:8000!Note: You'll also see a second link:
http://localhost:8000/___graphql. This is a tool you can use to experiment with querying your data. Learn more about using this tool in the Gatsby Tutorial.Open the
my-hello-world-starterdirectory in your code editor of choice and editsrc/pages/index.js. Save your changes and the browser will update in real time!
Deploy this starter with one click on Gatsby Cloud:
A quick look at the top-level files and directories you'll see in a Gatsby project.
.
├── node_modules
├── src
├── .gitignore
├── .prettierrc
├── gatsby-browser.js
├── gatsby-config.js
├── gatsby-node.js
├── gatsby-ssr.js
├── LICENSE
├── package-lock.json
├── package.json
└── README.md
-
/node_modules: This directory contains all of the modules of code that your project depends on (npm packages) are automatically installed. -
/src: This directory will contain all of the code related to what you will see on the front-end of your site (what you see in the browser) such as your site header or a page template.srcis a convention for “source code”. -
.gitignore: This file tells git which files it should not track / not maintain a version history for. -
.prettierrc: This is a configuration file for Prettier. Prettier is a tool to help keep the formatting of your code consistent. -
gatsby-browser.js: This file is where Gatsby expects to find any usage of the Gatsby browser APIs (if any). These allow customization/extension of default Gatsby settings affecting the browser. -
gatsby-config.js: This is the main configuration file for a Gatsby site. This is where you can specify information about your site (metadata) like the site title and description, which Gatsby plugins you’d like to include, etc. (Check out the config docs for more detail). -
gatsby-node.js: This file is where Gatsby expects to find any usage of the Gatsby Node APIs (if any). These allow customization/extension of default Gatsby settings affecting pieces of the site build process. -
gatsby-ssr.js: This file is where Gatsby expects to find any usage of the Gatsby server-side rendering APIs (if any). These allow customization of default Gatsby settings affecting server-side rendering. -
LICENSE: This Gatsby starter is licensed under the 0BSD license. This means that you can see this file as a placeholder and replace it with your own license. -
package-lock.json(Seepackage.jsonbelow, first). This is an automatically generated file based on the exact versions of your npm dependencies that were installed for your project. (You won’t change this file directly). -
package.json: A manifest file for Node.js projects, which includes things like metadata (the project’s name, author, etc). This manifest is how npm knows which packages to install for your project. -
README.md: A text file containing useful reference information about your project.
Looking for more guidance? Full documentation for Gatsby lives on the website. Here are some places to start:
-
For most developers, we recommend starting with our in-depth tutorial for creating a site with Gatsby. It starts with zero assumptions about your level of ability and walks through every step of the process.
-
To dive straight into code samples, head to our documentation. In particular, check out the Guides, API Reference, and Advanced Tutorials sections in the sidebar.
Build, Deploy, and Host On The Only Cloud Built For Gatsby
Gatsby Cloud is an end-to-end cloud platform specifically built for the Gatsby framework that combines a modern developer experience with an optimized, global edge network.
