-
-
Notifications
You must be signed in to change notification settings - Fork 16.3k
New issue
Have a question about this project? Sign up for a free GitHub account to open an issue and contact its maintainers and the community.
By clicking “Sign up for GitHub”, you agree to our terms of service and privacy statement. We’ll occasionally send you account related emails.
Already on GitHub? Sign in to your account
Differentiate between normal banner and LED banner #2647
Comments
|
@Auth0rM0rgan if a person is able to perform the detection task then YOLO should be able to as well, given a sufficiently large and well labelled dataset. I'll post you our general recommendations for training that go into more detail on best practices. 👋 Hello! Thanks for asking about improving training results. Most of the time good results can be obtained with no changes to the models or training settings, provided your dataset is sufficiently large and well labelled. If at first you don't get good results, there are steps you might be able to take to improve, but we always recommend users first train with all default settings before considering any changes. This helps establish a performance baseline and spot areas for improvement. If you have questions about your training results we recommend you provide the maximum amount of information possible if you expect a helpful response, including results plots (train losses, val losses, P, R, mAP), PR curve, confusion matrix, training mosaics, test results and dataset statistics images such as labels.png. All of these are located in your We've put together a full guide for users looking to get the best results on their YOLOv5 trainings below. Dataset
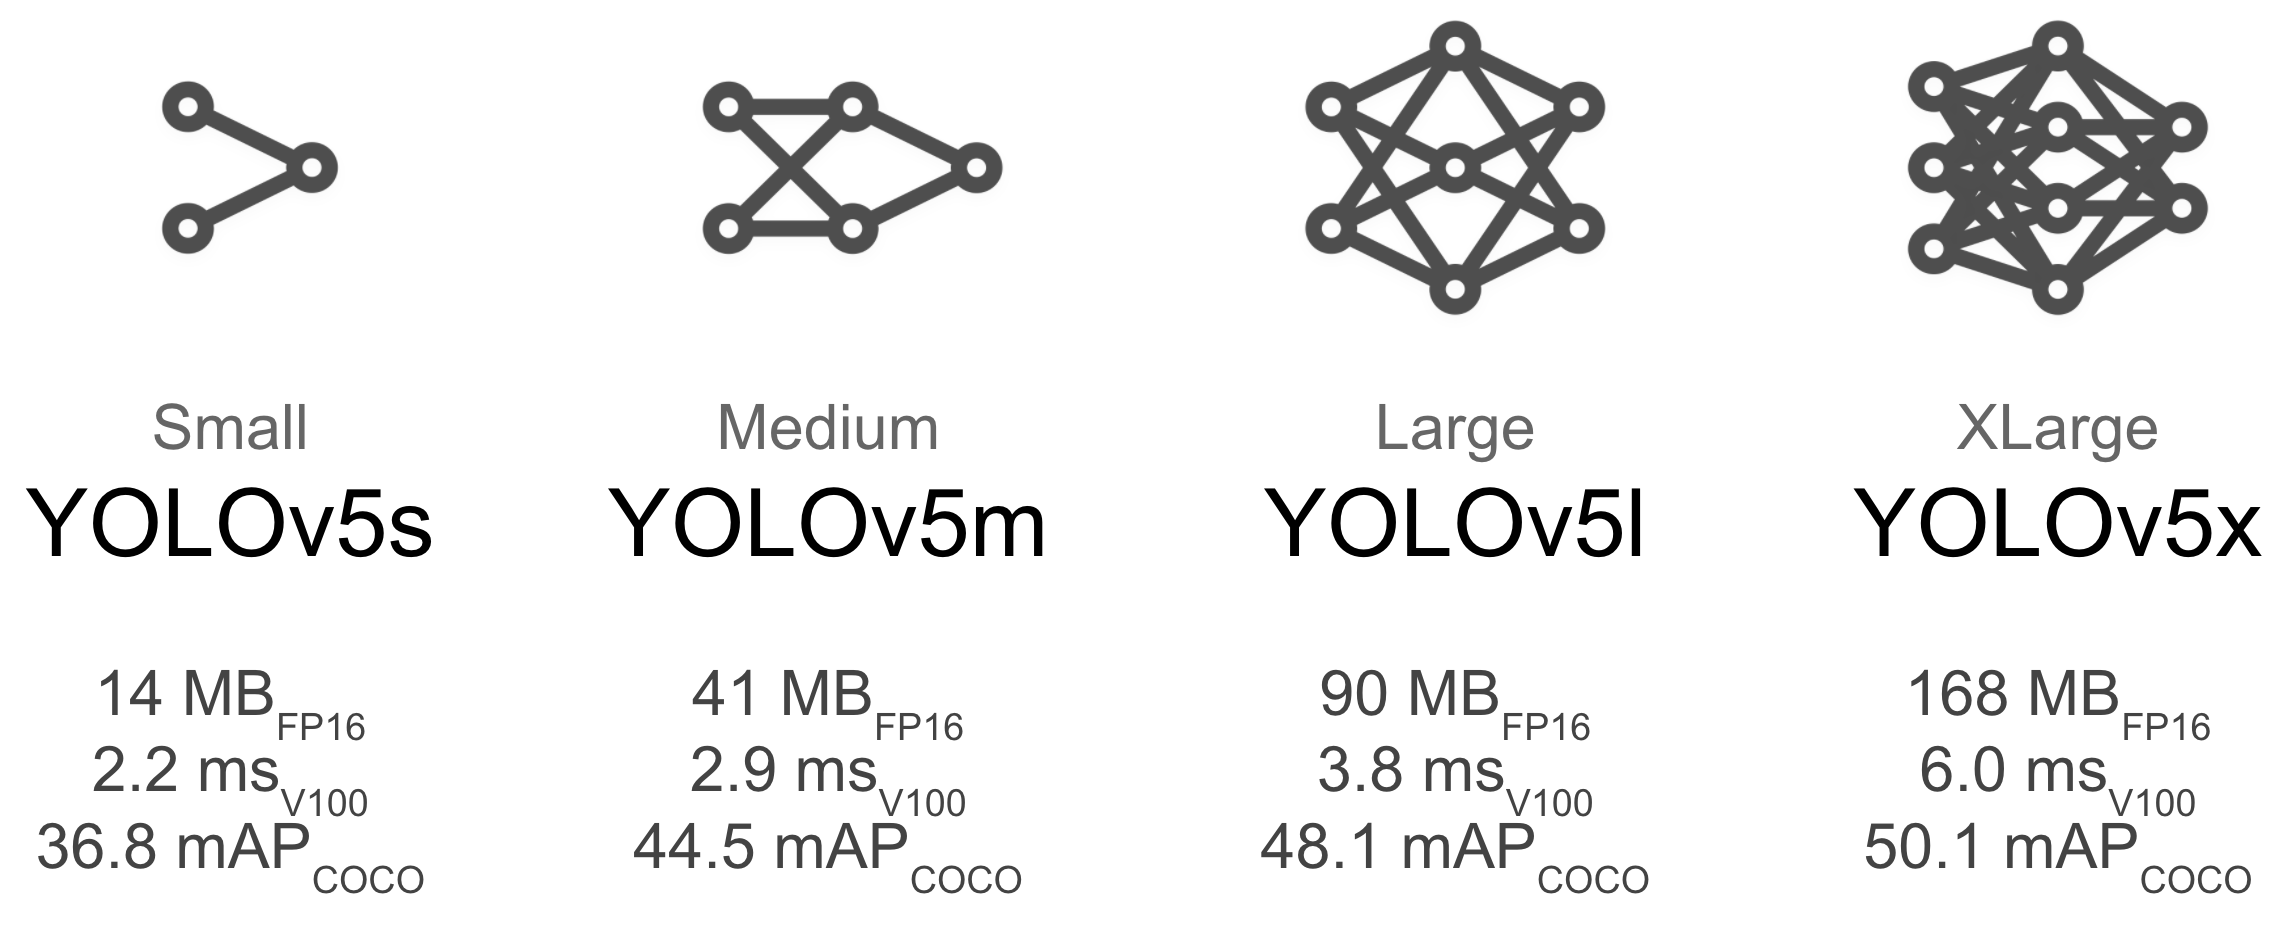
Model SelectionLarger models like YOLOv5x will produce better results in nearly all cases, but have more parameters and are slower to run. For mobile applications we recommend YOLOv5s/m, for cloud or desktop applications we recommend YOLOv5l/x. See our README table for a full comparison of all models. To start training from pretrained weights simply pass the name of the model to the python train.py --data custom.yaml --weights yolov5s.pt
yolov5m.pt
yolov5l.pt
yolov5x.ptTraining SettingsBefore modifying anything, first train with default settings to establish a performance baseline. A full list of train.py settings can be found in the train.py argparser.
Further ReadingIf you'd like to know more a good place to start is Karpathy's 'Recipe for Training Neural Networks', which has great ideas for training that apply broadly across all ML domains: |


Hello @glenn-jocher,
I'm using Yolo for detecting the object that I'm interested in and it works great! Now I need to distinguish between normal banner and LED banner as shown in the below image but I don't know how to do it. do you have any suggestions?
I thought of creating a dataset for that but it's not possible because they are more or less the same and there will be a lot of false detection.
Thanks in advance!
The text was updated successfully, but these errors were encountered: