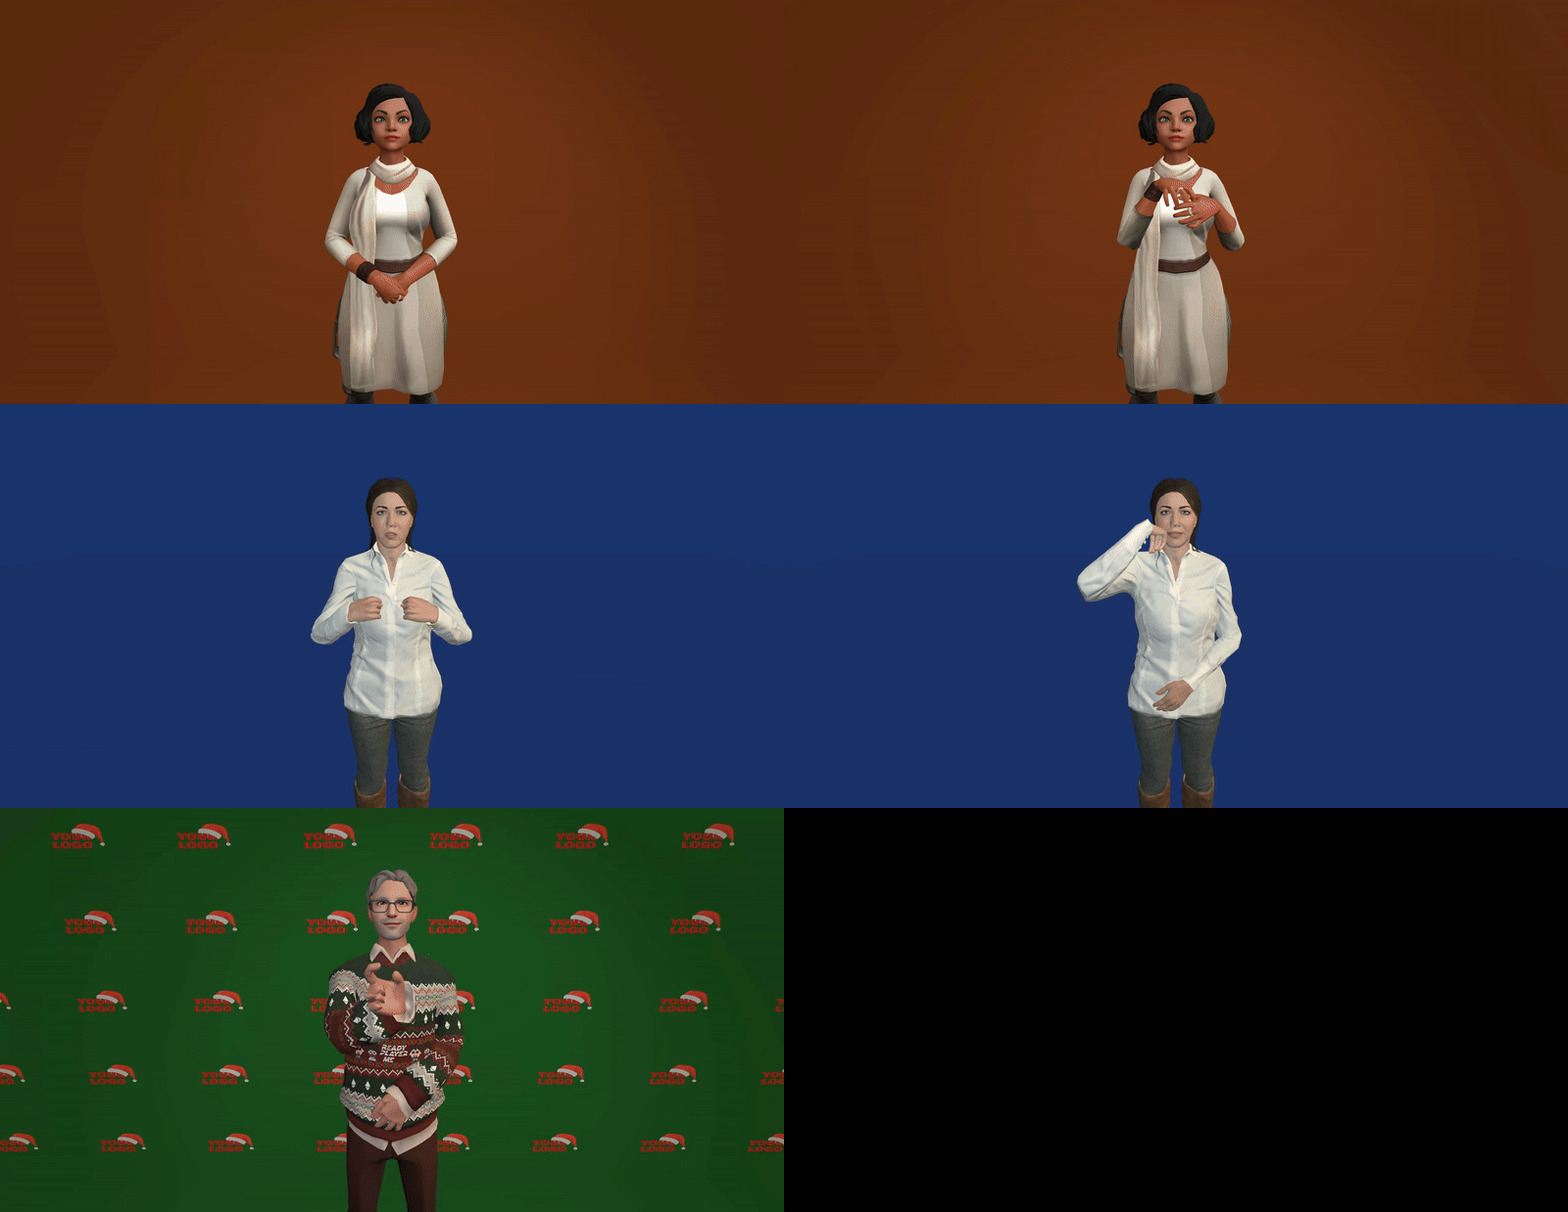
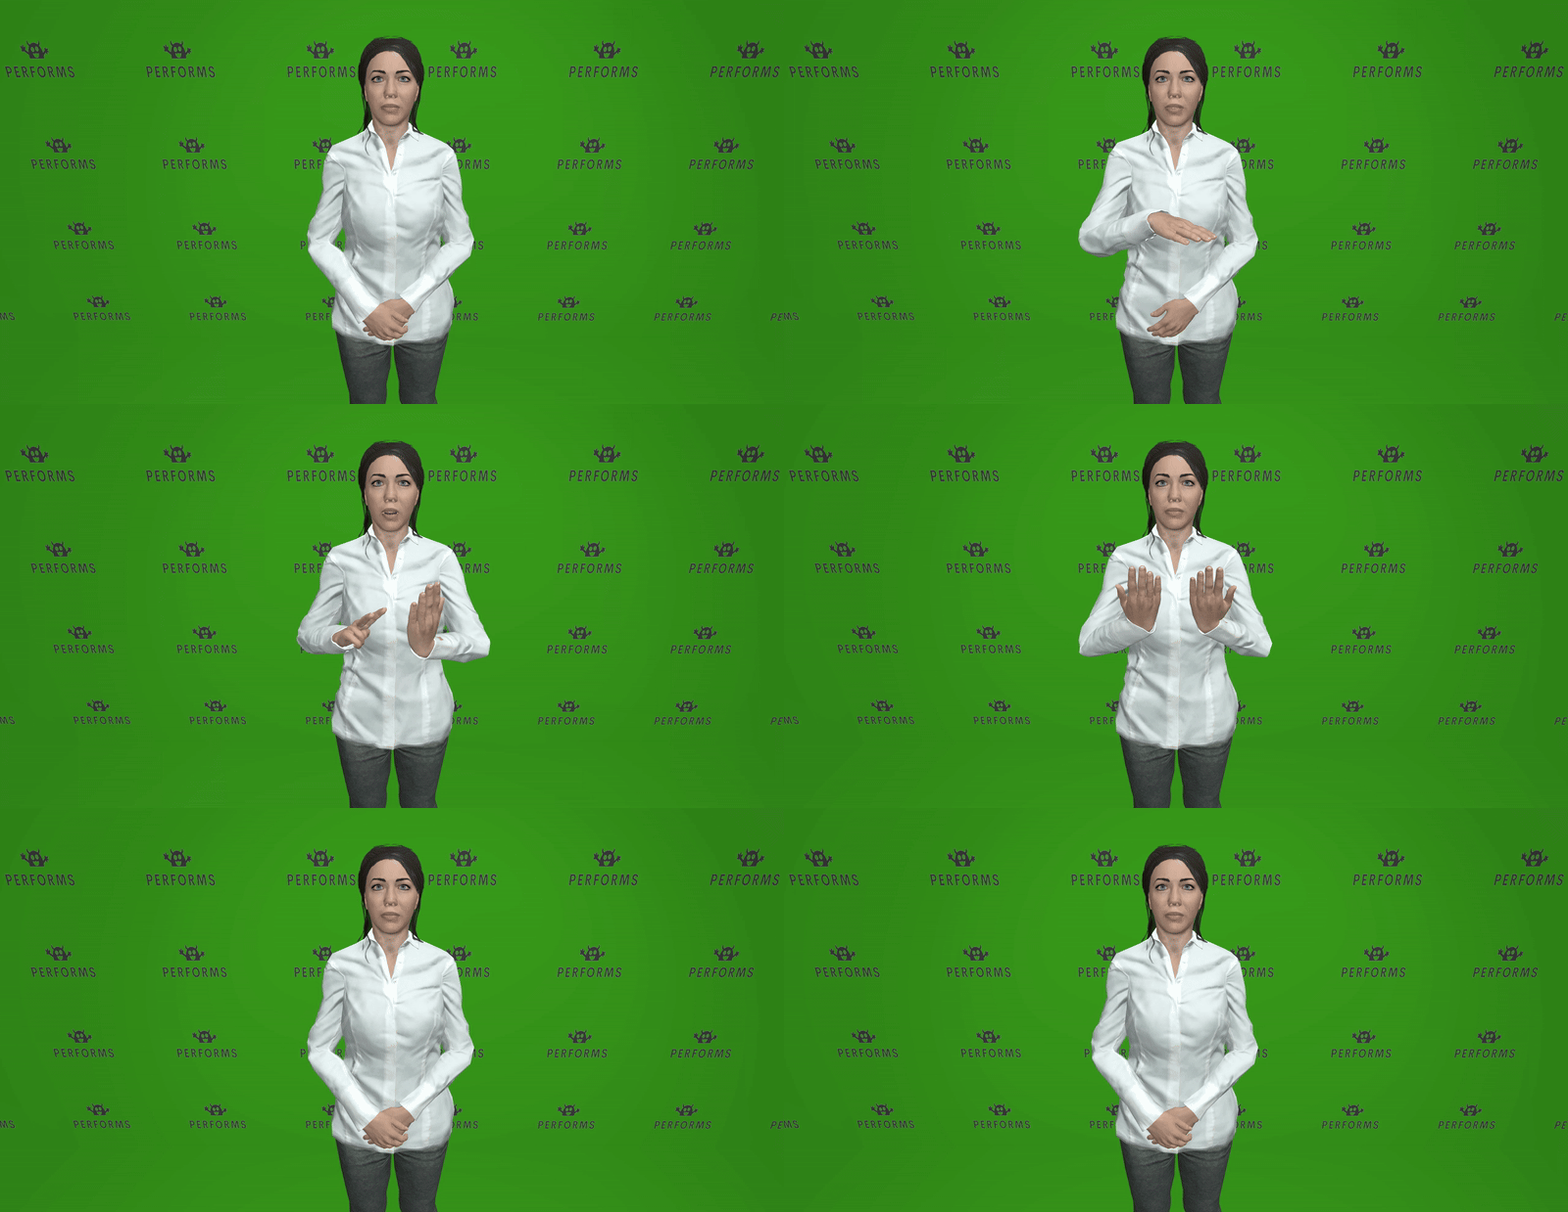
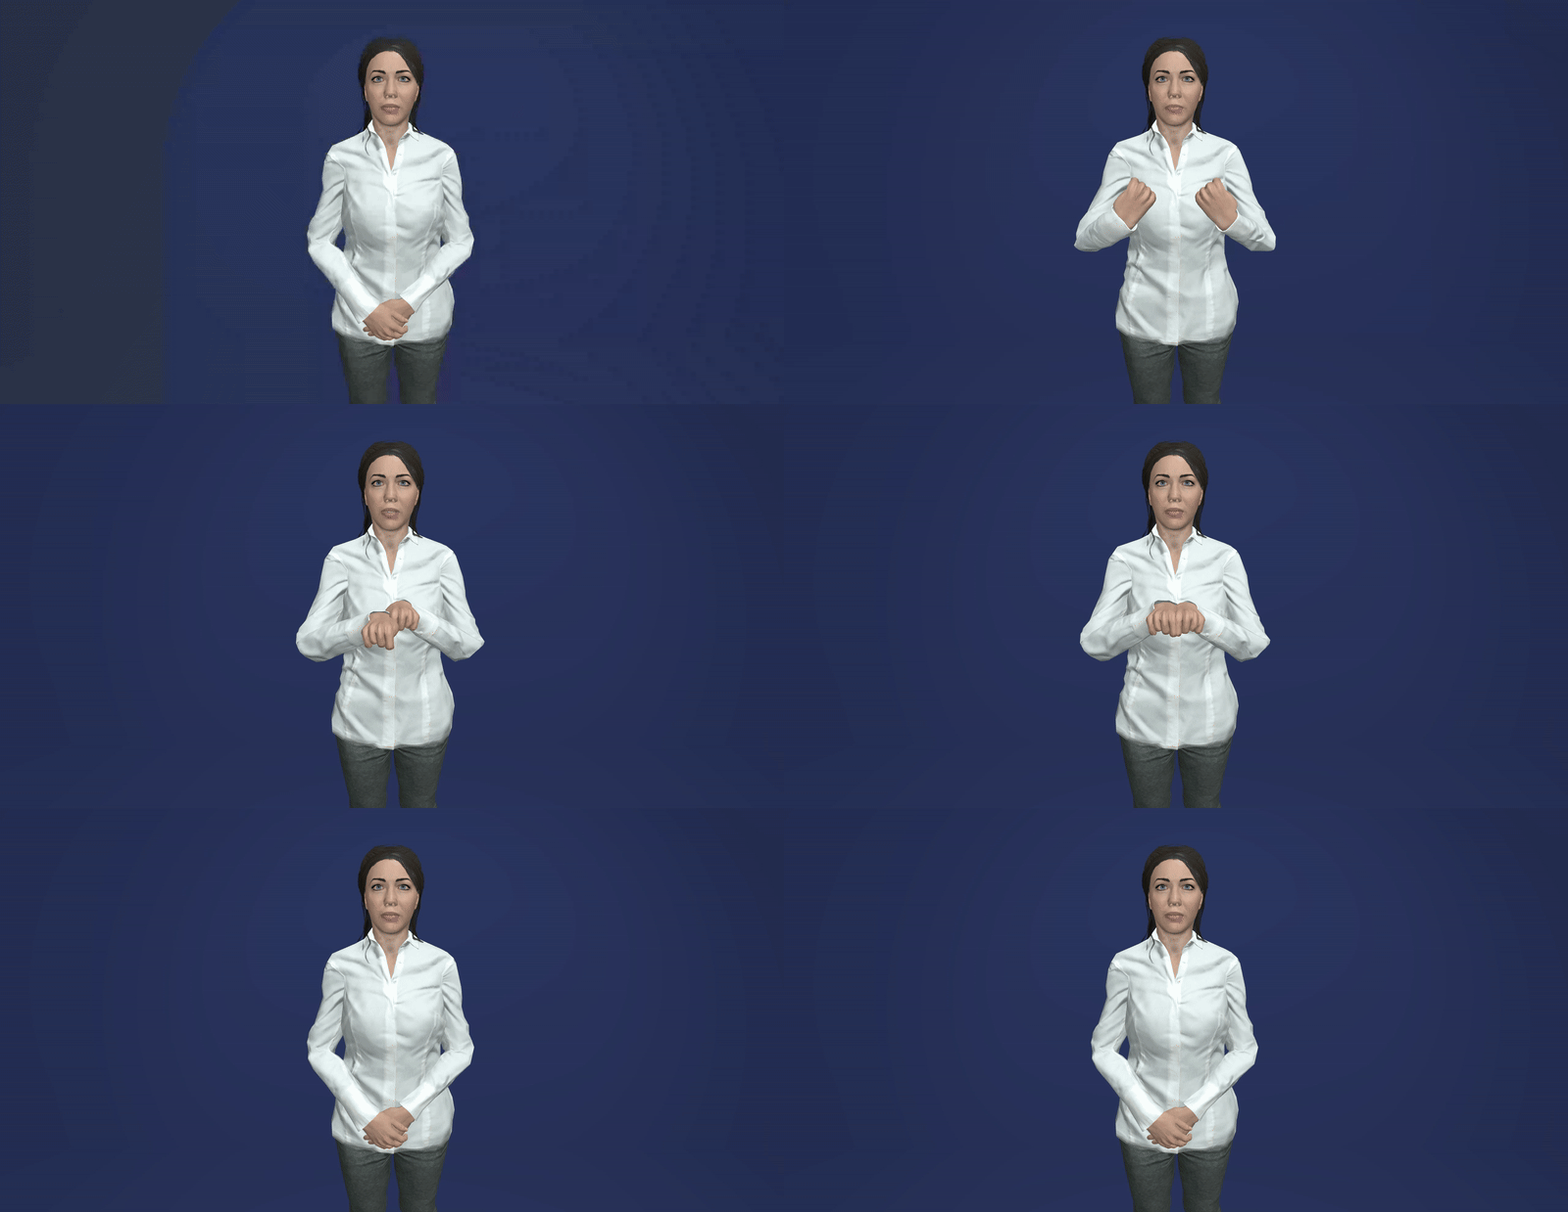
Performs is designed to visualize and synthesize humanoid animations for customized avatars. It supports two types of animations: keyframe animations (glTF, BVH) and script animations (SiGML, BML). The second mode integrates a variety of BML (Behavior Markup Language) instructions for Manual Features (MF) and Non-Manual Features (NMF) to create cohesive animations, performed in real-time. The project has made significant progress in synthesizing NMF, which is essential for enhancing the realism of sign language animations. This initiative began as part of the SignON project, a user-centric and community-driven effort aimed at facilitating communication among Deaf, hard of hearing, and hearing individuals across Europe.
The application allows users to customize the following features:
- Avatar:
- Character
- Cloth color
- Background:
- Space: Open space, Studio, Photocall
- Color
- Photocall image
- Illumination:
- Light position
- Light color
It can be easily integrated into other applications by using inserting an HTML iframe or by downloading the code.
Insert Performs inside your application using the iframe HTML element.
<iframe src='https://webglstudio.org/projects/signon/performs'>Important
You can customize the default settings combining the available options with multiple parameters by concatenating them with &.
So for example showing a custom avatar in a blue chroma would look like that:
<iframe src='https://webglstudio.org/projects/signon/performs?avatar=https://models.readyplayer.me/67162be7608ab3c0a85ceb2d.glb&background=studio&color=rgb(54,54,190)'>Clone the repository:
git clone https://github.com/upf-gti/performs.git
To run locally, host a server from the main project folder. You can also use the build version without GUI.
Important
To load the default avatar, an internet connection is required. If you prefer to work offline, you can change the modelToLoad in the init() method of Performs.js. You can use the resources from the /data folder or add your own.
You can load the customization features by appending the URL params outlined in the Integration Guide or by loading a JSON file (which can be exported from the Performs app) with containing the same parameters. Then, call the setConfiguration(options) function from Performs passing the JSON object with the options as a parameter.
Each project must include at least one HTML file for webpage definition and the JavaScript build files to execute Performs.
index.html
<!DOCTYPE html>
<html lang="eng">
    <head>
        <meta name="viewport" content="width=device-width, initial-scale=1.0">
        <title>My app using Performs</title>
        <link rel="icon" type="image/x-icon" href="./data/imgs/favicon.png">
        <style>
            html, body { width:100%; height:100%; margin:0; padding:0; overflow:hidden; }
        </style>

        <script src="../external/jquery-3.6.0.min.js"></script>
        <script async src="../external/es-module-shims.js"></script>

        <script type="importmap">
			{
				"imports": {
					"three": "../external/three/build/three.module.js",
                    "three/addons/": "../external/three/jsm/"
				}
			}
		</script>
    </head>
    <body>
        <div id="loading" class="modal" style="background-color:rgba(51, 51, 51, 0.5); position: absolute; width: 100%; height: 100%;
                display: flex; justify-content: center; align-items: center; z-index: 100; color: white; font-size: larger;">
			<p>Loading avatar, please wait...</p>
		</div>

        <script type="module" src="main.js"></script>

    </body>
</html>
main.js
By default, Performs generates the code for creating a fully functional web application with its built-in GUI (GUI.js, style.css, and lexgui.js library are required). However, the application can also be used without the GUI or with a custom interface. Configuration options can be set through the GUI, by loading a JSON file, or by appending URL parameters. For a complete list of available options, please refer to the Integration Guide.
import { Performs } from 'Performs.js'

const performs = new Performs();

// Load customization options file
fetch('performsSettings.json')
.then(response => response)
.then(response => response.json())
.then(options => {
    // Init performs with configuration options
    performs.init(options);
})
.catch(error => console.error(error));
The following sections provide examples of how to initialize the application without a GUI or configure it to initialize with a specific mode as the default.
This mode visualizes clip animations across different avatars. To ensure effective retargeting, certain options need to be adjusted for the source animation and the target avatar:
-
Embedded transforms: Retargeting only takes into account the transforms from the actual bone objects (local transforms). If set to true, external (parent) transforms are computed and embedded into the root joint (only once, on construction). Afterwards, parent transforms/matrices can be safely modified and will not affect in retargeting. Useful when it is easier to modify the container of the skeleton rather than the actual skeleton in order to align source and target poses.
trueorfalse
-
Reference pose mode: Determines which pose will be used as the retargeting bind pose.
DEFAULT: Uses skeleton's actual bind poseCURRENT: Uses skeleton's current poseTPOSE: Forces the bind pose to be a T-pose and sets CURRENT mode.
A detailed explanation of these options can be found in the retargeting repository.
Important
Currently only .gltf, .glb and .bvh are supported. If you happen to use another format, please convert it to the mentioned formats.
main.js
By default, Keyframe mode is enabled. However, if a configuration file for Script mode is detected, the mode will automatically switch. When multiple animations are loaded, a crossfade blending is applied during transitions between animations. The blend time can be adjusted using the blendTime attribute of keyframeApp.
import { Performs } from 'Performs.js'

const performs = new Performs();

// Set customization options
const options = {
    srcEmbeddedTransforms: true,
    trgEmbeddedTransforms: true,
    srcReferencePose: 0, // DEFAULT
    trgReferencePose: 2, // TPOSE
    autoplay: true,
    animations = [{name: './data/animations/myAnimation.glb', data: null}], // Set keyframe animation files' URL. 'data' can be an already parsed file

    onReady = () => { // Function called after loading the application
        // Change to Keyframe mode
        performs.changeMode(Performs.Modes.KEYFRAME);

        // Play the animation after 1s
        setTimeout(() => performs.keyframeApp.changePlayState(true), 1000);
    }
}

// Init performs with the options
performs.init(options);This mode allows for the generation of procedural animations based on instructions. The system interprets the instructions based in SiGML (Signing Gesture Markup Language), and translates them into an extended version of BML (Behavior Markup Language), or directly into BML in JSON format. While the results may not match the quality of keyframe animations, this approach requires neither expensive equipment nor extensive manual labor, making it highly suitable for scalable sign synthesis. These instructions can be written manually or generated and exported using Animics' script mode, which enables the creation and editing of this type of animation through a visual timeline-clip representation.
The current supported instructions are explained in detail in BML Instructions. An example:
{
    type: "faceLexeme",
    start: 0.1,
    attackPeak: 0.6,
    relax: 1.5,
    end: 1.8,
    amount: 0.1,
    lexeme: "ARCH"
}main.js
Include ./data/dictionaries/ folder in your project to use the Idle animation and the NGT gloss dictionary.
import { Performs } from 'Performs.js'

const performs = new Performs();

const options = {
    config = './data/configFile.json', // Set required config file for Script mode

    scripts = [ // Set script instruction files' URL and/or parsed data
        {
            type: 'sigml',
            name: './data/animations/scriptAnimation.sigml'
            },
        {
            type: 'bml',
            data: {
                behaviours: [{
                    type: "faceLexeme",
                    start: 4,
                    attackPeak: 0.6,
                    relax: 1.5,
                    end: 1.8,
                    amount: 1,
                    lexeme: "ARCH"
                }]
            }
        },
    ],
    applyIdle: true, // Enable Idle animation to blend with recieved instructions
    onReady = () => { // Function called after loading the application
        setTimeout(() => {
            // Play the animation after 1s
            performs.scriptApp.replay();
        }, 1000)
    }
};

// Init performs with the options
performs.init(options);Some examples on simple NGT (Dutch Sign Language)
Kind lezen boek (child reads a book):
Man rijden fiets (Man rides a bicycle) :
The realizer is divided into main sections, each containing several files. The whole pipeline is warpped inside the CharacterController class which is in charge of receiving a BML block and triggering and executing its instructions when required.
Files in this block: CharacterController, FacialController and BodyController
-
CharacterController: is the main entry. Everything is controlled from here. Every instance of FacialController, BodyController, BehaviourManager and BehaviourPlanner is automatically created and managed by this class. Users only need to instantiated this class and call its functions:
- start
- update
- processMsg: receives all the instructions of a block and triggers the whole pipeline to be synthesise the actions specified.
-
FacialController: manages the blending of the diferent animations involved in the face including facial gestures, eye movement and head displacement.
-
BodyController: manages the blending of the diferent animations involved in the body including trunk, shoulders, arms, hands and fingers movement.
The files in this block: BehaviourManager, BehavhourPlanner and BehaviourRealizer
- BevahiourPlanner: automatically generates some instructions such as blinking
- BehaviourManager: deals with all instruction blocks. Is in charge of triggering instructions when their time comes.
- BehaviourRealizer: a set of diverse functionalities to execute some particular instruction
Important
Currently only .gltf and .glb are supported. If you happen to use another format, please convert it to the mentioned formats.
To add a new avatar to Performs, you must follow this steps:
- Make sure the avatar is rigged (if it is not rigged, we recommend using Mixamo)
- Check that your avatar has the correct scale and orientation.
- Use the performs-atelier tool to configure all the parameters needed for the application (only required for Script mode), this will generate a configuration .json file containing all the needed information.
- Jaume Pozo @japopra
- Víctor Ubieto @victorubieto
- Eva Valls @evallsg
- Carolina del Corral @carolinadcf
- Pablo García @PZerua
- Alex Rodríguez @jxarco
- Three.js - An open-source JavaScript library for creating interactive 3D and 2D graphics in web browsers.
- Lexgui.js - A simple and lightweight GUI library for creating graphical user interfaces for web applications.
We would like to extend our gratitude to the creators and maintainers of these libraries for their invaluable contributions to the open-source community.
This project is being developed with partial financial support of:
| EMERALD Project (2023-2026) | SignON Project (2021-2023) |
|---|---|
 |
 |


