A drop-in replacement for a classic TMS9918A VDP using a Raspberry Pi Pico.
Currently in the early prototyping stages, but looks very promising on my TI-99/4A and HBC-56 test beds.
The TMS9918A emulation is handled by my vrEmuTms9918 library which is included as a submodule here.
v0.3 Schematic and Gerber available now. This revision has been tested on my two TI-99/4As (PAL and NTSC) and my HBC-56 and is fully functional, however it is not representative of the final PCB design which will include the RP2040 directly on the PCB.


There are a number of 0Ohm resistors (jumpers). You may need to omit the RST resistor. On some machines, the extra time is required to bootstrap the Pico. This will be changed to a soft reset on v0.4.
Note: Due to GROMCLK and CPUCLK using GPIO23 and GPIO29, a genuine Raspberry Pi Pico can't be used. v0.3 of the PCB is designed for the DWEII? RP2040 USB-C module which exposes these additional GPIOs. A future pico9918 revision will do without an external RP2040 board and use the RP2040 directly.
Purchase links:
- https://www.amazon.com/RP2040-Board-Type-C-Raspberry-Micropython/dp/B0CG9BY48X
- https://www.aliexpress.com/item/1005007066733934.html
I could reduce the VGA bit depth to 9-bit or 10-bit to allow the use of a genuine Raspberry Pi Pico board, but given the longer-term plan is to use the RP2040 directly, I've decided to go this way for the prototype.
If you're not interested in building the firmware yourself, you'll find the latest firmware in the Releases.
To install, just hold the 'BOOTSEL' (or 'BOOT') button while plugging the Pico into a PC, then drag the pico9918.uf2 file on to the new USB drive which should have the volume label RPI-RP2. The Pico will restart (and disconnect) automatically.
To set up your development environment for the Raspberry Pi Pico, follow the Raspberry Pi C/C++ SDK Setup instructions.
For Windows users, there is a pre-packaged installer provided by the Raspberry Pi Foundation: https://github.com/raspberrypi/pico-setup-windows/releases/. Once installed, just open the pre-configured "Pico - Visual Studio Code" from your start menu.
The build system expects python3 to be available. If you have installed Python 3 outside of the Microsoft Store, you may need to alias your Python executable.
You can do this from an elevated (Administator) command prompt in your python directory e.g. C:\Program Files\Python310\ by creating a symlink with the command: mklink python3.exe python.exe.
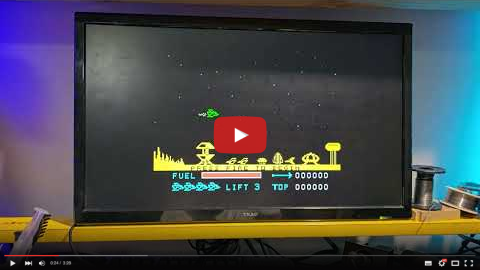
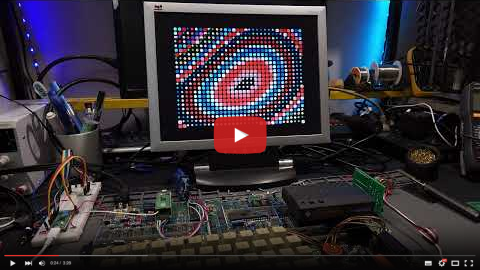
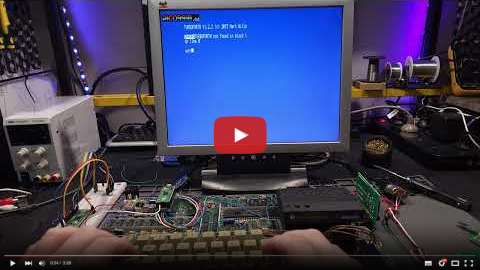
Initial "raw" videos recorded in the moments following the first boot on my TI-99/4A.
These videos are showing the v0.2 hardware with an external Pi Pico providing the required GROMCLK signal to the TI-99. This signal has been added to v0.3. I'm still waiting on v0.3 boards to arrive.
This code is licensed under the MIT license