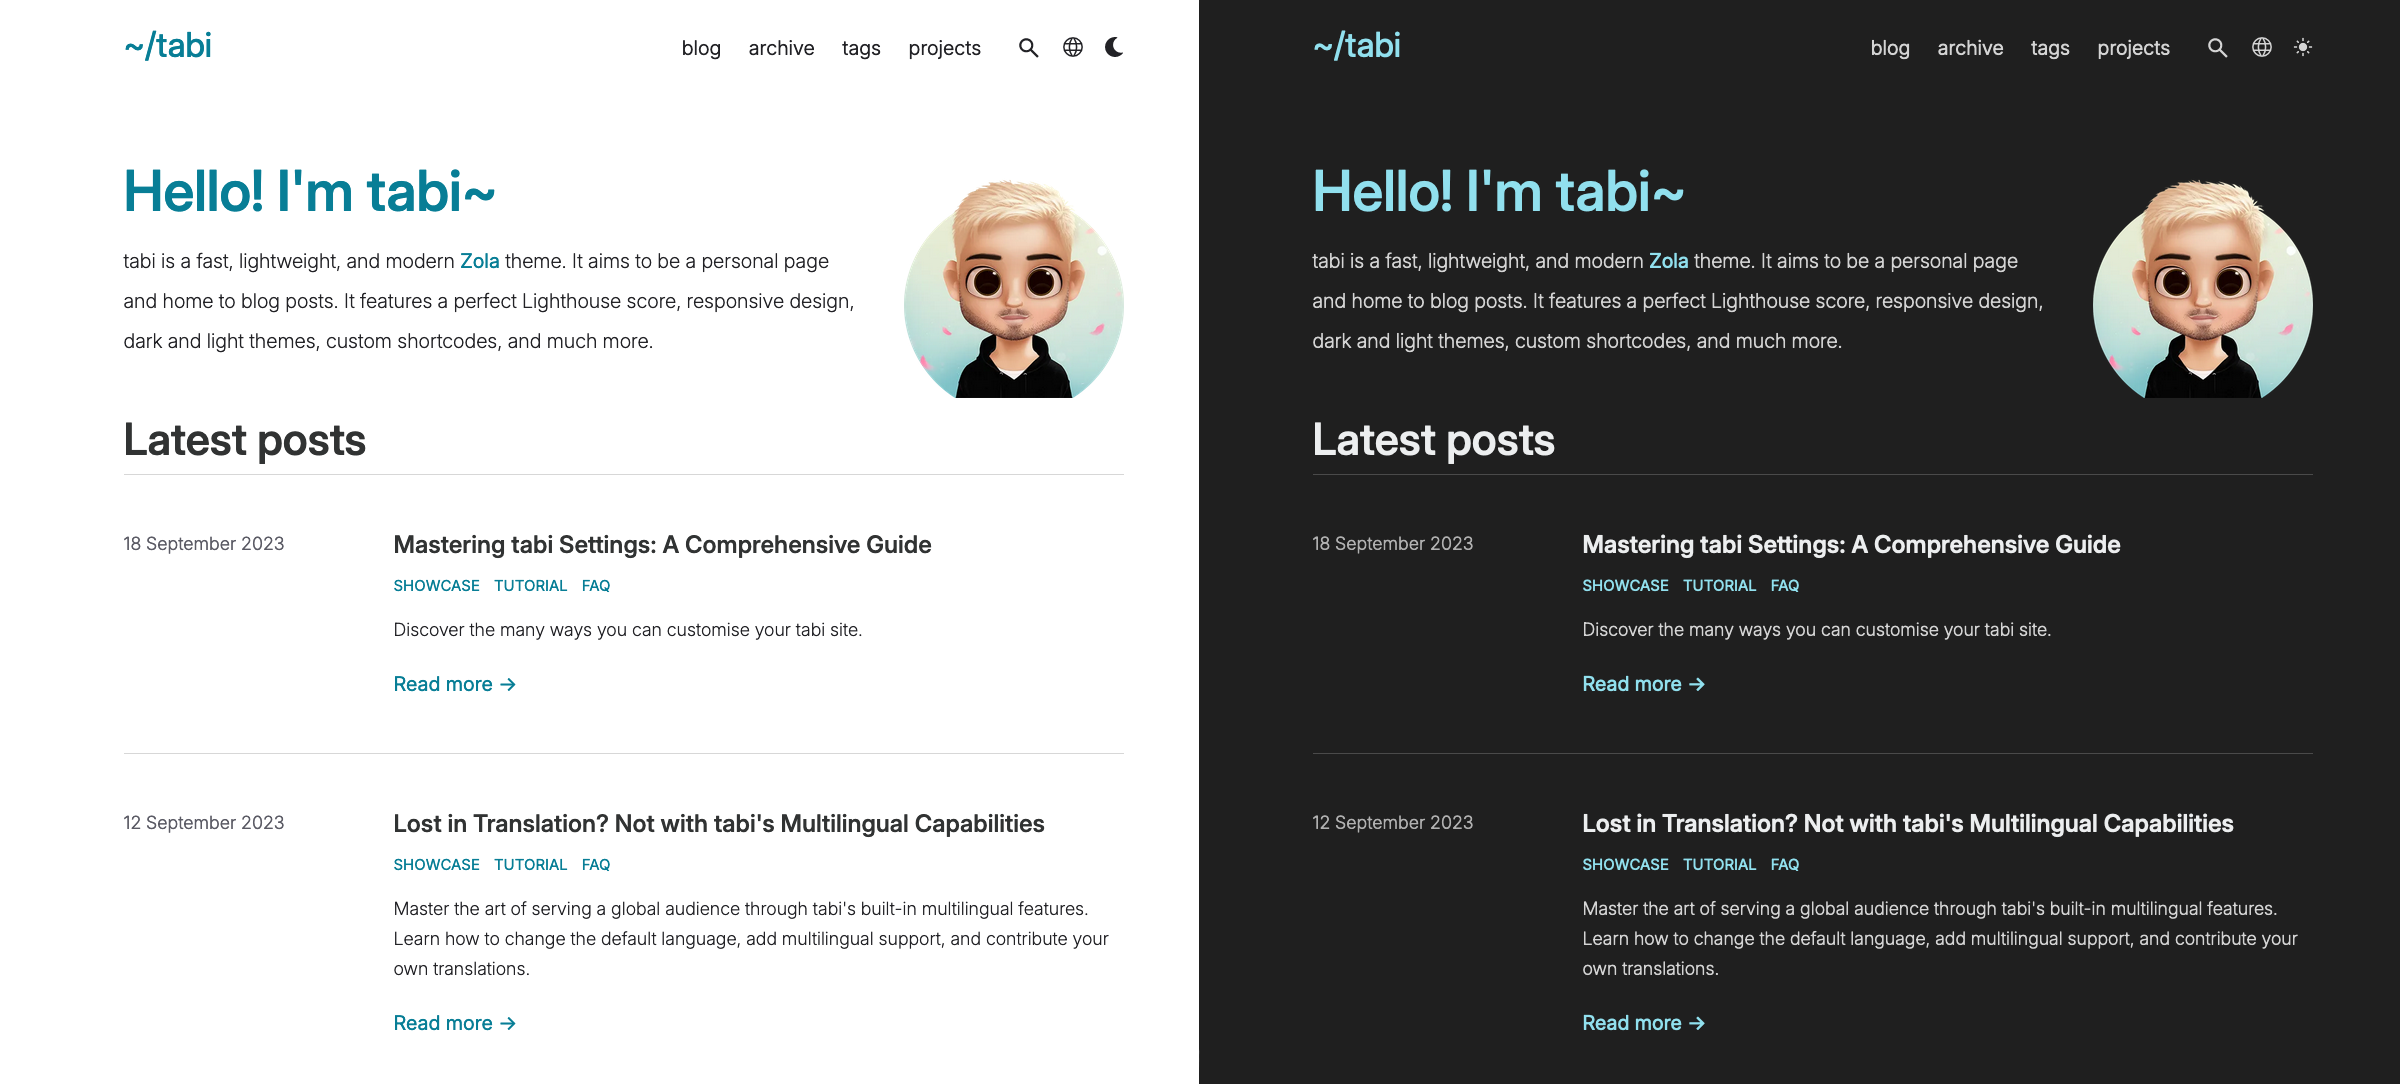
Start blogging in minutes with Zola and tabi.
- On the top right of this page, click "Use this template" → "Create a new repository"
- Replace placeholders in
content/_index.mdand in the first four lines ofconfig.toml - Save your profile photo to
static/img/profile.webp(or change the path to your image incontent/_index.md) - Start writing in
content/blog/. Seecontent/blog/hello.mdfor an example
Tip
Take a look through config.toml to customise further (set up social links, your email…). The Mastering tabi Settings guide has more details.
├── config.toml              # Site configuration
├── content/
│   ├── _index.md            # Home page
│   ├── archive/             # Archive page
│   │   └── _index.md        # Archive page section
│   ├── blog/                # Blog posts
│   │   ├── hello.md         # Sample post
│   │   └── _index.md        # Blog section configuration
│   └── projects/            # Projects page
│       ├── cool_project.md  # Sample project
│       └── _index.md        # Projects section configuration
│── static/
│   └── img/
│       └── profile.webp     # Profile photo for home page
└── themes/
    └── tabi/                # tabi theme
- Install Zola
- Clone your repository
- Run
git submodule update --init --recursive - Run
zola serve - Visit http://127.0.0.1:1111. You should see this.
Refer to the Zola documentation:
- AWS S3 Bucket
- Cloudflare Pages
- Codeberg Pages
- Docker image
- Edgio
- Fly.io
- GitHub Pages
- GitLab Pages
- Netlify
- Sourcehut Pages
- Vercel
- Zeabur
This template includes a GitHub Action workflow that checks for tabi theme updates weekly and creates a PR when updates are available.
The automated updates require proper GitHub Actions permissions:
- Go to your repository's Settings → Actions → General
- Scroll down to "Workflow permissions"
- Enable "Allow GitHub Actions to create and approve pull requests"
- Save changes
How automated updates work (click to read)
- Every Monday at midnight (UTC), the workflow checks for new tabi versions
- If an update is found, it creates a PR with:
- Detailed changelog
- Links to relevant commits and PRs
- The exact changes being made
- It runs the Test build workflow. If the build fails, you'll receive an email notification. Verify the site works locally before merging the PR
- You can review and merge these updates at your convenience
git submodule update --remote themes/tabiTip
How was your experience with this template?
Share your thoughts in this tabi discussion or report any issues you find! Thank you 🙇🏼♂️


