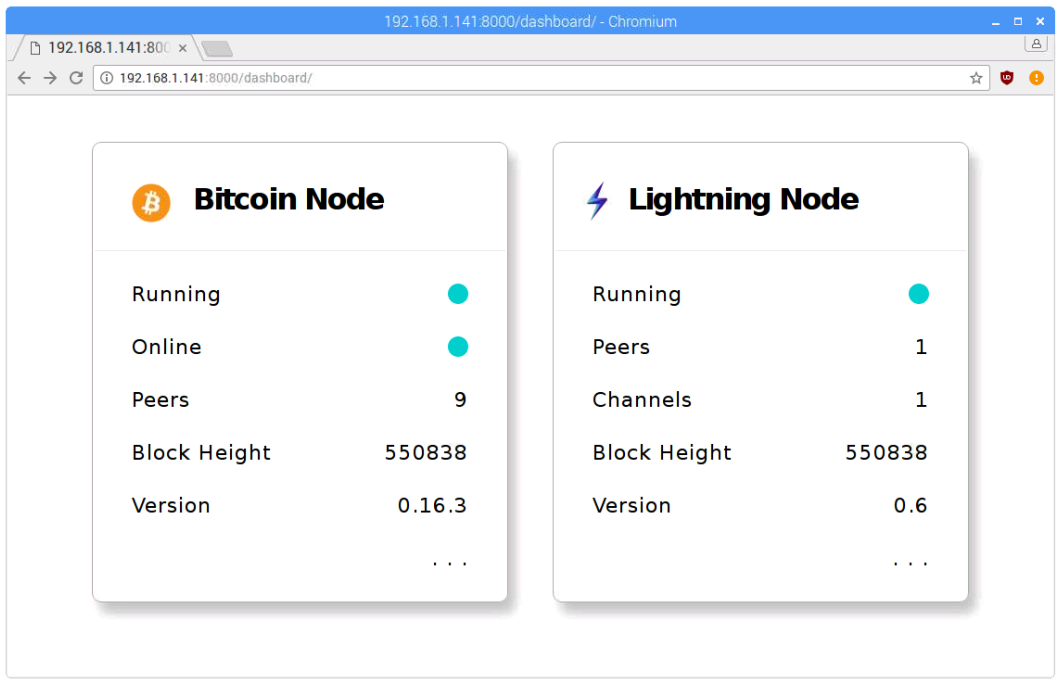
NodeMonitor is a simple Python Django website that makes calls to Bitcoin (bitcoind) and Lightning Network (c-lightning lightningd) nodes and displays the results on a simple 'dashboard' style status page.
If you prefer to work with Flask I might have time to work on that version soon... or you can of course. It will be here if I get round to it.
The code makes calls to Bitcoin and Lightning daemons but you can easily add other daemons, such as Elements or Liquid, by editing just two files.
Tested on Raspberry Pi running Raspbian and also on Ubuntu 18.04.01.
Assumes you already have Bitcoin Core daemon (bitcoind) and c-lightning daemon (lightningd) installed and running. If you don't have either running that's fine at this stage. Assumes you have python and python pip already installed.
Install virtualenv so we can set up an isolated build environment.
sudo apt install virtualenv
Clone this repository into your chosen directory.
git clone https://github.com/wintercooled/NodeMonitor-Python-Django.git
Move into the new directory.
cd NodeMonitor-Python-Django
Add a virtualenv workspace for our project.
virtualenv node_monitor_workspace
Activate the workspace.
source node_monitor_workspace/bin/activate
Install the required dependancies to the workspace. These are:
django - https://www.djangoproject.com/
pylightning - https://github.com/ElementsProject/lightning/tree/master/contrib/pylightning
python-bitcoinrpc - https://github.com/jgarzik/python-bitcoinrpc
python -m pip install "django<2"
pip install pylightning
pip install python-bitcoinrpc
Check the set up worked by running the server.
python manage.py runserver
Browse to http://127.0.0.1:8000 to view the site.
To stop the server press Ctrl+c.
Don't forget to deactivate the virtualenv workspace when you are done:
deactivate
...and remember to activate using source node_monitor_workspace/bin/activate from within the NodeMonitor-Python-Django directory whenever you want to run it again.
Both nodes (Bitcoin and Lightning) will likely show as not running. This is because we have not set up the authentication details yet.
Edit nodemonitor/dashboard/views.py and change the following lines to map to your own Bitcoin node's authentication settings:
rpc_port="8332"
rpc_user="user82ue99fwo3049f7c8a8d93dkall2l1l11"
rpc_password="passwordb084b7v85f7hd06s06d06fgd01shaj"
Also within nodemonitor/dashboard/views.py you need to change this to make sure it points to your nodes "lightning-rpc" socket file:
ln = LightningRpc("/home/pi/.lightning/lightning-rpc")
Find your machine's IP
ifconfig
Let's say it is 192.188.1.150 for the sake of example.
Run the server using like this:
python manage.py runserver 192.168.1.150:8000
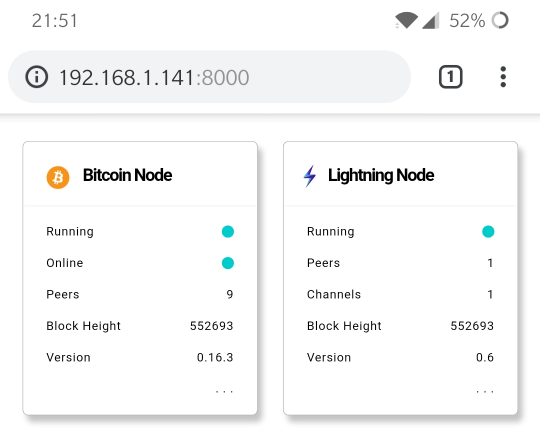
Browse to http://192.168.1.150:8000 from any local machine on the 192.168.*.* IP address range, including mobile devices:
If you want to make the website available publically you need to follow instructions like this.
To remove a node type (e.g. if you do not run a Lightning node) or to add extra node types (e.g. if want to monitor an Elements or Liquid node) - edit the following files:
NodeMonitor/dashboard/templates/dashboard/index.html
NodeMonitor/dashboard/views.py
views.py contains the code that connects to the nodes.
index.html displays the data returned from views.py.
The ". . ." at the bottom of each node status panel doesn't do anything (yet), sorry if you wasted time clicking on it!

