A video annotation tool built with python, flask, and wavesurfer.js.
This tool is adapted from the wavesurfer.js video annotation example.
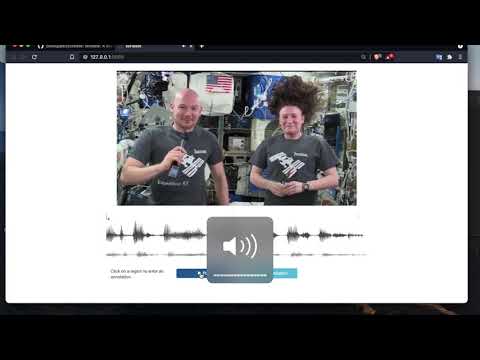
This video demonstrates how scribetk can be used:
Clone the scribetk repository:
# Clone the repository
git clone https://github.com/zkneupper/scribetk.git
If necessary, create a new virtual environment containing python>=3.6, flask, and click.
For conda users:
# Create a new environment called `flask_env`
conda create --name flask_env --file requirements.txt
Activate the virtual environment containing python>=3.6 and flask.
For conda users:
conda activate flask_envInstall the scribetk package:
pip install ./scribetk/To run the app with the default setting and using the demo video, do the following:
# Activate your virtual environment

scribetk
Running scribetk will start the server and open the app in your browser
Suppose that you have a video video.mp4 located at this path: /full/path/to/video.mp4
Additionally, suppose that you want to create an annotation file called video_annotation.json located at this path: /full/path/to/video_annotation.json
To run the scribetk app for your own video and annotation, do the following:
# Activate your virtual environment

# python app.py --video <filepath_video> --note <filepath_annotation>
scribetk --video /full/path/to/video.mp4 --note /full/path/to/video_annotation.jsonBelow are the command line interface (cli) options for the video-subtitler app:
Usage: scribetk [OPTIONS]

Options:
  -v, --video TEXT          The file path to the video you want to annotate.
  -n, --note TEXT           The file path to the json file containing the
                            video annotations.

  -p, --port INTEGER        port number
  -d, --debug               Run the app in DEBUG mode.
  --browser / --no-browser  Automatically open in browser
  --help                    Show this message and exit.