-
Notifications
You must be signed in to change notification settings - Fork 10
Application
To run our application, you will need Python, version >= 3.6. Depending of your Ubuntu version, you will maybe need the "deadsnakes" team PPA. Just make a small research to know exactly how to install Python on your OS.
sudo apt update
sudo apt install python3.6
Then, you will need some python packages. You can install them globally or in a virtual environment (recommended). If you are using a virtual environment, make sure to activate it before doing the next commands:
pip install numpy opencv-python PySide2 serialIf you want to use our USBCam API (highly recommended), go inside the folder ScanRig/usbcam and type:
pip install .Now, you are ready for launching the application!
DISCLAIMER: At this time, our application does not work well on Windows.
If you are using a virtual environment, make sure to activate it before doing the next command.
In a shell opened inside the root folder, type:
cd src
python3.6 main.py [--api]
The option [--api] can take two different values: usbcam or opencv. By default, the value is usbcam. If you do not specify the API without having installed usbcam, you will get an error.
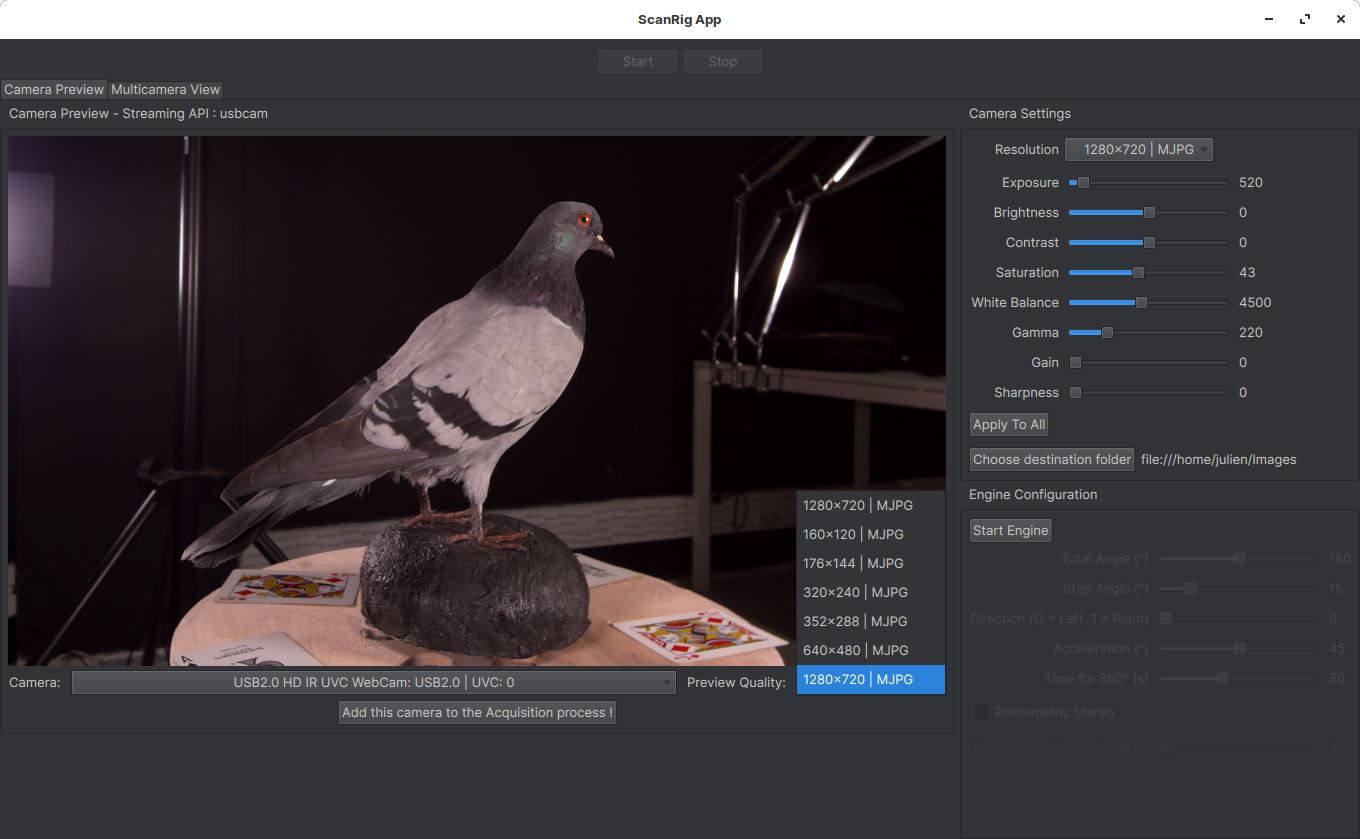
The interface is made up of two tabs : Camera Preview and Multicamera View. At this time, only the first tab is usable. The Multicamera View tab is not coded yet.
So, in the first tab, we retrieve three main windows: Camera Preview, Camera Settings and Engine Configuration.
We also have an indication of the API we are currently using.

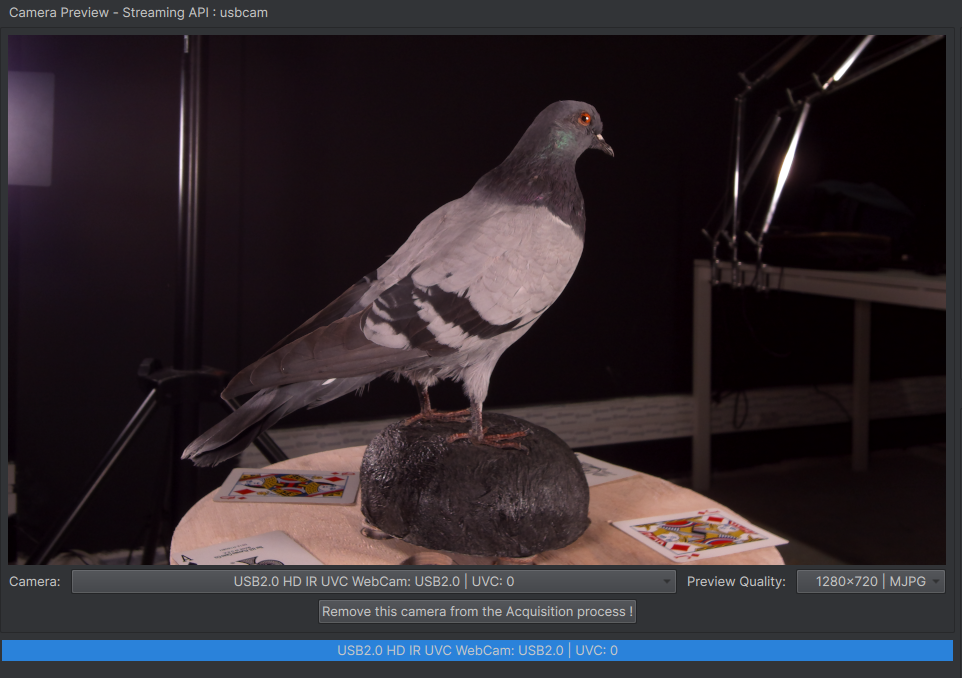
Here, we can see what the camera sees. By default, no device are selected. You can open a camera with the scroll-down menu below the preview.

Once a camera is opened, you can change the preview quality (what you are currently seeing).

The last button of this window permits to add the camera to the acquisition devices. By doing that, the camera will be used doing the acquisition. If you do not add the camera to the acquisition devices and you change the camera preview, this camera will be shut down.


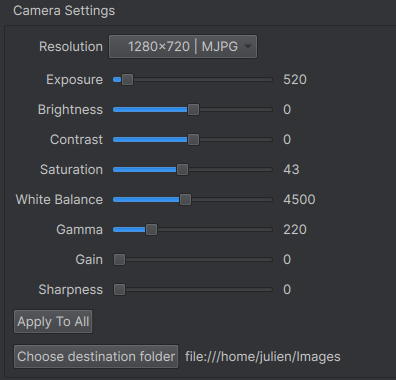
Here, we can tweak each camera setting.
NOTE: We wrote the code exclusively for the cameras we use: FSCAM_CU135 by E-Con Systems. Because of the limitations we had using OpenCV, building procedurally the UI depending on the camera model used was not possible. All the settings are written by hand. Now, if we use exclusively USBCam, we could change this and make a more dynamic application.

The following settings concern exclusively the current opened camera:
- Resolution: the acquisition resolution
- Exposure
- Brightness
- Contrast
- Saturation
- White Balance
- Gamma
- Gain
- Sharpness
The button Apply To All permits to give those settings to every camera in the acquisition devices list AND the future opened cameras.
The button Choose destination folder works the same way: it is common to every camera.
DISCLAIMER: At this time, even if the UI is ready to configure the engine, none of these buttons are currently linked to the "backend" engine (due to Covid-19, we could not test it in real life). Normally, there is not so much to do to make it work. The code is currently commented.
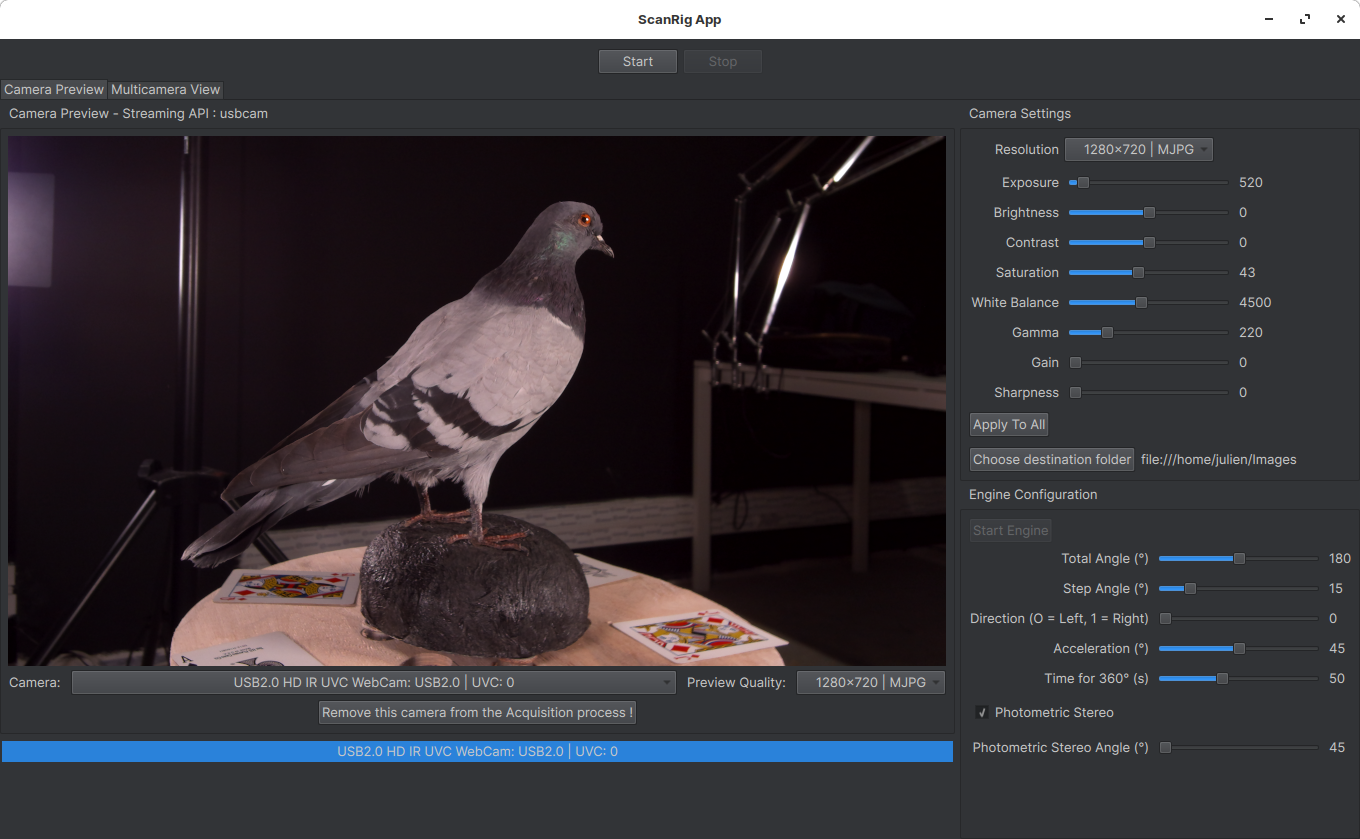
The first thing you will need to do is to start the engine.

You now have access to all the settings.
- Total Angle: the number of degrees to be covered during acquisition.
- Step Angle: the number of degrees which separates two consecutive captures.
- Direction: clockwise or counterclockwise direction.
- Acceleration: the number of degrees used by the arm to accelerate before starting the acquisition. 45° is pretty good.
- Time for 360°: this is actually the speed of the rotation. This value is the required time for a complete revolution. Around 45 seconds is good.
DISCLAIMER: At this time, even if the UI is ready to configure the photometric stereo, the "backend" is not ready AT ALL (due to Covid-19, we could not test it in real life).
If you want to enable the Photometric Stereo option, you just need to check it out.

The Photometric Stereo Angle represents the number of degrees which separates two consecutive Photometric Stereo captures.
When you are ready (you added all the wanted cameras to the acquisition devices, the destination folder is good, etc), you can press the Start button and watch the magic happen.

├── acquisition.py # Class used for the capture process
├── app.py # Class which provides everything
├── backend.py # Class used mainly to manage threads
├── capture_device_preview.py # Class used to deal with the preview in the UI
├── __init__.py
├── main.py # Used to start the program
├── utils.py # Tools for QML
|
├── Arduino
│   └── arduino.ino # Arduino code
├── CameraPkg
│   ├── capture_device_list.py # Class used to contain several cameras and control them all
│   ├── dslr_camera.py # NOT USED
│   ├── __init__.py
│   ├── i_uvc_camera.py # Interface with methods for UVC Cameras
│   ├── opencv_camera.py # Class which implements UVC Cameras methods for OpenCV API
│   ├── saving.py # When OpenCV API is used, Class which allows to save frames in another thread
│   └── streaming_api.py # Used to have information about the current Streaming API
├── MoteurPkg
│   ├── __init__.py
│   ├── serial_management.py
│   └── testDebugArduino.py
├── UIPkg
│   ├── App.qml # Describe the App UI in its globality
│   ├── Components # Our components begin with a "C" to distinguish them from Qt Components
│   │   ├── CButton.qml # Button with our style
│   │   ├── CCameraPreview.qml # Camera Preview Window
│   │   ├── CCameraSettings.qml # Camera Settings Window
│   │   ├── CCenteredText.qml # Not really a component... Used to create easily centered texts
│   │   ├── CEngineConfiguration.qml # Engine Configuration Window
│   │   ├── CSlider.qml # Slider control
│   │   └── no_device_selected.png # Image to display when there is no camera selected
│   ├── image_provider.py # Class used to pass current frame from Python to QML
│   ├── image_provider.pyc
│   ├── __init__.py
│   ├── __init__.pyc
│   ├── palette.py # Used to describe the UI Style
│   └── Views
│       ├── MultiCamera.qml # NOT DEVELOPED YET
│       └── Preview.qml # Defines the Preview Tab
└──Here is a simplified class diagram representing our application.

This version does not show the other classes more relative to the QML implementation.
To represent the 'camera' part, we used dashed lines because this is not really how it works. The CaptureDeviceList should be composed with OpencvCamera objects or USBCam (C++) instances but those two classes do not really implement the IUvcCamera. We decided to draw the diagram like this to make it easier to understand. We tried to provide to OpencvCamera and USBCam the same methods (mostly) and those methods are described inside of the IUvcCamera class.
Here is a list of ideas we have to make this app more powerful:
- Write code for the MultiCamera tab. The purpose is to display frames of each camera added inside the acquisition list.
- Make a more procedural application.
- Add a Dial Control to make the arm rotate by hand before launching the acquisition. We can also see the widget filling up during the acquisition.
- Add a focus peaking. Using simple edge detection algorithms, it can be pretty easy.
- Add the possibility to zoom in the preview.
- Add loading/saving presets option to have already set settings.
- Add more control on the saving process: choose extension, etc.
- Access to specific controls like the denoiser setting in the case of the FSCAM_CU135 model.