-
Notifications
You must be signed in to change notification settings - Fork 37
Image Generation by Expression
Apart from rendering existing images loaded from a file, Possumwood can also generate and edit images using Lua scripting. In this tutorial, we explore a very simple setup which uses Lua and per-pixel expressions to generate an image.
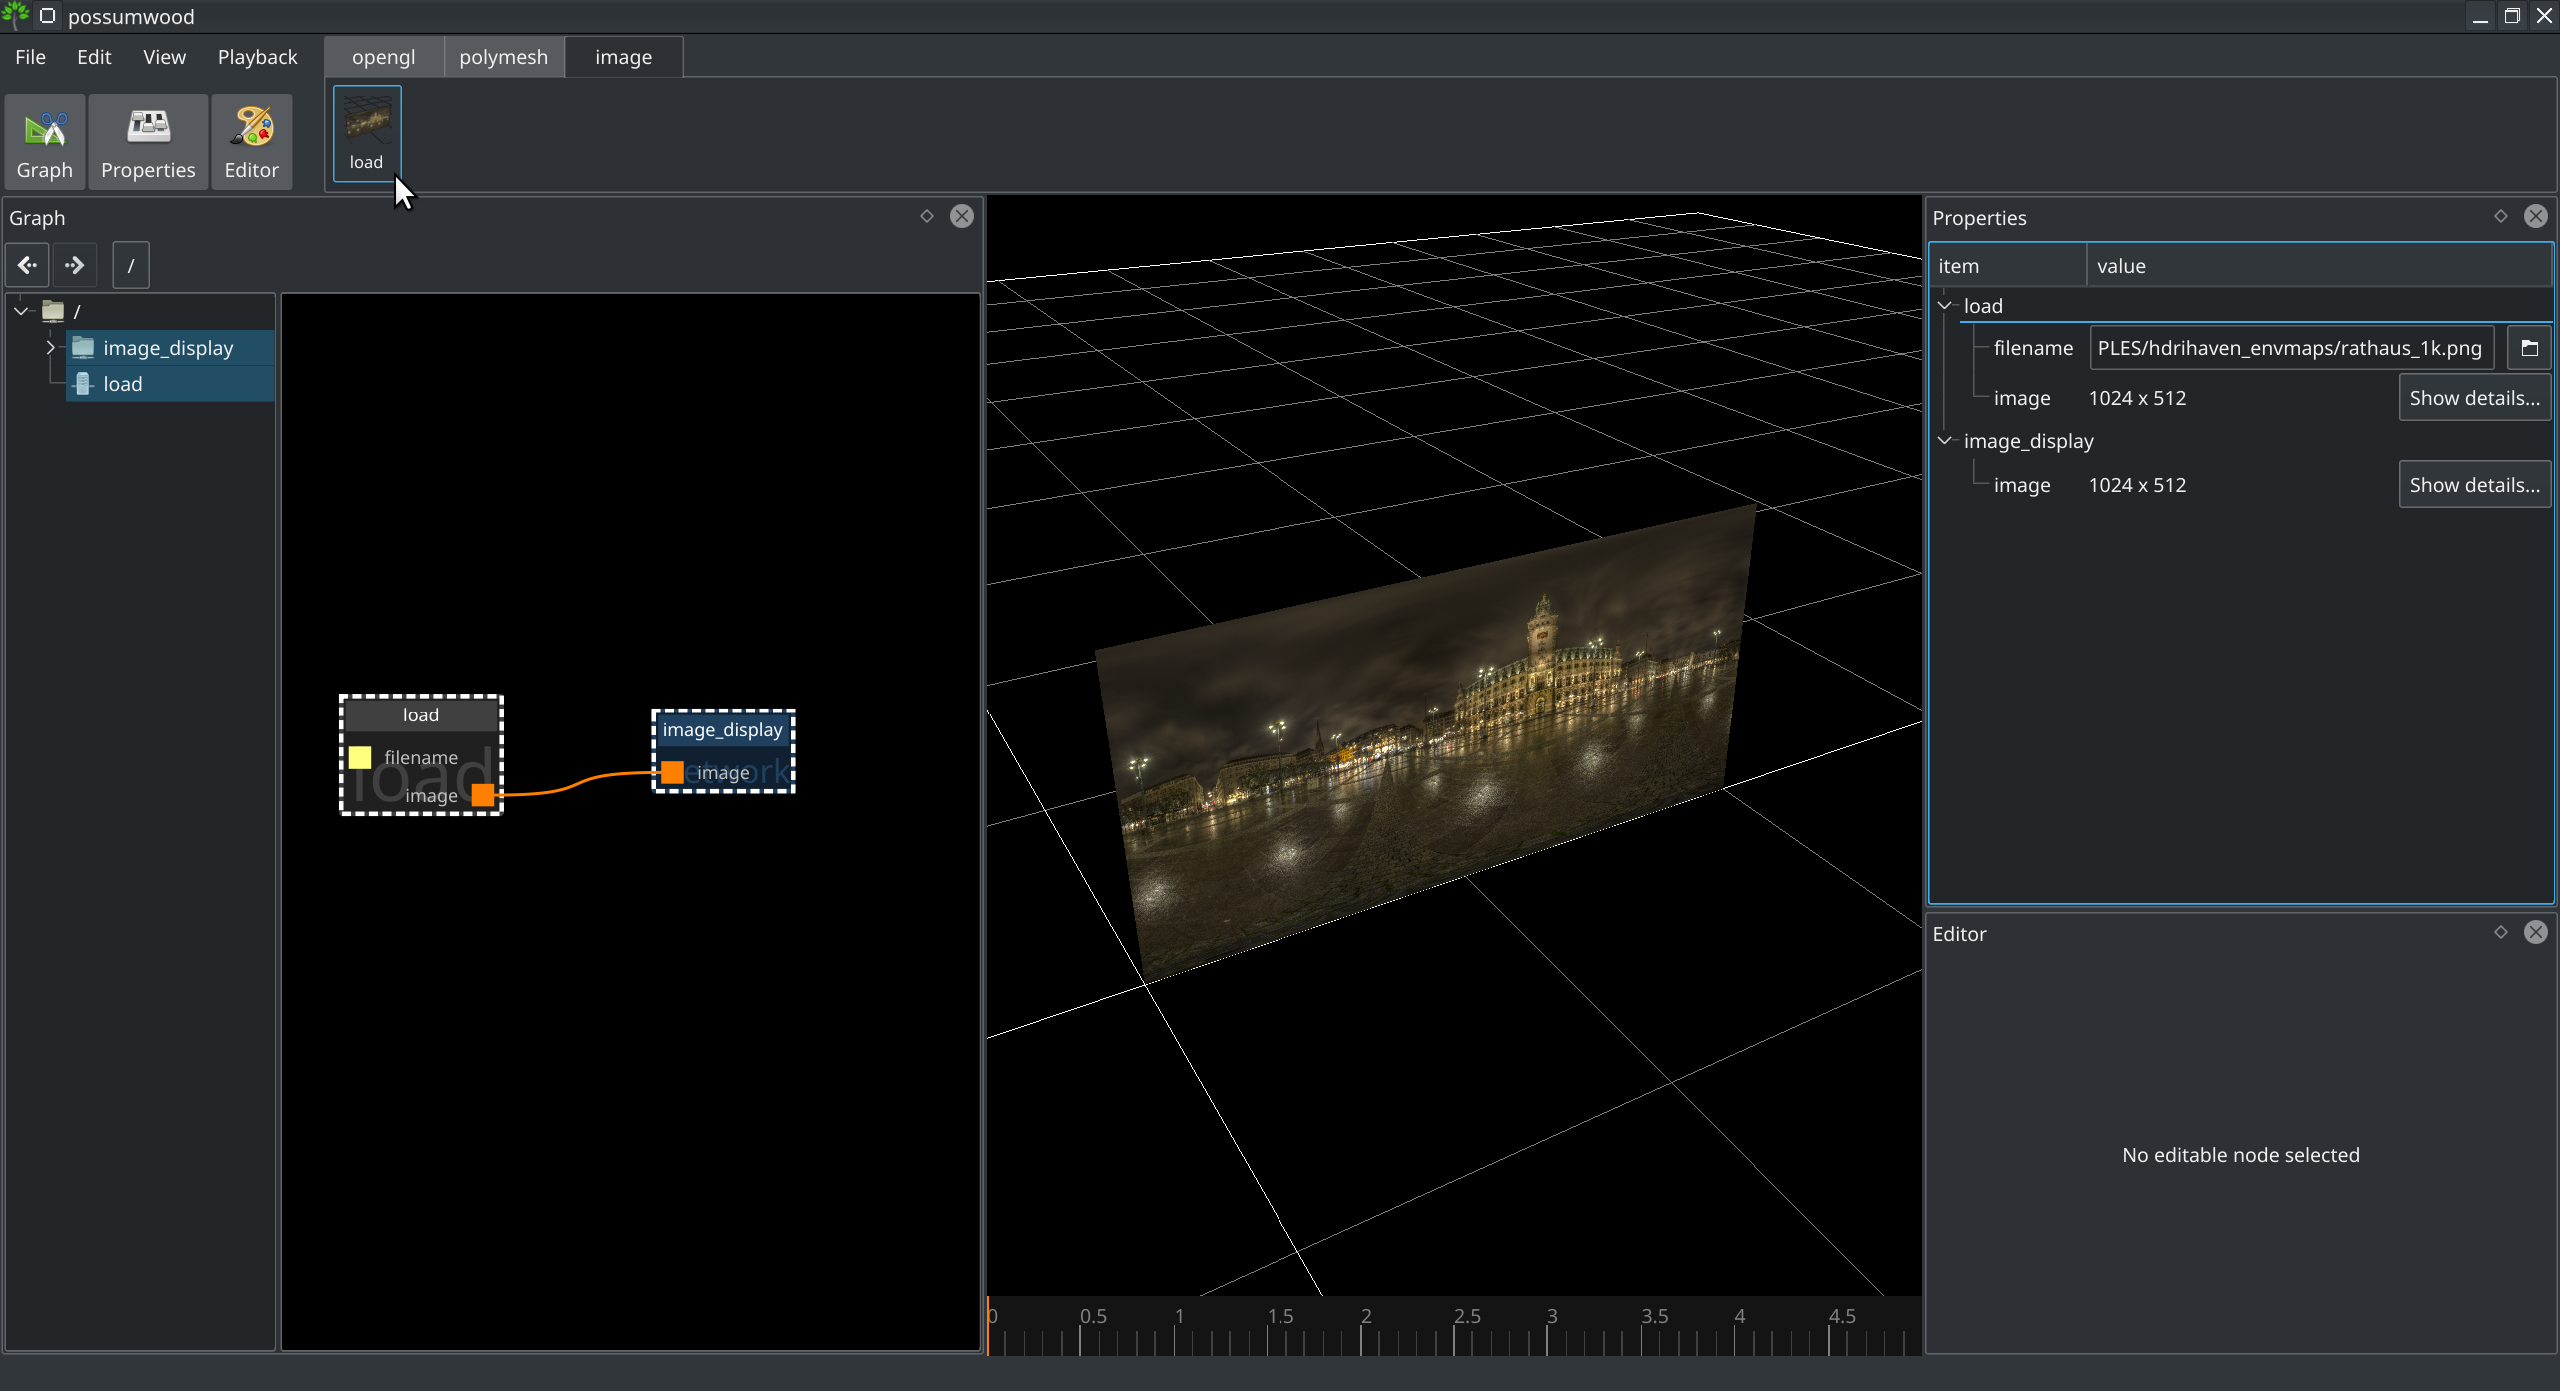
To avoid setting up the rendering of a texture in the viewport, we will start with the result of the image loading tutorial, which can be instantiated from the image/load toolbar:

Instead of loading an image from a file, we will create a new image object in Lua. First, we need to link a lua/script node to an lua/extract/image, to allow us to generate an image and extract it from the script for display. In the properties of the extract node, we'll name our image 'img'. We will also need to add a lua/modules/images node and link it to the 'context' input of our script, to allow it to access the image module.

Without any further changes, the extract node will error with unable to make cast error message. As we have not created the image in our script, this just means that the extraction failed to process a variable.
Let's now focus on our Lua script. Selecting the script node will open a source editor, in which we'll write our first image generating script:
img = images.image(256,256)

for y = 0,255 do
	for x = 0,255 do
		img:setPixel(x, y, {x, y, 0})
	end
end
This script just creates a new variable img containing a new image object. Then it sets the pixel red and green values to the same values as the x and y coordinates respectively, leading to a colourful polygon:
![]()
As a slightly more advanced example, we can create a checkerboard pattern using the modulo function.
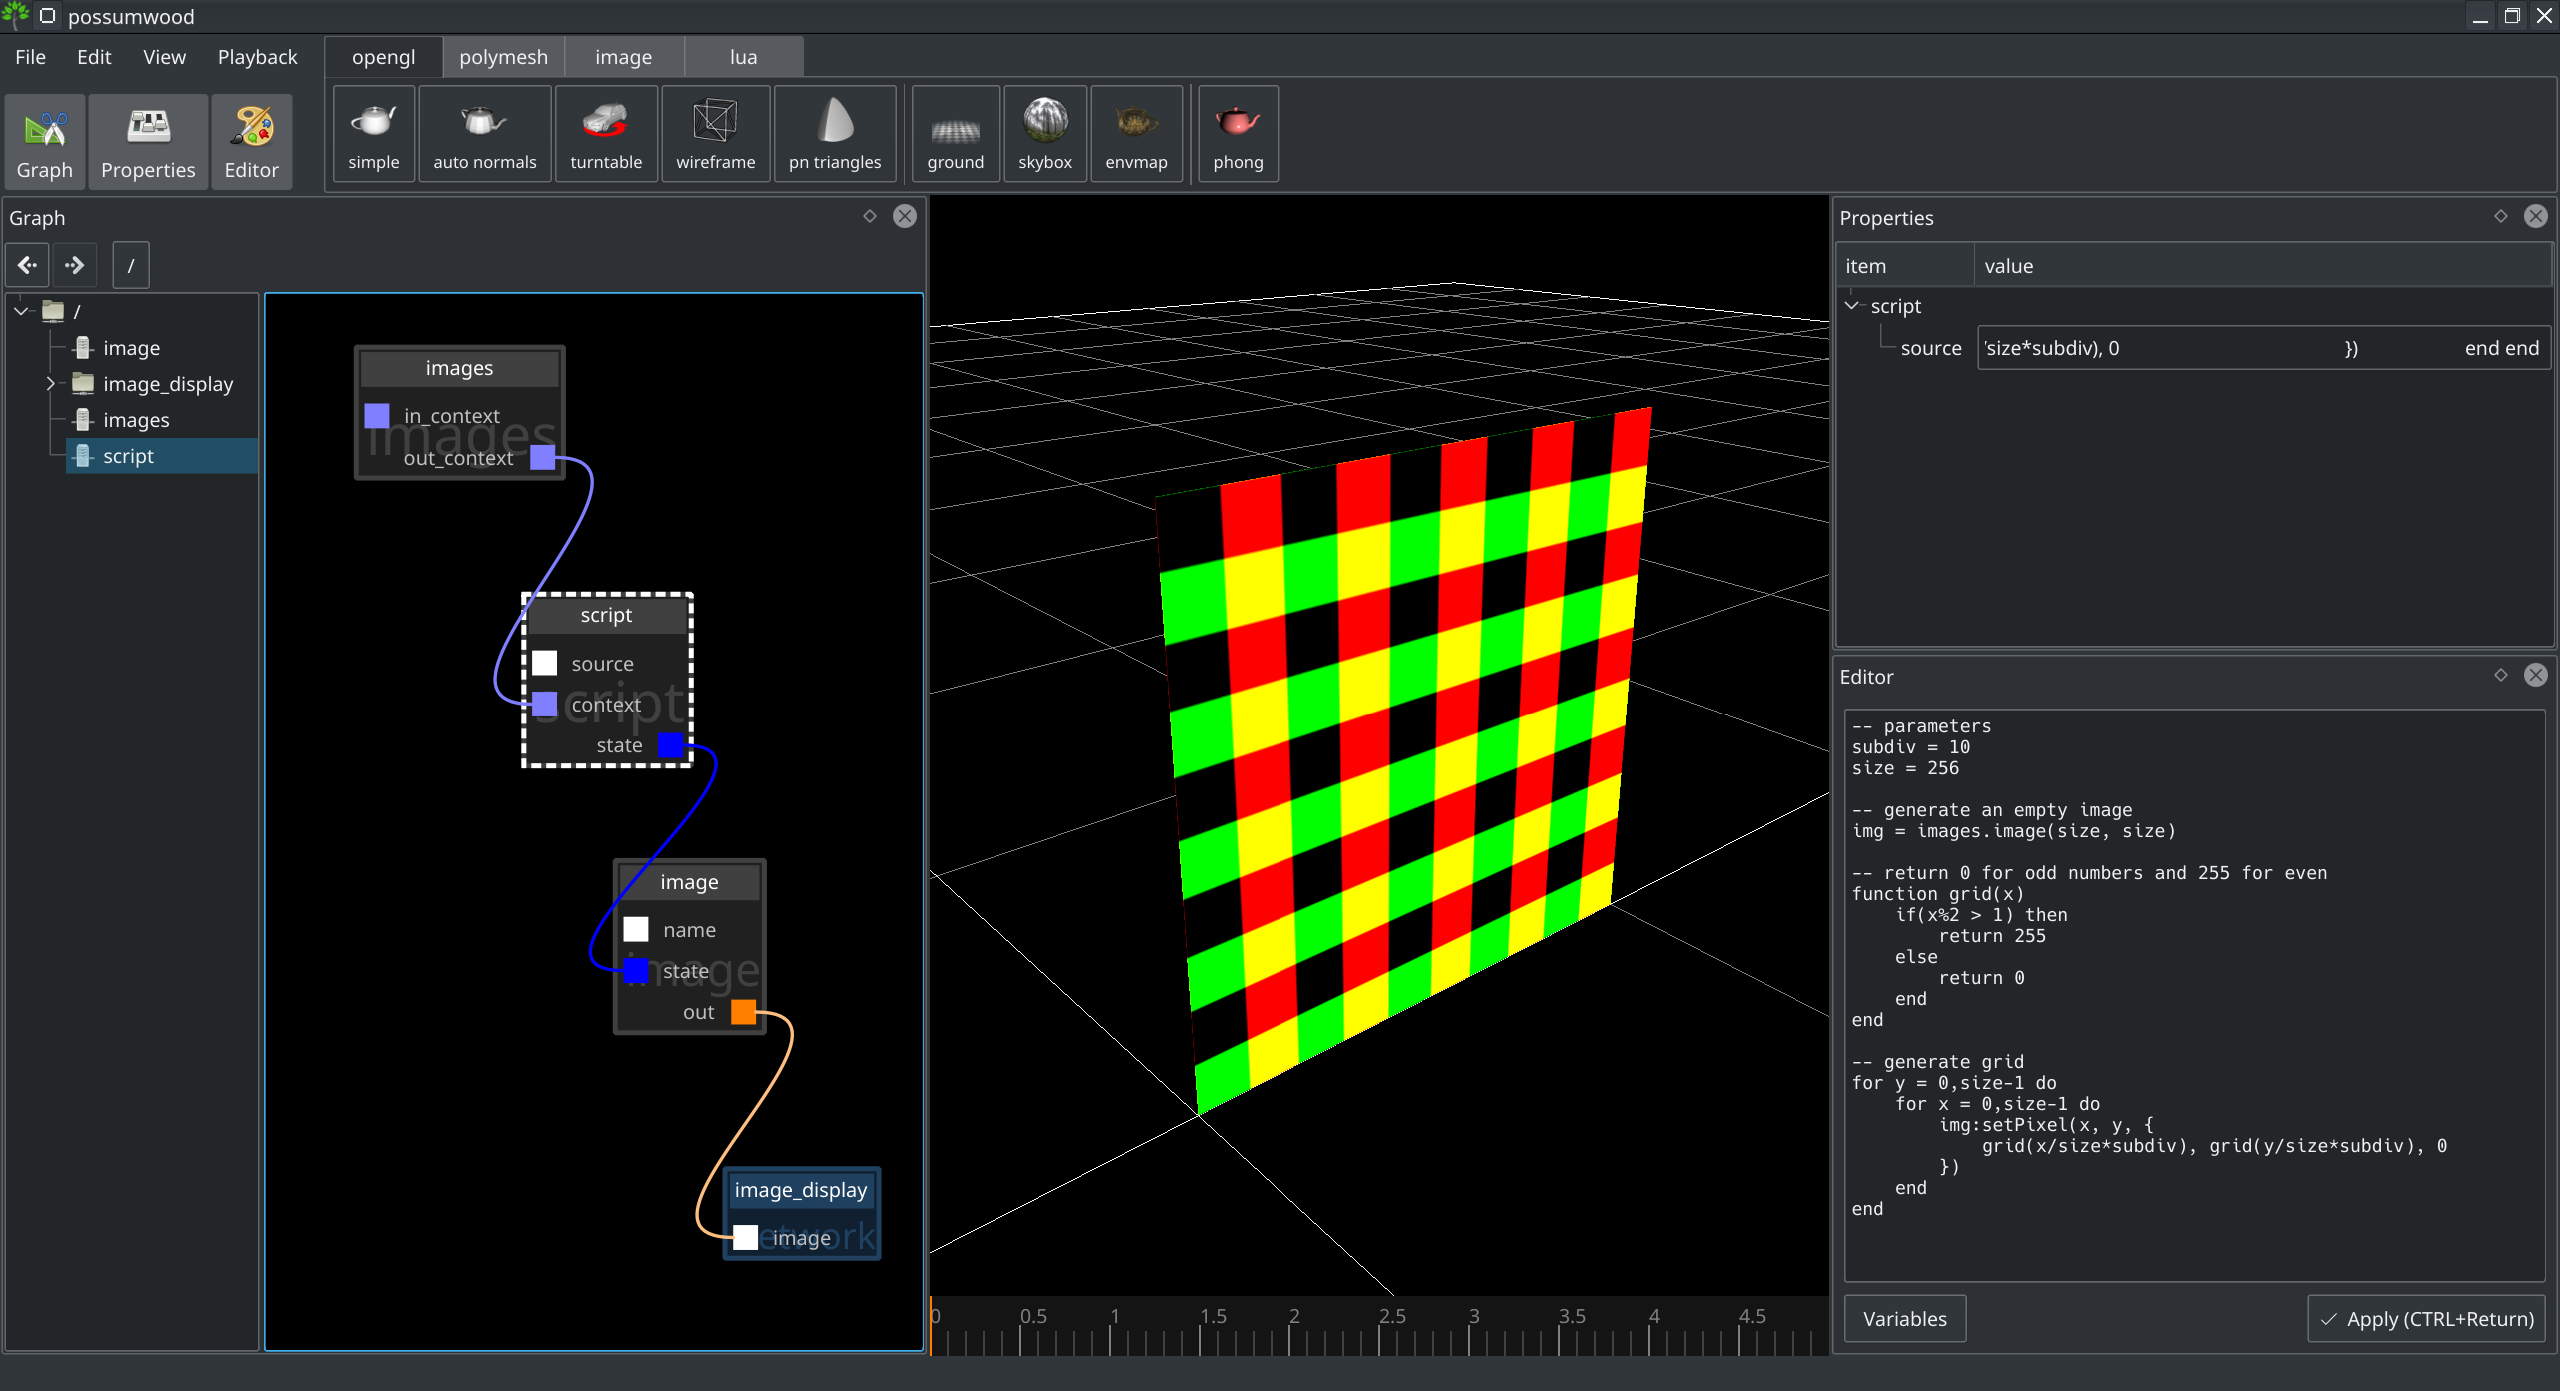
We will introduce a grid() function into our code, returning 0 for odd numbers and 255 for even (both for integers and their fractions). Using this function on the coordinates, we can create a simple checkerboard:
-- parameters
subdiv = 10
size = 256

-- generate an empty image
img = images.image(size, size)

-- return 0 for odd numbers and 255 for even
function grid(x)
	if(x%2 > 1) then
		return 255
	else
		return 0
	end
end

-- generate grid
for y = 0,size-1 do
	for x = 0,size-1 do
		img:setPixel(x, y, {
			grid(x/size*subdiv), grid(y/size*subdiv), 0
		})
	end
end
While plain Lua scripting is already quite a powerful tool for image manipulation, allowing the user to specify parameters outside the code (i.e., via a UI element) can make them even more useful. This is even more important when wrapping a complex graph into a single network node, as most examples available in the toolbar do.
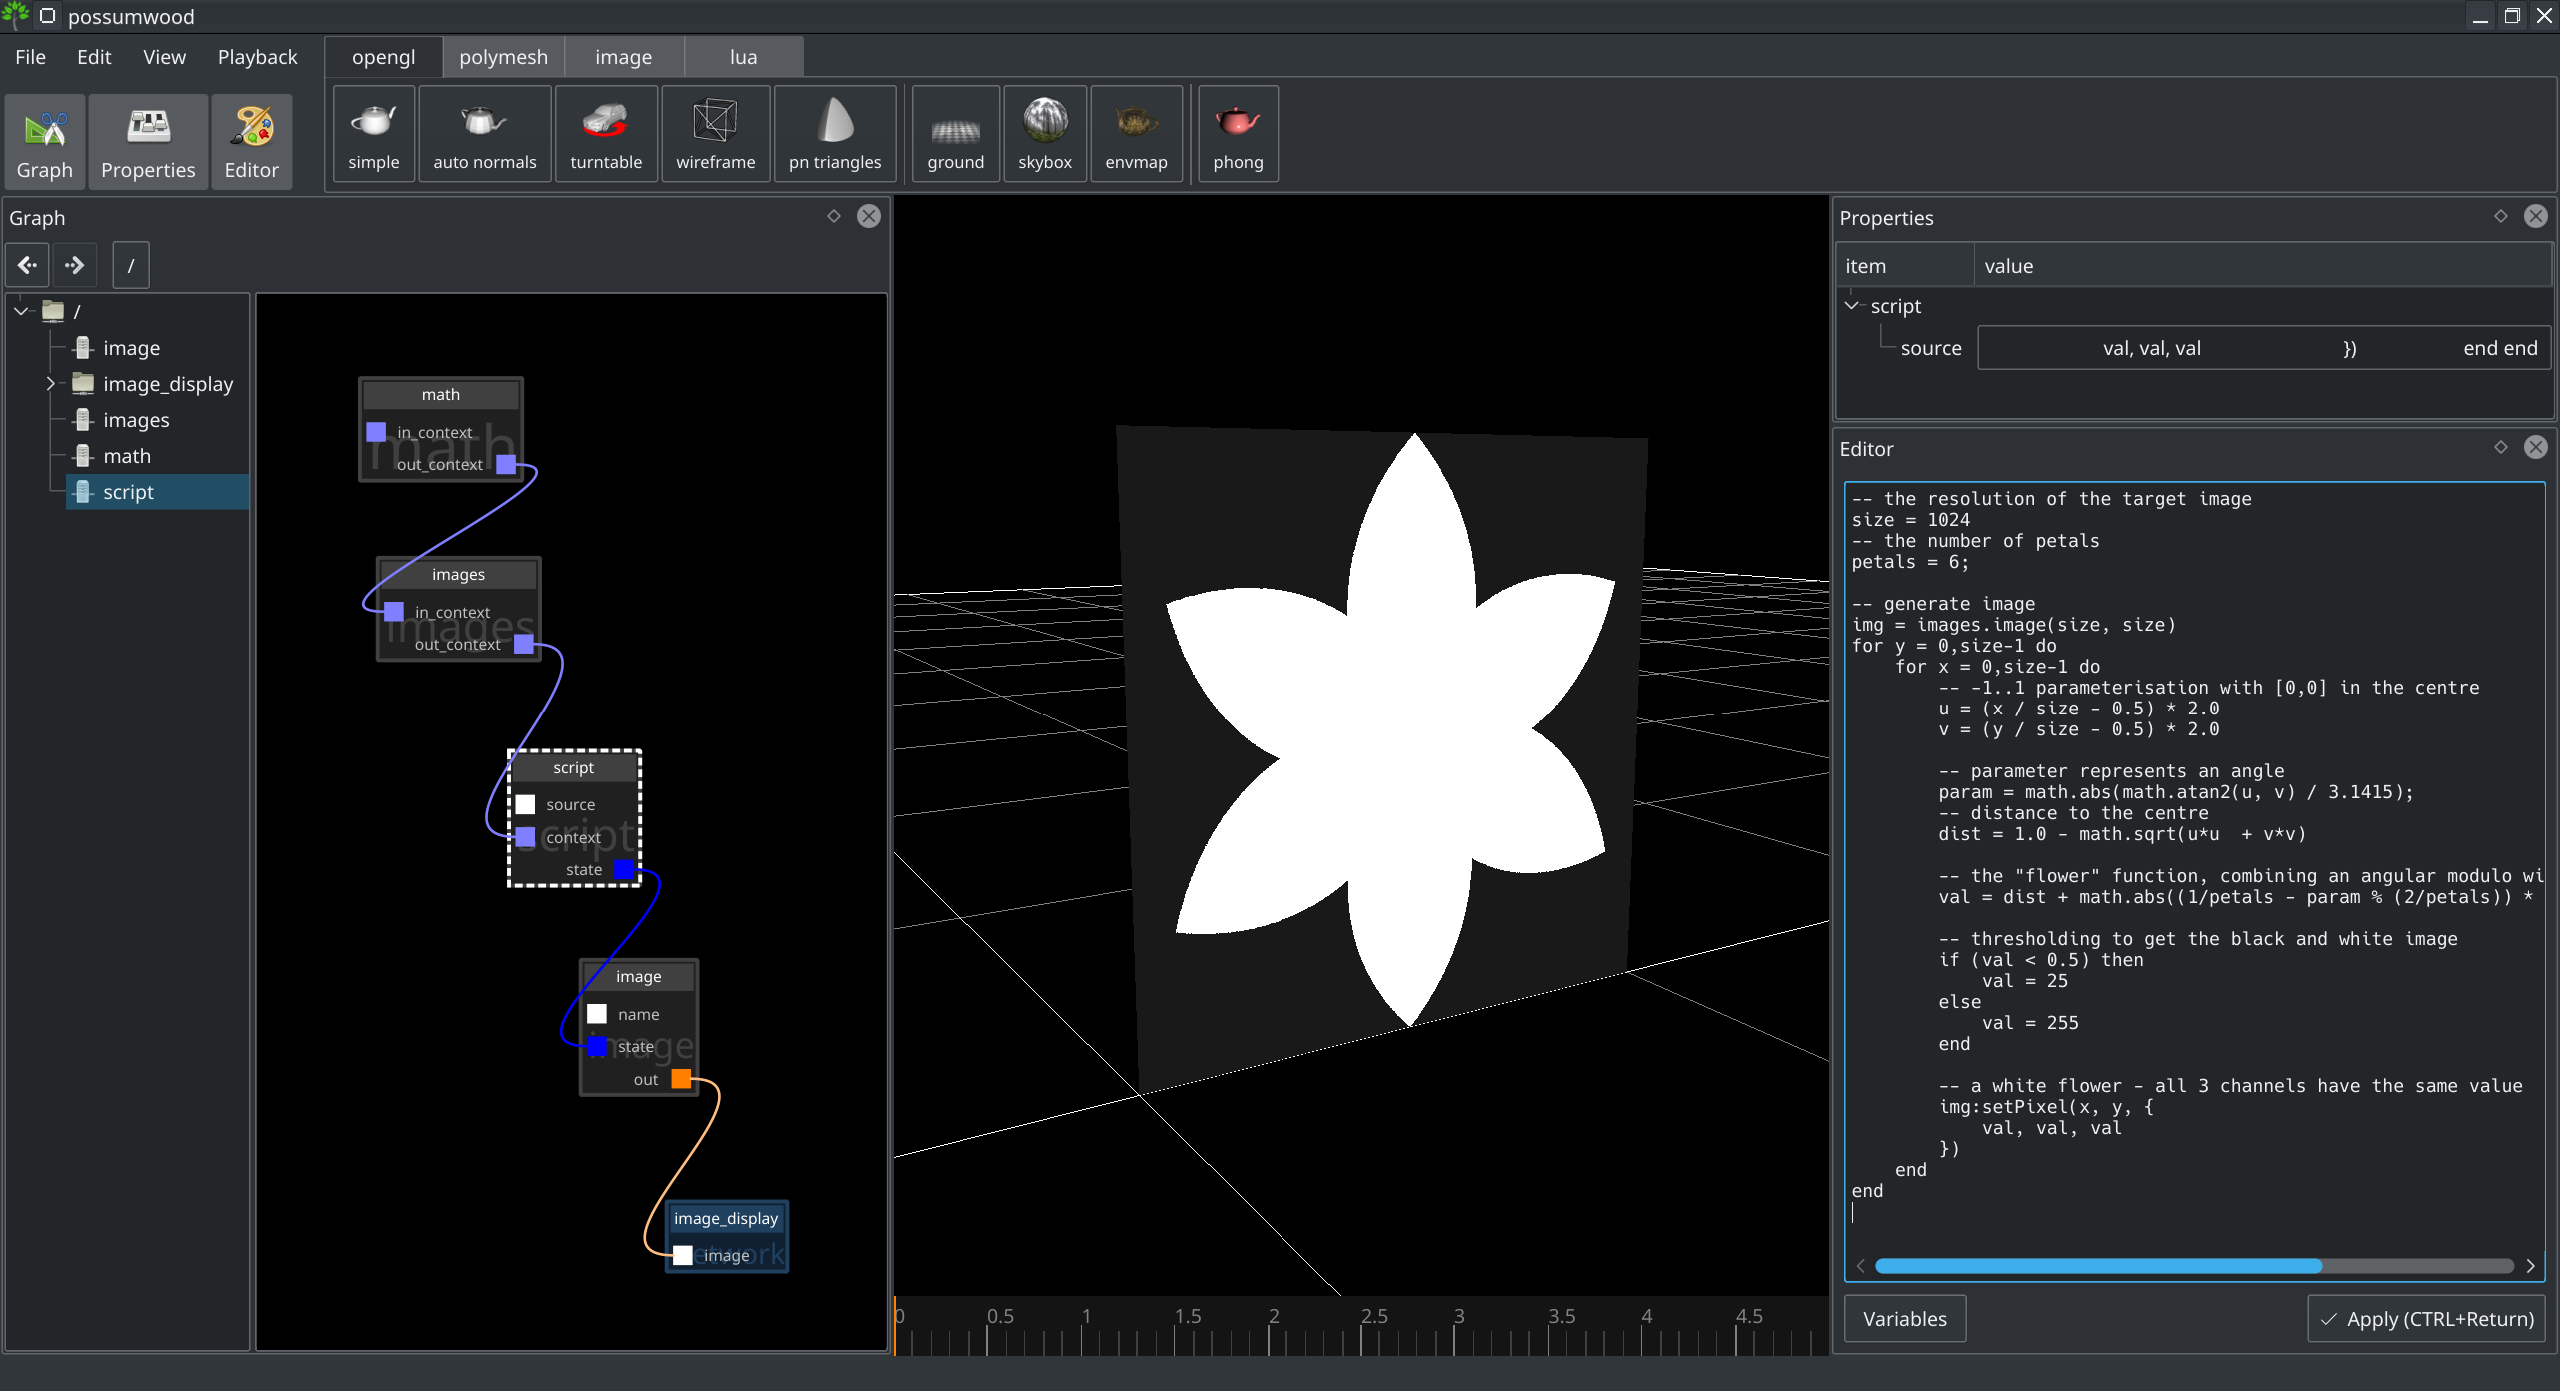
Let's start with a simple "flower" expression:
-- the resolution of the target image
size = 1024
-- the number of petals
petals = 6;

-- generate image
img = images.image(size, size)
for y = 0,size-1 do
	for x = 0,size-1 do
		-- -1..1 parameterisation with [0,0] in the centre
		u = (x / size - 0.5) * 2.0
		v = (y / size - 0.5) * 2.0

		-- parameter represents an angle
		param = math.abs(math.atan2(u, v) / 3.1415);
		-- distance to the centre
		dist = 1.0 - math.sqrt(u*u  + v*v)

		-- the "flower" function, combining an angular modulo with distance from the centre
		val = dist + math.abs((1/petals - param % (2/petals)) * petals / 2)

		-- thresholding to get the black and white image
		if (val < 0.5) then
			val = 0
		else
			val = 255
		end

		-- a white flower - all 3 channels have the same value
		img:setPixel(x, y, {
			val, val, val
		})
	end
end
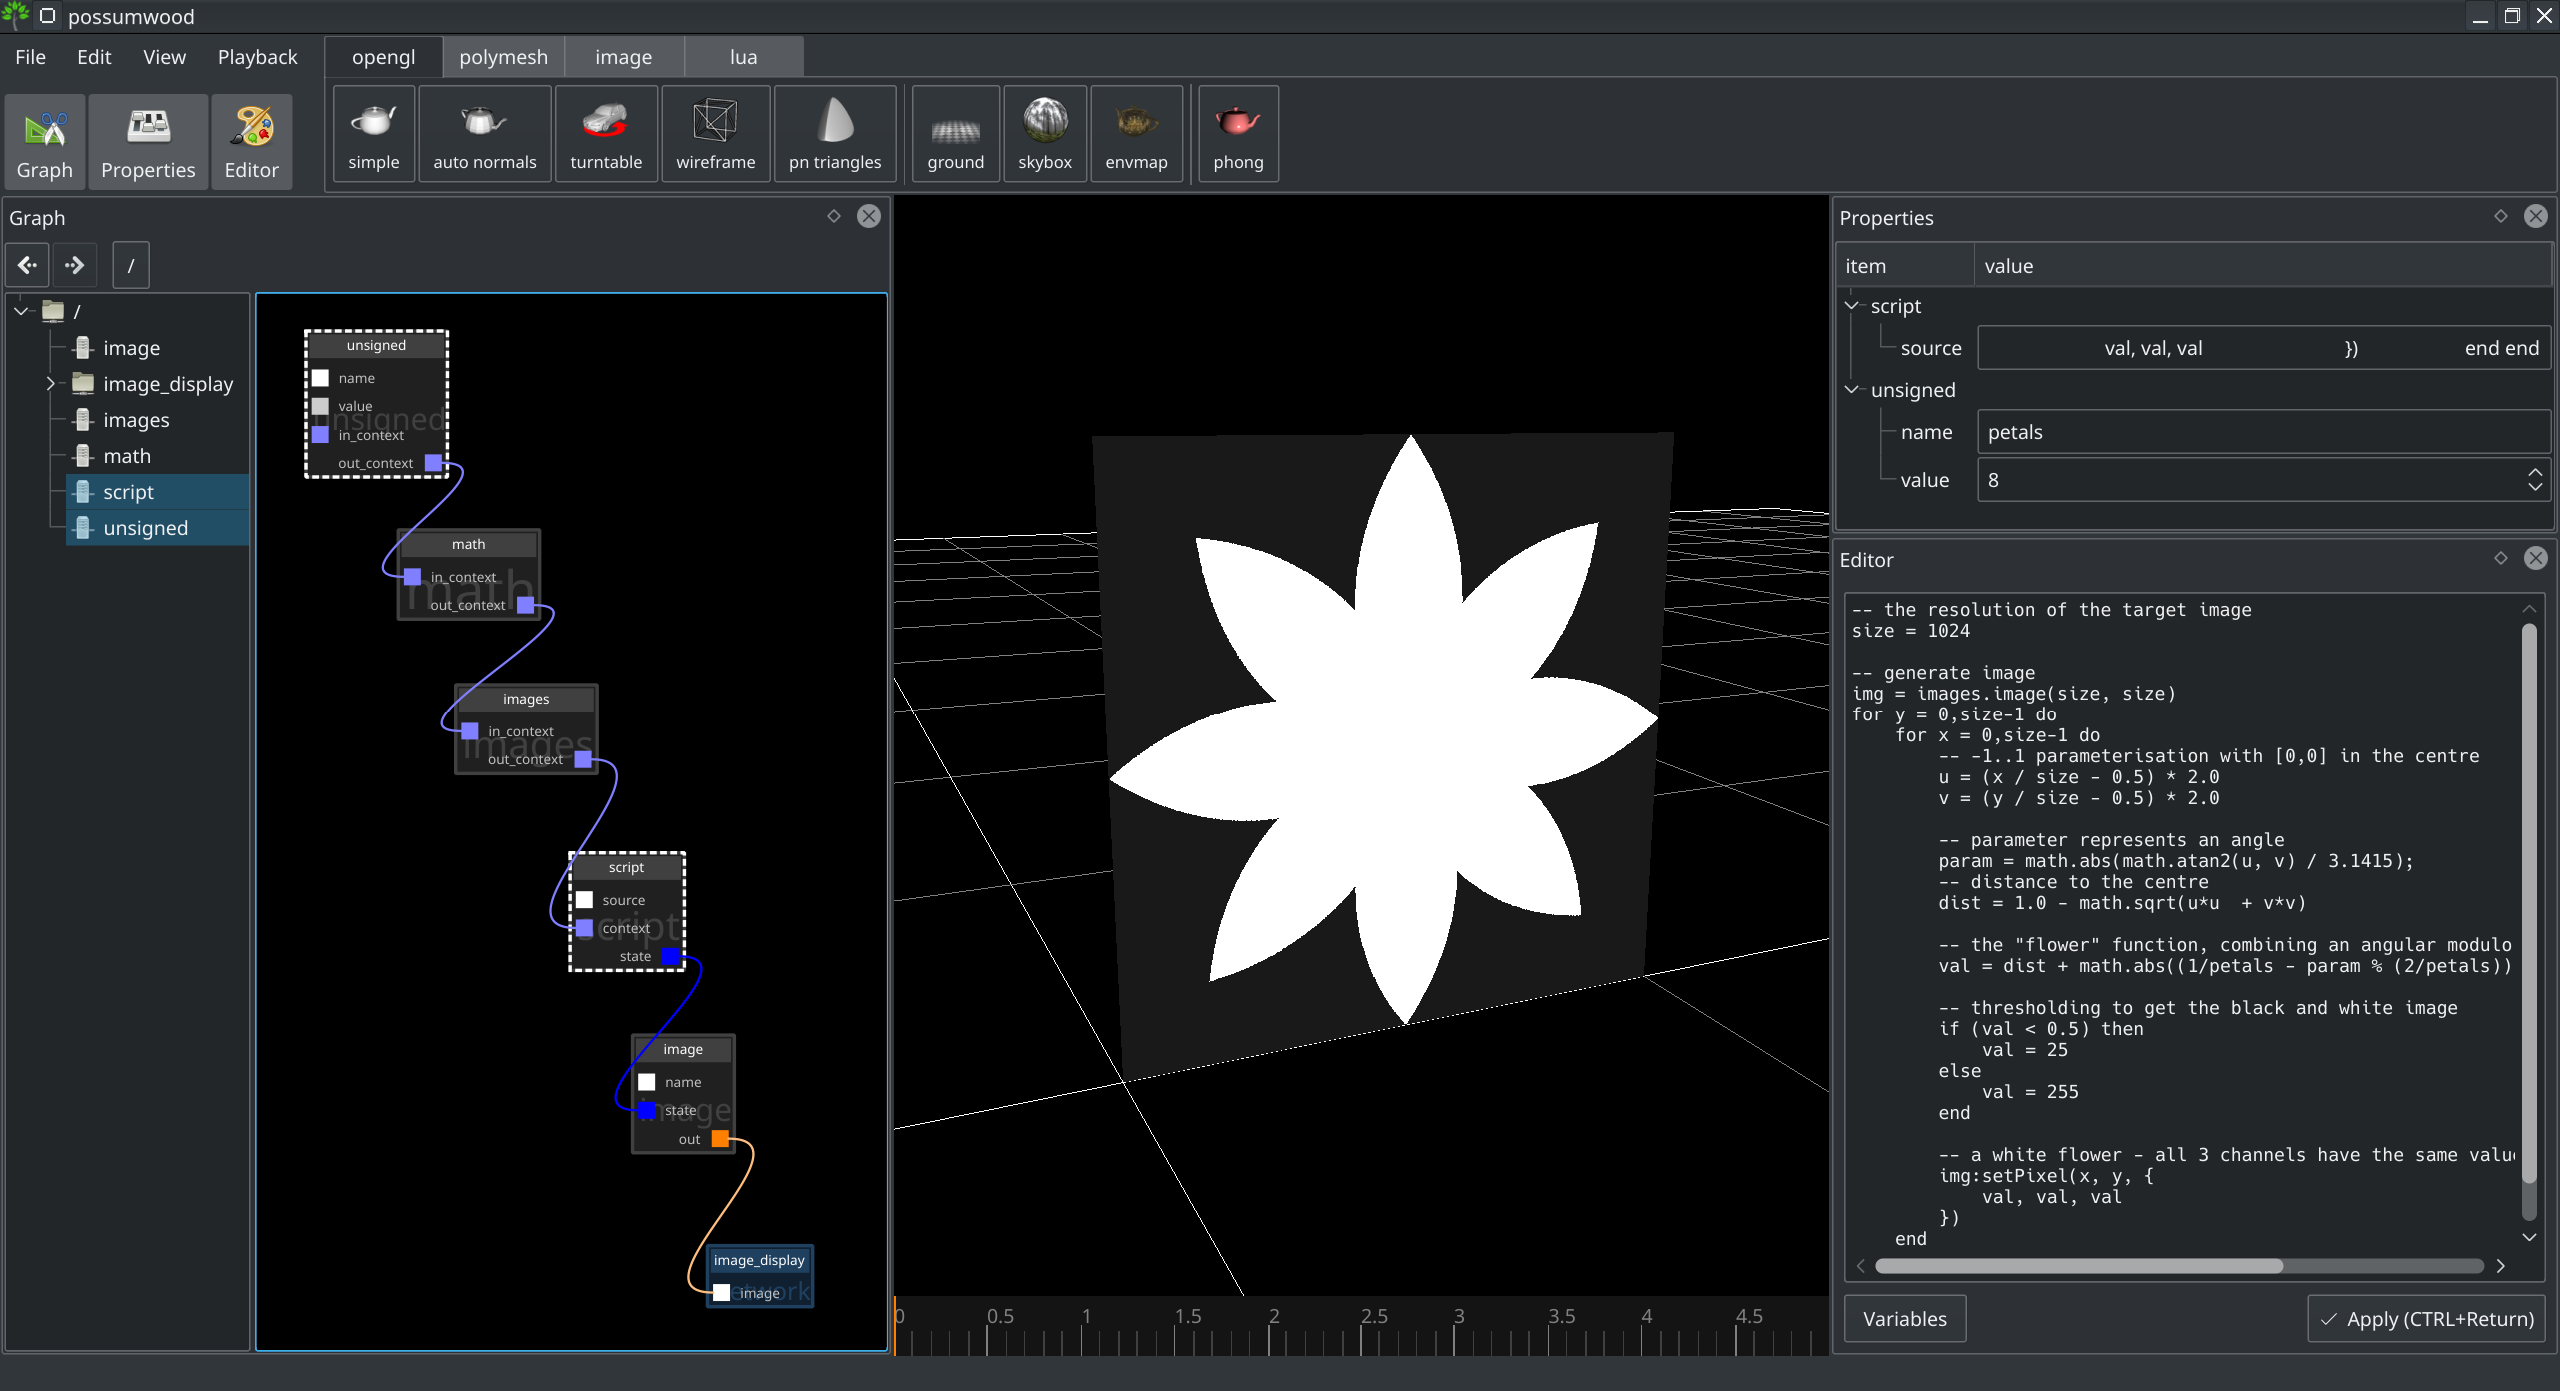
The number of petals in the Lua script above can be seen as a parameter. To expose it in the UI, we can use the lua/inject/unsigned node, change the constant name to petals and its value to 6. We also need to remove the petals variable from the code - this value is now provided using an additional node. This will lead to the following setup:

By wrapping the setup in a network node, we can create a single "flower node", with the number of petals exposed as its parameter:

The name of the exposed parameter is derived from the name of the node - to expose a parameter named petals, we need to rename the input node appropriately.
This leads to a single network node with one parameter, representing all the functionality described above:

Possumwood is an open source project - please contribute!