-
Notifications
You must be signed in to change notification settings - Fork 41
Home Assistant Configuration

Now that the AiLight firmware is uploaded, the next step is making your Ai-Thinker LED RGBW light available in Home Assistant. To do that, add the following to your configuration.yaml file. (In case you are using the MQTT Discovery option, you can skip this step).
MQTT Broker:
mqtt:
  broker: <YOUR_MQTT_SERVER_ADDRESS>
  port: 1883
  client_id: home-assistant
  username: <YOUR_MQTT_USERNAME>
  password: <YOUR_MQTT_PASSWORD>
Note: if your MQTT broker is set for anonymous access, you can leave the username and password variables out. Also, change the port number and client_id variables if your situation differs.
Light:
light:
  platform: mqtt_json
  name: 'AiLight Office'
  state_topic: '<YOUR_MQTT_STATE_TOPIC>' (e.g. 'AiLight-CC8410')
  command_topic: '<YOUR_MQTT_COMMAND_TOPIC>' (e.g. 'AiLight-CC8410/set')
  color_temp: true
  brightness: true
  rgb: true
  white_value: true
  effect: false
  optimistic: false
If you noticed that the state of your Ai-Thinker LED RGBW is not retained after a restart of Home Assistant, make sure to enable this in AiLight and Home Assistant, by:
- Add the
retain: trueto your light's configuration in Home Assistant - Set the parameter
MQTT_RETAINto true in your AiLight 'config.h' file.
(By default, retaining state is not enabled).
Lastly, add your Ai-Thinker LED RGBW light in a Home Assistant view. For example like this:
group:
  default_view:
  lights:
    name: Lights
    entities:
      - light.ailight_office
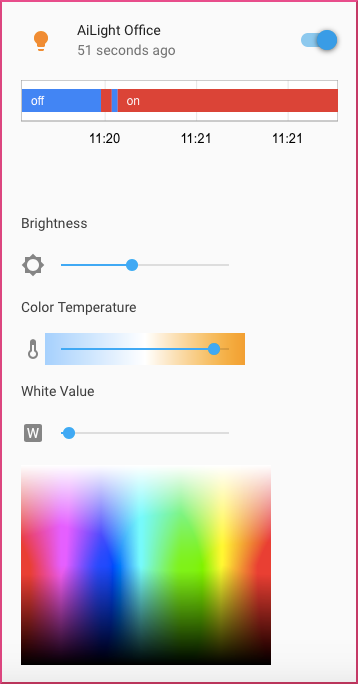
Restart Home Assistant to load the new configuration. If everything goes according to plan, you should see the light appear in your Home Assistant.

Getting started
Home Assistant
Using the Firmware
Advanced topics