-
Notifications
You must be signed in to change notification settings - Fork 10
Launching CDeep3m via AWS CloudFormation
This page describes steps to run Deep3m via an AWS EC2 instance via CloudFormation.
WARNING: Running the CloudFormation stack described below will result in EC2 charges ($0.9-$3 per hour runtime)
- AWS account
- Ability to launch p2 or p3 instances. To check click here.
- A ssh client
- Import or create AWS key pair used to connect to instance via ssh.
Click the Launch Stack icon below to launch the CDeep3m CloudFormation template which will spin up 1 EC2 instance (~20 minutes to bootup):
Link below will launch in Oregon Region:
WARNING: Running the above CloudFormation stack will result in EC2 charges
Clicking the Launch Stack icon above will open a new window in the browser as seen below.
Click the Next button circled in red below.

After clicking Next a page similiar to the one below will be displayed.
This page lets one configure details about the CloudFormation stack. Information about the fields are below this figure.
When satisfied with configuration click Next circled in red.
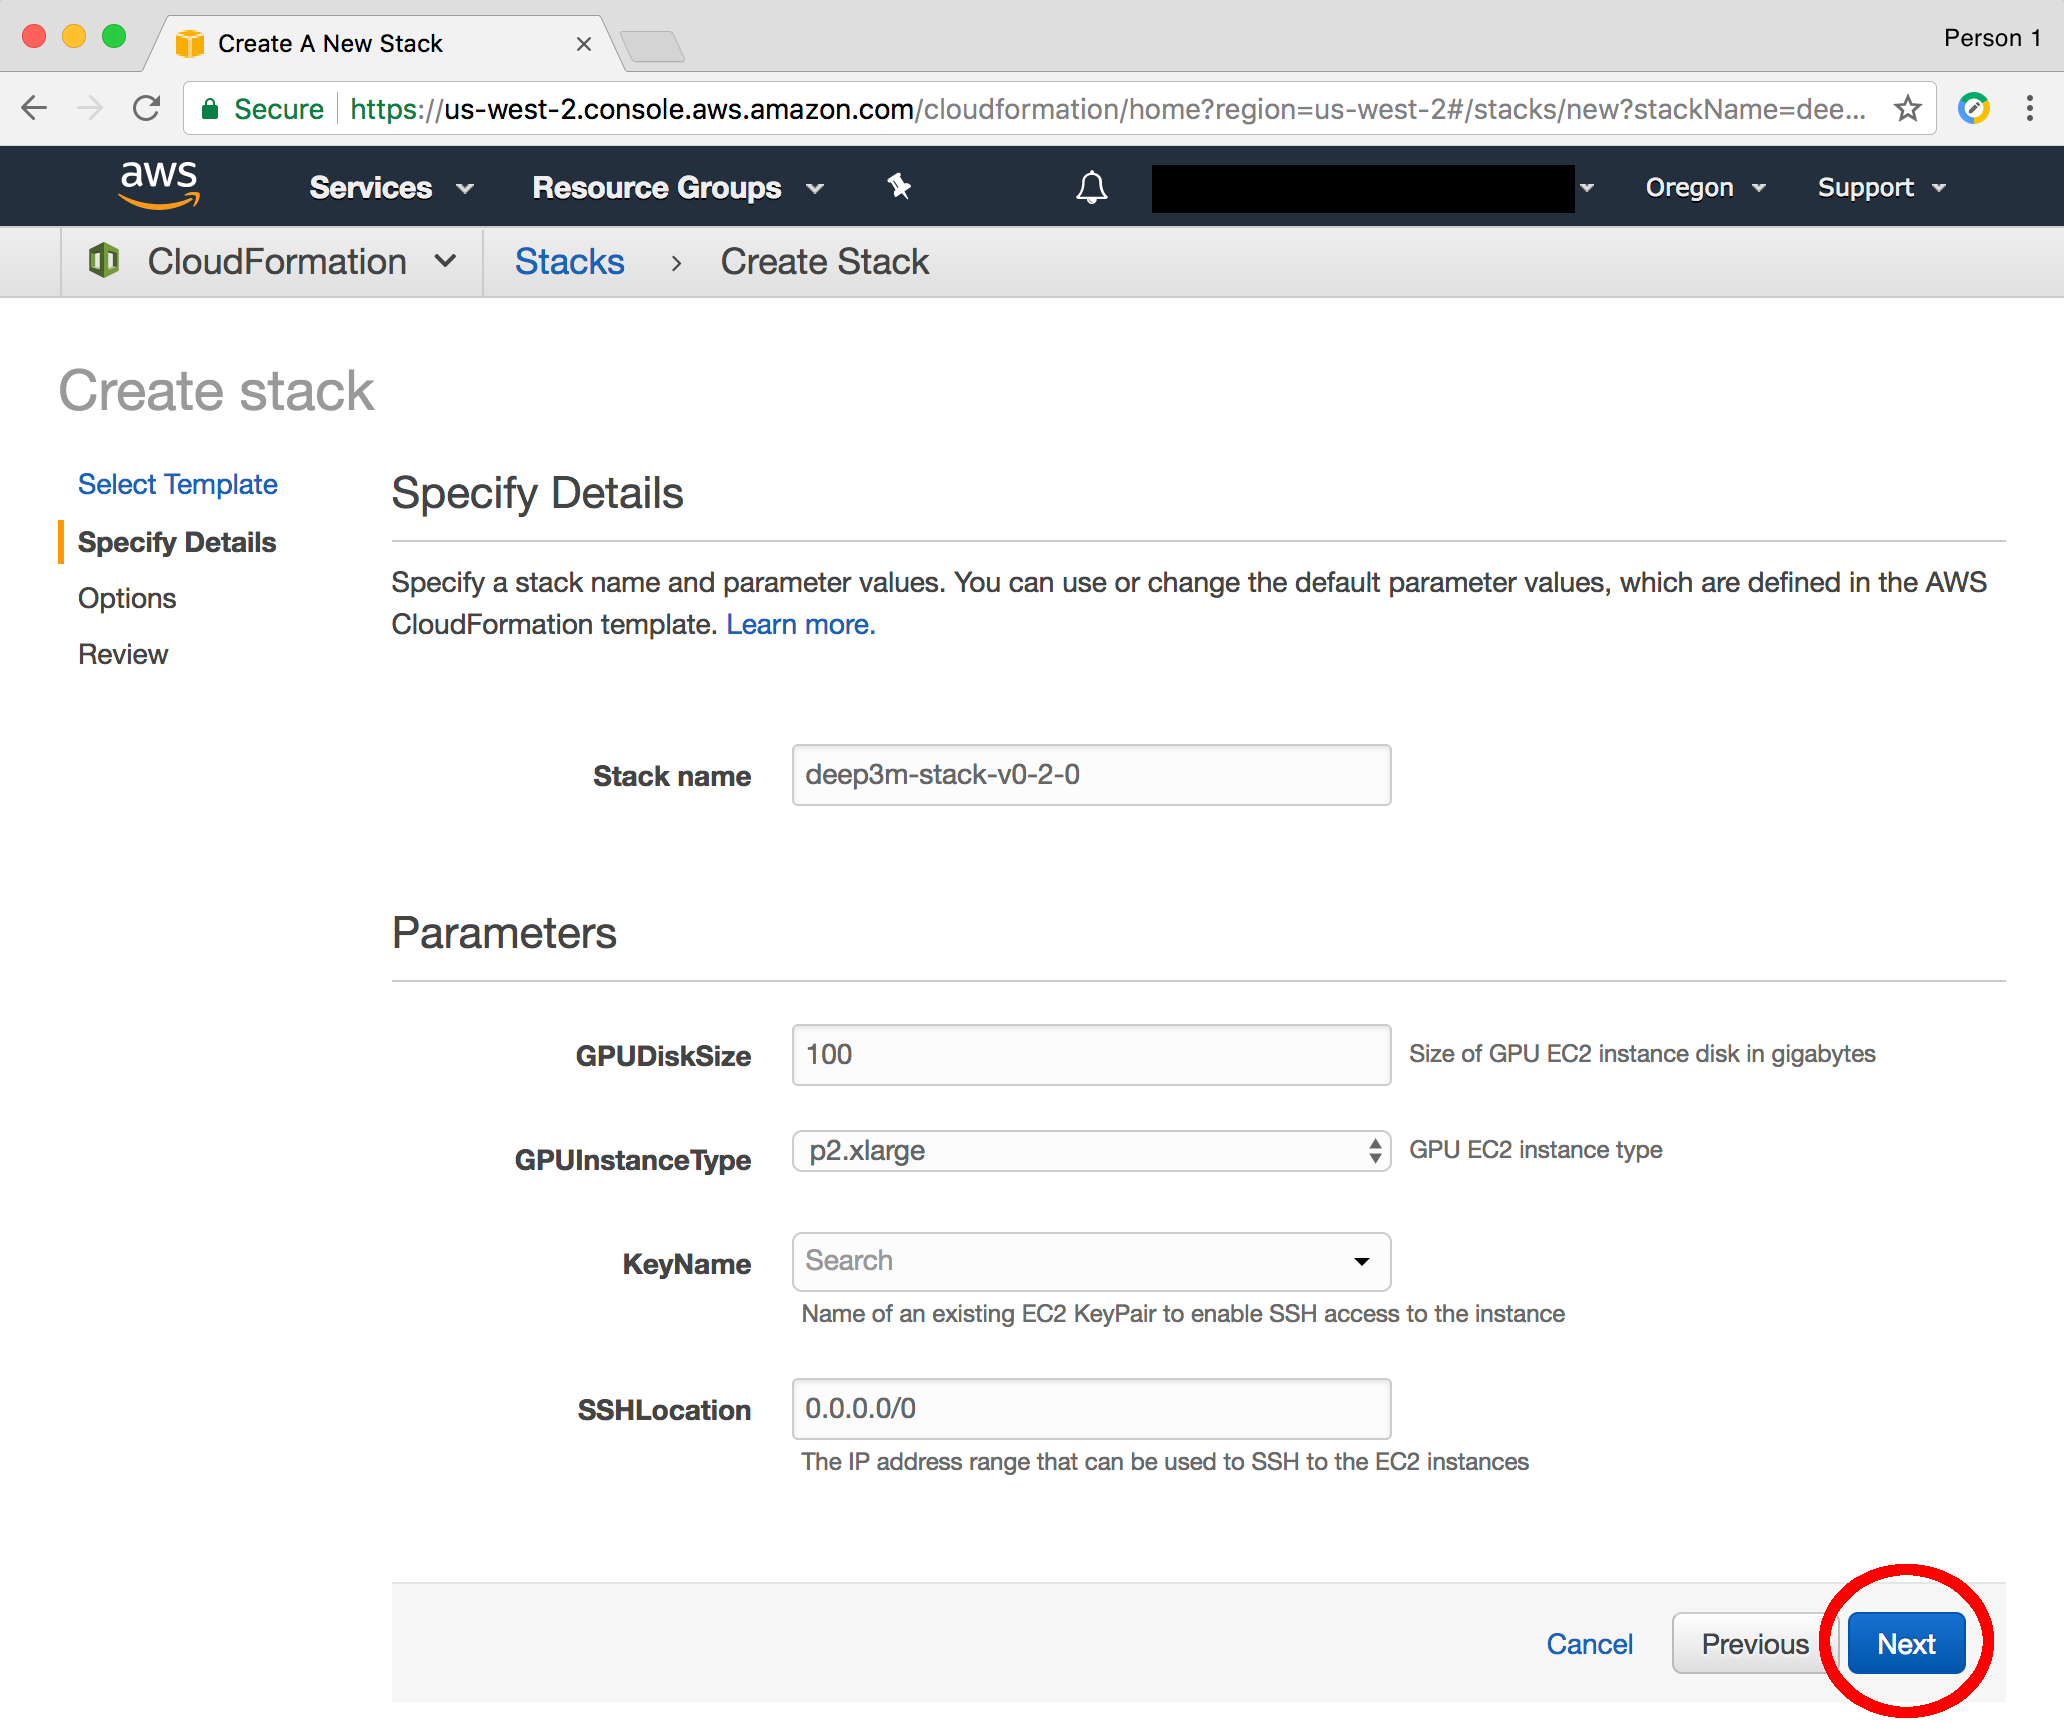

- This field sets the name of the stack. By default CDeep3m CloudFormation template uses the name deep3m-stack-vVERSION, but can be customized if desired.
NOTE: Duplicate stack names are NOT allowed so multiple launches will require adjustment of this field.

- This field sets the size of the disk on the GPU EC2 instance to spin up. The default is 100 gigabytes.

- Defines, via dropdown, type of EC2 instance to spin up. p3 instances are faster, but more expensive then p2 instances. See Pricing for current prices.

- Sets ssh Keypair to add to the GPU EC2 instance that will be spun up. This field is a dropdown listing Keypairs already setup with AWS account. This must be set otherwise it will NOT be possible to ssh into the gpu machine. Click here for more information on AWS EC2 Keypairs

- Sets what IPV4 ip addresses are allowed to access GPU EC2 instance. This field expecs an IPV4 Cidr. The default value of 0.0.0.0/0 allows access from everywhere and is NOT recommended. It is probably better to set the ip address to the address of your machine. Sites like (https://www.whatismyip.com/) can get retrieve your ip address and the cidr notation for single address is just the address with /32 added to the end.
When satisfied with configuration click Next
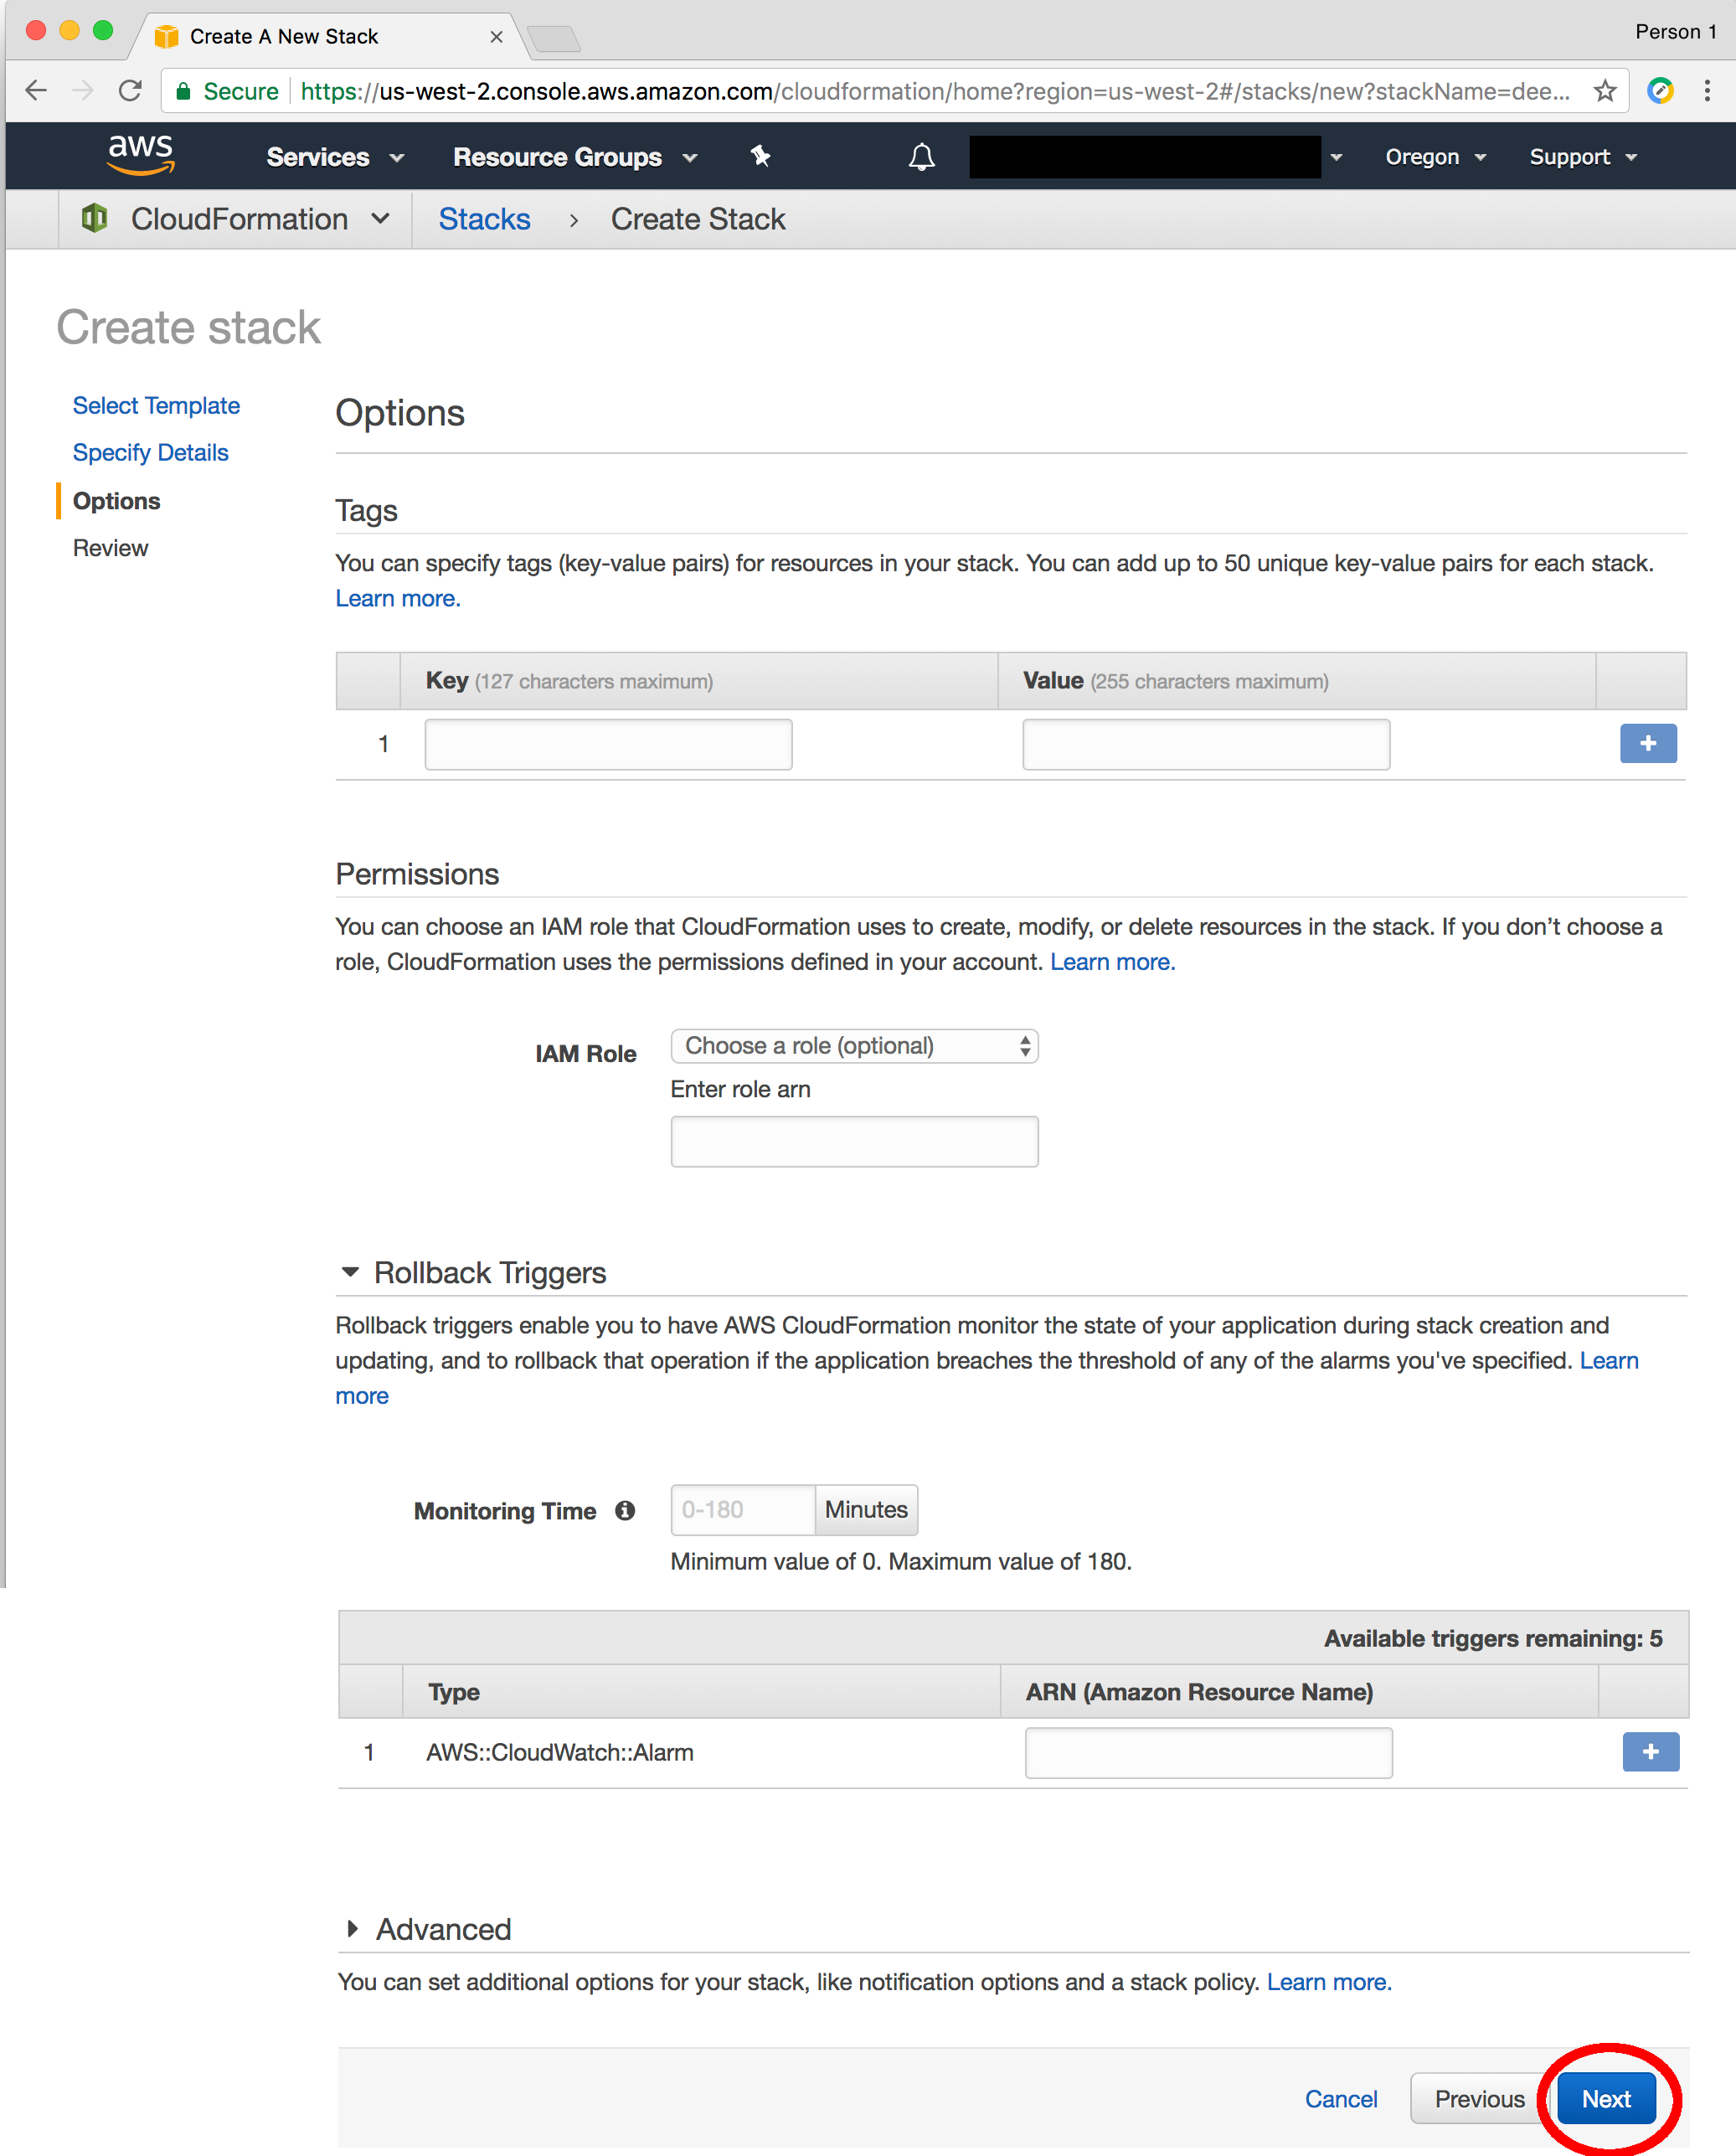
This next page offers more configuration options, but these can be skipped. Just scroll down and click Next which circled in red in the figure below to review the stack configuration:
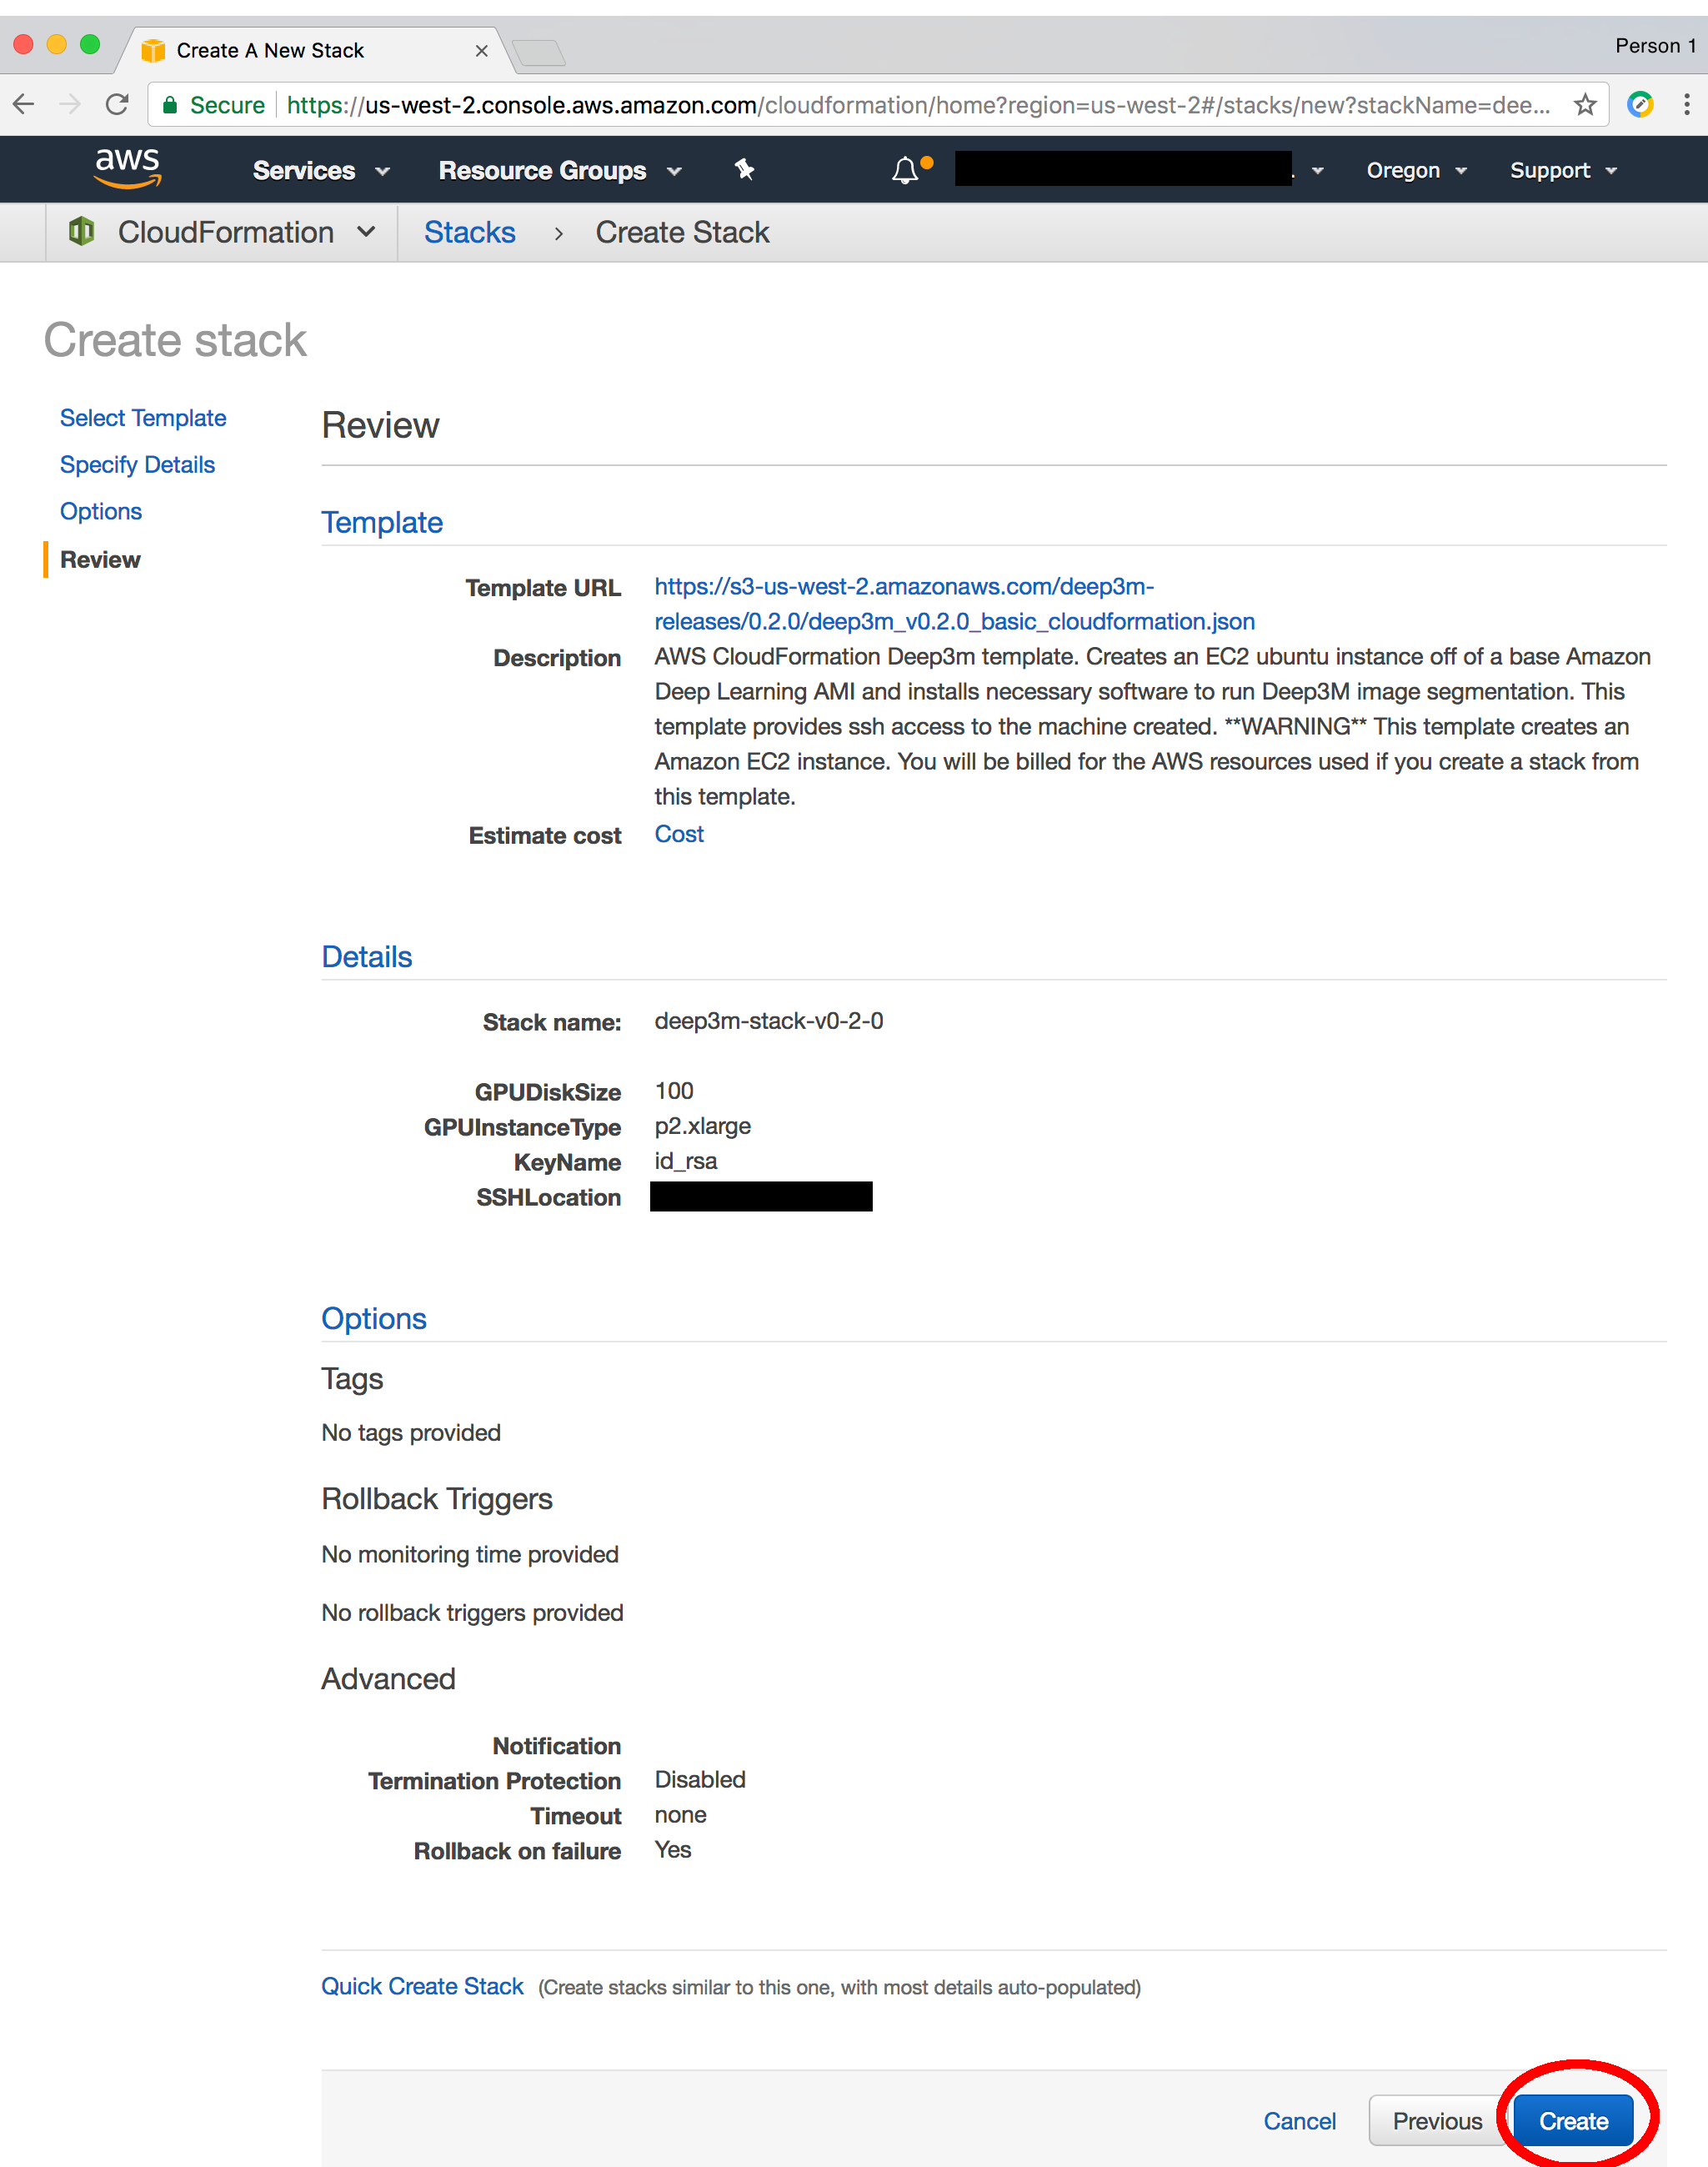
This next page (as shown below in figure) lets one review the configuration of the stack to be created. If satisfied click Create (circled in red below):
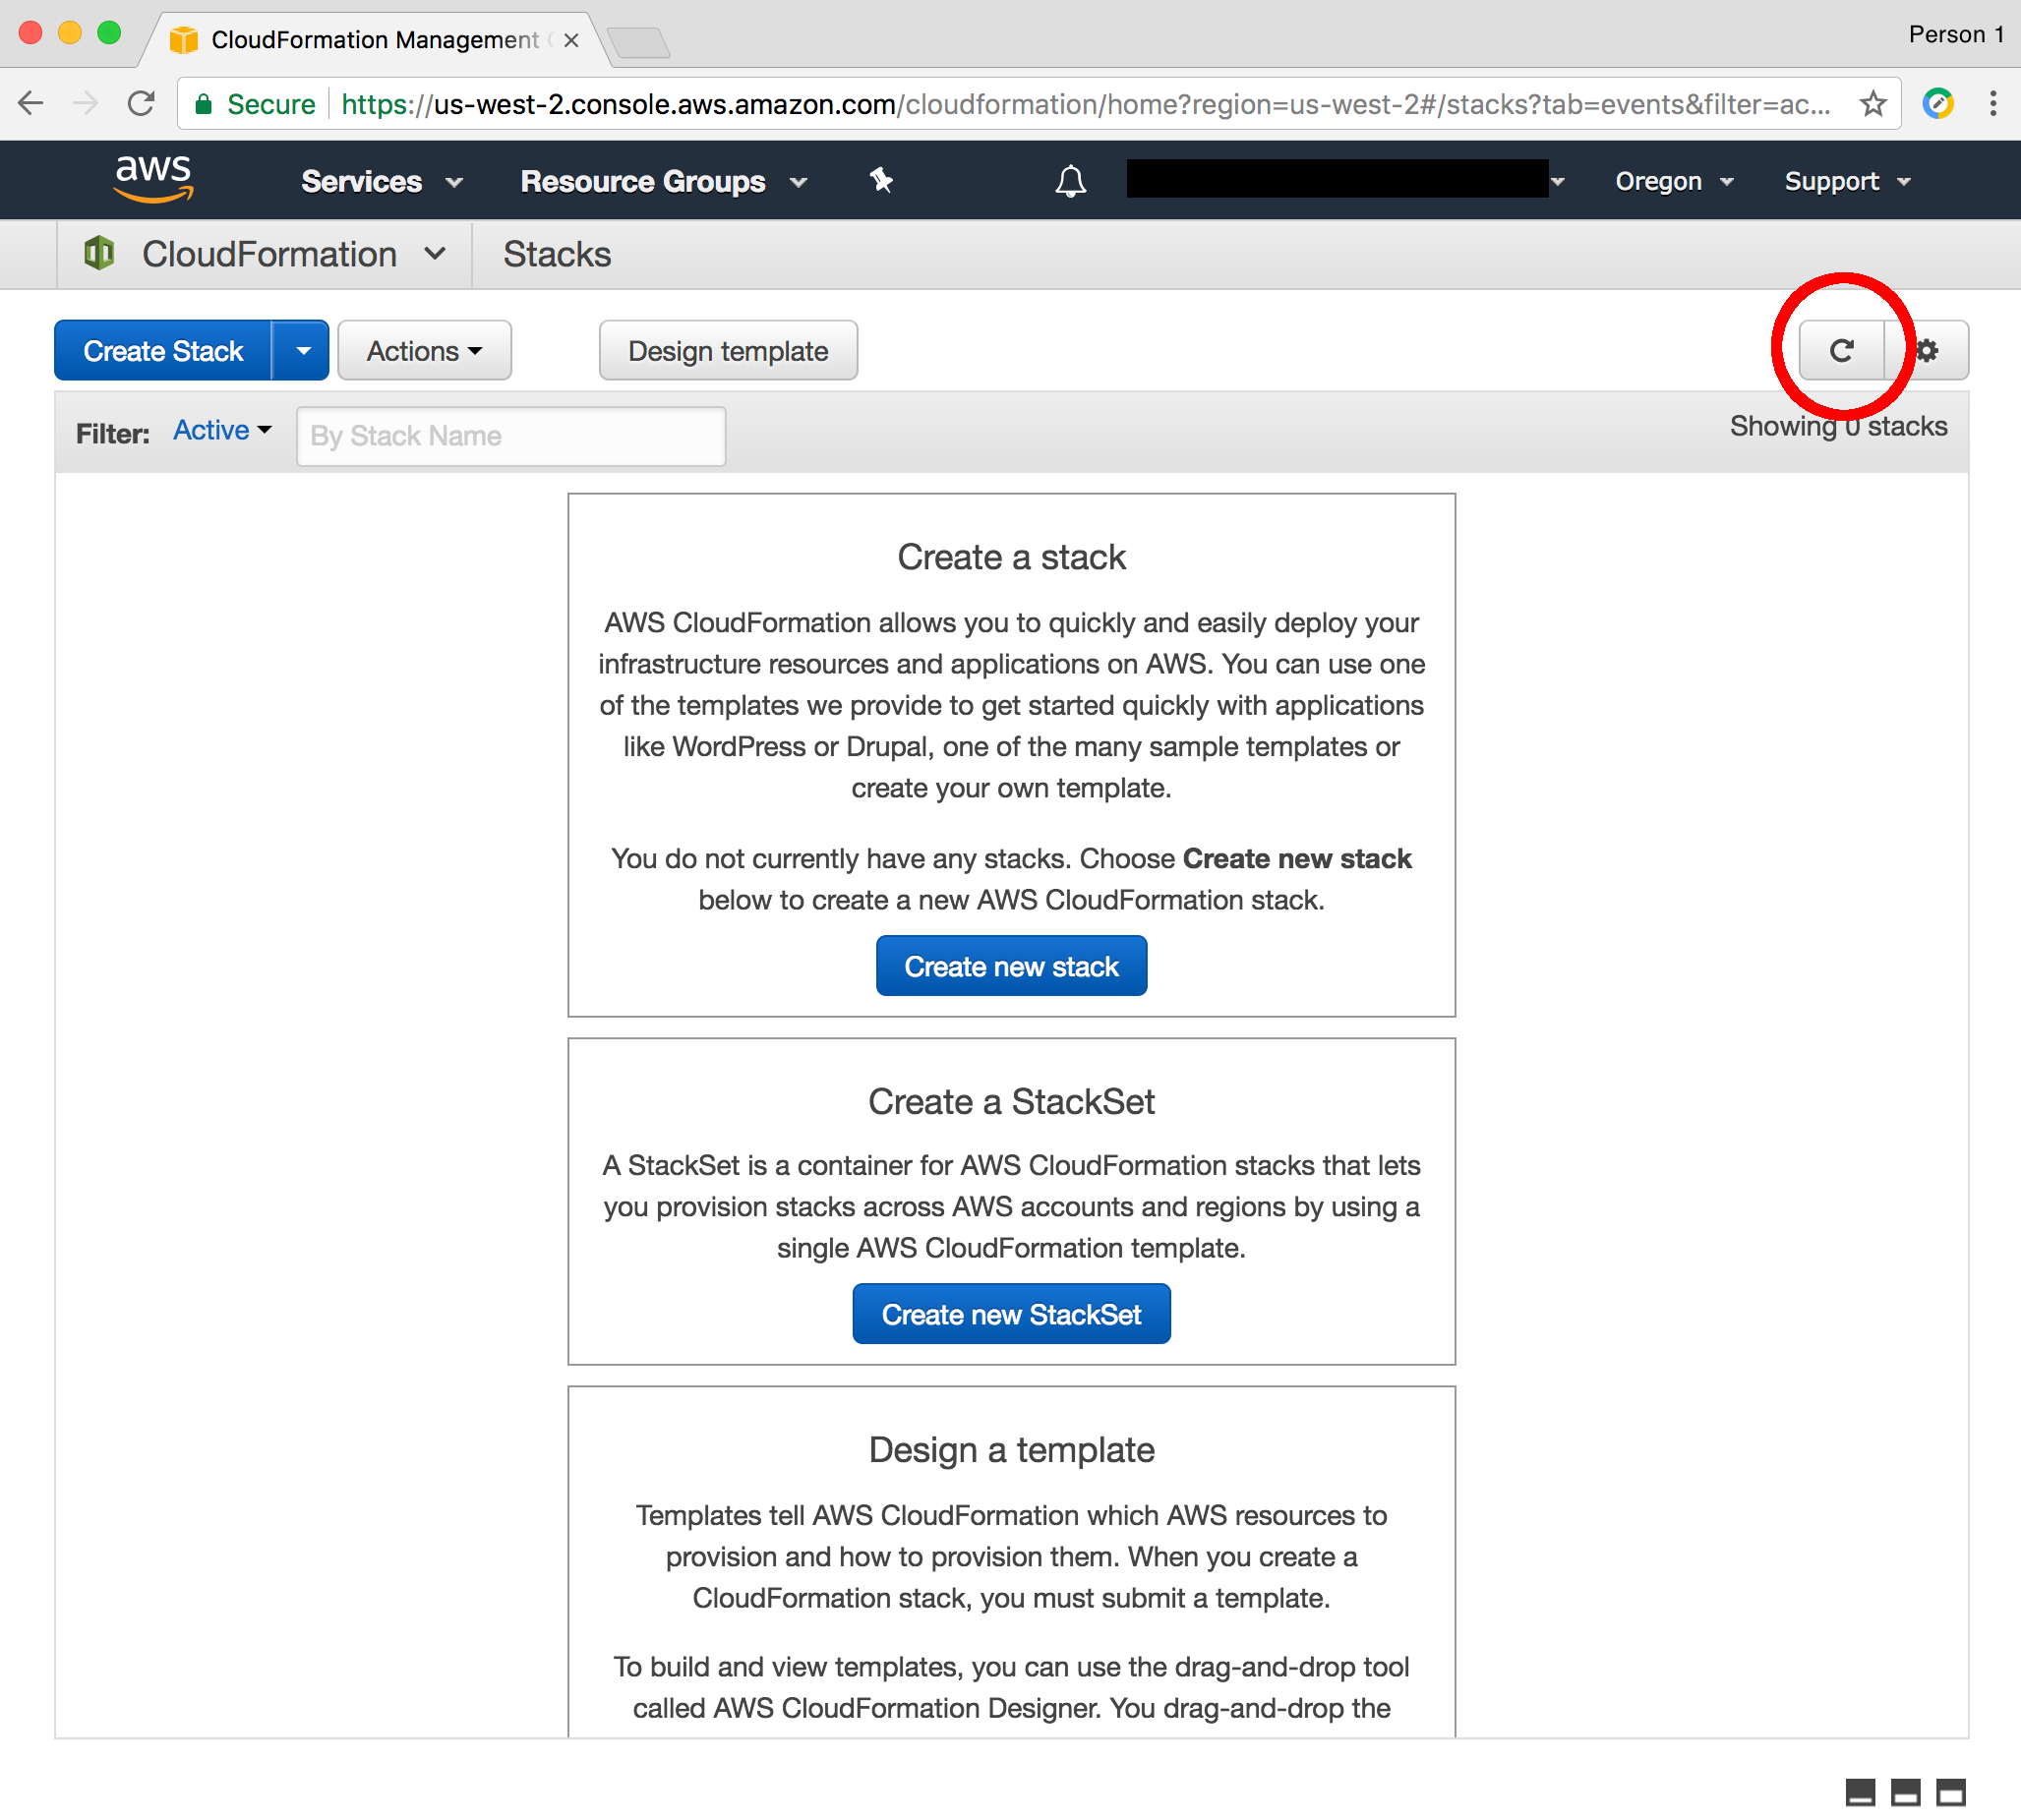
After creating the stack from the previous step. The next page displayed will look like the figure below. Click the refresh icon circled in red.
After clicking on the refresh icon the view should change to a table and a row should show the created CloudFormation like the following figure:
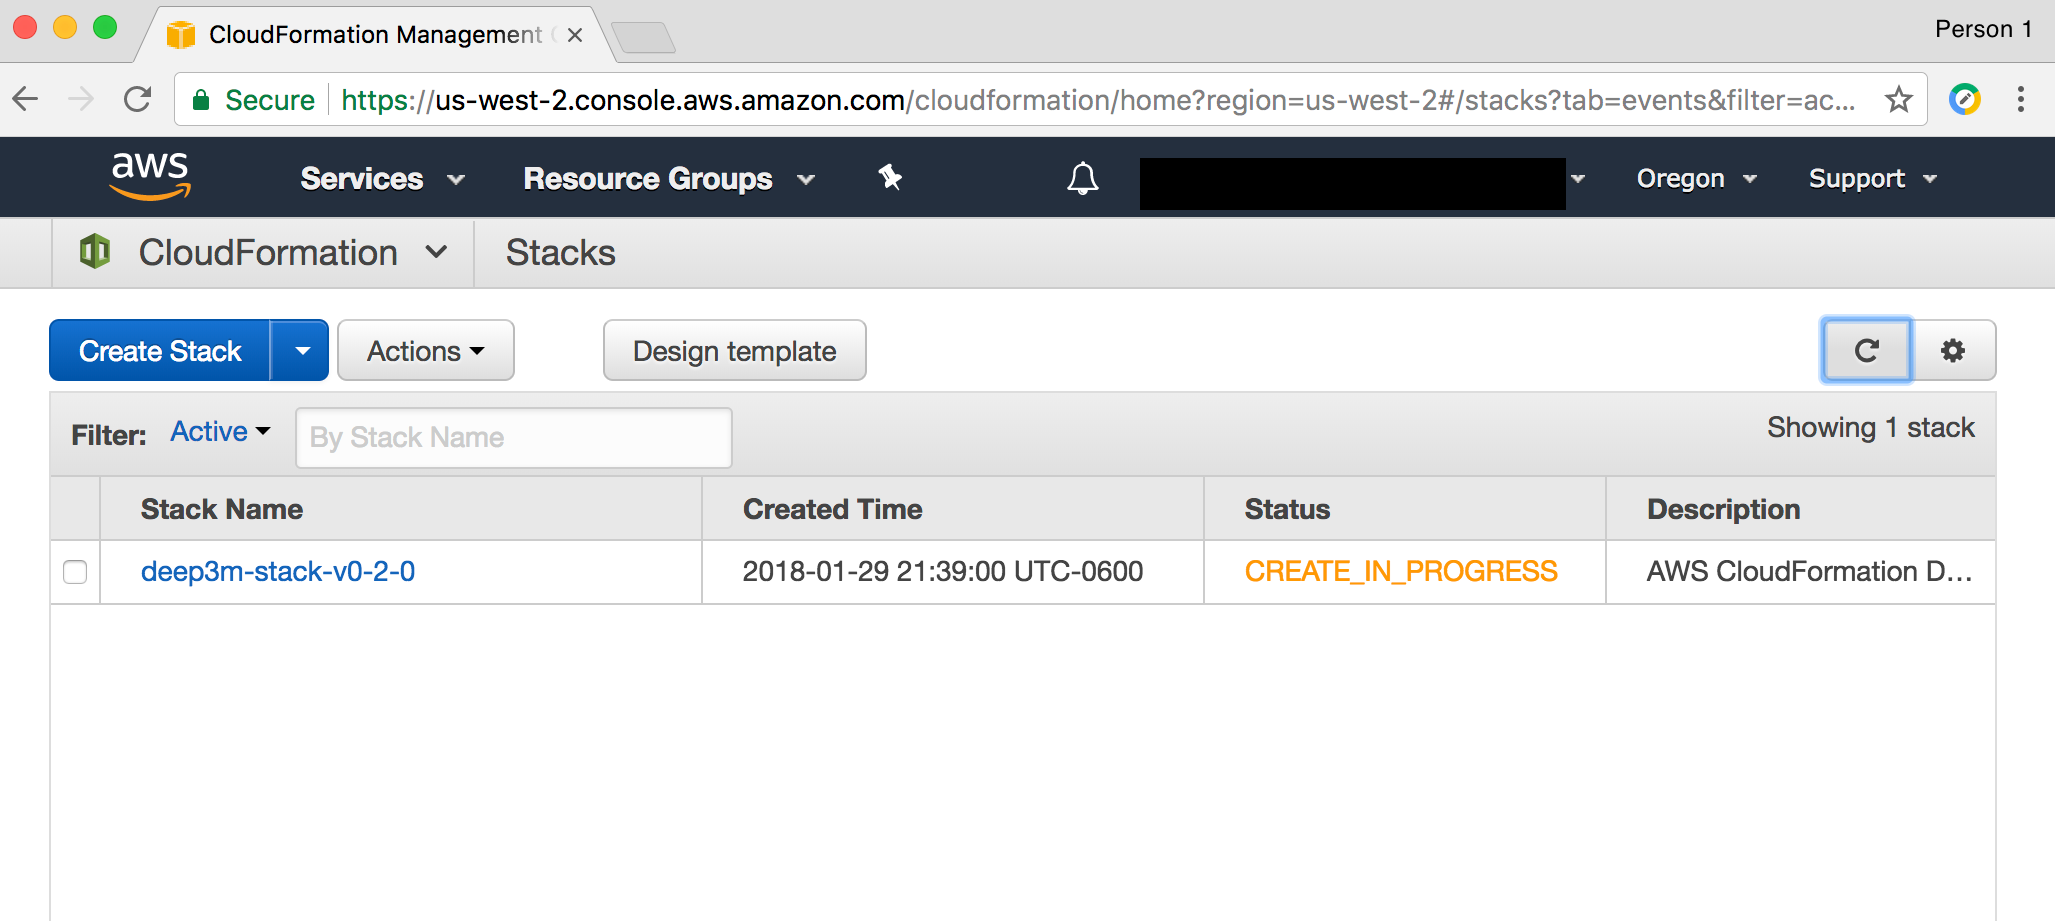
To get detailed views of information about the stack being created click in two locations circled in red. Once in the row with the stack (NOT on stack name since that will take you to a detailed view) and once on the icon to bring up the lower detail panel.
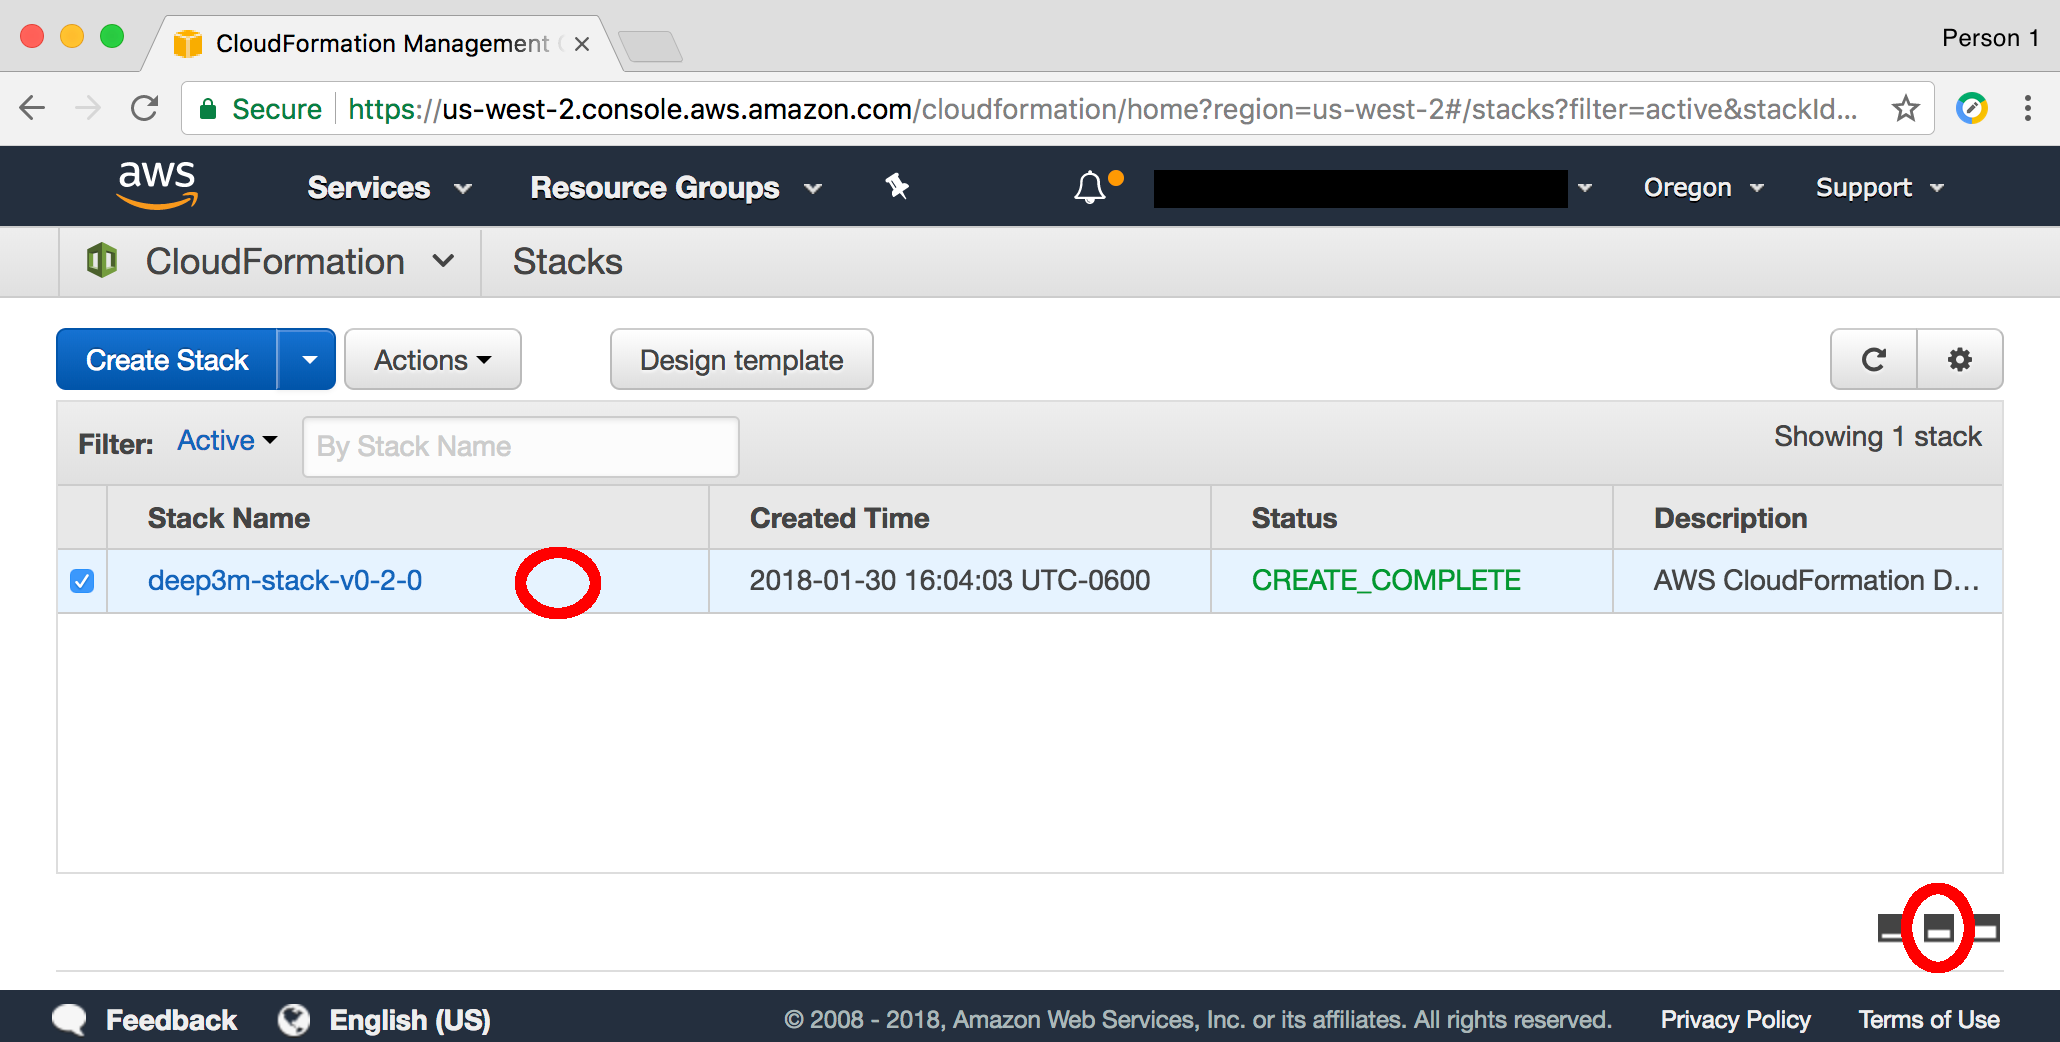
When status for CloudFormation stack is green and says CREATE_COMPLETED (Could take 10 minutes) click on tab circled in red and select Outputs

Note the ip address circled in red. This will appear and be available once the CloudFormation stack has completed.

Below are instructions for running CDeep3M with a pre-trained model or starting from scratch and training a model before running prediction.
Click here to return to Tutorial 2
Demorun 1 Running prediction with pre trained model
Demorun 2 Running small training and prediction with mito testsample dataset
WARNING: Until this operation described below is done AWS charges will continue to acrue
Click here for instructions on how to shutdown/delete CloudFormation stack created above
