Example_V10RPiV2
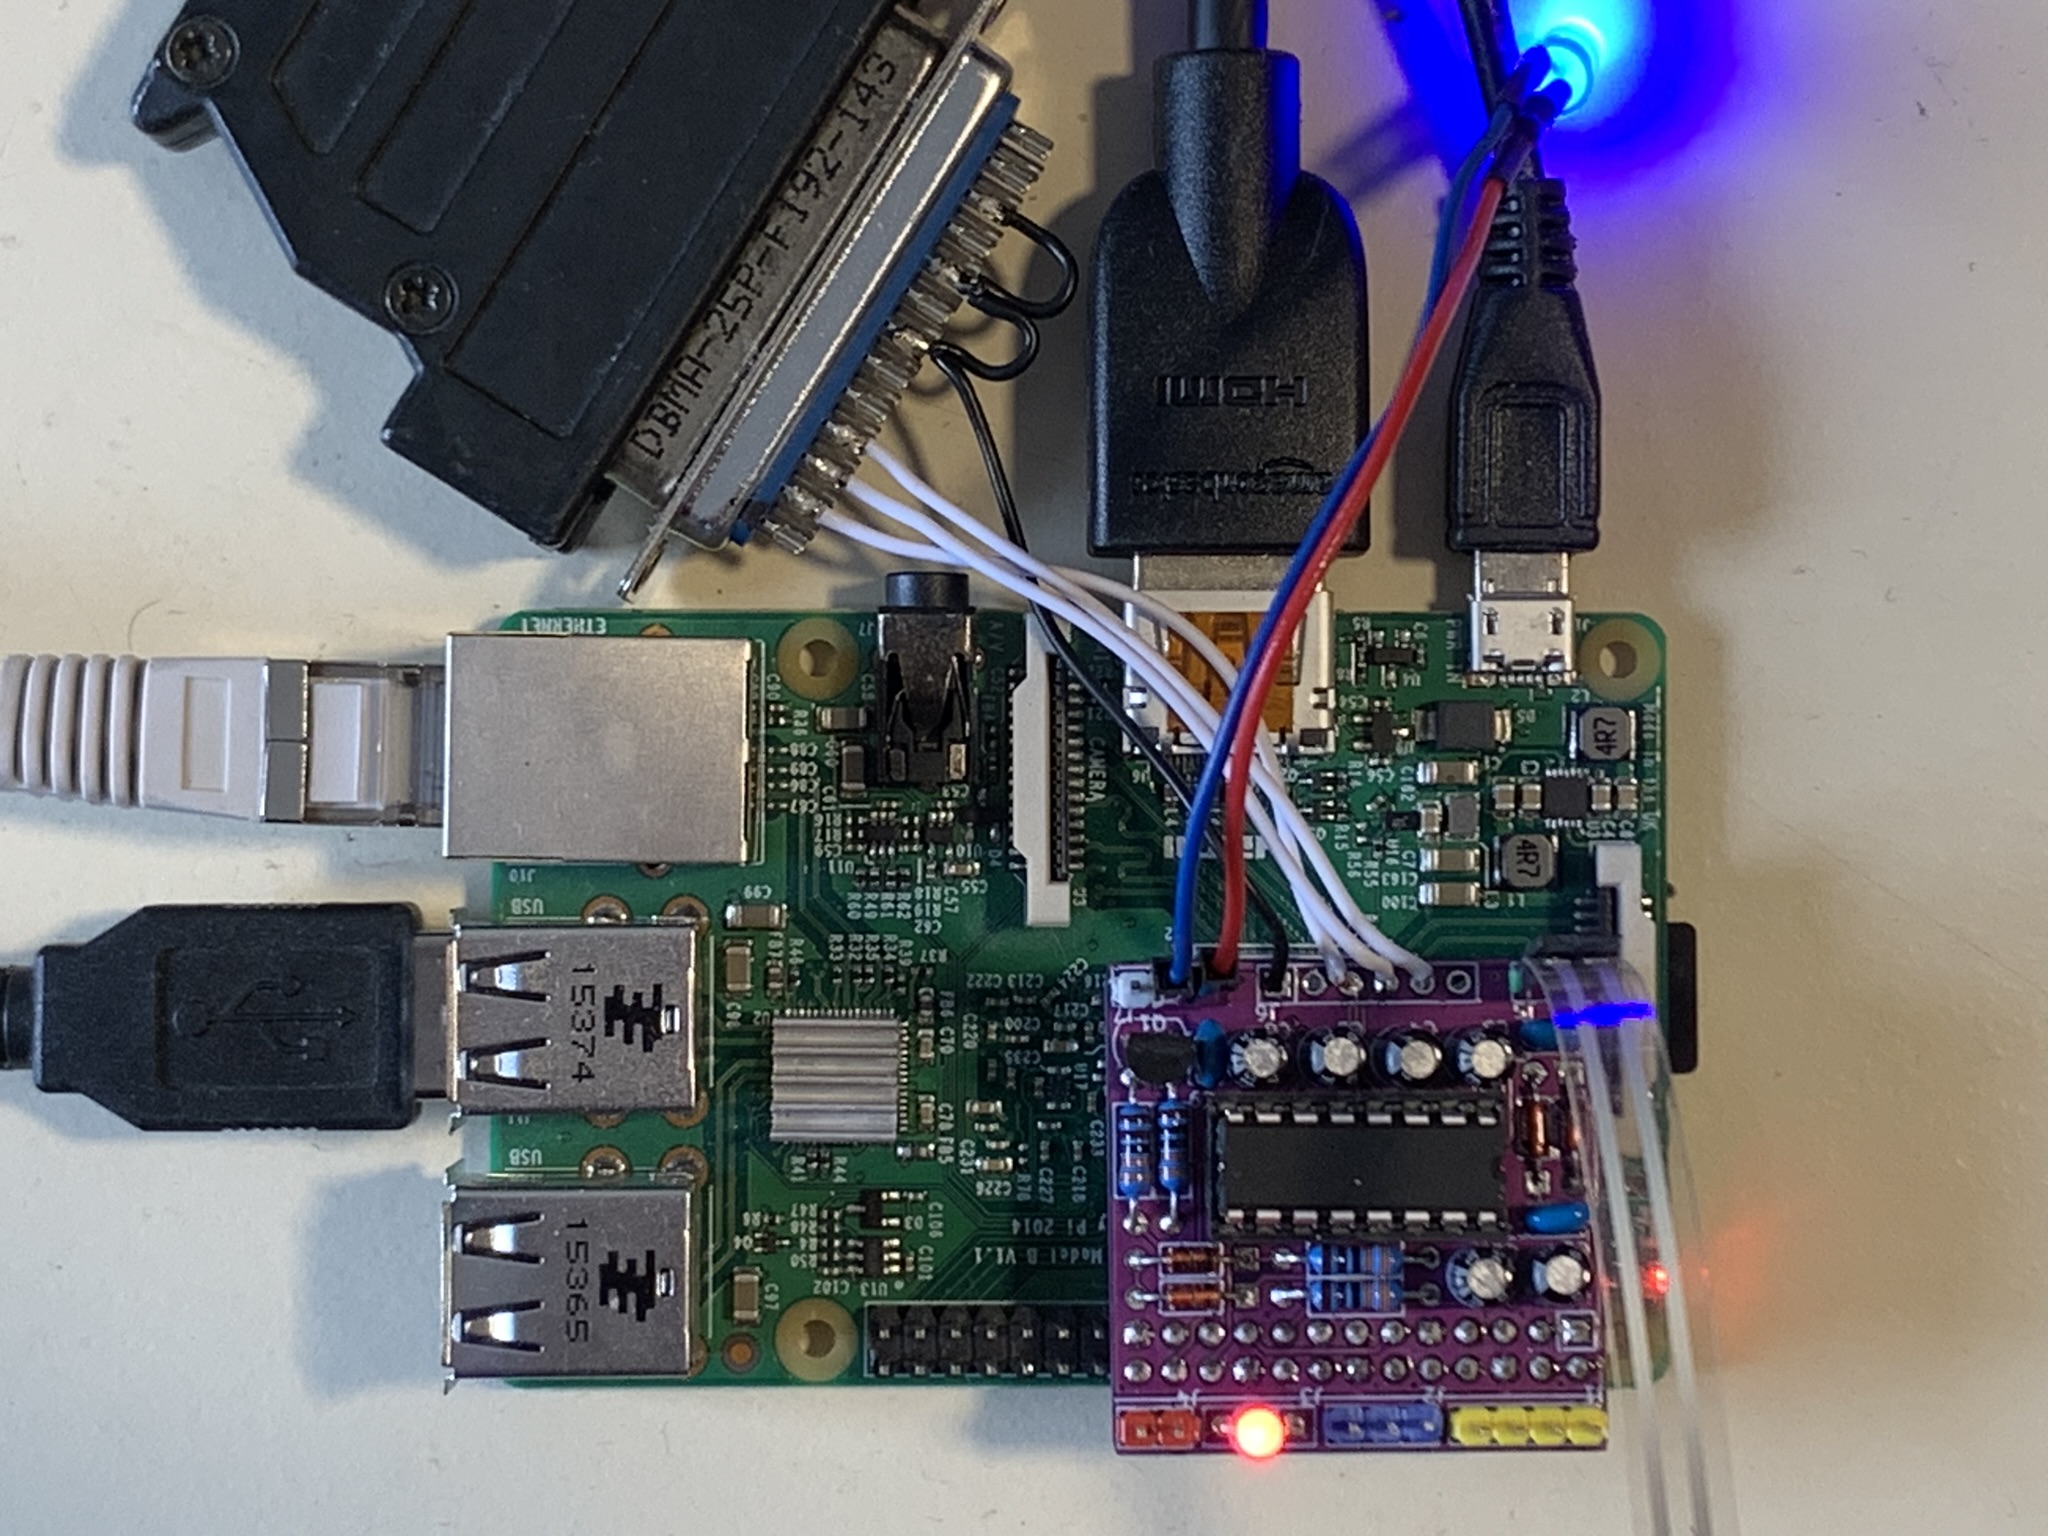

For this design a PCB was made.
Main features:
- correct V.10 voltage level
- wired-or (2 diodes and resistor) for printing own typed characters in red and incoming characters in black
- reconfigurable (solder pads) for V.24 with TXD, RXD, RTS, CTS
Additional (optiona) features:
- I2C connector
- NeoPixel connector
- 1 user-button connector (medium cable length)
- off-button connector (short cable length)
- duo-color-LED to show the connection status
- SSR connector for power saving
All you need is a Raspberry Pi, a MAX232 as driver and a hand full of resistors, capacitors and diodes.
See PDF-file: https://github.com/fablab-wue/piTelex.supplement/blob/master/PCB_KiCad/piTelex_V10_1.0.0/PDF/piTelex_V10_1.0.0.pdf
This design is based on MAX232 chip to support the full V.10 specification (without negative voltage hack).
For more electronic details see Electronic for V.10.
| Pin | Name | Pin DSub | V.10 Name | Comment |
|---|---|---|---|---|
| 1 | GND | 7 + 9 + 11 | E1, E21, E22 | |
| 2 | +5V | - | - | not used |
| 3 | RXD | 2 | D1 | from teletype to RPi |
| 4 | TXD | 3 | D2 | from RPi to teletype |
| 5 | CTS | 4 | S2 | status/observe line. Goes to high if teletype is in LIN-mode |
| 6 | RTS | - | - | not used |
For piTelex installation see SW_Install
This adapter is handled by the software module RPiTTY.
The settings in the file telex.json have to be adapted:
...
    # TeKaDe FS200 or FS220 over V.10 interface (new pinout)
    "RPiTTY_FS200_V10_new": {
      "type": "RPiTTY",
      "enable": true,
      "mode": "V10",
      "pin_txd": 27,               # Pin13
      "pin_rxd": 17,               # Pin11
      "pin_relay": 0,
      "inv_relay": true,
      "pin_power": 9,              # Pin21
      "inv_power": false,
      "use_observe_line": true,
      "pin_observe_line": 22,      # Pin15
      "inv_observe_line": true,
      "nZZ_observe_line": true,
      "baudrate": 200,             # 50, 75, 100, 200
      "coding": 0,                 # 0=ITA2
      "loopback": false
    },
...
Note: To use the i-Telex communication module, enable and configure the i-Telex section in
telex.json.
Start the program telex.py with no arguments on RPi-Linux:
./telex.py

-
Local use
-
i-Telex
-
Advanced Topics
-
Tools & Gadgets
-
TW39 (current loop)
-
ED1000 (FSK modulation)
-
V.10 (TeKaDe FS200, FS220)
-
SEU-M-board based
- with Austrian AGT (Ö-AGT, current loop)
- as replacement for SEU-B card inside LO2000, LO2001, LO3000