-
Notifications
You must be signed in to change notification settings - Fork 0
Module 2 – Deploying a smart contract on development environment (40 minutes)
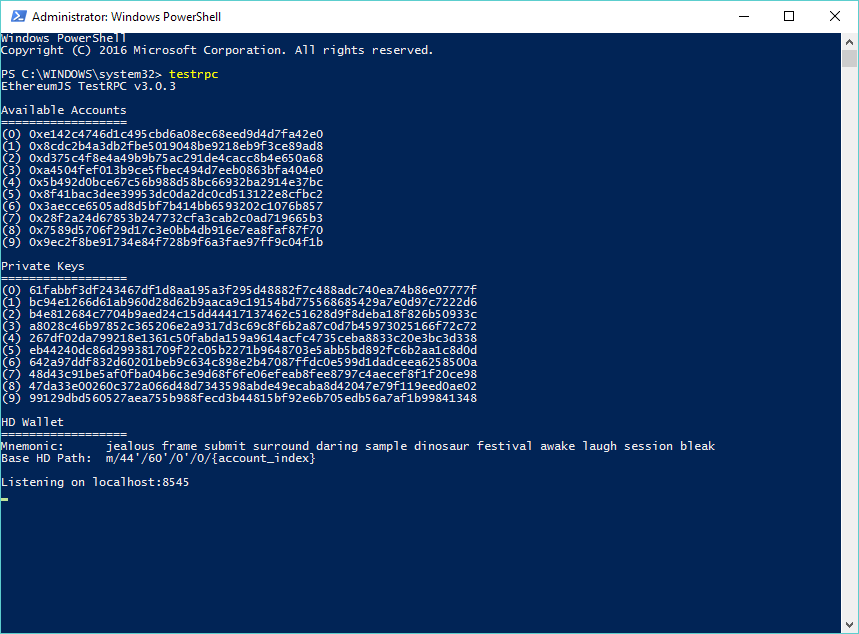
Once TestRPC is installed in your local environment you can call it just typing:
testrpc
As soon as you run TestRPC you can see a list of available accounts that are already created and ready to use, and also the port where TestRPC is running. The default port is 8545.
We can interact with TestRPC using the RPC protocol or Web3 (this is the Ethereum compatible JavaScript API which implements the Generic JSON RPC spec, a list of the implemented methods can be found here).
You can read step by step here how to connect Truffle to TestRPC, or see the explanation in this video.
We will use some basic truffle commands:
truffle init
truffle compile
truffle migrateOpen a console an run:
truffle initThis command will create a new Truffle project, basically a set of sample files organized in folders ready to use, it also includes unit tests. Open the created project with the editor/compiler you have.
We've mentioned early that Truffle can interact with any software that implements the RPC protocol, now we want to connect it to TestRPC, the only thing we have to configure is the port (since we are running both in our local environment) there's a file in the project root directory called truffle.js that look like this:
module.exports = {
  networks: {
    development: {
      host: "localhost",
      port: 8545,
      network_id: "*" // Match any network id
    }
  }
};
Check the port property this must match TestRPC port, in most cases it is 8545.
As we've mentioned when we ran truffle init a new Truffle project was created, take a look at these 3 folders:
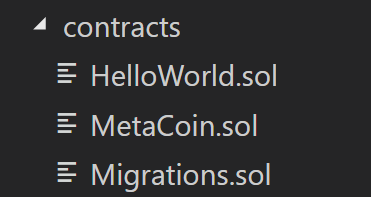
- contracts: inside this folder there are sample contracts created by the
truffle initcommad, we will add our own contracts here. - migrations: inside this folder there's a special contract that publish the contracts.
- test: here, there are the unit tests for the contracts
Open the console and move into the folder with the Truffle project. There, type this helper method to scaffold a new contract. Name must be camel-case:
truffle create contract HelloWorldNow, you can see a new .sol file into contracts directory, called 'HelloWorld':

For Truffle takes into account our contract when deploying in the blockchain, it is necessary to modify migrations/2_deploy_contracts.js file, adding this lines:
var HelloWorld = artifacts.require("./HelloWorld.sol");

module.exports = function(deployer) {
  ...
  deployer.deploy(HelloWorld);
};
Now, copy and paste the smart contract HelloWorld, that we've seen in Module 1 into the HelloWorld.sol file.
Now, run this command:
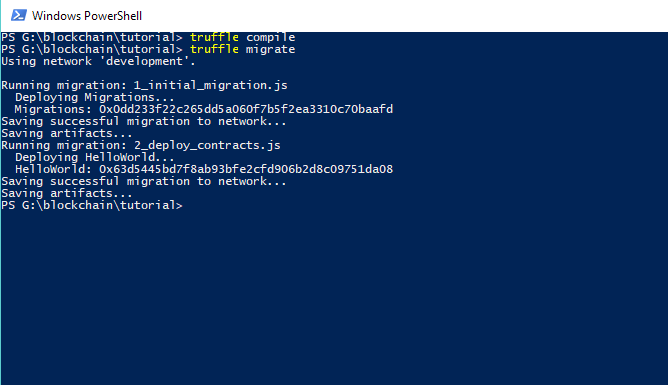
truffle compileWhen we run this command Truffle calls Solc (Solidity) compiler and compiles all the .sol files inside the contracts directory.
After compiling our Solidity code becomes bytecode and a .json file is created for each contract inside a new directory called build.
There's a Migrations contract that in charge of publishing our contracts in the blockchain.
Now like a magic step, this command will deploy our contract in the blockchain:
truffle migrate
Now, our smart contract is in the blockchain!
Type the command in the console:
HelloWorld.deployed()
As you can see, the contract is in the blockchain. In the next module we are going to add some functions to the contract and we'll interact with them.