[V4.0] User Manual: Administration
You can use the following features only if you're in the CMS Administrators group.
Site administration is the highest abstraction level - here you edit settings that affect your entire web site. Generally a site will have more content editors than administrators, since administrators can do powerful things with security settings.
People can generally view your site without logging in - these are called guests. But you can grant some people special privileges by making them users. Like most secure web applications, each user has a username and password.
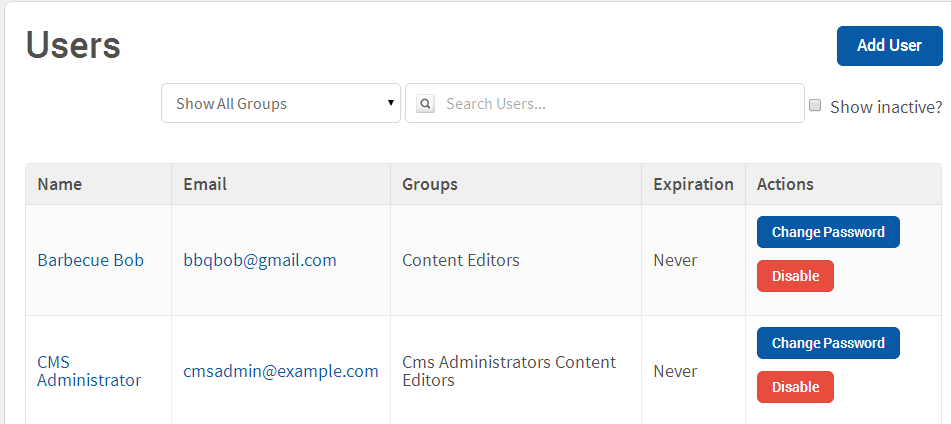
You create a user through the Admin menu, option Users. The user screen looks like:
Click Add User to see the new user form:
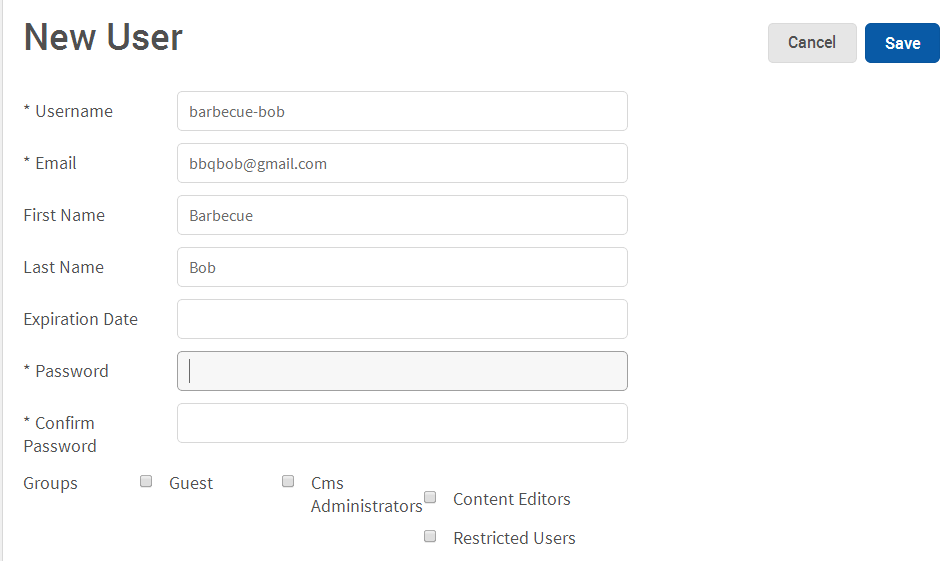
Fill in the users username, email address and password. In addition, you should assign the user to groups by clicking the checkboxes below. You set up your own groups, which we describe below. Finally click on Save, and you the user can start using your site.
All users belong to one or more groups, which determine the things they are allowed to do. There are two kinds of groups:
- Public Groups determine rights for viewing sections of the site.
- CMS Groups determine rights for adding, editing, publishing and deleting pages in the site
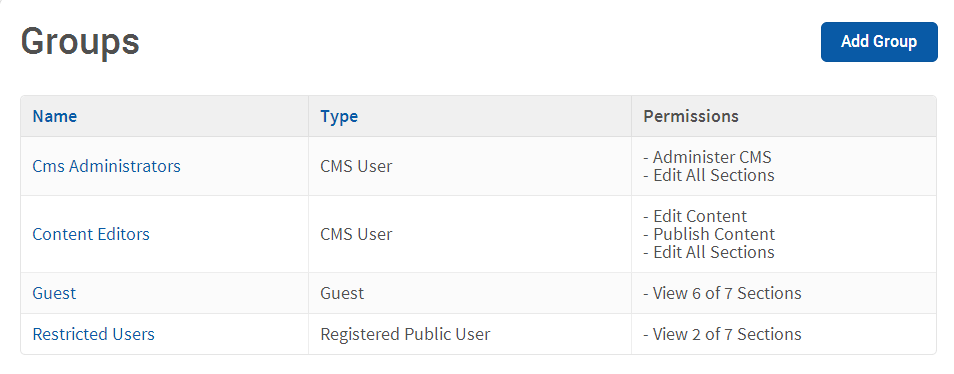
A BrowserCMS site is preloaded with the following groups:
- Guest (Public Group) - is a generic public group. Unlike all other groups, you cannot add users to this group. Any sections you hide in the Guest group are hidden to un-logged-in users.
- CMS Administrators (CMS Group) can administer the site (add users, etc.) and edit all sections
- Content Editors (CMS Group) can edit all sections of the site and publish content
Definitely you'll want to add users for all the content editors and publishers of your site and add them to the Content Editors group. In addition, you may want to add more users to the CMS Administrators group (which is better than using the generic cmsadmin user).
You can also create your own groups. From the Admin menu, choose Groups.
Then click Add Group.
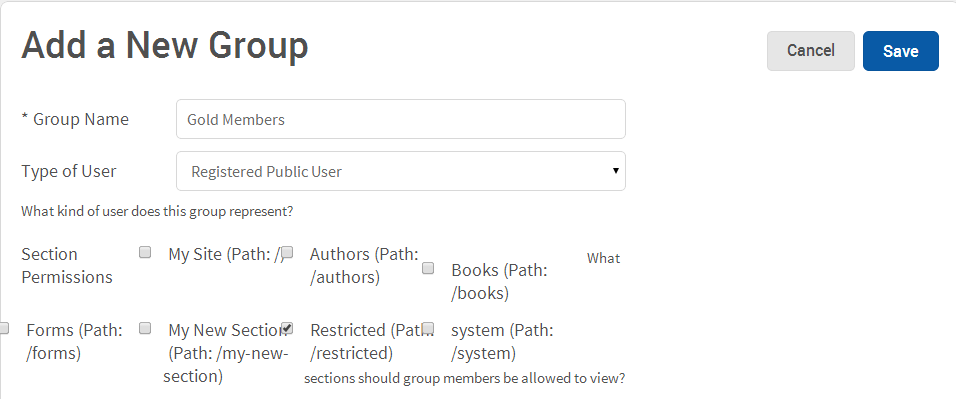
Give the group a descriptive name, then choose the group type - either Restricted Public User to create a public group or CMS User to create a CMS group.
For a public group, you'll see the sections of the site. Above, we see sections for My Site, Authors, etc. A checkmark means the users in the group can view this section. No checkmark means they can't. Individual pages get their security from their immediate section. For example, if there is a section called ‘Member Only’, which a ‘Guest’ cannot see, all pages in that section will be blocked.
For a CMS group, you'll see a list of CMS rights in addition to section rights:
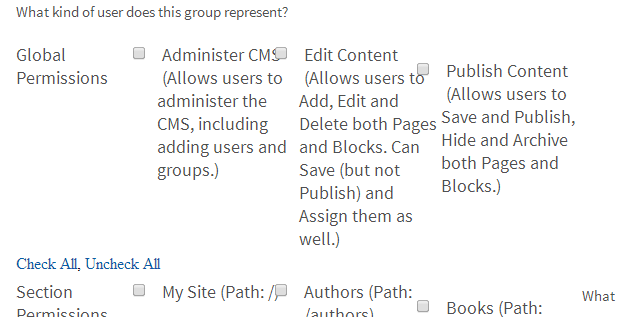
- If Administer CMS is checked, users in this group get the Admin menu in BrowserCMS, and can do anything in this menu like add users or groups.
- If Edit Content is checked, users in this group can add or edit pages in the sections checked below.
- If Publish Content is checked, users in this group can publish or archive pages in the sections checked below.
Click Save to finish.
You add can then add users to this group. Choose Users from the Admin menu, choose the user, and you will see your new group listed. Click the checkbox to put the user in this new group.
A restricted section is a section that only some users can see. Guests (ones that have not logged in) will not see this section in any menu items. And if they try to get to it through a direct URL or a bookmark, they'll be given an error message.
Say, for example, you'd like to create a special section of your site for Gold Members. To do so:
- Create usernames, as in Adding Users above, for everyone allowed to access this restricted section
- Create a group, as in Adding Groups above. We'll call ours "Gold Members". Put all the usernames in the group.
- Create a section in the Pages Site Map, as described in Sections. We'll call ours "Gold Member Only Section".
- Click the Edit button on the section. The editing screen for sections looks like the one you use to add a section. SCREEN SHOT.
- Click OFF the checkbox next to the Guest group.
- Click ON the checkbox next to your new group Gold Members.
The above deals with viewing a restricted section of the site. You can also restrict CMS Groups to different sections of the site. For example, a Product Marketing department might want to maintain the site's Product section. They may have writers to provide and edit content, and publishers who approve the content and make it live.
To do this:
- First, create the Product section using the steps in Sections
- Create a CMS User group called "Product Marketing Contributor". Give them only the Edit Content permission for the Product Section.
- Create a second group should be called "Product Marketing Publisher". Give them Edit Content and Publish Content permissions.
- Assign users to each of these groups.
The user in the Product Marketing Contributor group, will be able to make changes to pages and blocks, but will not be able to publish it themselves. When they are done with a page they can use the ‘Assign’ button to Create a Task for that page, described in Assigning a Task. They assign the task to a user in the Product Marketing Publisher group. This will send email to this user.
The Product Marketing Publisher can then log in, find the page they want to review, make sure the changes are acceptable, and publish the page. Once they are down with their task, they can click the Complete Task button to close the task out.