[V4.0] User Manual: Basic Editing
This section covers tasks that content editors do most often. For the purposes of this section, all examples assume a locally running copy of BrowserCMS, accessed as http://localhost:3000. A site hosted elsewhere might be running at http://yourcms.yourcompany.com.
- Logging into BrowserCMS
- In Context Editing
- Editing a Text Asset With Direct Edit
- Editing a Text Asset With The Pencil Tool
- Adding a New Text Asset to a Page
- Adding a New Page
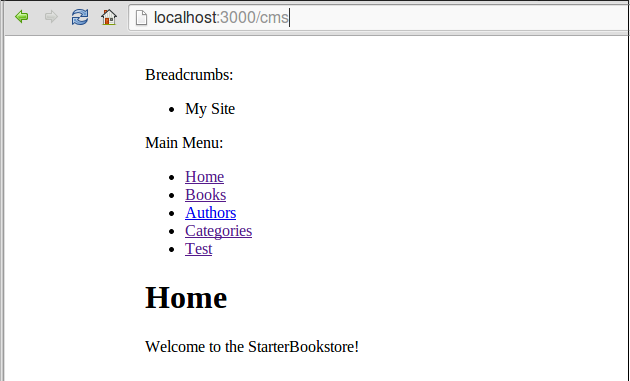
To access that administrative portions of BrowserCMS you have to go to the admin login page. To do this, add /cms to your website’s URL. Working locally, this would be http://localhost:3000/cms. For site hosted elsewhere, it'll look like http://yourcms.yourcompany.com/cms.
From the /cms URL, you can login like so:
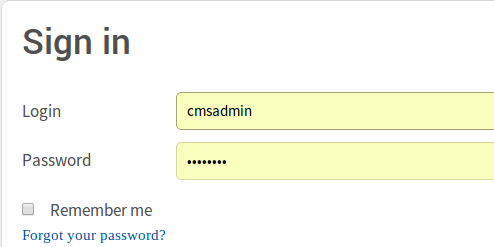
For a local site, this will be username = cmsadmin and password = cmsadmin. For a live site, this will have been randomly set during install.
After you log in, you will be sent to an edit screen for the site's home page.
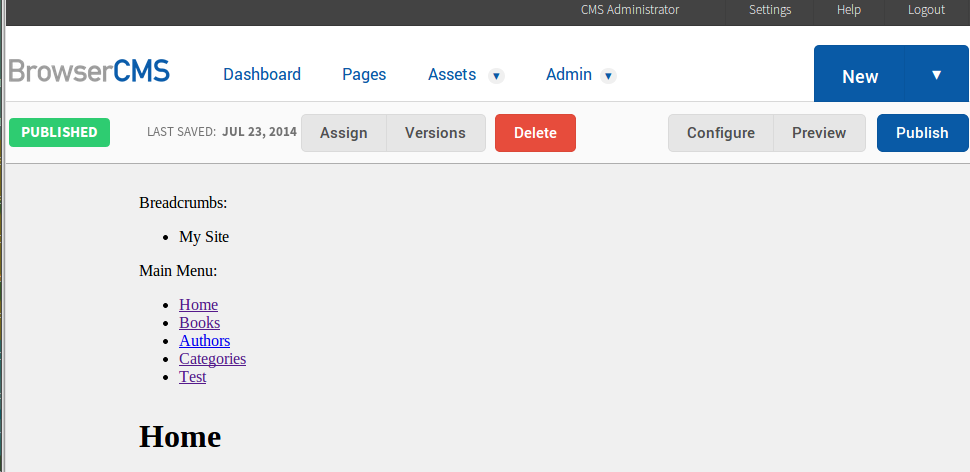
When you visit a page in BrowserCMS, and are logged in as editor, you will see the page exactly as a visitor would, but with a menu bar at the top of the page and various tool icons scattered in the content blocks. You use the menu bar and tool icons to make changes to the page.
BrowserCMS makes editing pages simple with ‘In Context Editing’. You browse the site just like a visitor would by clicking hyperlinks, menu items and buttons on the page. When you get to the page you want to edit, you just start editing it.
After you've made changes, click the Preview button at the top right of the page to see the page with your changes in it, just as users would see it.
Each asset (portlet, text, picture, or whatever) has editing tools above it. In the example below, there are four tools above the List All Books! portlet:
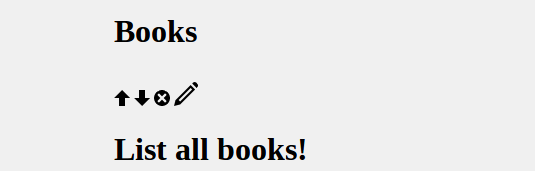
Here are the buttons and their uses:
| Button | Meaning |
|---|---|
 |
Moves asset up on the page |
 |
Moves asset down on the page |
 |
Removes entire text block from the page, keeping it in the asset list so you can use it on another page. |
 |
Switch to full BrowserCMS editor. See Editing a Text Asset With The Pencil Tool below |
Text assets are the most common assets. You can edit one simply by clicking anywhere in the text:

The content itself has a toolbar with standard tools like bold, underline, bulleted text, etc. If you're used to editing content with WordPress or Microsoft Word, you will feel at home here. You can copy or paste text into the text asset, add links, and other things. Here's a list of all the things you can do:
| Button | Meaning |
|---|---|
 |
Cut text to clipboard. Removes the text, but makes it available to other programs through Paste. |
 |
Copy text to clipboard. Like Cut, but leaves text in place. |
 |
Pastes text from clipboard. Retain formatting, like bold and italic, as much as possible. |
 |
Pastes text from clipboard but removes formatting like bold and italic. |
 |
Pastes text from Microsoft Word, retaining as much formatting as possible. |
 |
Undoes last edit |
 |
Re-applies last thing undone ... effectively undoes an undo |
 |
Spell-checks block |
 |
Insert an image from the Internet. To insert images stored as BrowserCMS assets, see User Manual: Assets |
 |
Insert a hyperlink to another URL on the Internet, or an anchor |
|
Remove a hyperlink from selected text and turn it back to plain text. |
 |
Set an anchor, which acts like a bookmark within a page. Use Link tool to make a hyperlink to it. |
|
Switched to full BrowserCMS editor, same as the identical-looking icon below the asset |
|
Moves asset up on the page |
|
Moves asset down on the page |
|
Removes entire text block from the page, keeping it in the asset list so you can use it on another page. |
 |
Sets a paragraph as normal text or a heading |
 |
Sets styles for selected text: highlighter, typewriter font, etc. |
 |
Makes selected text boldface |
 |
Makes selected text italic |
 |
Removes bold, italic, or other style from selected text |
 |
Makes selected paragraphs numbered. Alternatively, click this button beoffe you type to start creating numbered paragraphs. Click again to return to normal. |
 |
Makes selected paragraphs bulleted, similar to numbered paragraphs above. |
 |
Decrease distance to left-hand margin. |
 |
Increase distance from left-hand margin, i.e. indent. |
When you're done editing, simply click anywhere outside the text asset. The editing toolbar will disappear, and the page will revert to Draft status as shown at the top:
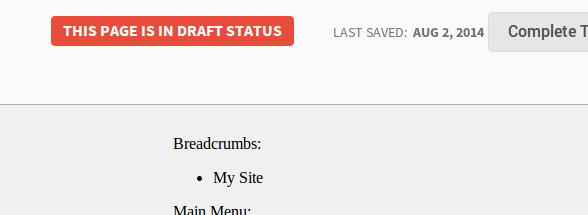
If you are also a content publisher for this section, you will see a Publish button. Click the Publish button and your changes will be "live" and visible to all users. (Or you can come back and publish it later. The changed page will remain in Draft mode, and the old page will continue to be displayed to users).
Alternatively you can click on the pencil icon over a text asset. This gives you a complete editing screen for the text asset:
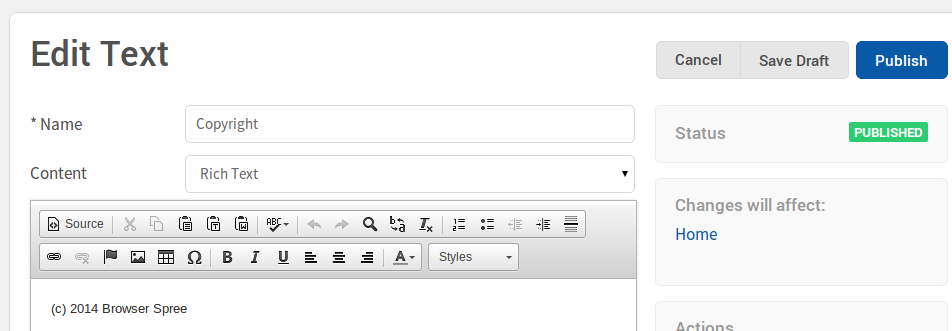
You can also switch the Content Type to Simple Text to add plain, ordinary, unadorned text or HTML code ... if you like that sort of thing. :-)
The editing toolbar has a few more tools than Direct Edit:
| Button | Meaning |
|---|---|
 |
Switched to source mode where you can see and edit the raw HTML for the text. |
 |
Search for certain words in your text |
 |
Search and replace words in your text |
 |
Insert a horizontal line |
 |
Insert or change the shape of a table |
 |
Insert a mathmatical formula |
 |
Underline selected text |
 |
Left-justify selected text (the default) |
|
Center-justify selected text |
 |
Right-justify selected text |
 |
Set color of selected text |
When you're ready to make the change permanent, click "Publish". Like Direct Editing, this will put the page in Draft mode, ready to be published.
The + tool appears at the very bottom of the page. Click on it to add a Text asset, or any other kind of asset.
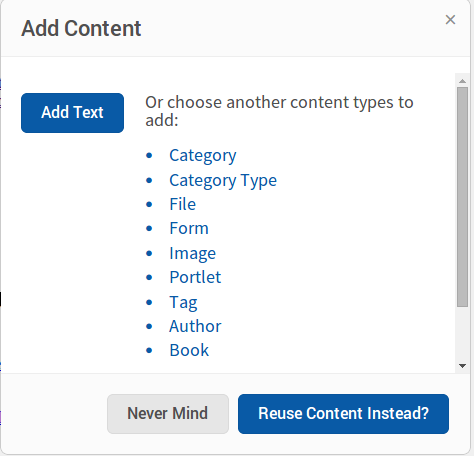
We want to add a new Text asset, so click Add Text. The editing screen is the same one you use for editing text assets.
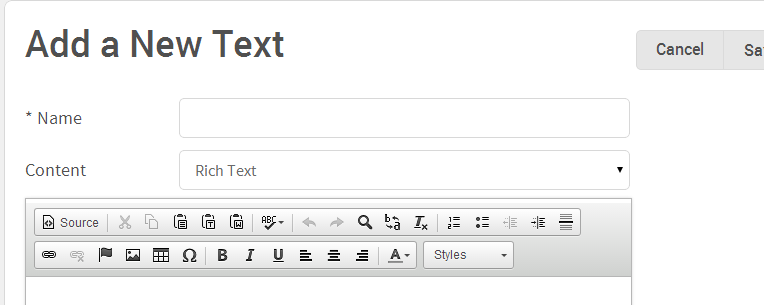
You are required to type a name here. By naming a text asset, you can use this text asset on more than one page, which we'll discuss in [V4.0] User Manual: Assets. Once you're done adding the text, you save and publish the page like you normally would.
To add a new page to a site, click on the New menu and choose Page.

There are plenty of options here, but the main thing you need to fill in is Name. Like editing a page, you click Publish to make the new page live. When you do this, you'll be on the editing screen for the new page, which starts out completely blank. You then add assets with the + tool.
Add Page creates a top-level page, i.e. it doesn't belong to any particular section. To place it in a particular section, see [V4.0] User Manual: Pages.