[V4.0] User Manual: Assets
Assets are the building blocks of your web site's pages. In [V4.0] User Manual: Basic Editing you saw how to add, edit, move and remove text assets. Other kinds of assets are images (pictures), files, forms, tags, custom assets, category types and categories, and portlets. Images, files, forms and tags come bundled with BrowserCMS, and appear in every site. Custom asset types are installed by your site administrator, and often mirror the types of things you deal with most on your site. For example a news site might have News Article assets. In our example, we have library asset types called Books and Authors.
- Using an Asset on Many Pages
- Adding An Image
- Adding a File Link
- The Asset Catalog
- Adding a Form
- Adding a Tag
- Adding Custom Assets
- Adding a Category
- Adding a Portlet
Every asset, including a text asset, has a Name. The name is not displayed to users, but is used to identify the asset to content editors and publishers. Many times a text block only belongs to one page ... mostly, people will name such a text block after the page it sits on. So if a page is "How To Add a Product to Your Cart" you can also name the text block "How To Add a Product To Your Cart."
If you use the same asset on many pages, though, the name will help you share it. For example, you can define a text block named Copyright, and use it for a copyright notice like this:
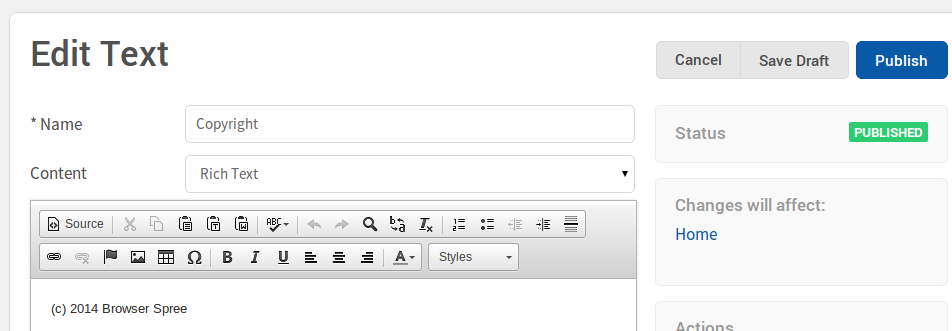
When you edit the Copyright text block contents (either through Direct Edit or the Pencil tool) they are changed on all pages.
When you edit an asset, all pages that use that asset will go into a Draft status. You will need to publish them all to make the change "live". For an easy way to do this, use the Dashboard.
To use an asset that you've already defined to a page you're editing, simply click the + tool. You get the familiar Add Asset dialog:
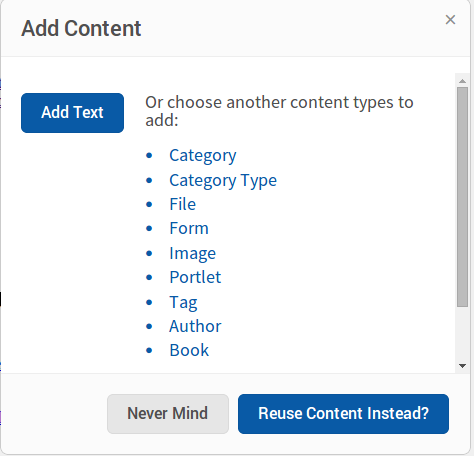
This box should look familiar from creating a text box. This time, click the button "Reuse Content Instead?". You will get an asset list:
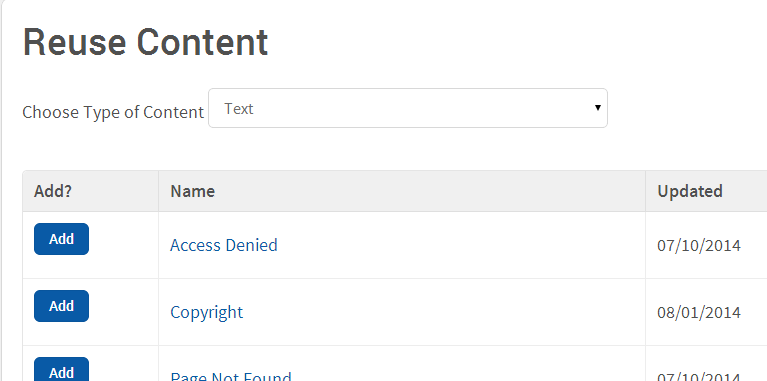
Choose the content type you want at the top - by default, you see assets. When you find the asset you want, click Add, and it will be added to the page.
Picture files are called images in BrowserCMS. Adding an image is a lot like adding a text block. You can do it in one of two ways. First, you can add an image directly to a particular page by clicking on the + sign at the bottom. You get the familiar Add Asset dialog and click the Image type.
The second method is to click the New menu on the right hand side of the screen and choose Image. This metnhod is best for creating an image asset, but not attaching it to a page right away.
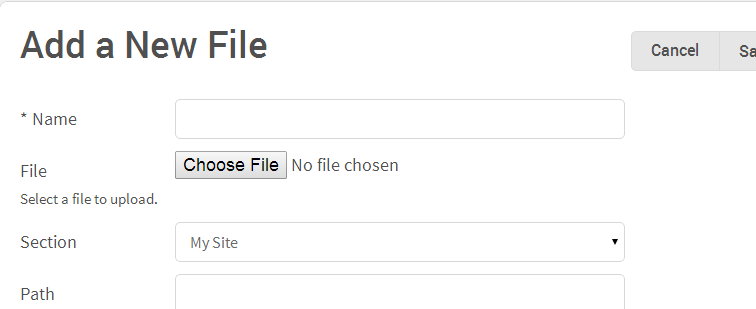
In either case, you will arrive at the Add Image screen:

Now you can click on Choose file to choose the file on your hard drive - a PNG, JPEG, GIF or other image type. You can give the image a name if you want, and this will make it usable on other pages as well. The path is derived from the file name - in most cases, you'll leave this as-is.
Click Publish and any page using it will go into Draft status, same as with text assets.
Don't know if this is possible yet. It was in previous versions of BrowserCMS, but it looks like the Insert Image in current is the default CKEditor one. There's no way to choose specific content from a list of things in your library._ Alternatively, you can place images directly into text boxes. This is nice for images that occur inside a paragraph (icons, for example).
This doesn't look possible at all. There are no properties in the Image asset. To place an image, first find the text block that you want to edit (or add). Using the ‘Rich Text’ editor, click the ‘Insert/Edit Image’ button. Next click ‘Browse Server’, which will allow you to browse through all the images in your content library. This will popup a window which gives you a sitemap view of your site. You can drill down through the sections, finding which the one where you placed your image. Once you locate the image, click the image name to select it. This will add the path to the image to the ‘Image Properties’, and allow you to preview the image alongside the text. You can alter the image attributes (size and alignment) or just click ‘Ok’ to place the image. At this point, the Rich Text editor should display the image embedded in the text. You can then save the Text block, and see how it looks on your page.
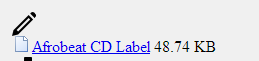
You can also add a File like a PDF, a Word Document, or any arbitrary file to a page. The file is displayed as a hyperlink - the content itself is not shown. To add a file, click on the + sign to get the familiar Add dialog. Then click Link:
This screen is much like the one for images, and you can name the document and use it on other pages as well. When you publish it, the file is displayed like this:
Before we go further adding more assets, how do we organize the assets we already have? The best way is through the Asset menu at the top of the screen. When you click on Asset, a list of asset types appears, and you can choose one. Here's our text assets for example:
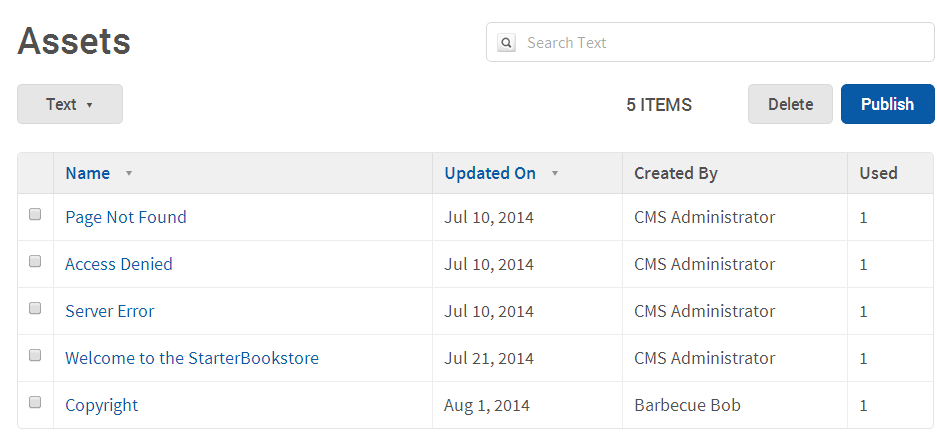
Note the Used column - this shows how many pages are using this particular asset. If this is 0, you may have an obsolete asset that you can safely delete. To do so, simply click the checkbox int he left hand column, then click "Delete" at the top. You can check more than one checkbox before clicking Delete to delete many at once.
Likewise, assets may be marked Draft. You can publish them all at once by selecting many of them and clicling the Publish button, provided you are a Content Publisher.
Clicking the name of the asset goes to the asset editing screen, much like you clicked the Pencil icon next to the asset.
A form asset gathers input from a user, then emails results to a particular internal user. The quintessential form asset is the Customer Feedback Form, where you gather arbitrary information about your website from a public user.
To add a form to a page, you can use the + sign as usual. To add a form to your assets lists without placing it on a page, you use the New button, then choose "Form". In either case you arrive at the Add Form page:
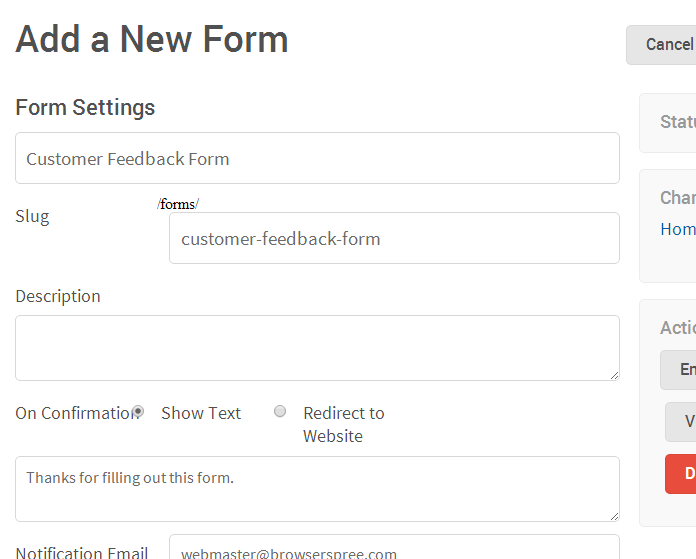
When the user submits the form, an email is sent to the Notification Email address with the details. To the user, you can either show some text (in this example, we show "Thanks for Filling out the Form"), or you can direct the user to an abritrary URL (this can be on your site, but doesn't have to be).
At the bottom of the New Form screen, you see a drop down for adding form fields:
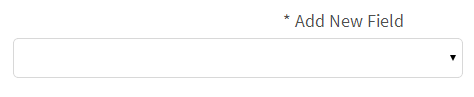
There are three kinds of form fields:
- A text field is a one-line field
- A text box is a multi-line field
- A dropdown box is a set of fixed selections
To add a form field, you choose the type of field you want. A blank one appears on the screen. Click on edit to change the properties:
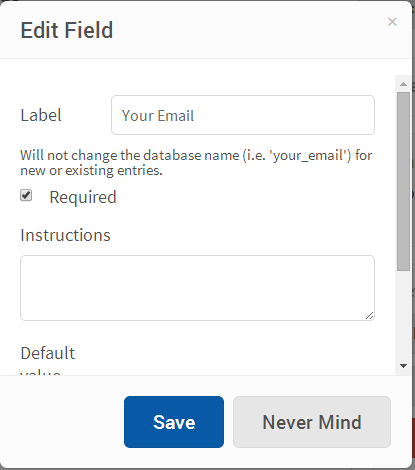
This, for example, is the editor for a one-line text field. You can change the label to whatever you want and make a field Required for a user, then click Save.
Editing a text box is similar to editing a text field. Editing a dropdown box gives you:
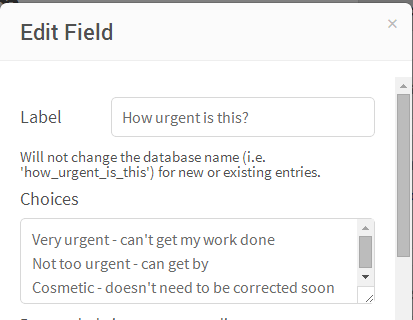
You enter the legal choices in the Choices box here, one choice per line.
As you're adding fields, the Preview will show what the form will look like to the user. When you're done adding fields, click Save.
When the user fills out the form, the Notification Email address will get an email like this:
Sent mail to webmaster@browserspree.com (2258.1ms)
Date: Sun, 10 Aug 2014 17:36:55 -0400
From: mailbot@localhost
To: webmaster@browserspree.com
Message-ID: <53e7e5f7d1aa0_15d445fe7dc2563@CRIECKE-PC.mail>
Subject: [CMS Form] A new entry has been created
Mime-Version: 1.0
Content-Type: text/plain;
 charset=UTF-8
Content-Transfer-Encoding: 7bit

A visitor has filled out the Customer Feedback Form form. The entry can be found here:
              http://cms.localhost/cms/form_entries/1
They simply click on the link to see the input from the user:
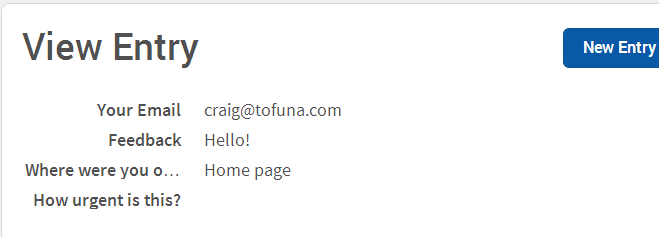
This feature is currently not working in 4.0.0beta
The last three kinds of assets are site specific, and you'll need to get details from your Site Administrator. Often they come with site modules that pre-build functionality for different kinds of sites.
In our example site, Books and Authors are special asset types, which you probably won't see on your site:
On your site, you may see special asset types for News Articles or Products. However, you add them in the same way you add images, text, or file assets. You can either click the + button and choose the Book type, or click the New button and choose "Book" from the dropdown menu. It is more common to use the latter method because you usually don't attach a special asset type to a page. Instead you add a new asset, and a portlet (which we describe below) displays a link to the new asset.
For example, let's create a book. We'll choose Book from the New Menu.
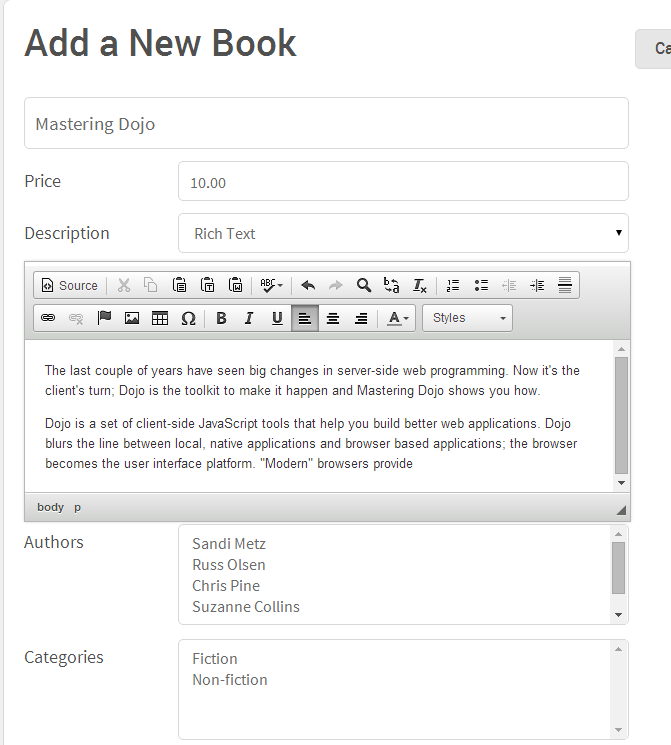
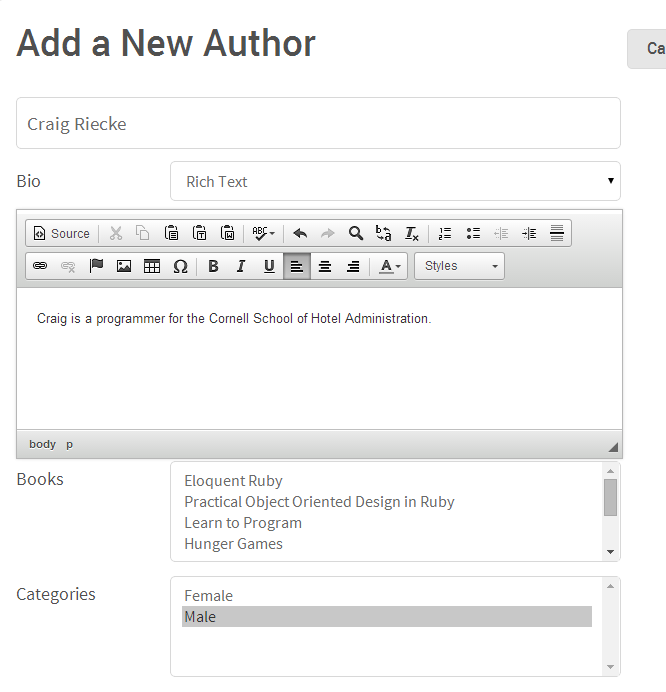
The fields you fill in for books are defined by a developer. We fill in some details and click Publish just like we normally would.
Note that the list of Authors comes from our Authors asset. If we don't see the one we want in the list, we can click Save Draft on our book. This keeps what we've filled in for the book so far, but doesn't publish it to the world.
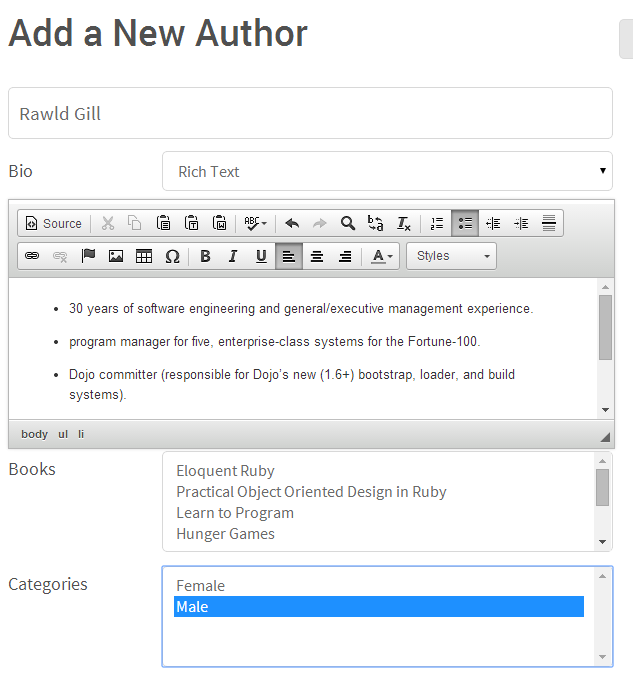
We then choose Author from the New Menu:
When we click Publish, the author will appear in the Authors drop down for a book.
A category type is a set of categories, each of which is some value. In our sample site, there are two:
- Books have a category type Genre, whose categories are Fiction and Non-Fiction.
- Authors have a category type Gender, whose categories are Male and Female
Usually developers define category types, and special asset types use them. But you can add more categories as assets.
For example, to add another book type we choose New, then "Category":
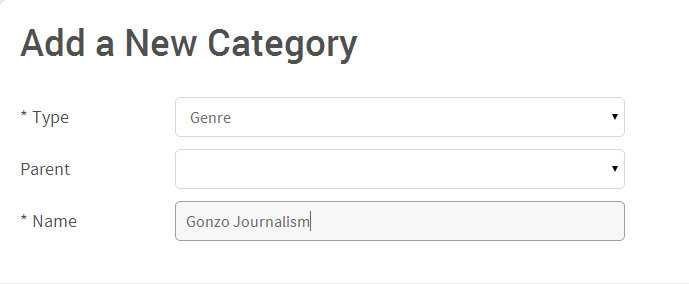
From the category types, we pick "Genre", then type in a new Genre name. This new category will appear in the New and Edit Book screens.
Finally, portlets display special asset types in lists. Usually portlets wither display an entire list, or filter and sort it in some meaningful. Some portlets display one special asset. Some portlets are written by developers, and the parameters you fill in when adding it to a page or developer-defined.
But let's see how this works. A very popular and useful portlet is the List Portlet. You add a portlet like you would any other asset: by the + tool on a page, or by the New Menu under Portlet. You see a list of available portlet types for your site:
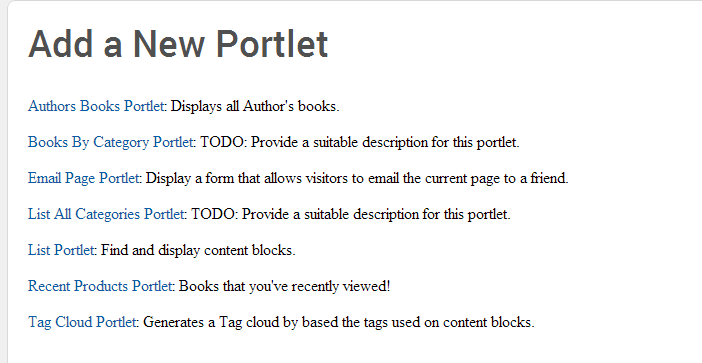
The portlet types "Email Page", "List All Categories," "List" and "Tag Cloud" are available on all BrowserCMS sites. The others listed above - "Authors Books," "Recent Pdocuts" and "Books By Category" are specific to our book site.
We click on List Portlet to get the following screen:
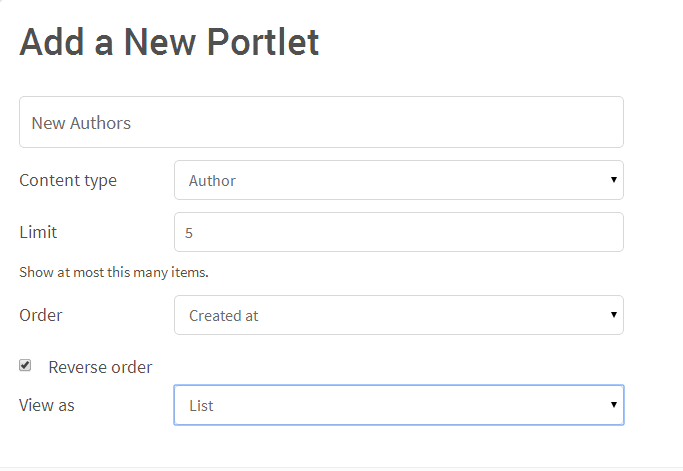
We're creating a new portlet called "New Authors" which will list the last five authors added to our system. To make that work:
- The Content type is "Author" - this is our special asset type.
- The Limit is 5, which will limit our list to 5. If there are less than 5 authors in the system, no problem ... all of them will be listed.
- The Order is the field that will determine the sort order. These fields are the fields of our Authors asset type (the same fields you see when you add a new author)
- Reverse order is checked on, because we want the five newest authors, not the five oldest.
- Finally we view the authors as a list rather than a table. A table displays more information about the author.
Now we have a portlet named New Authors. If we added it by clicking the + sign, this new portlet will be added to the page. It looks like this:
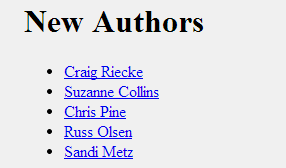
Now that you've defined the New Authors portlet you can add it to other pages as well, just like you would share an image or text asset.
The nice thing about Portlets is they automatically update with any new data that comes in. For example, if I add another author like so:
The New Authors portlet on the home page updates automatically:

To show how versatile portlets are, let's add one more - the Email Page portlet. Adding a portlet in the usual way, we choose Email Page from the list of portlet types. Up pops a different screen than our list portlet:
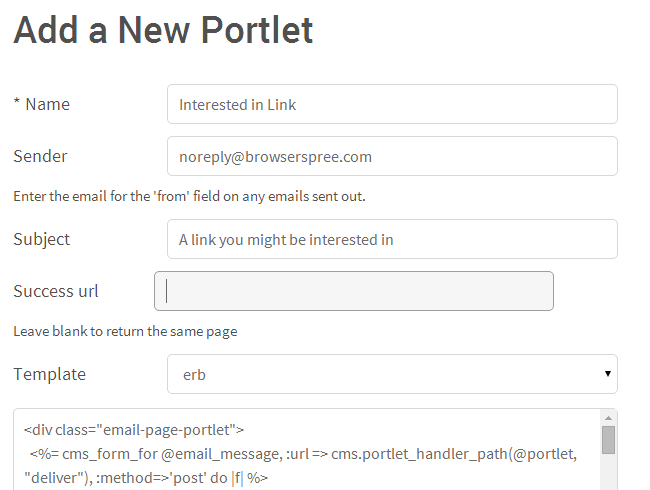
The fields are different. We fill in:
- The sender email address - we use one the user can't reply to
- The subject the email will use
What is erb? And what is that stuff that looks like heiroglyphics underneath? That's code for generating the text of the email. If we were a designer or programmer, we could make changes to it. As it is, we'll just accept the program it fills in.
This is how the portlet looks to the user:
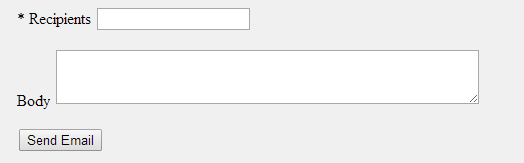
Filling in the recipient and the body generates the following email to the recipient:
Sent mail to mickey@mouse.com (2025.1ms)
Date: Sun, 10 Aug 2014 20:24:28 -0400
From: noreply@browserspree.com
To: mickey@mouse.com
Message-ID: <53e80d3c64eef_15d43b4e814261b@CRIECKE-PC.mail>
Subject: A link you might be interested in
Mime-Version: 1.0
Content-Type: text/plain;
 charset=UTF-8
Content-Transfer-Encoding: 7bit

http://localhost:3000/cms/content/1/edit

Dig this new web site I found.  It's cool!